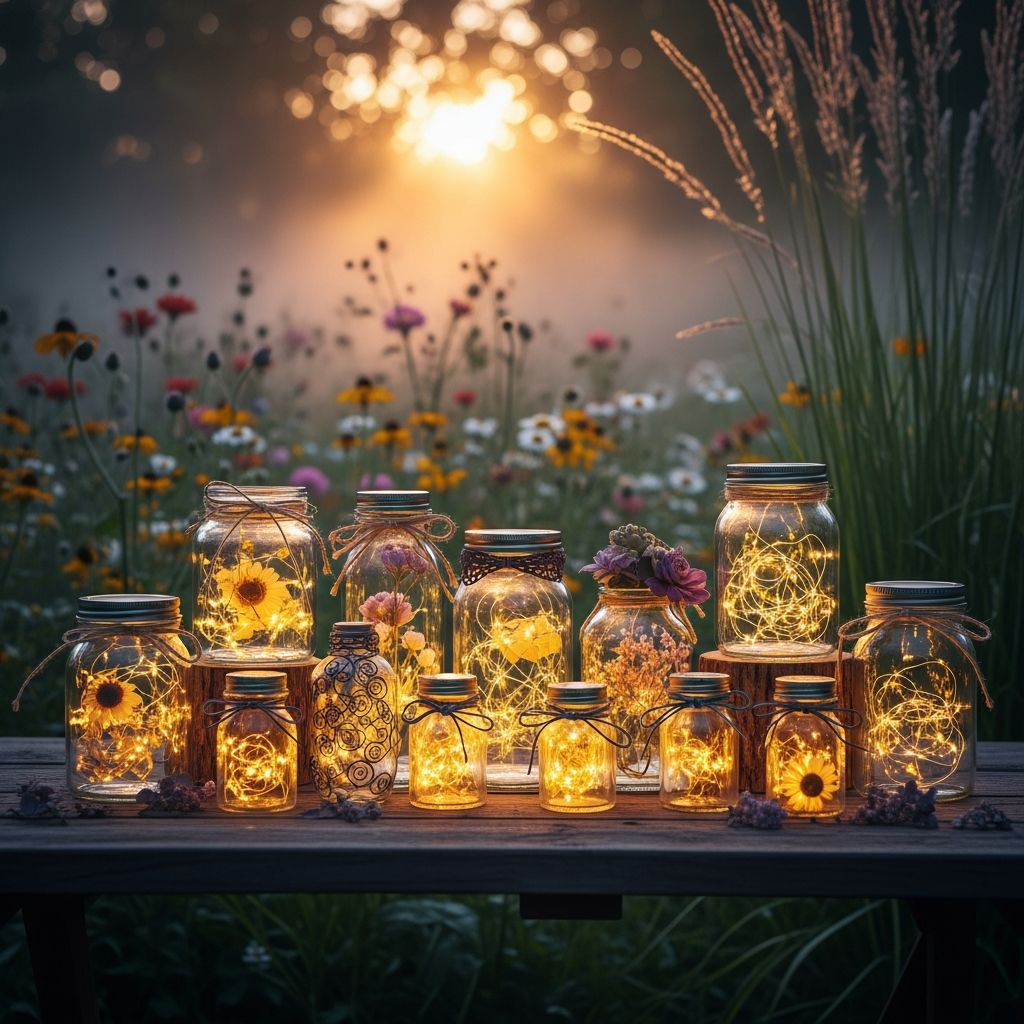
Light-up fairy jars are a simple, magical craft that turns ordinary containers into glowing miniature worlds. They are perfect as night lights, party projects, or rainy-day activities that invite kids to imagine a whole universe of tiny, twinkling fairies.
This guide walks you through every step of creating your own fairy jars, from choosing supplies to decorating, plus clever theme ideas and practical safety tips. The project is flexible enough for very young makers (with supervision) and still fun for creative teens and adults.
Why Fairy Jars Make the Perfect Kids’ Craft
Fairy jars blend creativity, storytelling, and a sense of wonder into one compact project. The finished jars feel special enough to keep for years, yet they are simple enough to put together in a single afternoon.
Because most of the materials are reusable or easy to find, this craft works well for birthday parties, playdates, classrooms, and family nights without requiring elaborate prep work.
Essential Materials and Helpful Alternatives
You can create a light-up fairy jar with just a few core items. Everything else is optional decoration that adds personality and charm.
Core materials
- Clear jar with a lid (mason jars, recycled sauce jars, or plastic jars)
- Battery-operated light source (LED tea light, mini puck light, or short LED string)
- Strong craft glue or hot glue (grown-up use only)
- Soft filler for the bottom (moss, small pebbles, or faux grass)
Fun decorative elements
- Artificial flowers, tiny pinecones, acorns, or leaves
- Small shells, polished stones, or glass pebbles
- Miniature figurines (fairies, animals, mushrooms, tiny houses)
- Feathers, ribbon, lace, or twine for the outside of the jar
- Glitter, sequins, or confetti (optional and best used sparingly)
Nice-to-have tools
- Child-safe scissors
- Craft tweezers for placing tiny items
- Paint pens or glass markers
- Paper plate or tray to contain small pieces
Planning Your Fairy World Before You Start
Spending a few minutes planning together can turn a simple craft into a full storytelling experience. Ask children who lives inside their jar, what that character likes, and what kind of home it needs.
Encourage them to sketch a quick layout on scrap paper: where the light will sit, where the fairy might stand, and what details to include. This helps kids think in three dimensions and reduces frustration once the glue comes out.
Step-by-Step: Building the Light-Up Base
The light source is the heart of the fairy jar. This section describes two common ways to position it: attached to the lid or nestled in the base of the jar.
Option 1: Light attached to the lid
- Test the light first. Make sure the on/off switch works easily and the batteries are fresh.
- Disassemble the lid if needed. If your lid has two parts (a ring and a flat insert), fit them together securely.
- Mark the switch position. Hold the light inside the lid and note where your fingers need to reach to flip the switch.
- Glue the light to the underside of the lid. Use strong adhesive or hot glue, avoiding the switch and battery compartment.
- Let the glue set. Keep the lid resting upside down until everything is fully bonded and stable.
Option 2: Light resting in the jar
- Choose a stable light shape. LED tea lights and short LED coils work well.
- Add a shallow base layer first. Sprinkle a thin layer of pebbles or moss into the jar.
- Set the light on top. Make sure the switch remains visible and reachable.
- Anchor lightly if desired. Add a small dot of glue underneath to keep the light from shifting.
| Method | Best for | Pros | Possible drawbacks |
|---|---|---|---|
| Light glued to lid | Jars used as night lights or decor on shelves | Light spreads from top, interior stays tidy, decorations are easier to arrange underneath | Requires careful gluing and adults to change batteries |
| Light resting inside | Quick crafts, younger kids, party projects | No glue needed near electronics, simple to assemble and take apart | Light can shift, decorations may block the switch if overfilled |
Designing the Enchanted Landscape
Once the light is in place, kids can design the tiny landscape that surrounds their fairy or creature. Encourage them to think about where the fairy would sleep, what it might eat, and how it would move through the space.
Layering different textures—stones, moss, petals, and tiny sticks—adds depth and makes the jar more interesting to look at from all sides.
Creating the ground layer
- Cover the bottom of the jar with a thin bed of moss, stones, or sand.
- Press gently with a spoon or finger to create a relatively even surface.
- Leave a small open space if a figurine needs a flat spot to stand.
Adding fairy-friendly details
- Build a tiny path using flat pebbles or beads.
- Create a “log” from a short, smooth stick laid across the moss.
- Use a shell or bottle cap as a pretend pond, nest, or seat.
- Cluster small faux flowers in one corner to look like a miniature garden.
Including Fairies and Other Magical Creatures
The character inside the jar is often what kids remember most. It does not have to be a traditional winged fairy—any tiny figure can become the star of the scene.
If you do not have ready-made figurines, simple silhouettes cut from cardstock or shapes drawn on thick paper can stand in for fairies, animals, or even robots and astronauts.
Ways to include characters
- Stand a small figurine directly on the base and secure it with a dot of glue.
- Glue a paper fairy silhouette to a clear strip of plastic so it “floats” in the air.
- Use a tiny house or door as the main feature, letting kids imagine invisible fairies that come and go.
Decorating the Outside of the Jar
The outside of the jar acts like a frame for the scene inside. It can be left crystal clear, lightly frosted, or heavily decorated depending on the style you prefer.
Since young kids often enjoy embellishing, setting up a separate “decorating station” keeps the process organized and cuts down on mess.
Simple exterior ideas
- Wrap twine or ribbon around the rim and tie a bow.
- Glue a faux flower onto the lid as a whimsical topper.
- Use paint pens to draw stars, swirls, or tiny footprints on the glass.
Creating a soft, glowing look
- Lightly sponge white craft paint around the sides for a frosted effect, leaving some clear gaps.
- Add a subtle hint of glitter to the outside rather than dumping it loose inside the jar.
- For older kids, experiment with translucent glass paints to create colored “auras” around the light.
Theme Ideas Kids Will Love
One of the easiest ways to spark excitement is to assign each jar a theme. Themes help kids decide which colors, textures, and objects to use without feeling overwhelmed by choices.
Below are sample themes you can suggest. Encourage kids to combine ideas or invent their own.
- Woodland fairy home: Moss, tiny sticks, pinecones, and a small mushroom or acorn cap.
- Ocean glow jar: Sand, shells, blue glass pebbles, and a tiny mermaid or sea creature.
- Stargazer’s lantern: Dark stones, metallic confetti stars, and a tiny telescope or moon cutout.
- Garden party: Bright faux flowers, butterflies, and a miniature picnic layout.
- Winter wonder jar: White gravel, silver accents, and a small snow creature or evergreen tree.
Keeping Kids Safe While They Create
Although fairy jars are a gentle, low-risk project, some pieces—like hot glue and small decorations—need an adult’s attention. Planning clear roles ahead of time keeps everyone safe and calm.
Assign an adult or responsible teen to handle any high-heat tools and to monitor very small components that could pose a choking hazard for young children.
Safety tips to follow
- Reserve hot glue for adults and older teens; younger kids can use white glue or glue dots.
- Choose plastic jars instead of glass for toddlers or very energetic crafters.
- Avoid real candles—always use battery-powered lights inside enclosed jars.
- Keep tiny items (like beads or sequins) away from mouths and noses.
Using Fairy Jars After Craft Time
The best crafts live on after the project ends. Fairy jars can become part of a bedtime ritual, a story prompt, or even a calming object kids look at when they need a quiet moment.
Rotating jars by season or holiday keeps the magic fresh and gives kids an excuse to revisit the craft with new ideas.
Ways to enjoy finished jars
- Place a jar on a nightstand as a gentle, temporary night light.
- Use them as centerpieces for birthday tables, sleepovers, or tea parties.
- Incorporate them into story time by inventing tales about the fairy who “lives” in each jar.
Frequently Asked Questions About Fairy Jars
How long do the lights last?
Battery-operated tea lights and mini LEDs typically shine for several hours before dimming, and many are designed to last through multiple evenings of short use. When the light fades, you can simply replace the batteries or drop in a fresh light.
Can very young children make fairy jars?
Yes, but with adjustments. For toddlers and preschoolers, use plastic jars, skip tiny choking hazards, and pre-attach the light and any complex decorations so children only handle the safer, larger pieces.
How can I reduce mess from glitter and small pieces?
Try limiting glitter to a single tray or offering glitter glue instead of loose sparkles. Keeping all small decorations on one shared plate in the center of the table helps contain spills and makes cleanup easier.
Do jars have to include fairies?
Not at all. Kids often enjoy creating glowing habitats for dragons, dinosaurs, pets, or imaginary creatures just as much as traditional fairies. The core idea is to build a tiny illuminated world that feels magical to them.
How should we store fairy jars?
Store jars indoors, away from direct sunlight and extreme temperatures, to protect the glue and decorations. Turning lights off between uses extends battery life and keeps the jars ready for the next moment of magic.