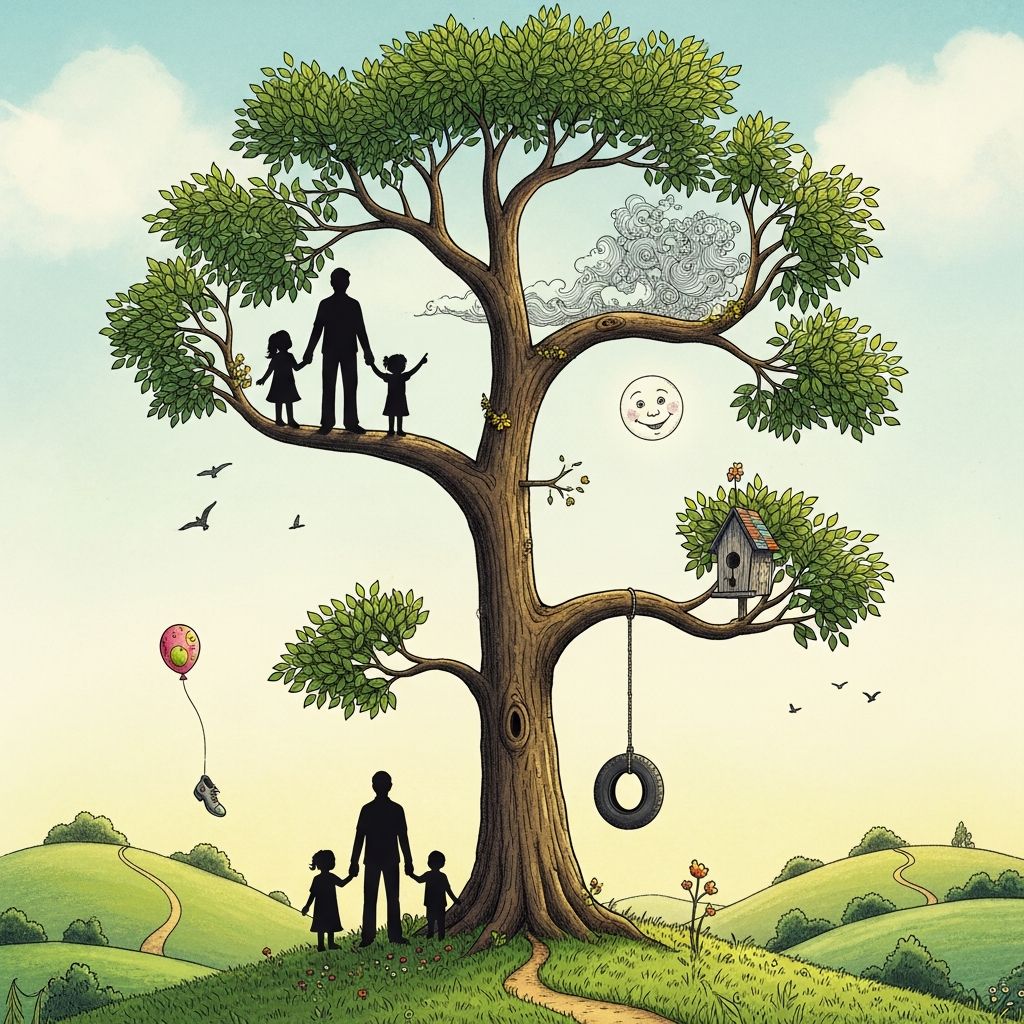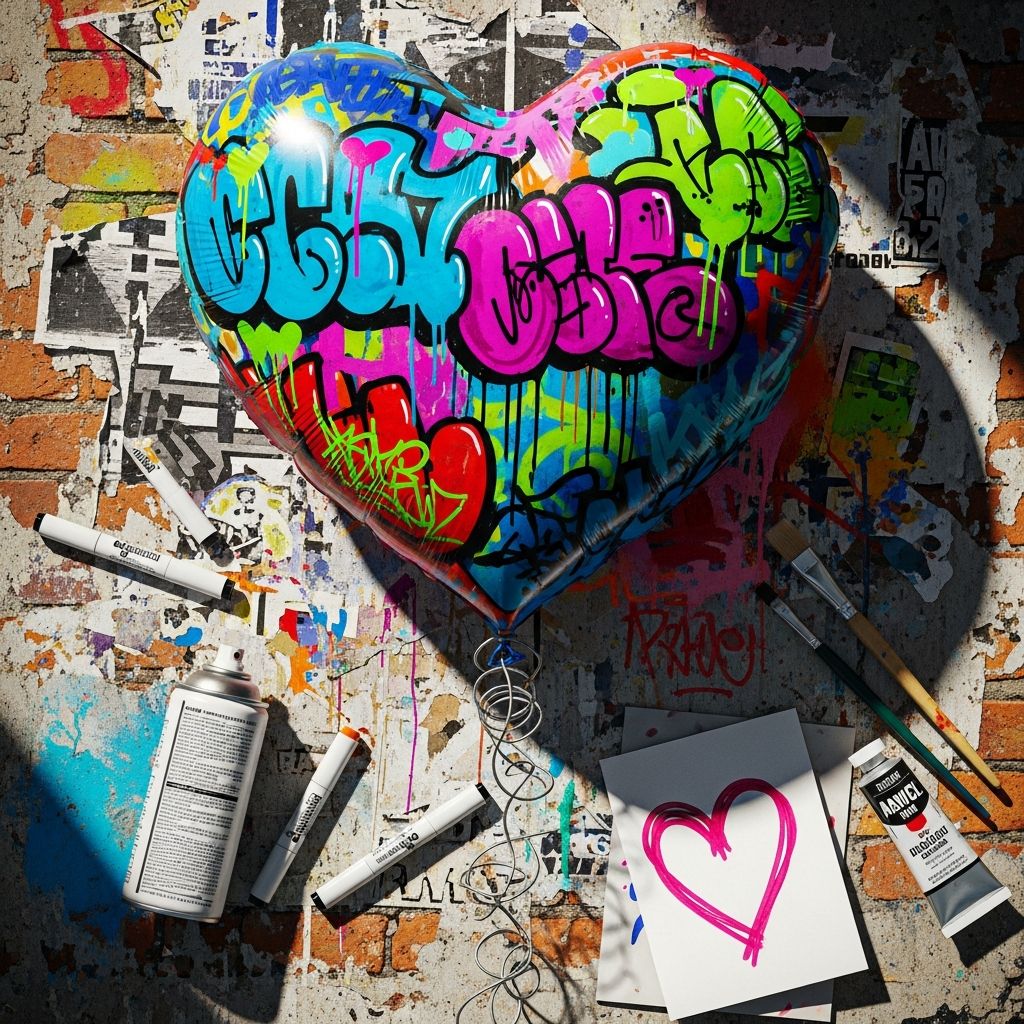
If store-bought Valentines all look the same, a heart balloon card with a bold street-art vibe is an easy way to stand out while still keeping the project simple enough for an afternoon craft session.
Why Try a Heart Balloon Valentine?
A floating heart balloon instantly suggests love, hope, and connection, making it a perfect symbol for Valentine’s Day. Unlike traditional lace-and-glitter cards, a graphic balloon design feels modern and slightly edgy, but still sweet enough for children, partners, or friends.
This project is designed so that you can adapt it for different ages: adults can lean into the street-art aesthetic, while kids can focus on bold shapes and bright colors. Because the core idea is based on silhouettes and simple shapes, you do not need to be able to draw realistically to get a striking result.
Materials and Tools You Will Need
You can make this project as basic or elaborate as you like. Start with the essentials, then add optional extras if you enjoy experimenting with textures and finishes.
- Blank cardstock or folded card (white, cream, or light gray work especially well)
- Colored paper or cardstock for the heart balloon (red is classic, but pink, gold, or even black are fun alternatives)
- Pencil and eraser
- Fine-tip black pen or marker
- Scissors or a craft knife and cutting mat
- Glue stick or double-sided tape
Optional extras add depth and polish:
- Watercolor or diluted acrylic paint for soft backgrounds
- Sponges, cotton pads, or a broad brush for blending color
- White gel pen or metallic markers for highlights
- Stencils for hearts, clouds, or bricks
- Masking tape or low-tack tape to hold stencils in place
Planning Your Card Layout
Before cutting or gluing anything, take a moment to sketch a quick thumbnail of your design on scrap paper. This simple planning step will help you decide where the heart balloon, the figure or hand, and the message will sit on the card.
Consider these layout options:
- Off-center balloon: Place the heart balloon high and slightly off to one side to create a sense of movement.
- Silhouette at the bottom: A small, simple silhouette or a reaching hand at the lower edge of the card grounds the image and tells a mini story.
- Vertical string: A thin line connecting the figure to the heart guides the eye upward and makes the card feel tall and airy.
Step-by-Step: Basic Heart Balloon Card
This version focuses on clean shapes and bold contrast. Once you master it, you can easily add backgrounds, patterns, or layers.
1. Prepare the Card Base
Fold your cardstock to the size you want, or start with a pre-folded blank card. If the paper is thin, you can glue a second layer inside to reinforce it, especially if you plan to use paint or a lot of glue.
Lightly draw a faint vertical guide line where you imagine the balloon string will sit. This helps you keep the main elements aligned even if you later erase the line.
2. Cut a Simple Heart Balloon
Fold a small piece of colored paper in half and draw half a heart along the fold so it opens symmetrically. Cut it out carefully and unfold to reveal a clean heart shape. If you are making several cards, use this first heart as a reusable template.
Trim the lower point of the heart slightly flatter than a regular heart so that it resembles a balloon with a tie. You can also glue a small strip of paper at the bottom as the balloon knot to make the shape more recognizable.
3. Add the Balloon String
Place the heart near the top third of your card and lightly trace a line down to where the hand or silhouette will be. Once you like the placement, draw the string permanently with a fine black pen.
For a more playful look, let the string wiggle slightly instead of running straight down. A few soft curves add the illusion of wind and make the whole composition feel more dynamic.
4. Create a Figure or Reaching Hand
You do not need an elaborate character; a suggestion of a person is enough. A small, solid silhouette or even just an outstretched hand tells the story. Draw a simple figure in pencil first, then fill it in with black pen or marker.
Helpful simplifications include:
- Use basic shapes: circles for heads, rectangles and triangles for clothing.
- Keep facial details minimal or skip them entirely for a graphic, anonymous look.
- Let the hand lightly touch or almost touch the string to create a feeling of reaching or releasing.
5. Glue Down the Heart Balloon
Once the figure and string are fully dry, attach the heart with glue or double-sided tape. For a subtle three-dimensional effect, place a small rolled piece of tape or foam adhesive behind the heart so it lifts slightly from the card surface.
Angle the heart gently, as if it is drifting upward. Even a small tilt helps convey movement, especially when paired with a slightly wavy string.
Adding Urban Flair: Backgrounds and Textures
The charm of a street-art inspired Valentine lies in the contrast between rough, imperfect surfaces and the soft symbolism of a heart. You can hint at a wall, sky, or cityscape with a few simple techniques.
- Faux wall effect: Lightly sponge gray or beige paint on the card before adding your main design. When it dries, use a fine pen and ruler to sketch faint “brick” lines for an instant urban backdrop.
- Soft sky wash: Use diluted blue or pink watercolor to create a faded sky behind the balloon. Keep the color light so your central shapes still stand out.
- Splatter & speckle: Flick slightly watered-down paint from a brush onto the card for a graffiti-like speckled texture. Cover the heart area while doing this if you want to keep it clean.
Creative Variations for Different Recipients
Once you master the basic heart balloon design, you can adapt it for anyone on your Valentine list by changing colors, messages, and small details. The key is to keep the balloon motif while adjusting the mood.
| Recipient | Color Palette Ideas | Design Twist |
|---|---|---|
| Young kids | Bright reds, bubblegum pinks, sunny yellows | Replace the silhouette with a cartoon-style child or animal holding the string. |
| Partner | Deep reds, burgundy, metallic gold or silver | Add a second, smaller balloon or a tiny heart trail along the string. |
| Friend | Coral, teal, white, and black accents | Use a hand making a peace sign or high-five instead of a romantic pose. |
| Family member | Soft pastels mixed with gray or kraft brown | Include a small banner under the balloon with a word like “family,” “home,” or “thanks.” |
Wording Ideas That Pair with a Heart Balloon
The visual story of a heart balloon—drifting away, being released, or hovering just out of reach—can inspire short, memorable phrases. Keep the wording brief so it does not compete with the art.
- “You lift me up.”
- “Love is in the air.”
- “My heart finds you.”
- “Hold on to my heart.”
- “Wherever you go, my heart follows.”
Write your chosen phrase either under the illustration or along the balloon string in small lettering. For a bold graphic effect, you can also hand-letter a single word like “Love,” “Hope,” or “Forever” in large letters overlapping part of the image.
Kid-Friendly Shortcuts and Classroom Tips
If you are crafting with a group of children or need a quicker version, simplify the design while keeping the overall idea of a rising heart. You can pre-cut shapes or provide stencils to make the process easier and safer.
- Pre-cut hearts in multiple colors and let kids choose their favorite combination.
- Use stickers or foam shapes instead of drawn silhouettes for very young children.
- Have kids draw only a line and a hand at the bottom of the card, skipping the full figure.
- Offer washable markers and water-based paints to avoid difficult clean-up.
To manage time in a classroom, divide the project into stations: one table for heart cutting, one for background color, and one for adding strings and hands. This keeps kids moving and minimizes long waits for shared supplies.
Making Multiple Cards Efficiently
If you need many Valentines—for a class, office, or group of friends—batching your steps is the most efficient approach. Decide on a single color palette and layout, then repeat each stage across all cards before moving on.
- Cut all card bases at once.
- Trace and cut a stack of hearts using a single template.
- Draw or stamp all balloon strings in one sitting.
- Finish by gluing hearts and adding the short message to each card.
Small variations keep the process from feeling repetitive. Try alternating heart colors, flipping the layout horizontally for every other card, or changing the wording slightly while staying within the same theme.
Finishing Touches That Make the Card Pop
Once the main design is complete, tiny details can turn a simple card into something frame-worthy. Focus on contrast, texture, and light to give your heart balloon extra presence.
- Add a thin white highlight along one edge of the heart with a gel pen to mimic shiny balloon reflections.
- Outline the heart and figure with a very subtle shadow color to make them stand out from the background.
- Glue one or two sequins or tiny paper confetti pieces near the balloon for a celebratory feel.
- Lightly ink the edges of the card for a slightly weathered, street-art inspired frame.
Frequently Asked Questions
How can I get crisp shapes if I am not good at drawing?
Print or trace simple heart and figure outlines from basic clip-art silhouettes onto thicker paper, then cut them out to create reusable templates. You can hold these templates down and trace around them on your card or lightly sponge paint over them to create soft-edged shapes that still look deliberate and clean.
What if my paint buckles the paper?
Use heavier cardstock, keep the paint fairly diluted, and apply it in thin layers rather than saturating the surface. If the card does warp slightly, press it under a heavy book with clean paper on both sides once it is completely dry to help it flatten.
Can I make this design without any paint at all?
Yes. You can achieve a similar effect using only colored paper, pens, and markers. Layer a light-colored rectangle as a “wall,” add your figure and heart balloon on top, and draw simple shading and outlines with colored pencils or fineliners to give the piece depth.
How do I protect the card if I add a lot of layers and details?
Allow every medium to dry fully, then store the card in an envelope or between two sheets of paper until you are ready to give it. You can also very lightly mist a fixative designed for paper crafts, but test it on a scrap first to be sure it does not smear your inks or markers.
Can this idea work for occasions other than Valentine’s Day?
Absolutely. A heart balloon can symbolize encouragement, friendship, or congratulations, not just romance. Change the colors and caption—for example, “You’ve got this” or “So proud of you”—and you have a thoughtful card for graduations, new jobs, or just-because notes.
Sharing Your Handmade Street-Art Valentine
Once your card is finished, consider photographing it before you give it away so you have a record of your design. You can use that photo as reference if you want to create a digital version later or repeat the concept with different colors.
Whether you keep the card minimal or load it with details, the combination of a simple heart balloon and a small figure creates a striking, emotional image. The time and thought you invest will be immediately visible to whoever receives it, making this handmade Valentine far more meaningful than anything pulled from a shelf.