Forget the Sewing Machine: Halloween Costume Solutions for Busy Families
Halloween represents one of the most anticipated celebrations for children, offering an opportunity to embody favorite characters and express creativity through costume design. However, many parents hesitate to tackle costume creation, assuming advanced sewing expertise is necessary. The reality is quite different. Modern crafting techniques and readily available materials make it entirely possible to construct impressive, wearable costumes without ever threading a needle or turning on a sewing machine. This approach opens costume creation to families of all skill levels while saving both time and money during the pre-Halloween rush.
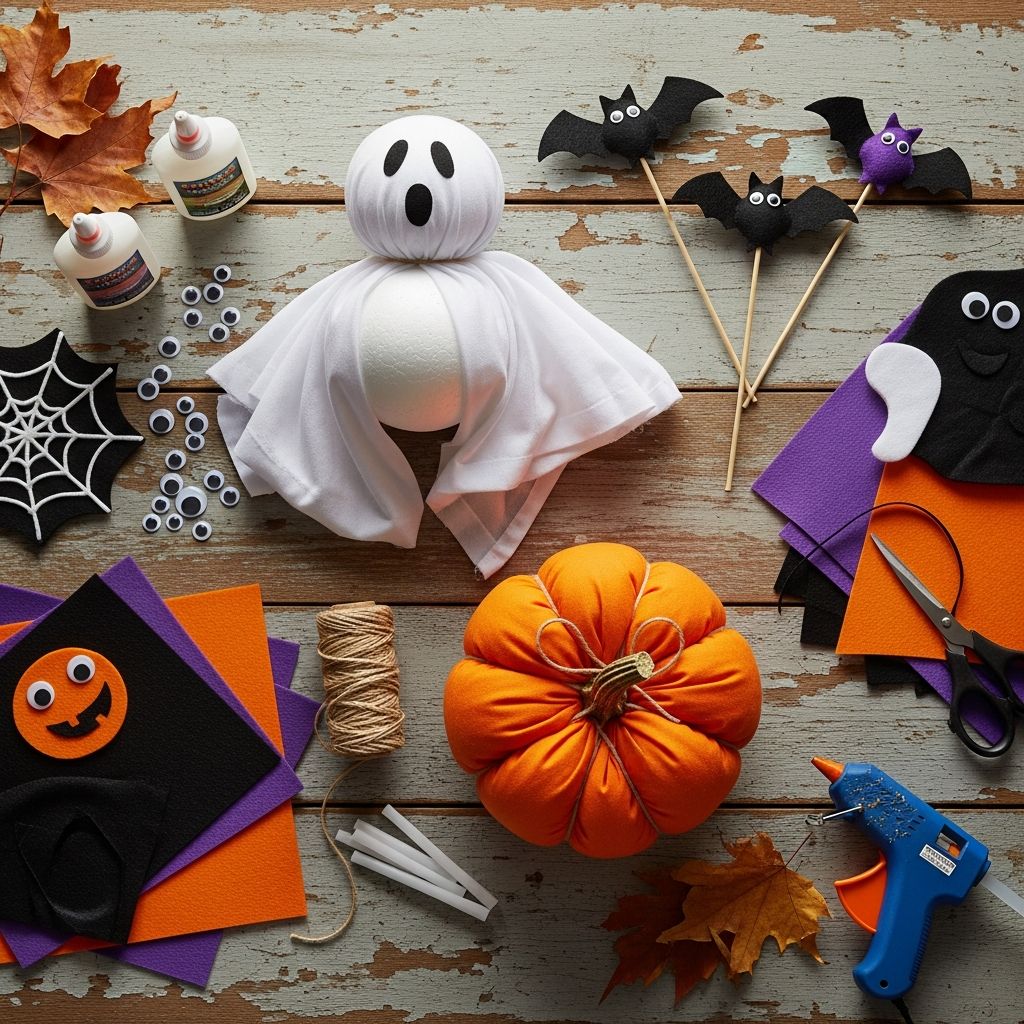
The beauty of no-sew costume construction lies in its accessibility and flexibility. Whether you have weeks to prepare or just days before October 31st, these methods accommodate last-minute creativity. Additionally, most materials can be sourced from local craft stores, home improvement centers, or items already residing in your household craft closet. The techniques discussed here require only basic supplies like fabric glue, felt sheets, scissors, safety pins, and common household items transformed into costume components.
Essential Materials and Tools for Adhesive-Based Construction
Successful no-sew costume creation depends on having the right materials readily available. Understanding what each supply offers helps you make informed decisions about which techniques suit your vision.
- Fabric Glue: This specialized adhesive bonds fabric pieces permanently while remaining flexible after drying. Unlike general-purpose glue, fabric glue won’t crack or become brittle when the costume moves and stretches.
- Felt Sheets: Inexpensive and versatile, felt comes in numerous colors and requires no edge finishing. Cut shapes hold their form without fraying, making felt ideal for accessories, decorative elements, and costume details.
- Safety Pins: These traditional fasteners secure layers temporarily, allowing adjustments before permanent attachment. They work particularly well for wrapping techniques and holding gathered fabrics.
- Headbands and Hair Accessories: Elastic headbands provide a foundation for antennae, horns, crowns, and other headpiece elements without requiring any attachment to hair.
- Fabric Scissors: Clean, sharp cutting tools create precise shapes and smooth edges on felt and other craft materials.
- Aluminum Foil and Metallic Paint: These materials add shine and dimension to robot costumes, alien outfits, and futuristic designs.
- Cotton Balls and Pom-Poms: Fluffy materials create texture and depth, perfect for animal costumes, clouds, and fuzzy details.
- Pipe Cleaners: Flexible and easy to shape, pipe cleaners become antennae, whiskers, and other springy costume accents.
Transformation Techniques Beyond Traditional Sewing
Several proven methods accomplish what sewing would traditionally do, each offering distinct advantages depending on your project requirements.
Fabric Glue Adhesion Method
Fabric glue represents the primary adhesive technique for no-sew costume construction. This method works best for attaching felt shapes, fabric patches, and decorative elements to base garments. Apply glue along the edges of your design piece, press firmly against the base fabric, and allow appropriate drying time—typically 24 hours for maximum strength. For costumes needed immediately, quick-dry fabric glue options reduce waiting periods. This technique creates permanent attachments suitable for costumes worn multiple times.
Safety Pin Securing Method
Safety pins offer temporary or semi-permanent fastening without adhesive. This method proves valuable when you want flexibility or plan to adjust costume components. Pin layers of fabric together, secure feather boas around garments, or attach large decorative elements. Safety pins remain visible unless hidden under overlapping fabric, making them most practical for wrapping and layering techniques.
Layering and Wrapping Approach
Some costumes rely on layering base pieces with decorative wraps rather than attachment. White bed sheets torn into strips, wrapped loosely around long-sleeved shirts and pants, create classic mummy costumes secured with safety pins. Feather boas wrapped around yellow or white base outfits instantly transform into chicken costumes. This method requires minimal materials and works well for costumes that don’t need permanent assembly.
Creature and Character Costume Ideas
The following costume concepts demonstrate how no-sew techniques bring imaginative characters to life using minimal materials and effort.
Woodland and Farm Animals
Animal costumes offer perfect entry points for no-sew construction. Create a chicken costume by starting with a plain yellow or white t-shirt and leggings, then wrapping a fluffy feather boa around the body secured with safety pins or fabric glue. Add yellow or orange socks as chicken feet and craft a red felt comb attached to a headband for authenticity. For a butterfly design, cut large colorful felt wings, attach them to a stretchy headband or use hair ties as arm loops, and add pipe cleaner antennae. A ladybug costume begins with red tops and black bottoms, then adds large felt circles with black spots as wings, completed with pipe cleaner antennae on a headband.
Mythical and Magical Characters
Fantasy-themed costumes capture children’s imaginations while remaining manageable craft projects. A unicorn outfit builds on a rainbow base—start with neutral colored clothing and attach felt or fabric pieces in rainbow arc order using fabric glue. Create a spiraled horn from rolled and glued felt, attach it to a headband, and consider adding a mane made from yarn or ribbon. For a princess aesthetic, simple robes made from bed sheets (fastened with fabric tape rather than sewing) paired with cardboard crowns painted gold or silver capture royal charm. An Elsa-inspired cape uses fabric tape to attach felt to a base outfit, eliminating any sewing requirement while achieving iconic Disney character recognition.
Spooky and Supernatural Costumes
Halloween’s traditional creepy characters work particularly well with no-sew methods. Mummy costumes tear white bed sheets or gauze rolls into strips, then wrap them loosely around long-sleeved white shirts and pants using safety pins or minimal fabric glue. Leave some strips dangling for dramatic effect. Ghost costumes, the ultimate no-sew option, require only a white pillowcase or sheet with eye holes carefully cut out. A fuzzy monster costume uses a colorful hoodie and leggings as the base, with vibrant faux fur patches attached using fabric glue to create a wild appearance. Googly eyes or felt monster eyes glued to the hood add personality, while felt horns attached to a headband complete the playful monster look.
Creative Costume Construction Using Household Items
Innovative costume concepts transform unexpected materials into impressive wearable art.
Box-Based Costumes
Cardboard boxes provide structural foundations for several costume types. A robot costume emerges from painting a large box silver or metallic, cutting out armholes and eyeholes, then decorating with aluminum foil, bottle caps, and old wires. LEGO brick costumes paint boxes in solid colors with painted plastic cups or smaller boxes glued on as studs. A race car costume involves painting a box favorite colors, adding paper plate wheels and numbers, then pairing with a helmet and goggles. These box-based designs offer impressive visual impact while requiring minimal sewing or advanced construction skills.
Upcycled Material Costumes
Environmental consciousness meets costume creativity through upcycling household items. Scuba diver costumes use empty soda bottles and craft paint to create convincing tanks, paired with discounted snorkels and masks. A firefighter costume utilizes rolls of colored duct tape wrapped around a regular jacket or raincoat, transforming ordinary outerwear into emergency responder gear. This approach proves particularly practical in regions expecting chilly Halloween weather, since the base jacket provides warmth while the duct tape adds character.
Paint and Embellishment Techniques
Fabric paint and styrofoam embellishment create dimensional, eye-catching costumes. A retro candy button costume involves painting styrofoam balls in bright colors, then gluing them to a plain t-shirt and skirt to recreate vintage candy aesthetics. Rainbow costumes paint arcs of color onto white fabric poncho bases using fabric paint, then add cotton ball clouds and sparkly sun headbands for finishing touches. These paint-based techniques work on base clothing items, allowing customization without structural modifications.
Color and Material Selection Strategies
Successful costume design begins with thoughtful choices about base colors and material textures that establish costume character.
| Costume Type | Base Color/Material | Primary Accent Materials | Key Accessories |
|---|---|---|---|
| Strawberry | Red t-shirt | Yellow felt triangles (seeds), green felt leaves | Green leggings, leaf-decorated headband |
| Rainbow | White fabric poncho | Paint, cotton balls, sparkly materials | Sun headband, bright leggings |
| Chicken | Yellow/white outfit | Feather boa, red felt comb | Orange/yellow socks, decorated headband |
| Monster (Fuzzy) | Colorful hoodie and leggings | Faux fur patches, googly eyes | Felt horns on headband |
Assembly Process and Timeline Considerations
Understanding the assembly sequence ensures costumes reach completion without rushed mistakes or forgotten elements.
Start by gathering all materials and laying them out before beginning construction. This preparation phase prevents mid-project searches for missing supplies. Next, complete any painting or dyeing required, allowing full drying time—typically 2-4 hours depending on paint type and environmental humidity. While paint dries, construct accessories like headpieces and wings that don’t require base garment attachment.
Once paint dries completely, begin attaching major decorative elements using fabric glue. Apply adhesive in thin, even lines rather than heavy globs that create messy overflow. Press pieces firmly for 30-60 seconds before moving to the next element. For costumes requiring multiple glued components, allow 1-2 hours drying time between major sections. Finally, add smaller details and adjustments once the main structure is secured.
For costumes needed within days, select designs requiring minimal drying time. Box-based costumes and wrapping techniques reach completion within hours. Paint-based designs may require overnight drying depending on paint quantity and type. Planning backwards from Halloween ensures adequate assembly and drying time.
Customization and Individual Expression
The greatest advantage of DIY costume construction lies in unlimited customization possibilities. Rather than accepting store-bought limitations, families personalize designs to reflect their child’s unique interests and preferences. A basic butterfly costume becomes family-specific through color selection—maybe your child prefers deep purple with silver accents over traditional pastels. A robot costume takes on personality through chosen decorative elements—vintage buttons, gears, or lights create distinctly different robot characters from the same basic box foundation.
Children gain confidence through participating in costume creation at age-appropriate levels. Young children enjoy gluing cotton balls or pom-poms onto felt shapes, while older kids design complete costumes and manage more complex assembly. This participatory approach transforms costume creation from parental task into meaningful family bonding activity.
Budget Optimization and Material Sourcing
No-sew costume construction offers significant financial advantages compared to purchasing ready-made alternatives. Most materials cost between $10-30 per costume, with significant savings possible through strategic material selection. Check home supply sections before specialized craft stores, as items like colored duct tape, foam padding, and painting supplies often cost less. Thrift stores yield excellent base garments—oversized button-up shirts become superhero capes, while colorful sweaters provide perfect costume foundations.
Plan costume purchases strategically around store sales and clearance events. Many craft stores discount seasonal items aggressively post-Halloween, meaning next year’s costume supplies become available at fraction-of-regular prices. Building a craft supply stockpile throughout the year eliminates last-minute premium pricing.
Common Questions About No-Sew Costume Construction
Q: How long does fabric glue take to dry completely?
A: Most fabric glues reach initial set within 1-2 hours but require 24 hours for maximum strength. Quick-dry formulas reduce this to 4-8 hours. Allow full curing time before wearing costumes to prevent premature separation.
Q: Can no-sew costumes withstand multiple wearings?
A: Yes, properly constructed no-sew costumes last through multiple Halloween events and celebrations. Fabric glue creates permanent bonds comparable to sewn seams. Proper storage between wearings—rolled rather than folded to prevent crease-related stress—extends costume lifespan.
Q: What if my child’s costume needs adjustments after initial construction?
A: Strategic use of safety pins for major components allows easy adjustments. If glued elements require repositioning, carefully heat-gun the glued seam to soften adhesive, gently peel apart, and reattach in the corrected position. This process works best within several days of initial construction.
Q: Are there allergy concerns with craft materials used in costume construction?
A: Most commercial craft supplies meet safety standards, but children with sensitive skin may react to certain glues or materials. Test products on small skin areas before full costume application. Consider hypoallergenic fabric glue alternatives if sensitivities exist.
Q: How should I store completed no-sew costumes?
A: Store costumes in clean, dry environments away from direct sunlight to prevent color fading. Roll rather than fold to prevent permanent creases. Use garment bags or plastic storage containers to protect from dust and moisture.
References
- Easy, No-Sew, DIY Halloween Costumes for Kids — The Fashion Class. 2024. https://manhattan.thefashionclass.com/blogs/news/easy-no-sew-diy-halloween-costumes-for-kids
- Top 12 DIY No-Sew Halloween Costume Ideas — Make It & Love It. 2024. https://makeit-loveit.com/diy-no-sew-halloween-costumes
- Easy No-Sew DIY Halloween Costumes for Kids — Carrie Elle. 2024. https://www.carrieelle.com/easy-no-sew-diy-halloween-costumes-for-kids/
- No-Sew Wonders: DIY Homemade Halloween Costumes for Creative Kids — Little Lions Fitness. 2024. https://littlelionsfitness.com/no-sew-wonders-diy-homemade-halloween-costumes-for-creative-kids-happy-parents/
- Our Favorite No-Sew Halloween Costume Ideas for Kids and Toddlers — Lone Cone. 2024. https://www.lonecone.com/blogs/blog/our-favorite-no-sew-halloween-costume-ideas-for-kids-and-toddlers