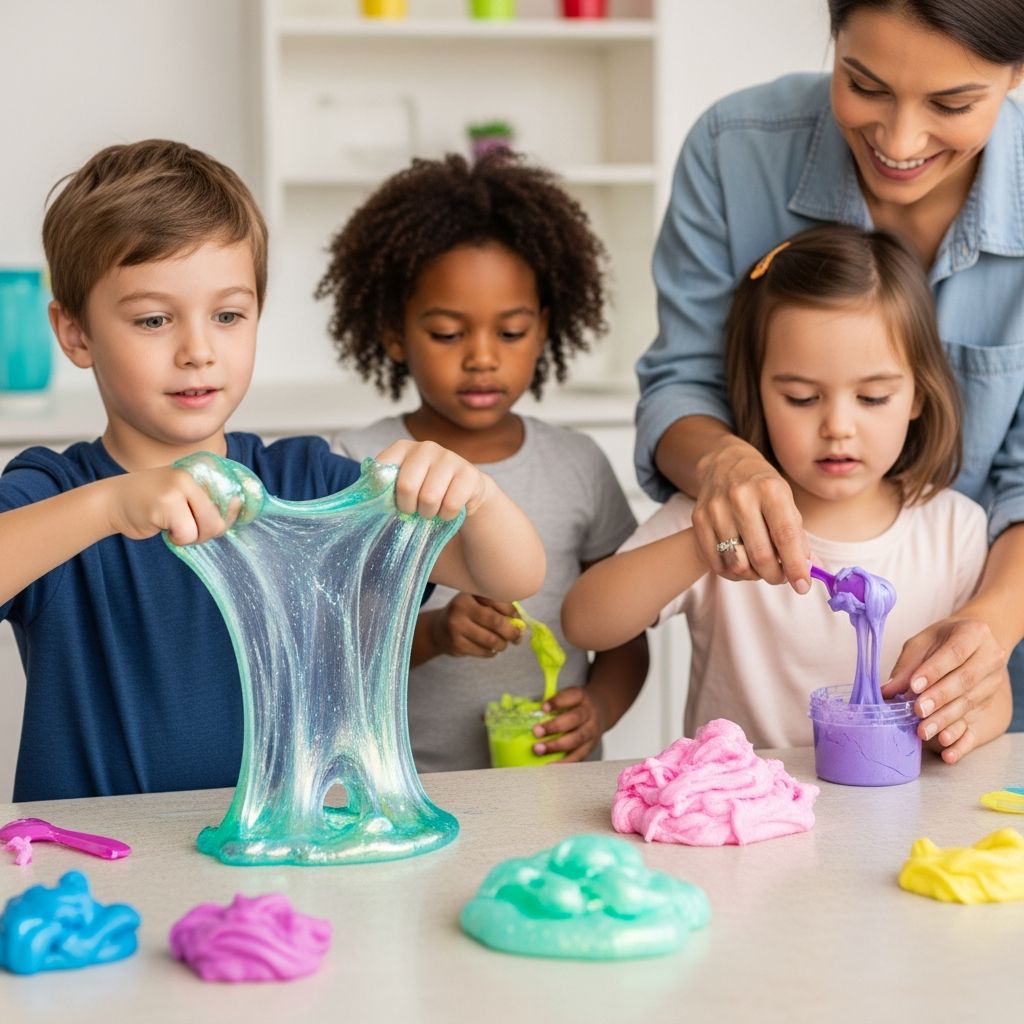
Slime is one of those rare kids’ activities that blends science, creativity, and pure sensory fun in a way that can entertain children for a surprisingly long time. It stretches, squishes, and oozes, and when made thoughtfully, it can become a low-cost staple of your rainy-day or after-school activity toolkit.
Why Slime Is Worth the Mess
At first glance, slime looks like nothing more than a sticky mess. Look closer, and it becomes a playful introduction to chemistry, fine-motor practice, and sensory regulation. Kids can experiment with texture, stretch, and color, while adults can sneak in lessons about measurement, cause and effect, and even responsibility during cleanup.
- It encourages hands-on exploration, which supports problem solving and creativity.
- It can be calming for many children who enjoy repetitive, tactile play.
- It offers an easy opportunity for kids to help measure, pour, and stir ingredients.
Essential Slime-Making Ingredients
Most kid-friendly slime recipes follow a similar pattern: a base, an activator, and optional add-ins. Once you understand these categories, you can customize your slime in countless ways without needing a new recipe every time.
Common Slime Bases
The base provides the bulk of your slime and determines much of the texture. For most families, white school glue is the easiest starting point, but alternatives exist for different needs and preferences.
- White school glue: Produces opaque, stretchy slime that accepts color and glitter well.
- Clear glue: Creates glass-like slime that works beautifully with sparkles and confetti.
- Cornstarch or similar starches: Used in some recipes for thicker, dough-like slime.
Slime Activators
Activators are the ingredients that change your runny base into stretchy slime by linking the glue molecules together. Different activators create slightly different textures, so you can experiment to find your family’s favorite feel.
- Buffered contact lens solution (with boric acid): A popular option paired with baking soda.
- Borax solution: Common in classic slime tutorials; always use with careful supervision.
- Baking soda combinations: Often used to adjust thickness and help the activator work.
Fun Add-Ins and Enhancers
Once you have a solid base and activator, the fun comes from customizing color, scent, and texture. This is where kids’ personalities can really shine through.
- Food coloring or washable liquid watercolors for bright or pastel shades.
- Glitter, sequins, or confetti for sparkle and visual interest.
- Foam beads, fake snow, or small plastic charms for extra texture.
- Kid-safe scents (like vanilla or citrus) for a light fragrance.
Basic Slime Recipe: A Parent-Friendly Overview
There are countless slime recipes, but many of them boil down to a few simple steps. The following overview describes the general flow rather than a strict formula so you can adapt it to what you have at home.
General Step-by-Step Method
- Prepare your workspace. Cover the table with a plastic tablecloth or tray, and have paper towels or wipes nearby.
- Add your base to a bowl. Pour in your glue or other main ingredient into a mixing bowl.
- Mix in color and extras. Stir in food coloring, glitter, or other add-ins until evenly distributed.
- Introduce the activator slowly. Add a small amount of activator, stirring constantly. Gradually increase until the mixture starts pulling away from the sides of the bowl.
- Knead by hand. Once it becomes difficult to stir, switch to kneading with your hands to fully incorporate the activator.
- Adjust the texture. If the slime is too sticky, add a tiny bit more activator. If it feels rubbery, gently work in a small amount of extra base.
Texture Tweaks and Quick Fixes
Slime is very forgiving once you know how to fine-tune it. Slightly off textures are usually easy to correct with just a bit more of one ingredient.
- Too sticky: Work in a tiny bit more activator and continue kneading.
- Too stiff: Add a small amount of glue or a few drops of warm water.
- Too runny: Let the slime rest for a few minutes, then knead in more activator or baking soda.
Safety, Supervision, and Age Guidelines
Slime can be safe and enjoyable when made thoughtfully, but like any hands-on project, it comes with responsibilities. A little planning goes a long way toward ensuring a smooth experience for both kids and adults.
- Adult supervision is essential. An engaged adult should handle measuring, read labels, and monitor the activity.
- Check for sensitivities. Kids with sensitive skin may benefit from gloves or shorter play sessions.
- Teach clear rules. Make it a household rule that slime never goes in mouths, near eyes, or on soft furnishings.
Choosing Kid-Friendly Ingredients
Always read product labels, especially for activators. Household items that contain borate compounds are widely used in slime, but they still require respectful handling and storage out of reach of younger siblings.
- Use products as directed on their packaging and avoid improvising with untested chemicals.
- Have kids wash their hands after slime play and before snacks or meals.
- Store all ingredients and finished slime away from pets and children who might be tempted to taste it.
Setting Up a Slime-Friendly Workspace
A little preparation turns slime time from a dreaded mess into a manageable, repeatable activity. Think of your setup as a mini art studio designed specifically for goopy projects.
- Use a washable or disposable table covering to protect your surface.
- Give each child a shallow tray or baking sheet as a personal slime zone.
- Keep a small garbage bag or bin nearby for used paper towels and packaging.
Suggested Slime Station Checklist
| Item | Purpose | Tips |
|---|---|---|
| Plastic bowls and spoons | Mixing slime ingredients | Choose sturdy, reusable pieces reserved for crafts. |
| Table covering or trays | Protecting the workspace | Use a cheap plastic tablecloth or large garbage bag. |
| Paper towels or wipes | Quick cleanup | Have extra on hand for spills and sticky fingers. |
| Aprons or old T-shirts | Protecting clothing | Designate specific “slime shirts” for repeat use. |
| Airtight containers | Storing finished slime | Small food storage tubs or jars work well. |
Creative Slime Variations to Try
Once your family feels comfortable with a basic slime, you can experiment with a few themed variations. Each one focuses on a different sensory experience, whether that is sight, sound, or touch.
Glitter and Galaxy Slime
Glittery slime is all about sparkle and color blending. By combining several shades of glitter and deep hues of food coloring, kids can create swirling, space-inspired creations that look like mini galaxies in their hands.
- Start with clear glue for a transparent, jewel-like effect.
- Use a small amount of dark blue or purple coloring for a night-sky base.
- Add a mix of fine and chunky glitter for star-like shimmer.
Fluffy, Cloud-Like Slime
Fluffy slime incorporates air into the mixture, leading to a lighter, marshmallow-like feel. This version often stretches more dramatically and makes satisfying squishing sounds during play.
- Use a gentle, unscented foaming ingredient if desired for extra volume.
- Add color in small increments to maintain a pastel, cloud-like look.
- Expect a shorter lifespan; fluffy textures tend to deflate over time.
Crunchy or Beaded Slime
Adding small, lightweight objects to slime turns it into a multi-textured sensory material. As kids squeeze and stretch the slime, they feel and hear the beads moving inside.
- Foam beads, plastic confetti, or tiny charms work well for texture.
- Avoid anything sharp or heavy that could poke or tear the slime.
- Introduce new add-ins gradually so you do not overwhelm the base.
Fun Ways Kids Can Play with Slime
Simply squishing and stretching is often enough to make kids happy, but you can gently steer slime time toward learning and creativity with a few easy prompts.
- Shape challenges: Ask children to form letters, numbers, or simple shapes with their slime.
- Stretch experiments: Have kids test how far they can stretch a strand before it breaks.
- Imprint play: Press small toys or household items into slime and have kids identify the resulting impressions.
Turning Slime into a Mini Science Lesson
Because slime is a physical representation of chemical changes, it is a natural springboard into kid-level science discussions. You do not need formal experiments; a few open-ended questions can be enough.
- Ask what changed when the activator was added and why the mixture no longer behaves like plain liquid glue.
- Encourage kids to notice how temperature, amount of activator, or add-ins affect stretchiness.
- Invite older children to keep a simple notebook of their slime “formulas” and observations.
Storage, Longevity, and When to Say Goodbye
Proper storage can extend the life of your slime, but even the best batch will not last forever. Treat slime as a consumable craft material rather than a permanent toy.
- Store slime in a sealed container or resealable bag to slow drying.
- Keep it in a cool, dry place away from direct sunlight and heat.
- Label containers if you have multiple types to avoid confusion.
Signs It Is Time to Toss the Slime
Part of teaching responsibility is knowing when an activity supply has reached the end of its life. Help kids recognize these signs and be part of the decision to discard and clean up.
- Visible dirt, fuzz, or other debris embedded in the slime.
- A strong or unpleasant odor, or a noticeable change in color that you did not add on purpose.
- Cracking, crumbling, or extreme stickiness that is no longer fixable.
Smart Cleanup Strategies
Cleanup is usually the least popular part of slime time, but it does not have to be a battle. By planning your space and setting expectations from the beginning, you can keep this part efficient and even invite kids to help.
- Scrape excess slime into the trash rather than rinsing large blobs down the drain.
- Use warm, soapy water for bowls and spoons once most slime is removed.
- Have kids help wipe down tables and put tools back in a designated slime bin.
Rescuing Clothing and Surfaces
Despite your best efforts, slime may still land on clothes, rugs, or hair. Acting quickly and staying calm usually leads to better outcomes than panicking or scrubbing aggressively.
- Gently peel away as much slime as possible from fabric before treating.
- Soak or spot-treat garments in cool water with laundry detergent before washing.
- For hard surfaces, allow thin smears to dry slightly, then scrape them up rather than spreading them around with water.
Frequently Asked Questions About Slime
Is slime safe for toddlers?
Slime is not recommended for children who still explore by putting things in their mouths, as it is meant for hands-only play. Very young children can participate by watching older siblings, helping with simple steps like pouring water, or exploring safer alternatives such as edible, taste-safe sensory materials prepared specifically for them.
How long does homemade slime typically last?
With careful storage in an airtight container, many simple slime recipes stay workable for about a week or two. Over time, exposure to air and frequent handling will cause it to dry out or change texture, so treat each batch as a temporary project rather than a long-term toy.
Can slime go down the drain?
It is best to keep slime out of sinks and drains. Throw leftover slime and large scraps into the garbage instead, then wash bowls and utensils only after the majority of the material has been scraped away.
What if my child has sensitive skin?
Kids with easily irritated skin may still enjoy slime with some accommodations. Offer short play sessions, encourage hand washing afterward, and consider gloves or alternative recipes that use simpler ingredients and fewer additives.
How do I keep slime from taking over the house?
Create clear boundaries before you start, such as a single table or mat where slime is allowed and a rule that it does not leave that area. Storing supplies together in a labeled bin also helps kids recognize that slime time has a beginning, middle, and end, which makes it easier to contain and repeat without stress.
Bringing It All Together
Homemade slime does not have to be intimidating or overwhelmingly messy. With a small collection of basic supplies, clear rules, and a bit of practice, families can turn this gooey trend into a reliable, affordable activity that supports creativity, science learning, and sensory play at home.