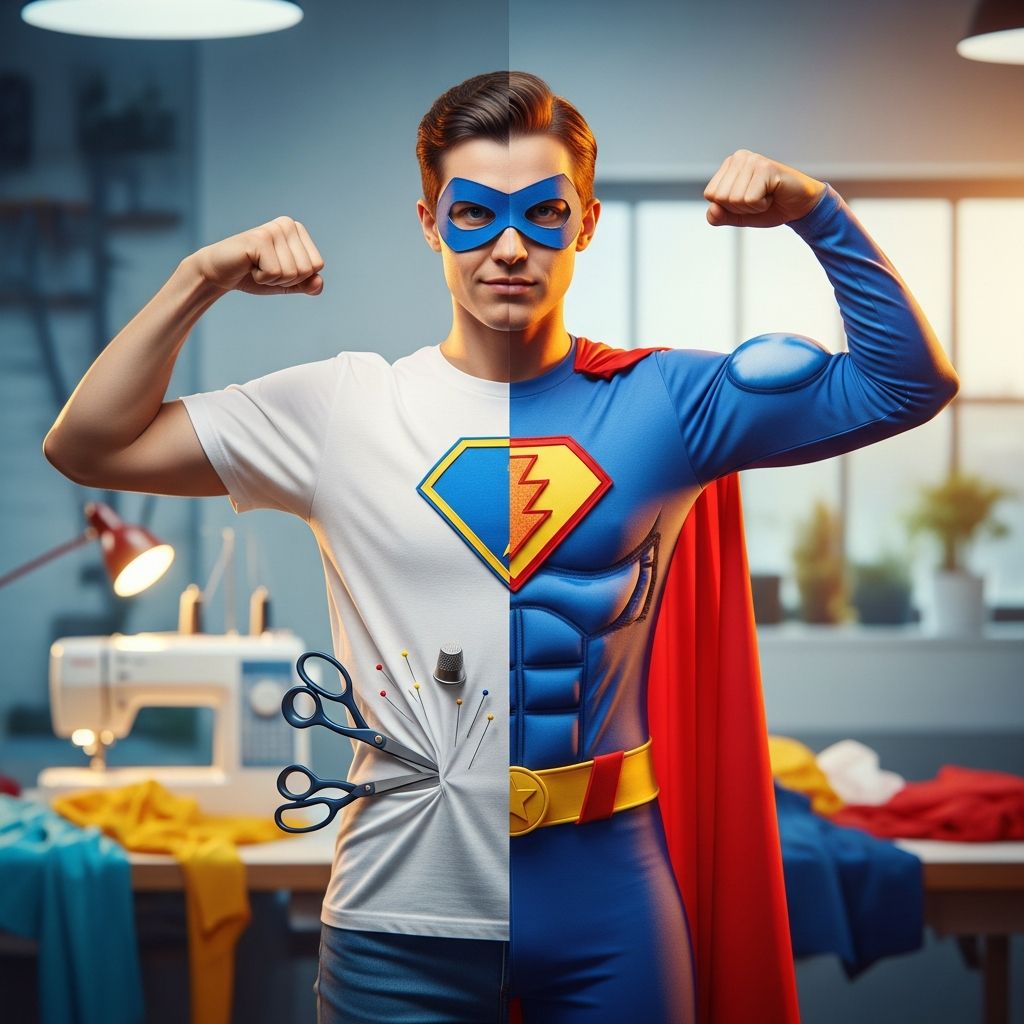
Transforming a plain T-shirt into a bold superhero costume is an easy, affordable way to dress up for Halloween, theme parties, school events, or comic conventions. Instead of buying a one-time-use costume, you can create a comfortable, reusable Wonder Woman–inspired shirt that showcases your creativity and personal style.
This guide walks through everything from planning your design to painting the emblem and adding simple accessories. No advanced crafting skills are required, and you can adapt each step for kids, teens, or adults.
Why Choose a T-Shirt Costume?
A T-shirt costume focuses on comfort and practicality while still delivering that unmistakable superhero look. Unlike stiff store-bought outfits, a customized shirt moves with you, layers easily over leggings or jeans, and can often be worn again as casual fan apparel.
- Budget-friendly: Most supplies are inexpensive and easy to find at craft or discount stores.
- Custom fit: Choose a shirt style and size that feels good on your body, from fitted to oversized.
- Beginner-friendly: Painting or applying a logo is much simpler than sewing a full costume.
- Flexible style: Pair the shirt with pieces you already own, like skirts, shorts, or leggings.
Planning Your Superhero Look
Before opening any paint bottles, take a moment to plan the overall vibe of your Wonder Woman–inspired outfit. Decide how closely you want to match the classic look versus creating a modern or minimalist version.
- Classic hero: Red shirt, gold emblem, blue bottom with stars, and bold gold accessories.
- Casual fan: Subtle emblem on a relaxed T-shirt, worn with jeans and sneakers.
- Sporty style: Fitted tee or tank paired with athletic leggings and a simple belt.
- Kids’ version: Softer colors, gentle fabrics, and fewer small detachable pieces.
Choosing Colors and Shapes
The classic Wonder Woman color scheme combines red, gold, and blue with star details. You can echo this palette or adjust it to fit your wardrobe and preferences while keeping the heroic feel.
- Base shirt: typically red, but deep burgundy, bright crimson, or even maroon work well.
- Emblem: metallic gold stands out, but matte yellow or even white can still look powerful.
- Bottoms: blue skirts, shorts, jeans, or leggings suggest the iconic look without being exact.
Tools and Materials Checklist
Gather your supplies in advance so you can complete the project smoothly in one or two sessions. You do not need every item listed; pick the method that suits your skill level and available tools.
Basic Supplies
- Plain T-shirt (preferably cotton; red or another bold color)
- Cardboard insert or thick paperboard (to place inside the shirt)
- Pencil or washable fabric marker
- Painter’s tape or masking tape (optional, for clean lines)
- Printed emblem template (for tracing) or hand-drawn sketch
Decoration Options
- Fabric paint (gold, yellow, black, or metallic shades)
- Fabric markers or paint pens for outlines
- Iron-on vinyl (HTV) and cutting machine, if available
- Pre-cut gold craft vinyl or felt shapes
- Fabric glue (if attaching felt or non-sew details)
Helpful Extras
- Old apron or large shirt to protect your clothes
- Disposable plate or palette for paint
- Small flat paintbrush and fine liner brush
- Hair dryer or fan for faster drying (optional)
Designing the Emblem
The central feature of this costume is the recognizable chest emblem. You can create a bold tribute to the classic design while keeping the shapes simple and beginner-friendly.
There are a few ways to get a clean emblem onto your shirt: tracing, transferring, or freehand drawing. Choose the method that feels least intimidating to you.
Option 1: Trace a Printed Template
- Find or sketch a stylized “W” emblem and print it in a size that fits your shirt.
- Cut out the emblem to create a sturdy paper template.
- Place the template on the shirt front and lightly trace around it with pencil or washable marker.
Option 2: Use a Light Source
- Print the emblem and tape it to a window or lightbox.
- Place the shirt over the paper and gently trace the design as the light shines through.
- Adjust the size and placement until it looks centered and balanced on the chest area.
Option 3: Simplified Freehand Sketch
If you enjoy drawing, sketch a bold, angular W shape directly on the shirt. Keeping the lines thick and straight makes it easier to paint or fill with vinyl later.
- Start with a wide zigzag line to suggest wings or angled points.
- Double the lines to form a thick band across the chest.
- Refine the edges until the shape feels strong and symmetrical.
Preparing the T-Shirt
Proper prep helps paint or vinyl adhere evenly and prevents color from bleeding through to the back of the shirt. Take a few minutes to set up before applying any decoration.
- Wash and fully dry the shirt to remove sizing or factory residues.
- Iron out wrinkles in the chest area so your emblem sits on a smooth surface.
- Slide a piece of cardboard inside the shirt, positioning it behind the area you will decorate.
- Use painter’s tape to secure the fabric to the cardboard if the shirt keeps shifting.
Painting the Emblem by Hand
Fabric paint is an accessible option for most crafters and does not require special machines. With a steady hand and patience, you can create a crisp gold emblem that looks striking from a distance.
Step-by-Step Painting Guide
- Outline the design: Use a fine brush or fabric marker to trace over your emblem lines. Keep the pressure light and build up the outline gradually.
- Fill the main shape: Use a small flat brush to apply gold or yellow paint within the outline. Work in thin layers to avoid clumping.
- Let each coat dry: Allow the first layer to dry completely, then add a second or third coat for full coverage.
- Define the edges: Once the gold is dry, use black or dark brown fabric marker to add subtle outlines or interior details, if desired.
- Heat-set if required: Follow the paint manufacturer’s instructions, which might include ironing the reverse side to make the design permanent.
Tips for Smooth Results
- Test your paint on a scrap of fabric first to see how it spreads and how opaque it looks.
- Work from the center of the shape outward to avoid dragging wet paint over outlines.
- Clean brushes promptly so they stay soft for touch-ups.
Using Vinyl or Felt for a Clean Finish
If you prefer clean lines with minimal painting, vinyl and felt are excellent alternatives. They create sharp edges and add a slight dimensional effect to the emblem.
Iron-On Vinyl Method
- Cut the emblem from heat transfer vinyl using a cutting machine or by tracing and trimming with scissors.
- Position the emblem on the shirt, shiny side up, following the package’s alignment guidelines.
- Cover with a pressing cloth and use a hot iron with firm pressure for the recommended time.
- Allow to cool and peel away the carrier sheet carefully.
Felt and Fabric Glue Method
- Trace the emblem onto gold or yellow felt and cut the shape precisely.
- Apply a thin, even layer of fabric glue to the back of the felt, especially near the edges.
- Press the felt emblem onto the shirt and smooth it with your hands to remove bubbles.
- Let the glue cure fully before wearing; this may take several hours or overnight.
Adding Star Details and Borders
Small star accents and decorative borders around the emblem can enhance the heroic appearance without making the shirt feel cluttered. Focus on a few key details rather than covering every inch with designs.
- Add one or two stars near the bottom corners of the emblem for a balanced look.
- Use a thin metallic or white paint pen to draw subtle lines or dots along the neckline or sleeves.
- For a bolder effect, create a horizontal gold band across the waistline or just under the bust.
Outfit Ideas to Complete the Look
Once the shirt is finished, pair it with existing pieces from your closet to create a complete Wonder Woman–inspired ensemble. You can keep it simple or go all-out with accessories and makeup.
| Occasion | Bottoms | Footwear | Accessories |
|---|---|---|---|
| Halloween party | Blue skirt or shorts | Red boots or sneakers | Gold belt, wrist cuffs, tiara headband |
| School dress-up day | Dark jeans or leggings | Comfortable sneakers | Simple headband, minimal jewelry |
| Comic convention | Blue leggings or star-print pants | Supportive walking shoes | Utility belt, cape, themed bag |
| Casual fan outfit | Denim shorts or skirt | Everyday flats or sandals | Delicate gold necklace or bracelets |
Simple No-Sew Accessories
Accessories turn a decorated shirt into a fully recognized superhero costume. You can make quick extras using craft foam, elastic, and household items, without any sewing.
Easy Tiara Headband
- Cut a tiara shape from gold craft foam or stiff gold paper.
- Glue a red star cutout in the center for a recognizable touch.
- Attach the tiara to a plain headband or use elastic to secure it around the head.
Wrist Cuffs
- Cut strips of gold or silver craft foam wide enough to wrap around the wrists.
- Decorate with painted stars or thin strips of contrasting foam.
- Use adhesive Velcro or elastic to make them easy to take on and off.
Instant Hero Belt
- Start with a wide, neutral-colored belt you already own.
- Wrap the belt with gold ribbon, metallic tape, or a long strip of gold fabric.
- Add a small foam emblem or star to the front center as a focal point.
Care and Maintenance of Your Costume Shirt
Taking care of your shirt ensures that the design lasts through multiple wears. Always follow the instructions on your paints, vinyl, or glue, but a few general guidelines help extend the life of the costume.
- Turn the shirt inside out before washing to protect the design.
- Use cold water and a gentle cycle; avoid bleach and harsh detergents.
- Air-dry the shirt or use low heat in the dryer to reduce cracking or peeling.
- If you used non-permanent materials like duct tape, treat the shirt as a single-use costume.
Safety and Comfort Tips
Costumes should always feel safe and comfortable, especially for children. Before wearing the outfit to an event, do a quick comfort check for scratchy edges, heavy pieces, or tight bands.
- Avoid sharp embellishments or metal parts that could snag on clothing or skin.
- Secure accessories so they do not easily fall off in crowded spaces.
- Use soft elastic and light materials for headbands and cuffs to prevent irritation.
Frequently Asked Questions
How long does it take to make the T-shirt costume?
Most people can complete the shirt in one afternoon, including design, painting, and drying time. If you use multiple layers of fabric paint, plan for several short drying breaks between coats.
Do I need drawing skills to create the emblem?
No. You can use printed templates, basic geometric shapes, or even ready-made stencils. Tracing and simple zigzag lines are enough to produce a clear, recognizable emblem.
Can this project work with other superhero themes?
Absolutely. Once you understand the process, you can adapt it to any hero by changing the emblem, colors, and accessories. The same technique works well for lightning bolts, shields, animal symbols, and more.
Is the shirt washable if I use felt or vinyl?
Yes, as long as you use fabric-safe glue or properly applied iron-on vinyl. Turn the shirt inside out, wash it gently in cold water, and avoid high heat in the dryer to protect the design.
What if I make a mistake while painting?
Small imperfections often disappear from a distance, so do not stress over tiny wobbles. For larger errors, you can carefully paint over them once the paint dries, or strategically add outlines or borders to cover uneven lines.
Embrace Your Inner Hero
A Wonder Woman–inspired T-shirt costume is more than a quick outfit solution; it is a chance to express strength, creativity, and individuality. With a simple shirt, a few craft supplies, and a bit of imagination, anyone can design a heroic look that feels powerful, comfortable, and uniquely their own.