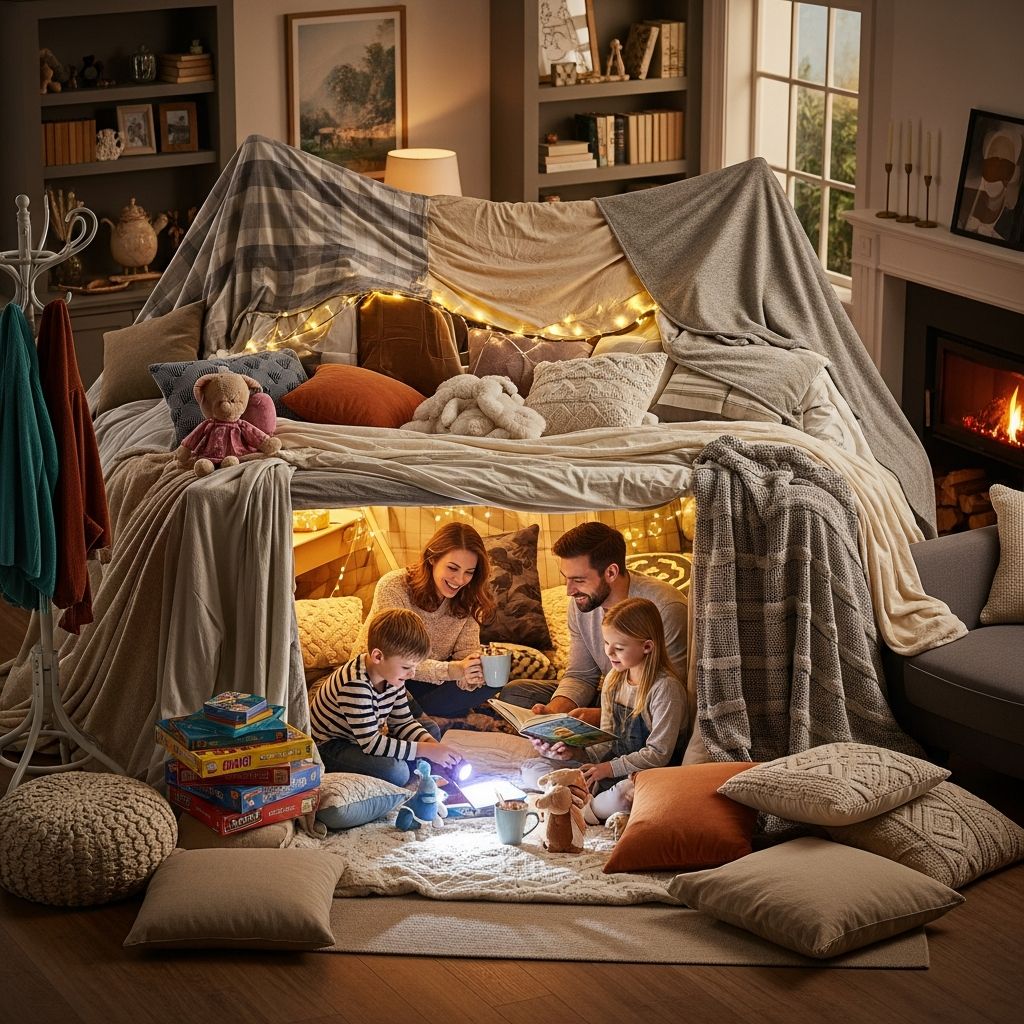
Blanket forts transform an ordinary room into a cozy hideaway, a secret reading nook, or a mini adventure park for kids of all ages. They are inexpensive, screen-free, and endlessly adaptable to your home and family. This guide walks you through everything from planning and building to play ideas, safety, and clean-up, so your next fort day feels fun instead of chaotic.
Why Blanket Forts Are Magic for Kids
On the surface, a blanket fort is just furniture, fabric, and a pile of pillows, but for kids it becomes a castle, spaceship, or quiet cave where imagination rules. The act of building together also creates chances for conversation, problem-solving, and teamwork that are hard to replicate with packaged toys or digital games.
Forts offer a sense of control and privacy in a safe environment, which can be calming for anxious or high-energy kids. They also invite sensory comfort through soft textures, warm lighting, and contained spaces that feel like a hug from the room itself.
Planning Your Perfect Fort Space
Before pulling out every blanket you own, pause for a quick plan. Five minutes of thinking ahead can prevent tangled fabric, wobbly chairs, and kids bumping into fragile decor.
Choosing the Best Room
- Living room: Great for family movie forts and larger structures with couches and coffee tables.
- Bedroom: Ideal for bedtime forts, quiet reading, and smaller spaces that can stay up longer.
- Hallways: Naturally tunnel-shaped and exciting for obstacle or adventure forts.
- Playroom: Perfect if you want the fort to remain up for several days without blocking daily life.
Quick Pre-Build Checklist
- Move breakable items (lamps, decor, glass) away from the build zone.
- Clear a walking path so no one trips over blankets or toys entering the room.
- Decide on a rough shape (tunnel, dome, tent, or multiple rooms) before you start.
- Set basic rules: which furniture is OK to move, where food is allowed, and when the Fort comes down.
Gathering Materials from Around the House
You do not need specialty gear to build an impressive fort. Everyday household items provide more than enough structure, softness, and sparkle.
Common Structural Items
- Dining or kitchen chairs
- Sofas and armchairs
- Sturdy coffee tables or side tables
- Footstools and ottomans
- Bed frames or bunk bed rails
Fabrics and Fasteners
- Flat bed sheets (excellent for lightweight roofs)
- Fleece throws and light blankets
- Heavy blankets or comforters for the floor or sound-dampening walls
- Clothespins, chip clips, or binder clips for edges
- Rubber bands or hair ties to secure fabric around chair backs
- String or twine to create central ridgelines
Comfort and Atmosphere
- Pillows and couch cushions
- Sleeping bags or folded duvets
- Stuffed animals and soft toys
- Battery-operated fairy lights or tap lights
- Small baskets or bins for books, art supplies, or snacks
Safety First: Building Forts You Can Relax In
Safety is what turns a cute idea into something you can enjoy without hovering anxiously in the doorway. A few simple precautions are enough to keep most forts secure and kid-friendly.
- Avoid heavy anchors: Skip balancing heavy books or decor on top of thin fabric where they could slide off and hit a child.
- Skip breakable supports: Do not use standing lamps or fragile tables; stick with sturdy furniture that can handle tugging and climbing.
- Use cool, covered lighting: Battery string lights and enclosed flashlights are safer than bare bulbs or candles, which should never be inside the fort.
- Leave air gaps: Especially with younger children, avoid sealing every edge; a few openings improve air flow and visibility.
- Supervise small parts: If using clips, rubber bands, or hooks around toddlers, make sure they do not become chewing or choking hazards.
Simple Layouts for Different Ages
Not every fort needs to be an engineering project. Match the complexity of the design to your child’s age, patience, and energy level.
| Fort Style | Best For | Time to Build | Key Materials |
|---|---|---|---|
| Table Tent | Toddlers, quick play | 5–10 minutes | Dining table, sheet, floor blanket |
| Couch Cave | Cozy reading or naps | 10–15 minutes | Sofa, back cushions, light throw |
| Chair Tunnel | School-age kids, active play | 15–25 minutes | Row of chairs, multiple sheets, clips |
| Multi-Room Fortress | Family movie nights, long projects | 30–45 minutes | Sofas, chairs, string line, assorted blankets |
Step-by-Step: A Reliable Starter Fort
Use this basic process as a template you can adapt to any room or theme. Think of it as a starting blueprint rather than strict instructions.
1. Build a Strong Frame
- Place two rows of chairs facing away from each other, or use the backs of couches as anchor points.
- Leave enough space between them for kids to crawl or sit comfortably.
- If you are using string, tie a line between two stable points (such as chair backs) to act as the ridge of your roof.
2. Add a Lightweight Roof
- Drape a flat sheet over the frame, centering it so both sides reach the floor or nearly to the floor.
- Clip or tie the sheet at stress points, such as the corners of chairs or the corners of the couch, to keep it from sliding.
- For a higher “ceiling,” pull the sheet snug over the string line or top of the furniture and secure with clips.
3. Create Cozy Walls and Floors
- Spread a plush blanket, sleeping bag, or comforter on the floor inside the fort.
- Line the edges with pillows and cushions to soften hard furniture legs and invite lounging.
- If your sheet is short, use extra throws or fleece blankets around the lower edges to close large gaps.
4. Design Entrances and Windows
- Choose one side as the “grand entrance” and roll or fold the fabric up slightly so kids can easily crawl in.
- Clip a corner of the sheet up to form a window that can be opened or shut as part of the play.
- For advanced builders, create a cardboard tunnel or box entry to make the fort feel more secret.
5. Add Lighting and Special Touches
- Weave battery-powered string lights through the top edges for a starry-sky effect.
- Place a small, safe lamp or tap light just outside a wall and let the glow filter through the sheet.
- Bring in a basket of books, sketchpads, or a tray with water bottles and “fort snacks.”
Themed Fort Ideas Kids Will Love
Choosing a theme gives kids a story to inhabit and helps guide what you bring inside. Themes can be simple and still feel special.
Storytime Reading Den
- Use warm-toned fairy lights and lots of pillows to create a nest-like feeling.
- Fill a small crate or basket with picture books or chapter books tailored to your child’s age.
- Invite kids to design “library cards” or a reading schedule for stuffed animal guests.
Indoor Camping Tent
- Lay out sleeping bags side by side and add a pretend “campfire” using orange paper or felt flames.
- Tell campfire stories, sing favorite family songs, or listen to nature sounds on a device with the volume low.
- Serve simple camp snacks like popcorn or fruit slices, and dim the main lights to mimic nighttime.
Space Station Headquarters
- Use darker sheets for the roof and walls, then add small white or blue lights for a starfield effect.
- Create “control panels” out of cardboard and sticker “buttons,” or let kids draw touch screens with crayons.
- Encourage pretend missions, such as repairing satellites or exploring unknown planets in other rooms.
Royal Castle or Fairy Palace
- Choose light-colored or lacy fabrics and hang paper flags or bunting from the top edges.
- Designate a “throne corner” with extra cushions, crowns made from paper, and a small box for “treasure.”
- Encourage kids to host royal tea parties for dolls, action figures, or siblings.
Turning Fort Time into Learning Play
Forts naturally invite imaginative play, but with a few small tweaks they can also reinforce early learning skills. The goal is to keep the experience playful, not to turn it into homework in disguise.
- STEM building: Let older kids experiment with different supports and fabrics, predicting which designs will sag or hold firm.
- Storytelling: Ask children to name their fort, describe who lives there, and tell a story that starts inside it.
- Math in motion: Count pillows, measure the length of the fort in “kid steps,” or compare which side is taller.
- Social skills: Encourage sharing roles (architect, decorator, snack manager) to practice teamwork and communication.
Games and Activities to Enjoy Inside
Once the fort is built, you might want a few go-to activities that work well in a small, cozy space. Focus on low-mess, low-noise options that kids can manage mostly on their own.
- Quiet games: Card games, simple board games with large pieces, or cooperative story-building games.
- Art corner: Clip a small clipboard to a chair leg or keep a sketchpad and crayons in a basket.
- Audio adventures: Listen to audiobooks, kid-friendly podcasts, or calming music while snuggling in sleeping bags.
- Stuffed animal hospital: Turn the fort into a vet clinic where kids “treat” stuffed animals using toy doctor kits.
- Shadow theater: Shine a flashlight at one wall and use hands or paper cutouts to create shadow stories.
Managing Mess and Setting Expectations
A blanket fort can look like a cloth explosion if you are not ready for it. A few ground rules keep the fun high and the frustration low for everyone.
- Decide in advance how long the fort will stay up (one afternoon, overnight, or all weekend).
- Limit food to simple, non-crumbly snacks and water in closed bottles, or designate a “snack zone” just outside the fort.
- Have kids return toys, books, and supplies to labeled bins when they are done playing inside.
- Make “deconstruction” part of the game, timing how quickly everyone can fold blankets and restack cushions.
Involving Kids in Every Step
Inviting children to participate in the full process—from planning to clean-up—helps them feel capable and invested. It also lightens your workload, which makes you more likely to say yes to the next fort idea.
- Let kids sketch their dream fort first, then choose one or two realistic elements to try.
- Give simple jobs by age: toddlers can carry soft pillows, preschoolers can place stuffed animals, older kids can clip sheets and adjust lights.
- Encourage them to rename the fort each time, turning repeat builds into “new” adventures.
Frequently Asked Questions About Blanket Forts
How long can I safely leave a blanket fort up?
As long as the structure is stable and not blocking essential exits or walkways, you can leave a fort up for several days. Check each morning to make sure clips are secure, furniture has not shifted, and fabric is not tangled around anything unsafe.
What age is appropriate for blanket forts?
Babies can enjoy supervised tummy time in a very open, low fort, while toddlers and older kids will actively crawl, imagine, and build. For children under three, avoid small detachable parts and keep structures simple with easy visibility for adults.
Can we have electronic devices inside the fort?
That depends on your family’s screen-time rules. Many families enjoy a special movie night or show inside a fort, but you can also choose to keep it a screen-free zone focused on reading, storytelling, and creative play.
How do I keep the fort from collapsing?
Use lightweight sheets for the roof, attach them securely with clips at key points, and avoid placing heavy objects on top for weight. Encourage kids to enter and exit from one designated doorway rather than tugging on every side.
What if I have limited space?
Small spaces can still host impressive forts. Try building a compact cave under a coffee table, transforming the space between a bed and wall, or making a short tunnel in a hallway that kids crawl through instead of standing up in.
Making Blanket Forts a Family Tradition
When blanket forts become a recurring ritual—on rainy afternoons, snow days, or the first Friday of each month—they give your family something to look forward to that does not depend on the weather or a big budget. Each time you build, you can adjust the design, add a new game, or invite kids to take more ownership of the process.
Over time, the memories of whispered stories, shared snacks, and quiet giggles inside those fabric walls will matter far more than whether the roof sagged a little or the entrance was perfectly aligned. What children carry with them is the feeling that home is a place where imagination is welcomed and adults are willing to crawl onto the floor with them, even just for a little while.