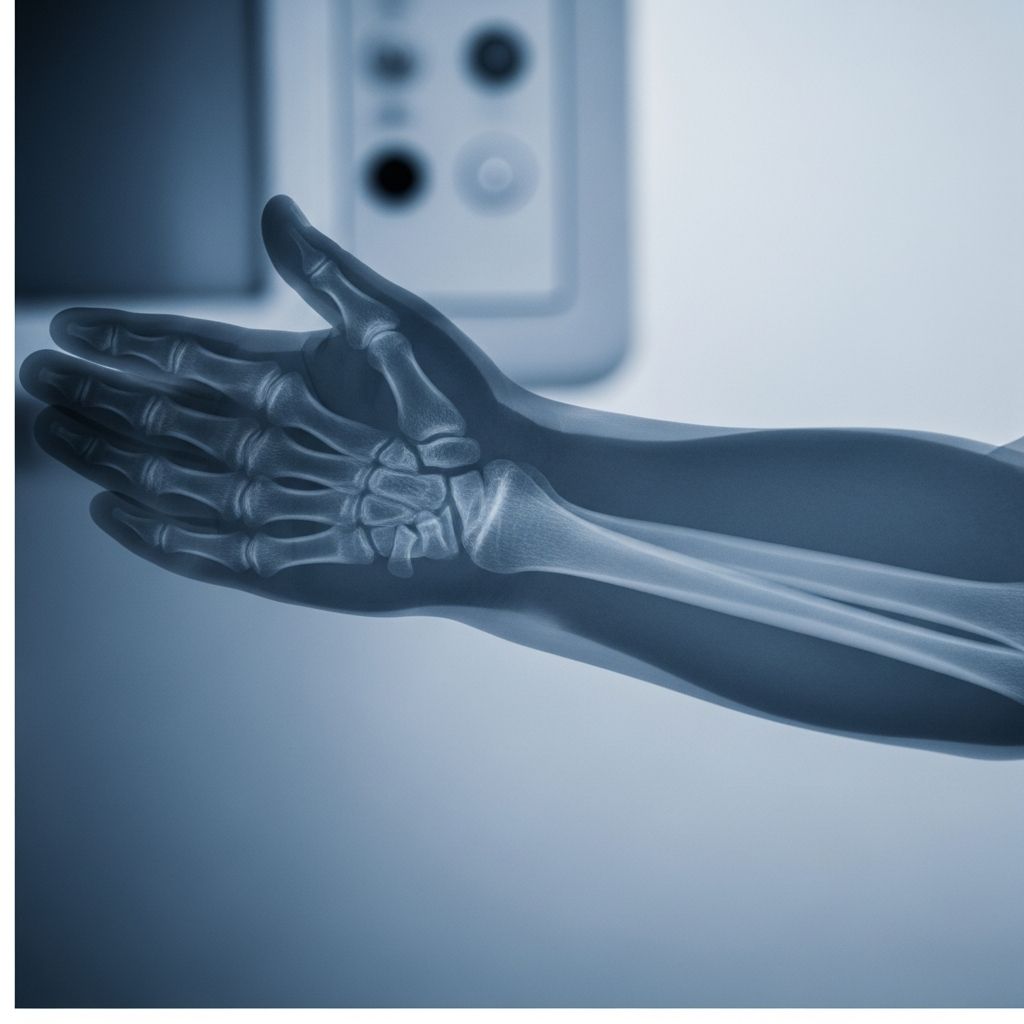
When a child falls on an outstretched hand or crashes during play, doctors often order a forearm X-ray to check for injury. Understanding what the test does, how it works, and what your child will experience can make the whole process far less stressful for everyone.
This guide explains forearm X-rays in clear, parent-friendly language, so you know exactly what to expect from the moment the test is ordered to when you receive the results.
1. What Is a Forearm X-Ray?
A forearm X-ray is a quick, painless imaging test that creates detailed pictures of the two long bones in the lower arm:
- Radius – the bone on the thumb side
- Ulna – the bone on the little finger side
These images also typically show the nearby wrist and elbow joints, because injuries of the forearm can involve or affect these areas.
The exam uses a small dose of ionizing radiation to pass through the arm and is captured by a detector or digital plate, forming black-and-white images that radiologists and doctors can study.
2. When Do Doctors Order a Forearm X-Ray?
Healthcare providers recommend a forearm X-ray when symptoms or injuries suggest an issue with the bones, joints, or nearby soft tissues.
Common reasons in children
- Arm pain after a fall, collision, or sports injury
- Visible deformity, swelling, or bruising of the forearm
- Refusal to move the arm or use the hand
- Limited ability to twist the palm up or down
- Suspected fracture of the radius or ulna
- Follow-up after a cast or surgery, to see if a fracture is healing correctly
Conditions a forearm X-ray can detect
- Broken bones (fractures) – small cracks, complete breaks, or bones shifted out of position
- Growth plate injuries – damage near the ends of the bone where growth occurs in children
- Dislocations – bones that no longer line up properly at a joint, especially near the wrist or elbow
- Bone infections or tumors (less common)
- Abnormal bone development or curvature
3. How X-Rays Work (Kid-Friendly Explanation)
X-rays are a type of invisible energy, similar to light but with much more power. During an exam, an X-ray machine sends a brief beam through the arm.
- Dense tissues like bone absorb more of the beam and appear lighter (white or pale gray).
- Softer tissues like skin, fat, and muscles let more of the beam through and look darker.
Because of these differences, fractures, joint alignment, and bone shape show up clearly, helping doctors decide on the best treatment.
4. Preparing Your Child for a Forearm X-Ray
Most children do not need special medical preparation, but emotional preparation makes a big difference.
Before the appointment
- Explain in simple terms: “They will take pictures of the bones in your arm. It doesn’t hurt, but you have to hold very still for a few seconds.”
- Reassure your child that no needles are involved in a standard forearm X-ray.
- Dress your child in loose sleeves or clothes that are easy to roll up or remove.
- Leave jewelry and metal bracelets at home if possible, as these may need to be removed.
What to tell older kids and teens
- Explain that the test is fast (often a few minutes of actual imaging).
- Let them ask questions about radiation and safety; older kids often feel calmer when they understand the reason for the test.
- Remind them that staying still gives clearer pictures and may avoid repeat images.
5. What Happens During the Exam?
Forearm X-rays in children are usually done in a hospital radiology department or an imaging center. A radiologic technologist (imaging professional) performs the exam.
Step-by-step overview
- Check-in and quick questions
Staff may ask about recent injuries, surgeries, or medical conditions. - Positioning your child
Your child typically sits or sometimes lies next to an X-ray table. The arm is placed on the table so the wrist and elbow can be imaged together or separately. - Taking multiple views
To see the bones from different angles, at least two standard views are taken:- An AP (front-to-back) or similar view with the palm usually facing up
- A lateral (side) view with the elbow bent and the thumb pointing up
- Staying still
The technologist will ask your child to hold very still and may gently support the arm. Each picture takes only 1–3 seconds. - Use of protective shields
Lead aprons or shields may be placed over parts of the body not being imaged to limit unnecessary exposure, especially near the torso and pelvis.
If a child is in significant pain or the arm is badly deformed, the technologist and medical team work carefully to position the arm with minimal movement and discomfort, and they may adjust the usual positioning.
6. How Long Does It Take?
The total visit time varies, but the imaging portion is usually brief:
- Positioning and explanation: about 5–10 minutes
- Actual X-ray exposures: typically just a few seconds per view
- Occasional extra time if more views are needed or the child has difficulty holding still
Most families spend longer checking in and waiting than they do in the X-ray room itself.
7. Safety and Radiation: What Parents Should Know
Parents often worry about radiation, especially for young children. Modern pediatric imaging is designed to keep doses as low as reasonably achievable while still obtaining clear images.
| Aspect | Key Point |
|---|---|
| Type of test | Low-dose diagnostic X-ray of the arm only |
| Radiation level | Typically much lower than many CT scans or full-body imaging tests |
| Protective measures | Targeted beam, shielding when appropriate, pediatric-adjusted exposure settings |
| Common risks | Very small increased lifetime radiation risk; benefits of accurate diagnosis generally outweigh this risk |
If you are pregnant, you can usually stay with your child but may be asked to stand behind a screen or wear a lead apron. If there is any chance your teen might be pregnant, tell the staff beforehand, as this can affect imaging choices.
8. Who Interprets the X-Ray and How?
A trained specialist called a radiologist examines the images. In emergency settings, the treating doctor (such as a pediatrician or emergency physician) often reviews them as well.
What the radiologist looks for
- Bone alignment and shape of the radius and ulna
- Any visible fracture lines, chips, or displaced fragments
- Whether the wrist and elbow joints are properly aligned or dislocated
- Condition of the growth plates (areas of developing bone in children)
- Signs of infection, bone thinning, or abnormal masses
The radiologist then sends a report to your child’s doctor, who discusses the findings and treatment options with you.
9. Possible Results and Next Steps
After a forearm X-ray, you will usually learn whether there is a fracture or other problem the same day, especially in urgent situations.
If a fracture is found
- Your child may receive a splint or cast to keep the bones stable.
- Pain control and activity limits will be discussed.
- Follow-up X-rays might be scheduled to check healing, especially in growing children.
- For more complex fractures, your child may see an orthopedic surgeon.
If the X-ray is normal
- The doctor may diagnose a sprain, bruise, or soft-tissue injury.
- Rest, ice, elevation, and pain medication may be recommended.
- If symptoms persist or worsen, your provider may consider additional imaging like ultrasound, CT, or MRI.
10. Helping Your Child Cope During the Test
Children often feel nervous in medical settings. Your presence and calm reassurance are powerful tools.
Comfort strategies for younger children
- Hold their hand (if allowed) or stay close where they can see you.
- Bring a favorite toy, blanket, or stuffed animal.
- Use distraction: counting, singing quietly, or telling a short story during positioning.
- Offer praise for staying still and being brave.
Support for older children and teens
- Involve them in decision-making when appropriate (e.g., which side of the table feels more comfortable).
- Explain that cooperation helps avoid extra images and gets them back to their regular activities sooner.
- Allow them to ask the technologist questions about the equipment and process.
11. Frequently Asked Questions (FAQs)
Q1: Does a forearm X-ray hurt?
The X-ray itself does not hurt because your child cannot feel the radiation. Any discomfort usually comes from having to keep an injured arm still or positioned in a certain way. Technologists work carefully and gently, especially when a fracture is suspected.
Q2: How much radiation is my child exposed to?
A forearm X-ray uses a relatively low dose of radiation, focused on a small body area. Pediatric imaging teams adjust exposure based on the child’s size and use shielding when appropriate to minimize unnecessary exposure.
Q3: Can I stay with my child in the room?In most cases, yes. You may be asked to wear a lead apron or stand behind a protective barrier. The staff will tell you exactly where to stand to stay safe while still supporting your child.
Q4: What if my child can’t hold still?
Technologists are used to working with children and use pillows, pads, and gentle support to help them stay in position. If your child moves, a picture may need to be repeated so the bones can be clearly seen. Sedation is rarely needed for a simple forearm X-ray.
Q5: Will my child need other tests after the X-ray?Often, a forearm X-ray is enough to diagnose or rule out a fracture. If pain continues despite a normal X-ray, or if the injury is complex, your child’s doctor might order follow-up imaging (such as additional views or another modality) or refer you to a specialist.
Q6: How soon will we get the results?
In emergency or urgent care settings, a doctor often reviews the images right away and can share preliminary results before you leave. A radiologist’s official report typically follows shortly and is sent to your child’s primary provider.
References
- X-Ray Exam: Forearm — Children’s Minnesota. 2022-01-01. https://www.childrensmn.org/educationmaterials/parents/article/11933/x-ray-exam-forearm/
- Clinical and radiographic examination of forearm shaft injuries — AO Surgery Reference, AO Foundation. 2023-01-01. https://surgeryreference.aofoundation.org/orthopedic-trauma/adult-trauma/forearm-shaft/further-reading/clinical-and-radiographic-examination
- Trauma X-ray – Upper limb – Radius and ulna — Radiology Masterclass. 2021-06-01. https://www.radiologymasterclass.co.uk/tutorials/musculoskeletal/x-ray_trauma_upper_limb/forearm_trauma_x-ray
- Interpreting Elbow and Forearm Radiographs — Taming the SRU. 2019-03-01. https://www.tamingthesru.com/blog/intern-diagnositics/interpreting-elbow-and-forearm-radiographs
- The bends and flexures of forearm and elbow x-ray positioning — AuntMinnie.com. 2011-01-01. https://www.auntminnie.com/clinical-news/digital-x-ray/article/15563584/the-bends-and-flexures-of-forearm-and-elbow-xray-positioning