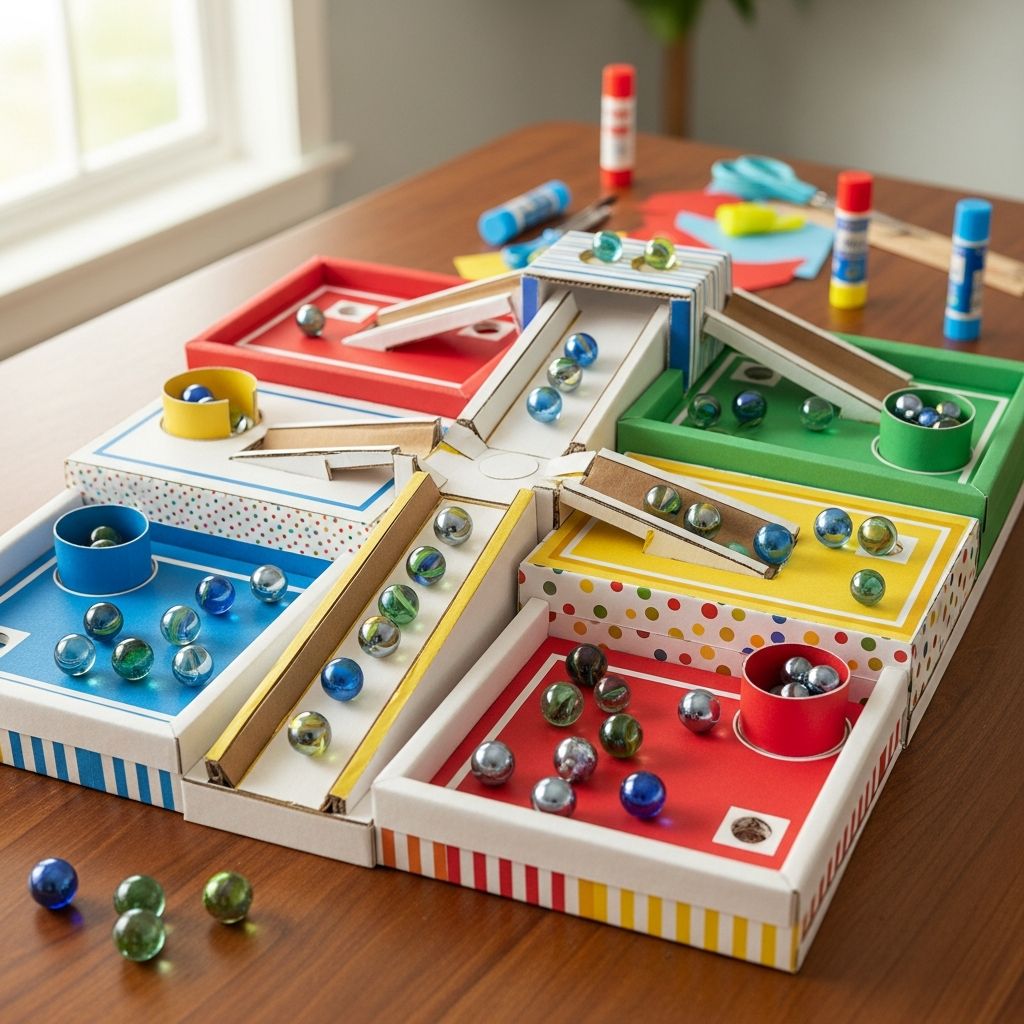
Turn a handful of cardboard tubes and a small bag of marbles into a fast-paced family game that doubles as a sneaky math lesson. This marble toss arena is simple to build, endlessly customizable, and perfect for rainy afternoons, school breaks, or party stations.
Why a Marble Toss Arena Is the Perfect DIY Game
A marble toss game is compact, quiet, and highly replayable, making it ideal for small spaces and multi-age groups. Kids can help design the colors, decide on the scoring system, and then play round after round while practicing counting, addition, and even probability.
- Uses recycled materials like cardboard tubes and leftover paint.
- Works indoors on the floor, a table, or even a tray.
- Easy to modify for different skill levels and learning goals.
Materials and Tools You Will Need
Gather everything before you begin so kids can move smoothly from crafting to playing. Most of these supplies are basic, and you can swap items based on what you have at home.
| Item | Purpose | Possible Substitutes |
|---|---|---|
| Cardboard tubes | Form the scoring pockets | Paper cups, small boxes, egg carton sections |
| Marbles | Game pieces for tossing | Pom-poms, beads, small bouncy balls |
| Paint or markers | Add color and visual cues | Colored tape, stickers, crayons |
| Thick rubber band | Holds the tubes together | String, ribbon, masking tape |
| Permanent marker | Writes numbers for scoring | Pen, gel pen, paint pen |
| Scissors | Cuts tubes to size | Craft knife (adults only) |
| Flat base (optional) | Helps move or store the arena | Cardboard sheet, tray, foam board |
Planning Your Marble Toss Layout
Before cutting and coloring, decide how you want the arena to look and how challenging you want it to be. The layout strongly influences how often marbles land in each pocket and how exciting the scoring feels.
- Clustered layout: Tubes grouped tightly for a fast-paced, random feel.
- Patterned layout: Shapes like flowers, spirals, or triangles to guide aiming.
- Mixed height layout: Taller and shorter tubes for extra visual interest.
Step 1: Cut and Size the Tubes
Cutting the tubes into shorter segments makes the arena feel more like a grid of tiny goals instead of a single long channel. Shorter tubes also make it easier to see the marbles inside while keeping them contained.
- Use scissors to cut toilet paper or paper towel tubes into sections about 5–7 cm long.
- Mix section heights slightly so some pockets are a bit taller or shorter than others.
- Trim any rough edges so marbles can roll smoothly into the tubes.
Step 2: Add Color and Personality
Decorating the tubes transforms a simple structure into a mini arena that feels bright and inviting. Color also helps children quickly spot high-value pockets and remember their favorite targets.
- Paint the outside of each tube with bold colors or patterns.
- Use stripes, polka dots, ombré shades, or color families (cool vs. warm tones).
- Let the tubes dry completely to keep marbles and fingers paint-free during play.
Step 3: Assign Scores to Each Pocket
The scoring system is where your marble toss arena turns into a real game rather than just a random toss. Use numbers that are simple enough for young kids to add but varied enough to keep each throw exciting.
- Write point values inside the bottom of each tube using a dark marker.
- Use a simple scale (1, 2, 3, 5, 10) or themed values (all even numbers, multiples of five).
- Make harder-to-reach tubes worth more points to reward accurate aim.
Sample Scoring Patterns
To avoid confusion, group scores by color or cluster so kids can learn the system quickly. The table below offers ideas you can copy or adapt.
| Position | Suggested Color | Score Value | Difficulty |
|---|---|---|---|
| Front row | Yellow | 5 | Easy |
| Middle ring | Blue | 10 | Medium |
| Back corners | Green | 15 | Tricky |
| Center pocket | Red | 25 | High challenge |
Step 4: Link the Tubes into an Arena
Once painted and labeled, the tubes need to behave like one solid piece so players cannot accidentally shift them with a stray marble. A large rubber band is a quick, tool-free way to lock everything into place.
- Arrange the tubes tightly in your chosen shape on a flat surface.
- Gently stretch a thick rubber band around the outer ring of tubes.
- Adjust the tubes so all openings face straight up and touch each other without gaps.
Optional: Mount the Arena on a Base
If you plan to move the game often or use it outdoors, mounting the tubes to a base helps keep the structure stable. A base also gives you extra space to add decorative borders or written rules.
- Place the tube bundle on a sheet of cardboard or a tray slightly larger than the layout.
- Trace the outline lightly so you know where to set it back down.
- Use craft glue or double-sided tape under the tube edges, then press firmly into position.
Basic Rules for Playing Marble Toss
Once your arena is complete, it is time to play. The rules can be as simple or as strategic as you like, which makes this project suitable for toddlers, big kids, and families playing together.
- Decide on a throwing line a short distance from the arena.
- Each player receives the same number of marbles, usually 5–10 per round.
- Players take turns tossing one marble at a time, aiming for high-value pockets.
- When all marbles are used, add up the scores and record the totals.
- Play several rounds and crown the highest total as the winner.
Rule Variations for Different Ages
Adjusting the rules slightly lets you include younger siblings or keep older kids engaged. Try different formats to see which creates the most laughter and friendly competition.
- Preschool mode: Shorten the distance to the arena and focus on counting marbles and identifying colors.
- Timed challenge: Give players 30 seconds to toss all their marbles, then total their score.
- Accuracy round: Let players call out a target value before each throw; bonus points if they land in that pocket.
Math Skills Hidden Inside the Fun
Marble tossing looks like pure play, but it quietly encourages mental math, number recognition, and simple strategy. You can add tiny tweaks to the game to match skills kids are learning in school.
- Have children say each number aloud when a marble lands in a pocket.
- Ask older kids to add scores in their head instead of on paper.
- Use only even or odd numbers for a round to reinforce that concept.
STEM Extensions and Learning Ideas
Once kids are comfy with the basic rules, invite them to think like designers and scientists. Encourage them to predict outcomes, test changes, and record results like a real experiment.
- Move the throwing line farther away and track how scores change.
- Swap marbles for lighter or heavier objects and compare how they roll or bounce.
- Ask players to redesign the layout to increase the chance of hitting specific values.
Safety and Durability Tips
Although this project is very low risk, a few basic precautions make the game safe and long-lasting. A sturdy, well-secured arena also feels more satisfying to play.
- Have adults handle any cutting, especially if using a craft knife.
- Keep small marbles away from children who still put objects in their mouths.
- Reinforce the outer tubes with an extra rubber band if kids are especially energetic tossers.
Theme Ideas to Match Seasons and Parties
You can easily reskin the marble toss arena to suit holidays, classroom topics, or birthday party themes. Changing colors and labels instantly refreshes the game without rebuilding it from scratch.
- Space adventure: Paint black and deep blue backgrounds with star stickers; label tubes as planets or galaxies.
- Under the sea: Use teal and coral colors with fish or shell graphics on each tube.
- Carnival style: Bright stripes, gold accents, and fun names like “Jackpot Pocket” or “Lucky Lane.”
Storage and Quick Reset
Because the tubes are bound together, cleanup is straightforward, and the game can live in a closet or under a bed. Quick reset makes it realistic to pull out for short play sessions.
- Store marbles in a small pouch or lidded container taped to the underside of the base.
- Wrap the entire arena in a reusable bag or pillowcase to protect it from dust.
- Keep a notepad or mini whiteboard with the game to record scores over multiple days.
Frequently Asked Questions (FAQs)
How many tubes do I need to start?
Ten to twelve tubes is a comfortable starting number for most layouts, giving enough pockets to feel like a real arena without taking too long to fill during a round.
Can I make this without marbles?
Yes. You can use pom-poms, small crumpled paper balls, beads, or even dried beans, as long as they are sized so they can drop cleanly into the tubes.
What if I don’t have a large rubber band?
Wrap string, ribbon, or yarn tightly around the outside of the tube cluster and tie a firm knot, or use strips of masking tape across the back to secure the tubes together.
How do I keep score for very young kids?
Instead of numbers, you can count how many marbles land anywhere inside the arena or award a single point for every successful drop to keep the math simple.
How long does the project take from start to play?
Cutting and arranging the tubes usually takes about 15–20 minutes, while decorating time depends on how detailed kids want to be and how quickly the paint or ink dries.
Final Thoughts: Simple Materials, Big Play Value
A DIY marble toss arena proves that creative fun does not require electronics, complex tools, or expensive supplies. With a few tubes, marbles, and imagination, families can build a customized game that encourages kids to aim, count, and experiment, all while sharing rounds of friendly competition.