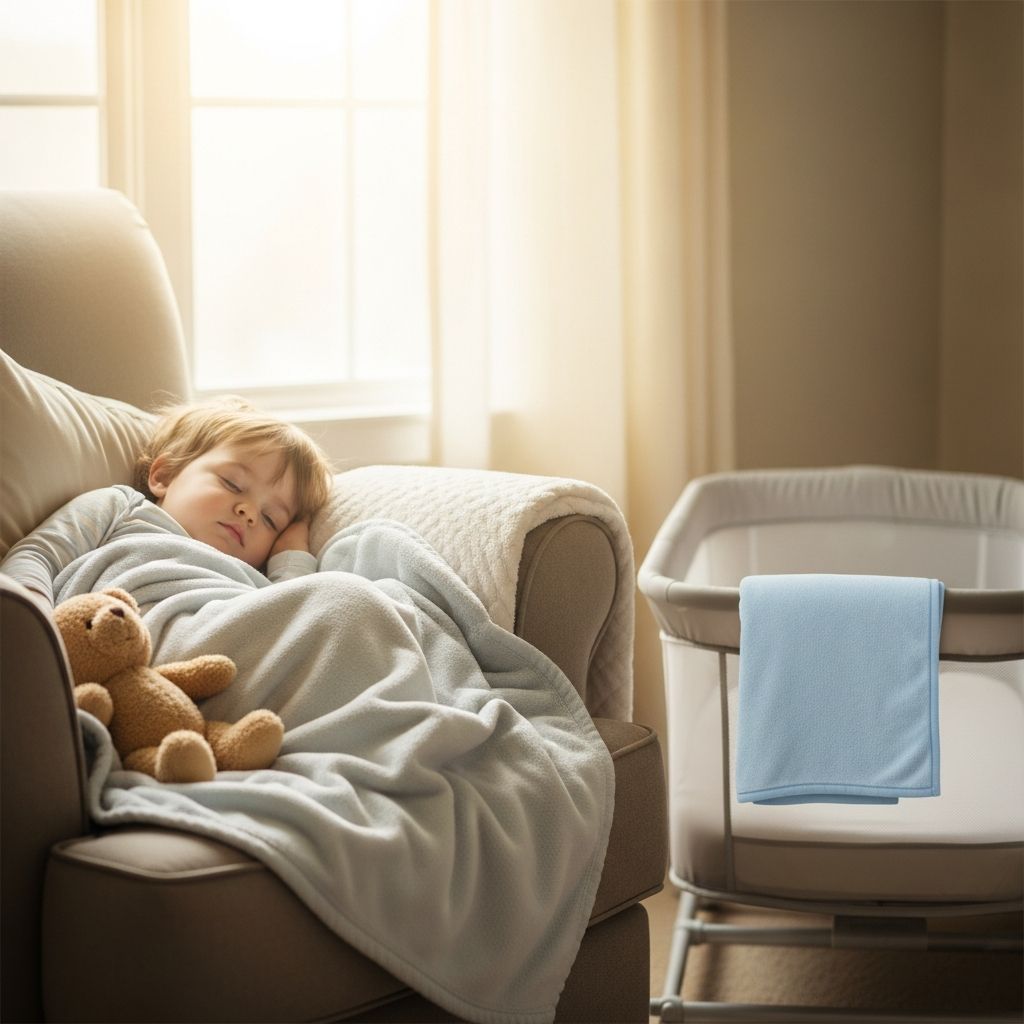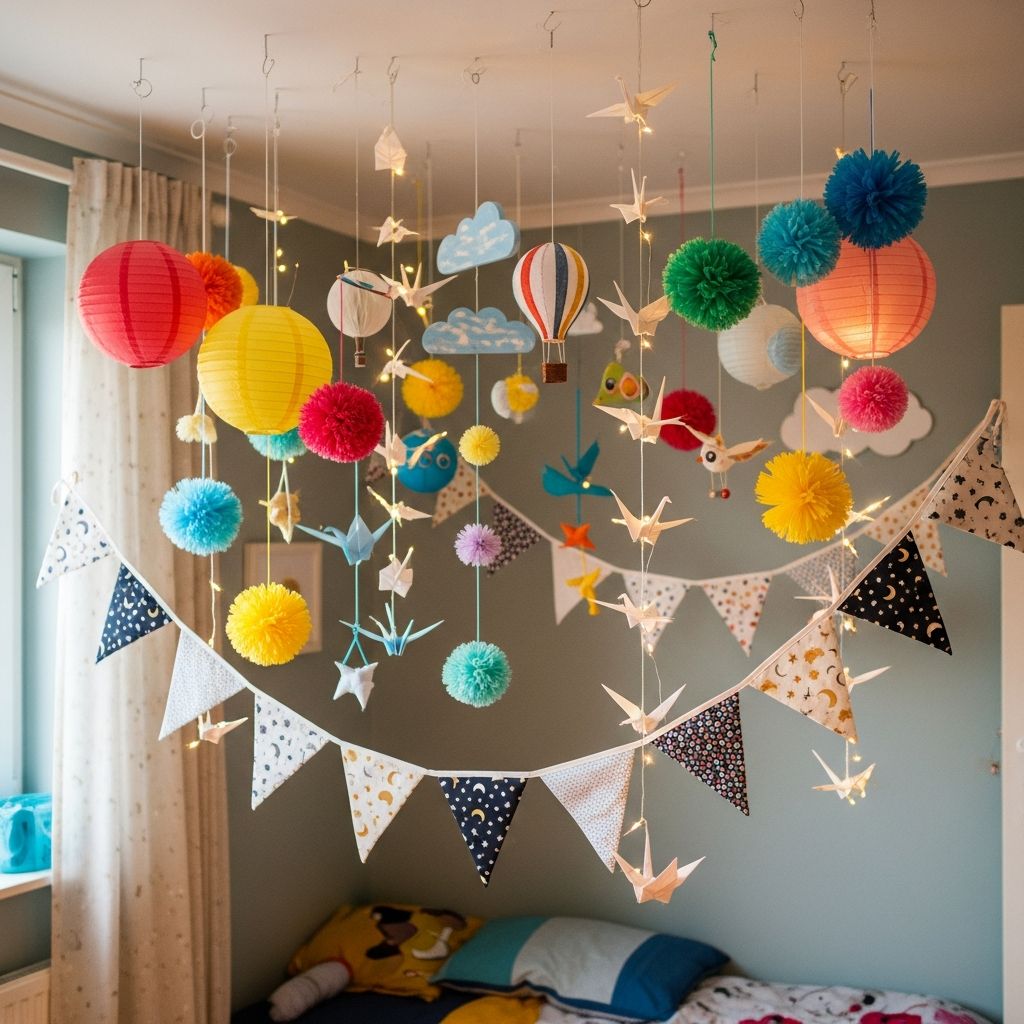
Children spend a surprising amount of time looking up: lying in bed, daydreaming, playing on the floor, and drifting off to sleep. A thoughtfully decorated ceiling can become a gentle source of wonder, comfort, and inspiration—without requiring a designer budget or complicated tools. In fact, some of the most charming ideas use paper, fabric, string, and a bit of imagination. This guide walks you through creative, low-cost ways to hang decor from your child’s ceiling, how to keep it safe, and how to tie everything together in a cohesive look.
Why The Ceiling Matters More Than You Think
The ceiling is often the largest, yet most forgotten surface in a kid’s room. Unlike adults, children frequently view the world from the floor, the bed, or a low reading nook, which means the view above plays a big role in how the space feels. A decorated ceiling can make bedtime gentler, spark stories, and even help kids feel less afraid of the dark. It also offers a way to refresh the room dramatically without repainting walls or replacing big furniture pieces.
Focusing on hanging items instead of permanent paint or heavy fixtures keeps things flexible and affordable. As your child’s interests shift from clouds to dinosaurs to outer space, you can swap or rearrange elements with minimal effort and cost. This approach is ideal for renters, budget-conscious parents, and anyone who likes to update decor often.
Guiding Principles For Budget Ceiling Decor
Before diving into specific project ideas, it helps to understand a few simple principles that will keep your ceiling decor both attractive and practical. These guidelines will save you time, money, and frustration as you plan.
- Lightweight first: Prioritize materials like paper, felt, lightweight fabric, foam, and thin wood shapes to keep everything safe and easy to hang.
- Easy to remove: Choose temporary hooks, washi tape, and ribbon ties so you can update the room without patching holes or repainting.
- Consistency over quantity: A few repeated shapes or colors will look more intentional than many unrelated pieces.
- Mix DIY with store-bought: Use one or two affordable store items as anchors, then fill in the rest with homemade additions to stretch your budget.
Safety Considerations You Should Never Skip
Ceiling decor in a child’s room must be as safe as it is cute. While paper clouds and fabric stars seem harmless, they still need to be hung and positioned with care. Before installing anything overhead, take a few minutes to think about age, reach, and fire safety.
- Keep decor out of reach for babies: Over a crib or changing table, hang items high enough that curious hands cannot grab or tangle in them.
- Avoid very long strings: For younger children, keep cords, ribbons, and strings short to reduce entanglement risk.
- Use secure hardware: For anything heavier than paper, rely on ceiling hooks rated for weight, placed into studs or with proper anchors.
- Stay away from hot bulbs: Do not drape fabric or paper over light sources that produce heat; use distance and LED bulbs instead.
Choosing A Theme Without Locking Yourself In
A theme helps you narrow down colors and shapes, but it does not have to be rigid. Think of it as a story starter, not a strict rulebook. You can blend ideas as long as there is one unifying thread, such as a shared color palette or repeating motif.
Consider themes that can grow with your child rather than cartoon-specific designs tied to a single character. Soft skies, nature, travel, or outer space can adapt from babyhood through the elementary years. When planning, ask what your child is fascinated by now and how you might reinterpret that interest in a more timeless way.
Flexible Theme Ideas For Hanging Decor
- Sky and weather: Clouds, raindrops, kites, and tiny suns work across a wide age range.
- Nature and forest: Leaves, birds, butterflies, and tents or mountains for a camping vibe.
- Travel and exploration: Hot air balloons, airplanes, tiny paper suitcases, or compass shapes.
- Outer space: Planets, rockets, stars, and comets that can later fit a science-loving older child.
DIY Paper Magic: Affordable, Lightweight, And Customizable
Paper is one of the most versatile materials for ceiling decor. It is inexpensive, easy to find, available in every color imaginable, and light enough to hang with tape or thread. Because it is so forgiving, paper projects also make excellent family crafts; older kids can help cut shapes, fold garlands, or paint details.
Start with basic supplies: colored cardstock, string or fishing line, clear tape, glue, and perhaps a simple hole punch. With these, you can create an impressive variety of pieces that look far more polished than their cost would suggest.
Simple Paper Projects To Hang
- Shape streams: Cut stars, circles, leaves, clouds, or hearts and string them vertically to create gentle “curtains” of shapes that sway with the air.
- Fan medallions: Fold circles of paper like accordions and glue the ends together to create medallions that can be clustered at one part of the ceiling.
- Mini mobiles: Use a small embroidery hoop or metal ring as a base, then suspend paper shapes at varying lengths for a layered effect.
- Story strands: Print or draw tiny images related to your child’s favorite stories, then hang them like a vertical storybook above a reading corner.
Soft And Dreamy: Fabric, Felt, And Yarn
Fabric and felt add a cozy, touchable quality that works especially well in nurseries and bedtime zones. Because they do not crinkle like paper, they feel calmer and more permanent. Felt, in particular, is simple to cut, does not fray, and holds its shape beautifully when hung from the ceiling.
Consider repurposing old scarves, leftover fabric pieces, or outgrown baby blankets rather than buying new material. These items can become banners, clouds, or soft shapes with built-in sentimental value, turning your decor into a personal memory collage.
Soft Hanging Decor Ideas
- Felt stars and moons: Cut two identical shapes, sew or glue the edges, lightly stuff with cotton, and hang them with ribbon.
- Ribbon rain: Attach different lengths of ribbon to a narrow rod or embroidery hoop for a faux “rain shower” over a reading nook.
- Fabric bunting: Triangular fabric flags on a string can be swagged across the ceiling like a party that never ends.
- Pom-pom garlands: Yarn pom-poms or tassels strung together add color and texture that feels whimsical but not overwhelming.
Repurposed Items: Turning Everyday Objects Into Ceiling Art
Some of the best ceiling decorations begin as everyday household objects. Instead of buying new decor, look around your home for items that could be transformed with a bit of paint, paper, or string. Repurposing not only saves money but also reduces waste and gives your child a subtle lesson in creativity and sustainability.
When repurposing, focus on lightweight items that can hang securely: takeout containers, embroidery hoops, wire hangers, gift bags, and even plastic bottle caps can become something beautiful when arranged thoughtfully.
Repurposed Ceiling Decor Ideas
- Paper lantern makeovers: Plain lanterns can be dressed up with cut-out shapes, tissue paper “clouds,” or hand-drawn constellations.
- Mini basket hot air balloons: Attach small baskets or paper cups below lightweight balls or lanterns to mimic hot air balloons.
- Photo clouds: Cluster cotton batting or white felt to form a cloud shape and clip small photos or drawings dangling beneath.
- Storybook mobiles: Use pages from damaged or thrifted books to create layered shapes that float overhead in a reading corner.
Highlighting One Area Versus The Whole Ceiling
Decorating the entire ceiling can be magical, but it is not always necessary or practical. Sometimes concentrating decor over one part of the room has even more impact. This approach uses fewer materials and makes the installation easier to manage.
Think about the zones in your child’s room and what atmosphere each one needs. The bed might call for calming shapes and subtle movement, while the play area can handle bolder colors and more dramatic pieces.
| Room Zone | Goal | Suggested Hanging Decor |
|---|---|---|
| Over the bed or crib | Calm, soothing, sleepy atmosphere | Soft clouds, stars, subtle mobiles, gentle color palette |
| Play corner | Energetic, imaginative play | Bright garlands, paper shapes, banners, mini hot air balloons |
| Reading nook | Cozy, focused, story-friendly space | Hanging fairy lights, story-themed mobiles, dangling letters or quotes |
| Desk or craft table | Inspiration and creativity | Geometric shapes, color wheels, miniature planets or invention-themed decor |
Balancing Color, Height, And Movement
Well-designed ceiling decor feels intentional, not cluttered. Achieving that look has less to do with spending money and more to do with balancing three things: color, height, and movement. When these elements are considered together, simple paper and fabric can look surprisingly polished.
- Color: Choose one or two main colors and one accent shade. Repeat these consistently across different pieces.
- Height: Vary the lengths of hanging pieces to create depth, but keep the lowest ones above your child’s head level in active zones.
- Movement: Limit the number of items that spin or sway in a single area so the room does not feel visually chaotic.
Budget Planning: Getting The Most Impact For Less
Decorating a ceiling does not require a large budget, but costs can add up if you buy specialty items impulsively. A little planning will help you decide where to invest and where to save. The goal is to choose one or two standout pieces and support them with inexpensive DIY additions.
Begin with a basic list: string or fishing line, tape or removable hooks, paper or fabric, and perhaps one eye-catching store-bought item like a lantern or mobile. Once you have the essentials, you can experiment without constant extra trips to the store.
Sample Budget Breakdown
| Item Category | Role in Decor | Suggested Budget Share |
|---|---|---|
| Hanging hardware | Hooks, tape, adhesive strips | 20% |
| Base materials | Paper, fabric, felt, yarn | 40% |
| One feature piece | Lantern, ready-made mobile, or light cover | 25% |
| Tools & extras | Glue, paint, glitter, markers | 15% |
Getting Your Child Involved
Involving your child in decorating the ceiling transforms the project from a simple makeover into a shared memory. Even toddlers can choose colors or point to shapes they like, while older kids can help cut, draw, string, and hang decor (with supervision). This collaboration turns the room into a reflection of their personality.
To keep things manageable, assign age-appropriate tasks. Young children can stick pre-cut shapes, older kids can help measure and plan spacing, and preteens might even design their own small “installation” over a desk or hobby area. Taking photos before and after the project also helps them appreciate the transformation they helped create.
Step-By-Step: A Simple Ceiling Mobile Cluster
To put all these ideas into action, here is a straightforward project suitable for most rooms: a clustered set of mobiles in one corner of the ceiling. This creates a strong visual focus without overwhelming the entire space, and you can customize the shapes and colors to match any theme.
- Choose a corner: Pick a spot near the bed, reading chair, or play mat where the mobile cluster will be most visible and least likely to be bumped.
- Define your shapes: Select two or three simple shapes (for example, stars, clouds, and moons) and cut them from cardstock or felt.
- Create strands: Attach the shapes to string or thread at different intervals so each strand varies slightly in length.
- Anchor to a ring: Tie each strand to an embroidery hoop, metal ring, or even a repurposed wire hanger bent into a circle.
- Install the hook: Place a removable ceiling hook in the chosen corner, following the package instructions for weight limits.
- Hang and adjust: Suspend the cluster from the hook and trim any strands that hang too low. Step back, check balance, and rearrange if needed.
Frequently Asked Questions (FAQs)
How can I decorate the ceiling if I am renting?
Use removable adhesive hooks, washi tape, and lightweight threads to avoid drilling or leaving marks. Focus on very light materials such as paper, felt, and yarn so you do not need heavy-duty hardware. When it is time to move, you can simply peel the hooks away and pack the decor flat.
What ceiling decor works best for babies?
For babies, prioritize high-contrast but calming shapes placed safely out of reach, especially above the crib or changing table. Soft, slow-moving mobiles and gentle colors near the sleep area help avoid overstimulation while still giving them something interesting to gaze at.
How do I keep the decor from looking cluttered?
Pick a limited color palette and repeat the same shapes in different sizes rather than mixing too many unrelated themes. Leave sections of the ceiling blank so the eye has places to rest; this negative space makes your chosen decor stand out more.
Can ceiling decorations help with bedtime fears?
Yes, familiar and gentle shapes above the bed can become comforting, especially if you name them or turn them into part of a bedtime story. You might create a nightly ritual of “saying goodnight” to the stars, clouds, or animals, which can make the room feel friendlier in the dark.
How often should I change the ceiling decor?
There is no fixed rule, but many families update decor when a child’s interests shift significantly or during seasonal room refreshes. Since hanging decor can be rearranged easily, you might simply rotate a few pieces every few months to keep the space feeling new without starting from scratch.
Thoughtful ceiling decor does not demand an interior designer or an unlimited budget. With light materials, simple themes, and a willingness to experiment, you can create a room where your child feels inspired every time they look up.