Positional words like top, middle, and bottom are among the first spatial concepts young children learn as they explore the world around them. Mastering these ideas helps them follow directions, understand early math, and talk clearly about where things are located.
This article explains what top, middle, and bottom mean in child-friendly terms and offers practical, play-based ways to teach these concepts at home or in the classroom. You will find examples, activities, tips, and FAQs designed for parents, preschool teachers, and early elementary educators.
What Do Top, Middle, and Bottom Mean?
Before teaching, it helps to have clear, simple definitions you can repeat consistently. Use short phrases and point to real objects as you explain.
- Top: The highest part or point of something, or the part that is above everything else.
- Middle: The part that is between the top and the bottom, or between two ends.
- Bottom: The lowest part or point of something, or the part that is under everything else.
Children understand these ideas best when they can see them. Whenever you use these words, point and ask the child to point with you. Over time, they begin to connect the word with the position.
Why Positional Words Matter
Learning top, middle, and bottom builds more than vocabulary. These ideas lay a foundation for spatial awareness, early geometry, and everyday independence. When children know positional words, they can follow directions like “Put your cup on the top shelf” or “Look at the middle picture on the page.”
These words also show up in early reading and math. Children may be asked to find the picture at the top of a worksheet, draw something in the middle of a page, or circle the item at the bottom of a column. Understanding position helps them feel more confident in these tasks.
Everyday Examples Kids Can See
Real, familiar objects make learning easier. Try using items that naturally have a clear top, middle, and bottom. You can build many mini-lessons into ordinary routines and playtime.
Simple Real-Life Examples
- Bookshelves: Books on the top shelf, middle shelf, and bottom shelf.
- Stairs: The first step at the bottom, a step somewhere in the middle, and the highest step at the top.
- Chairs and tables: The tabletop at the top, the legs in the middle, the floor at the bottom.
- Refrigerator doors: Magnets or drawings at the top, middle, and bottom of the fridge door.
- Bed: Pillow at the top, blanket across the middle, rug or floor at the bottom.
Talk through these examples out loud: “This book is on the top shelf. This basket is on the bottom shelf. The clock is in the middle of the wall.” Repetition and pointing help children internalize the pattern.
Visual Comparison Table
The table below can help you think of contrasting examples to show all three positions at once.
| Object | Top | Middle | Bottom |
|---|---|---|---|
| Bookshelf | Lightest or favorite books | Everyday storybooks | Heavy boxes or bins |
| Tree | Bird or leaves | Fruits or branches | Roots or grass |
| Sandwich | Top slice of bread | Fillings (cheese, veggies) | Bottom slice of bread |
| Glass of water | Light oil or bubbles | Water | Stones or heavier items |
Teaching Through the Child’s Own Body
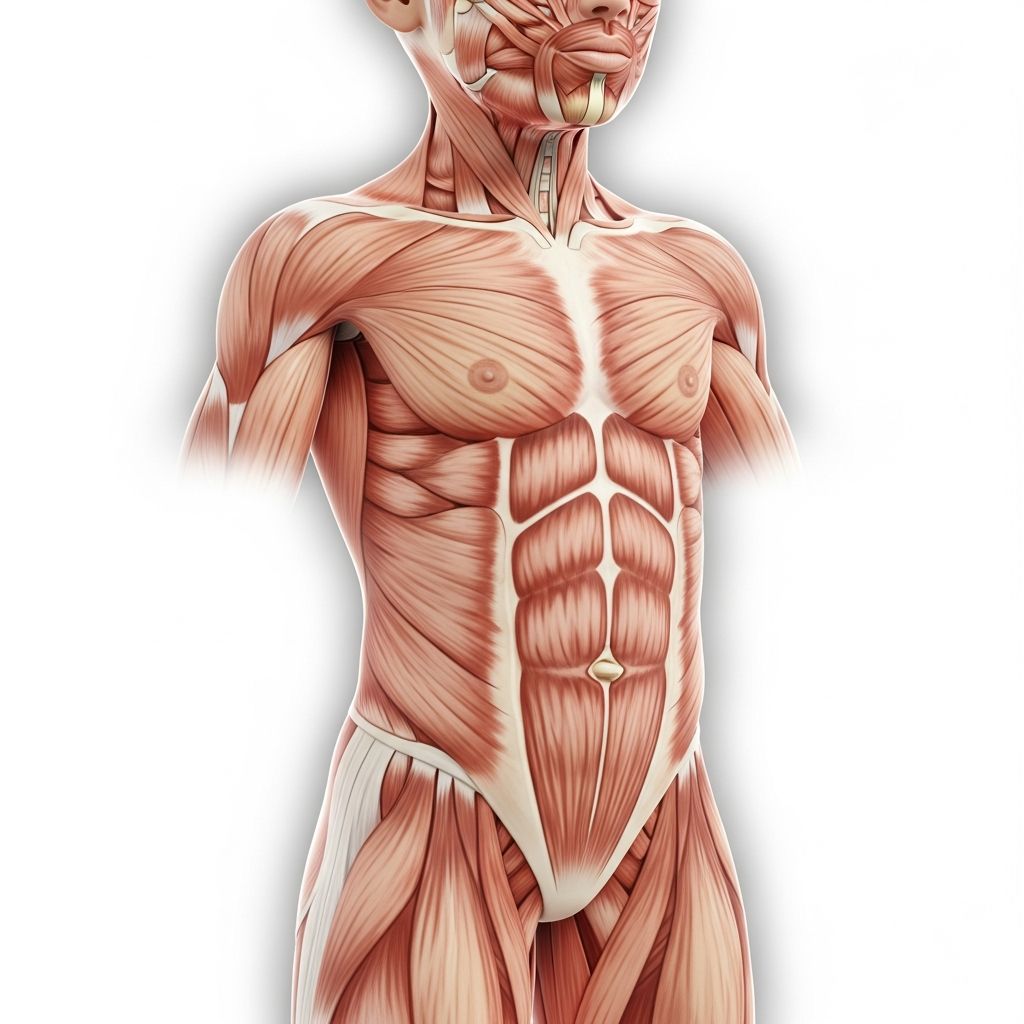
The child’s body is one of the easiest tools for teaching spatial words because it is always available and highly meaningful. Mirror play and movement games are especially effective for preschoolers.
- Head–tummy–toes game: Stand in front of a mirror and ask, “Where is the top of your body?” Then touch your head. Ask the child to copy you. Next, touch the middle (chest or tummy) and say “middle,” then touch your feet and say “bottom.”
- Clothing practice: When helping the child get dressed, label where things go: “Your hat goes on the top, your shirt is in the middle, and your shoes are at the bottom.”
- Sticker fun: Place stickers on the child’s shirt at the top, middle, and bottom. Ask, “Touch the sticker at the top. Now touch the sticker in the middle.”
Using the body as a reference point helps children connect abstract words to a concrete, familiar framework. Over time, they can transfer the concept from themselves to objects around them.
Hands-On Activities to Teach Top, Middle, and Bottom
Children learn best when they move, build, and create. The following activities use toys, art supplies, and simple materials to make positional words come alive.
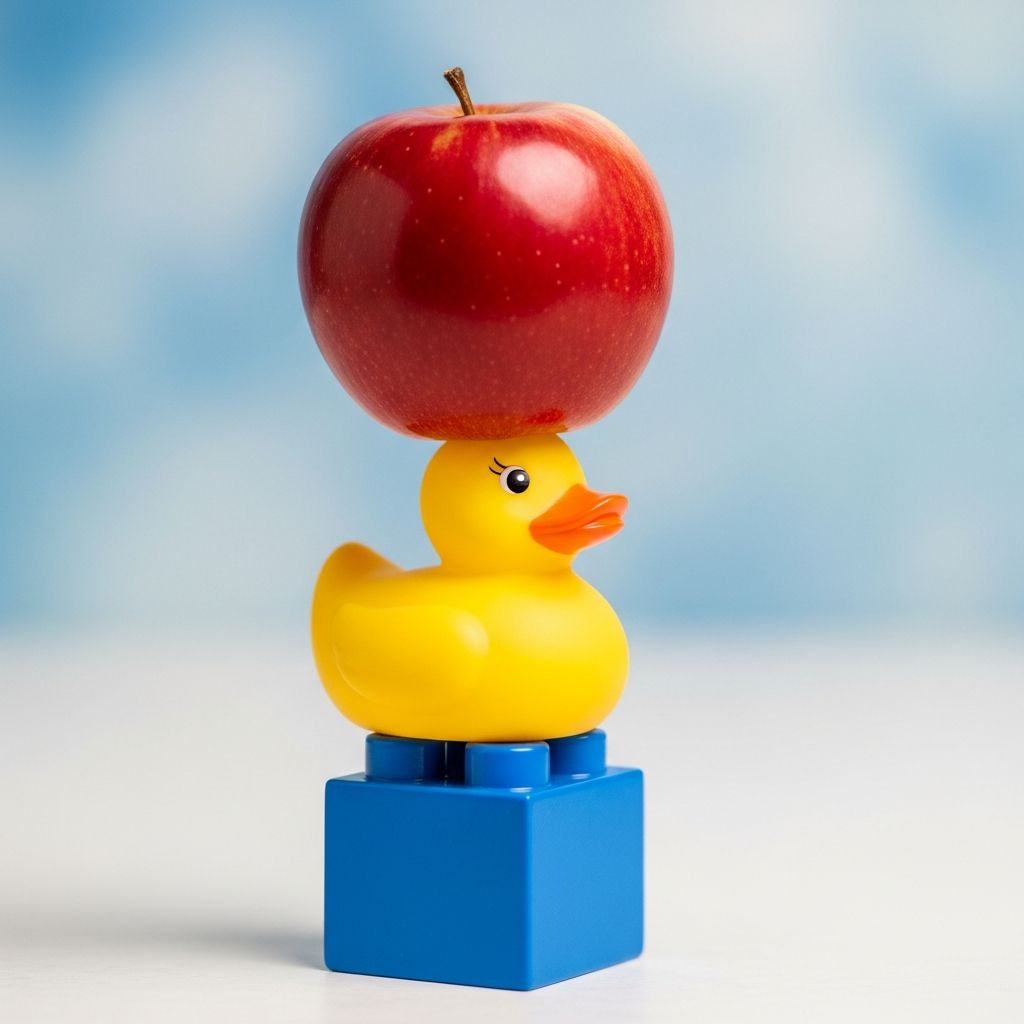
1. Build a Tower
This classic activity is ideal for toddlers, preschoolers, and kindergarten students. Use blocks, cups, or even pieces of cardboard to build a structure together.
- Give the child three blocks in different colors.
- Help them stack the blocks to build a simple tower.
- Ask questions such as “Which block is on the top?” and “Which block is at the bottom?”
- Mix up the order and rebuild, repeating the positional words each time.
As the child becomes more confident, increase the number of blocks and introduce the idea of the middle block or blocks. You can also challenge them to “put the red block in the middle” or “move the blue block to the top.”
2. Storytime with Pictures
Picture books and simple printed images are powerful tools for teaching spatial vocabulary. While reading or looking at pictures together, pause to discuss where things are on the page.
- Choose pages that clearly show top, middle, and bottom, such as tall buildings, trees, ladders, or shelves.
- Ask, “What do you see at the top of the picture?” and “What is at the bottom?”
- Invite the child to point and describe where people or objects are using the target words.
Printing a few simple images for coloring can deepen the learning. Ask the child to color the object on the top in one color, the object in the middle in another, and the object on the bottom in a third color.
3. Heatless Cooking: Sandwich Stacking
Creating a sandwich is a fun way to model layered positions safely. This also gives children a sense of control and accomplishment in the kitchen.
- Lay out bread, spreads, and fillings.
- Say, “This slice of bread will be the bottom.” Place it on the plate.
- Add fillings in the middle: cheese, vegetables, or spreads.
- Finish with another slice of bread and say, “This goes on the top.”
Encourage the child to repeat the words while building: “Bread on the bottom, cheese in the middle, bread on the top.” This rhythmic language helps the sequence stick in their memory.
4. Science-in-a-Glass Activity
This simple experiment demonstrates how different materials settle in layers. It combines language learning with early science exploration.
- Fill a clear glass with a handful of small stones, some water, and a spoonful of oil.
- Ask the child to observe carefully and describe what they see.
- Guide them to notice that heavy stones sink to the bottom, water stays in the middle, and oil floats on the top.
Repeat the activity with other materials if you like, always reinforcing the positional vocabulary. You can draw a simple picture of the glass and label each layer together.
5. Worksheet and Coloring Page Ideas
Printable pages can support children who enjoy sitting and working at a table. You can design your own simple worksheets or use ready-made resources as inspiration.
- Page 1: Many pictures arranged vertically; the child circles only the objects at the top of the page.
- Page 2: Similar layout; this time the child circles the objects in the middle.
- Page 3: The child circles the objects at the bottom.
- Extension: One page with rows of three pictures (top, middle, bottom) where the child matches or labels each position.
Keep instructions short and model first. For example, point to an object and say, “This is at the top; I circle it,” before asking the child to try.
6. Look Around and Describe
Observation games train children to use positional words spontaneously. They can be done anywhere and require no materials.
- Sit together in a room and ask, “Can you find something at the top of the room?” The child might point to a lamp, clock, or curtain rod.
- Next, ask for something in the middle and something at the bottom.
- Switch roles and let the child ask the questions while you answer and point.
This game encourages flexible thinking. Over time, children learn that many objects can be described in terms of top, middle, and bottom, even if they are not stacked.
7. Flashcards and Picture Strips
Flashcards are helpful visual supports that you can reuse in many ways. Focus on clear, simple images that highlight the concept.
- Create a card showing, for example, a tree with a bird at the top, fruits in the middle, and a squirrel at the bottom.
- Ask the child to describe the picture using positional words: “The bird is on the top of the tree.”
- Make multiple cards with other themes like shelves, ladders, or snowmen.
You can cut a picture into three parts and ask the child to arrange it in order from top to bottom, saying each position as they place the pieces.
Using Games and Play to Reinforce Learning
Short, playful games keep children motivated and help them review what they have learned without feeling like they are in a lesson. Mix these activities into circle time, centers, or free play.
- Simon Says with position: Give directions such as “Simon says touch the top of your head,” “Simon says sit at the bottom of the slide,” or “Simon says put your toy in the middle of the table.”
- Treasure hunt: Hide stickers or small toys in different positions and give clues like “Look at the very bottom of the bookshelf” or “Check the top of the couch.”
- Art games: Ask children to draw a picture with something at the top (like a sun), something in the middle (like a house), and something at the bottom (like grass).
Gamifying the practice keeps the vocabulary fresh and encourages children to use the words spontaneously while they play.
Tips for Teachers and Parents
Consistency and repetition are key when teaching positional concepts. Small changes in how you talk to children can turn daily routines into powerful learning opportunities.
- Use the words often: Narrate everyday actions using top, middle, and bottom. For example, “I’m putting this bowl on the top shelf.”
- Pair words with gestures: Always point or use your hands to show the position as you speak.
- Start with top and bottom: Once the child is confident with these two, add middle as an in-between position.
- Check for understanding: Ask the child to show you, not just repeat the words. Have them point, move objects, or act out your directions.
- Be patient and positive: Celebrate attempts and gently correct mistakes by modeling the correct answer.
Common Mistakes and How to Handle Them
It is normal for children to mix up positional words at first. They may use “top” and “bottom” for any vertical position or forget to use “middle” altogether.
- Overusing one word: If a child always says “top,” model the correct alternative: “This is the bottom. The top is up here.”
- Confusing middle with center: Show that middle can mean between top and bottom, not just the very center point, by using objects with clear vertical sections (like shelves).
- Using left/right instead: Acknowledge their idea and then shift back: “Yes, that’s on the left side, and it’s also at the top.”
Gentle clarification over time helps children refine their understanding without feeling discouraged.
Frequently Asked Questions (FAQs)
At what age can children learn top, middle, and bottom?
Many children begin to understand and use simple positional words like top and bottom in the preschool years, often around ages three to four. Middle typically comes a bit later once they are comfortable with the idea of “in between.”
What if my child mixes up the words?
Mixing up positional words is very common and not a cause for concern in young children. Keep modeling correct usage, provide chances to practice with pointing and moving objects, and give positive feedback when they use the words correctly.
How can I support language-delayed learners?
For children with language delays, use more visual supports and fewer verbal directions at first. Simple gestures, pictures, and physical modeling can help them grasp the concept; later, you can slowly add the spoken words “top,” “middle,” and “bottom.”
Can these activities work in a group setting?
Yes, most of the activities in this article adapt well for small groups or whole-class instruction. Use large materials (big blocks, posters, or magnetic boards) so everyone can see, and rotate turns so each child has a chance to point, place objects, or explain where something is.
How do I know if my child has mastered the concept?
Children who have mastered top, middle, and bottom can usually follow multi-step directions that use these words, describe positions correctly during play, and use the vocabulary independently in new situations. You might hear them say things like “I put my car at the bottom of the ramp” without being prompted.
With regular practice through daily routines, play, and simple activities, most children gradually become confident using top, middle, and bottom as part of their everyday language.