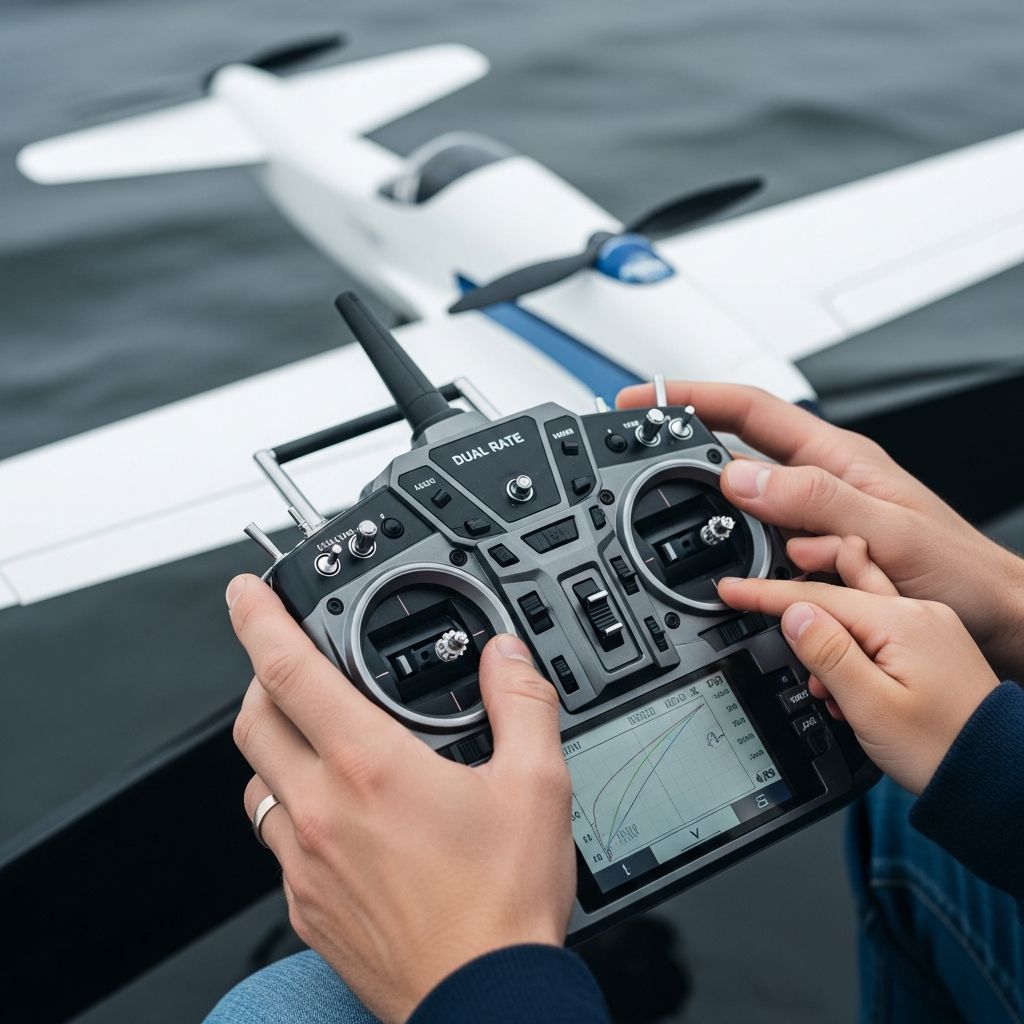
Dual rates are one of the simplest and most powerful ways to make a radio-controlled (RC) airplane or helicopter easier to fly, safer to learn on, and more responsive when you are ready for aerobatics. Understanding how dual rates work and how to program them on transmitters like the Spektrum DX6i can dramatically improve both safety and enjoyment in the air.
This article explains, in clear language, what dual rates do, how they interact with exponential (expo), how to choose sensible values, and how to set everything up step by step. It is written for beginners, returning pilots, and even parents helping kids learn to fly RC models.
What Are Dual Rates?
On most computer radios, dual rates let you instantly switch between two (or sometimes three) different levels of control surface movement for the same stick travel. In practical terms, that means a single model can have a “calm and gentle” mode and a “fast and agile” mode without changing any hardware.
- High rate: Gives more control surface movement for the same stick input. This makes the model more responsive and better for aerobatics.
- Low rate: Reduces control surface movement. This makes the model more stable and forgiving, ideal for takeoff, landing, and training.
Dual rates are usually available separately for aileron, elevator, and rudder channels, so you can tune each control to match your skill level and flying style.
How Dual Rates Affect Control Response
Think of dual rates as a percentage of the maximum throw you have mechanically set with your linkages and servo arms. If the full mechanical throw is 100%, then a 70% dual rate means the servo will only move 70% of that full range when you push the stick all the way.
- High rate values (for example, 100%) allow the model to roll, pitch, and yaw more quickly.
- Low rate values (for example, 60–70%) slow down the response so the model feels smoother and less “twitchy” around center.
Because the adjustment is done in the transmitter, you can experiment with different percentages without repeatedly changing mechanical linkage positions.
Dual Rates vs. Exponential (Expo)
Dual rates and exponential are often discussed together because they both affect how the model responds to stick input, but they work in different ways. Dual rates change the overall amount of travel, while exponential changes how that travel is distributed around the center of the stick.
- Dual rates: Scale the entire range of movement up or down. A 50% dual rate means half the total movement at full stick compared with 100% rate.
- Expo: Makes the center of the stick less sensitive (or more, depending on sign) without greatly affecting the ends of the travel.
In practice, many pilots combine low rates with some positive expo to get a very smooth response around center while still keeping enough authority for basic maneuvers at full stick.
Typical Channels Using Dual Rates
Not every channel on the transmitter needs a dual rate. Dual rates are especially helpful on the primary flight controls, where changes in sensitivity directly affect how easy or difficult the model is to fly.
- Aileron: Controls roll. Often given the highest rate for aerobatic models.
- Elevator: Controls pitch. A carefully chosen low rate here can prevent over-rotation on takeoff and landing.
- Rudder: Controls yaw. Dual rates on the rudder can help tame tail wag on powerful 3D planes or helicopters.
Throttle is usually managed with curves and travel adjustments rather than dual rates, because the throttle channel behaves differently from the primary control surfaces.
Example Dual Rate Values for Beginners
There is no single “right” value for dual rates, because every model and pilot is different. However, some starting points work well for many trainers and sport planes. Begin conservatively, then adjust upward as your skills improve.
| Control | Low Rate (Beginner) | High Rate (Sport/Aerobatic) |
|---|---|---|
| Aileron | 60–70% | 90–100% |
| Elevator | 60–70% | 90–100% |
| Rudder | 65–75% | 100% |
These suggestions are meant as safe, conservative starting points. Always check the manufacturer’s recommended throws for your specific model and ensure that your mechanical setup matches or slightly exceeds those values before using dual rates to fine-tune.
Why Dual Rates Matter for Safety
For new pilots, over-controlling the airplane is one of the most common causes of crashes. When dual rates are set too high at the beginning, even small stick movements can cause abrupt rolls or pitch changes, which are difficult to recover from close to the ground.
- Low rates reduce the risk of sudden, exaggerated control inputs.
- Parents teaching children to fly can use low rates as a safety net while kids learn gentle stick movements.
Even experienced pilots often prefer low rates for takeoffs, landings, and calm cruising, switching to high rates only when they are high enough to safely perform aerobatics and recover from mistakes.
Using a Switch to Change Rates
Most transmitters assign dual rates to a physical switch. On a radio like the Spektrum DX6i, each primary control can have its own dual-rate switch assignment, or several controls can be grouped on the same switch for convenience.
- One position of the switch selects the low rate (often used for takeoff and landing).
- The other position selects the high rate (often used for aerobatics and aggressive maneuvers).
It is a good habit to label or remember which switch position corresponds to which rate, and to check the rates on the ground before every flight by moving the sticks and watching the control surfaces.
Programming Dual Rates on the Spektrum DX6i (Conceptual Guide)
Exact button presses vary with firmware versions, but the basic logic for setting up dual rates on the DX6i and similar transmitters is consistent. You select a channel, specify rate values for each switch position, and choose which switch controls that channel’s rates.
- Enter the function or setup menu on your transmitter.
- Navigate to the dual rate/expo screen for the desired channel (aileron, elevator, or rudder).
- Select the switch position (for example, position 0 for low rate).
- Adjust the rate percentage to your desired low rate value.
- Change to the other switch position (for example, position 1 for high rate) and set a higher rate percentage.
- Repeat for each control surface you want to configure.
After programming, move the switch while looking at the transmitter’s output display or the actual control surfaces to confirm that they move more or less in each position.
Combining Dual Rates and Expo
Once basic dual rates are working, many pilots add exponential to refine the feel around the center of the sticks. On Spektrum radios, positive expo values typically make the center less sensitive, which helps prevent over-corrections during level flight.
- A mild expo value (for example, 20–30%) on the low rate can make an already gentle setup feel very smooth for beginners.
- Higher expo values (for example, 30–40% or more) on the high rate can keep aerobatic controls manageable while still allowing full deflection at the ends of the stick travel.
As with dual rates, introduce expo gradually and test at a safe altitude so you can decide whether the control response feels more predictable or needs further adjustment.
Mechanical Setup vs. Radio Setup
Dual rates should fine-tune a model that is already mechanically correct, not compensate for serious mechanical problems. Before relying on radio settings, make sure that linkages, control horns, and servo arms provide the proper recommended throws.
- If mechanical throws are too small, even 100% dual rate may not give enough control authority.
- If mechanical throws are excessive, you may be forced to use very low rate percentages, which can make the model harder to tune precisely.
A good rule is to get your mechanical throws close to the manufacturer’s high-rate recommendations, then use dual rates and expo in the transmitter to create your lower and intermediate responses.
Testing Dual Rate Settings Safely
New rate settings should always be tested in a controlled way. Rushing straight into low-altitude aerobatics with unfamiliar rates is a recipe for mistakes. Instead, use a step-by-step approach that gives you time to sense how the model responds.
- Do a range and control check on the ground with the transmitter on both rate positions.
- Take off on low rates and climb to a safe height.
- Flip to high rates and gently move the sticks to feel how much quicker the model responds.
- Practice a few basic turns, climbs, and descents on each rate before attempting aerobatics.
If the airplane feels nervous, reduce the high-rate percentages or add more expo. If it feels sluggish even on high rates, consider increasing mechanical throws or adjusting the dual rate values upward.
Using Dual Rates for Training Children
For families who share an RC model, dual rates are especially helpful. Parents can set gentle low rates for children and higher rates for their own flights, all on the same transmitter and airplane. This makes it much easier to share equipment without constant re-programming.
- Low rates with moderate expo help kids learn smooth stick control and avoid abrupt, jerky movements.
- Adults can flip to high rates when it is their turn to fly, making full use of the model’s aerobatic capabilities.
Pairing this with a buddy-box or trainer-link system adds another layer of safety, allowing a more experienced pilot to take over instantly if the student loses control.
Common Mistakes With Dual Rates
Most dual-rate problems come from misunderstandings about what the settings really do, or from setting values too aggressively too early. Avoiding a few common pitfalls will save both time and repair work.
- Setting both positions too high: If low and high rates are almost identical, there is little practical safety benefit.
- Not checking switch positions before flight: Taking off in unexpected high rates can surprise a beginner pilot.
- Using dual rates to hide mechanical issues: Incorrect linkages or binding controls should be fixed before relying on radio adjustments.
When in doubt, start with conservative low rates and gradually increase values by 5–10% over several flights until the model feels lively without being uncontrollable.
Advanced Uses: Triple Rates and Flight Modes
More advanced transmitters allow three different rate settings per channel or even full “flight modes” that change multiple parameters at once. While this goes beyond basic dual rates, the concepts are similar and build on the same foundation.
- Triple rates can provide a beginner, intermediate, and expert level of responsiveness without re-programming the model.
- Flight modes can change dual rates, expo, and mixes simultaneously for different parts of a flight, such as takeoff, cruise, and landing.
Once comfortable with simple dual rates, exploring these more advanced options can make complex models easier to handle in a wide range of conditions.
Frequently Asked Questions (FAQs)
Do I really need dual rates as a beginner?
While it is possible to fly without dual rates, having a low rate option greatly reduces the chance of over-controlling the airplane. For a new or nervous pilot, dual rates are a valuable safety tool as well as a way to grow into more responsive handling over time.
Should I use the same percentage for all controls?
Not necessarily. Many pilots prefer slightly higher aileron rates for crisp rolls and slightly softer elevator rates to avoid over-pitching. The best combination depends on your airplane and comfort level, so feel free to experiment within safe limits.
How do I know if my low rate is too low?
If the model feels unresponsive and struggles to perform basic maneuvers like turning into the wind or recovering from a dive, the low rate may be set too low. Increase the rate in small steps until you have enough authority for normal flying while the model still feels calm and predictable.
Can dual rates fix a tail-heavy or nose-heavy airplane?
No. Dual rates only change how much the surfaces move for a given stick input. A badly balanced airplane must be fixed mechanically by adjusting the center of gravity with battery placement or added weight before fine-tuning with radio settings.
Is expo required if I use dual rates?
Expo is not required, but many pilots find that it complements dual rates nicely. If you start with conservative low rates, you can initially fly without expo, then add it later if the model still feels too sensitive around center.
Final Thoughts on Dual Rates
Dual rates give you a simple way to shape how an RC model responds to your inputs, making flying more accessible for beginners while still offering the agility experienced pilots want. By starting with safe, moderate values and carefully testing each change, you can tailor any airplane or helicopter to your personal style.
Whether you are a solo hobbyist or a parent sharing a transmitter with your child, learning to use dual rates thoughtfully will make every flight more controlled, more enjoyable, and ultimately more successful.