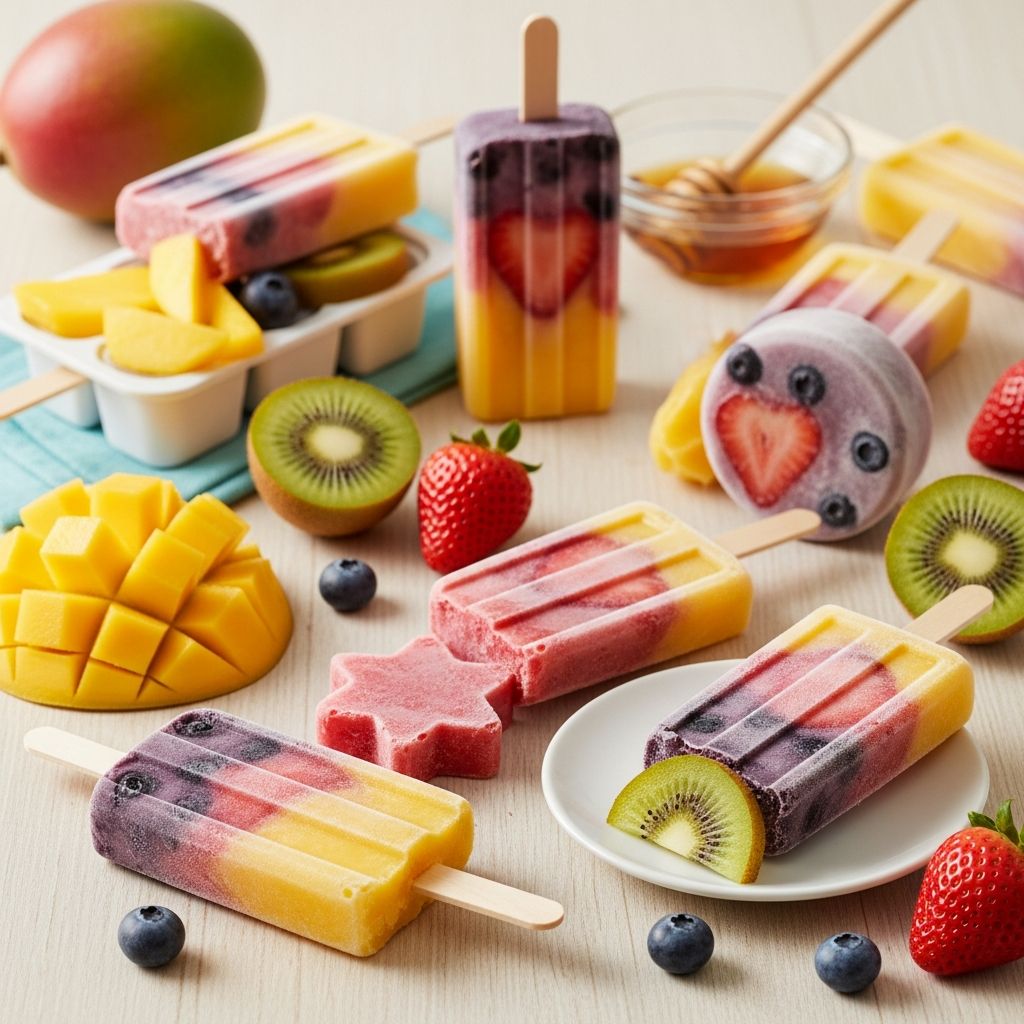
Homemade popsicles are one of the easiest ways to turn everyday fruit into a refreshing treat that feels like dessert but delivers the goodness of real, wholesome ingredients. These sunshine swirl pops combine bright citrus with colorful layers of fruit to create a snack that looks like a rainbow and tastes like summer in every bite.
Unlike store-bought ice pops packed with artificial flavors and dyes, this approach focuses on fresh produce, a touch of natural sweetness, and a hint of lemon to tie all the flavors together. The result is a customizable recipe you can adapt to your family’s tastes, dietary needs, and what you already have in the fridge.
Why Make Your Own Popsicles?
Freezer pops from the supermarket are convenient, but they often contain long ingredient lists that don’t match the simplicity of fruit, water, and a squeeze of citrus. Making your own at home gives you control over flavor, sweetness, and quality, and it turns a simple snack into something creative and memorable.
- Use real fruit instead of artificial flavors.
- Adjust sweetness to your taste rather than relying on added sugars or corn syrup.
- Experiment with colors and layers to build playful rainbow designs.
- Avoid synthetic colors by using colorful fruits and vegetables such as berries, mango, and spinach.
Homemade popsicles also help you reduce food waste: slightly soft fruit that is no longer perfect for a fruit salad still makes a great base for frozen treats.
Core Idea: Lemony Rainbow Pops
The centerpiece of this article is a simple concept: blend different fruits into colorful layers, brighten each one with lemon, and freeze them in molds to create a cheerful, striped popsicle. Each layer uses its characteristic color to build a rainbow effect, but the lemon ties the whole flavor profile together so it tastes harmonious, not chaotic.
You can follow the suggested combinations below, or swap in your favorite produce according to what looks best at the market. Think of the recipe as a framework rather than a rigid set of instructions.
Suggested Rainbow Layers
Use this table as a quick reference when planning your layers. Feel free to choose two or three colors instead of a full spectrum if you prefer something simpler.
| Layer Color | Fruit / Veg Options | Optional Add-Ins | Flavor Notes |
|---|---|---|---|
| Red | Strawberries, raspberries, cherries | A drizzle of honey, pinch of vanilla | Sweet-tart and familiar, great for the first bite. |
| Orange | Mango, peaches, cantaloupe | A splash of orange juice | Soft, tropical sweetness that kids love. |
| Yellow | Pineapple, yellow peach, banana | Extra lemon juice for tang | Bright, sunny flavor that pairs well with every color. |
| Green | Kiwi, green grapes, baby spinach | A few mint leaves | Fresh and lightly herbal, great for a surprising twist. |
| Purple | Blueberries, blackberries, purple grapes | A bit of plain yogurt | Deeper, jammy flavor that finishes the pop with richness. |
Ingredients for Sunshine Swirl Pops
This ingredient list is written for a batch of about 8–10 medium-size popsicles. Adjust quantities based on the size of your molds and how many colors you want to include.
Base Ingredients
- 2 cups mixed fresh or frozen fruit, divided by color (for example: 1/2 cup strawberries, 1/2 cup mango, 1/2 cup pineapple, 1/2 cup blueberries).
- 3–4 tablespoons freshly squeezed lemon juice, divided among the layers.
- 2–4 tablespoons honey, maple syrup, or agave (optional, to taste).
- 1/2–3/4 cup water, coconut water, or unsweetened juice, to help the blender run and adjust texture.
Optional Creamy or Boosted Additions
- Plain or vanilla yogurt for a creamier texture in one of the layers.
- Small handful of baby spinach or kale for the green layer.
- Fresh herbs (mint or basil) to add subtle complexity.
- Chia seeds or finely ground oats for a more substantial snack.
The key is to balance flavor and texture. Each puree should be thick enough that layers don’t immediately blend together but still pourable so they settle smoothly in the mold.
Equipment You’ll Need
You do not need specialty tools to get started, but a few basics will make the process smoother and more fun.
- Popsicle molds and sticks (or small paper cups and wooden craft sticks).
- A blender or food processor for pureeing the fruit.
- Small cups or bowls for separating and flavoring each color layer.
- A narrow spoon or squeeze bottle to help pour layers neatly.
If you make popsicles often, consider molds with removable individual cavities so you can enjoy one pop without warming up the entire batch.
Step-by-Step: Building Your Lemony Rainbow
This method is flexible and forgiving. If a layer blends into the next one, the popsicles will still taste delicious; the marbled look can even be more interesting than perfect stripes.
1. Prep and Sweeten the Fruit
- Wash, peel, and chop all fruits. Remove stems, pits, and tough skins.
- Group fruits by color in separate bowls so you can blend one shade at a time.
- Taste each fruit pile: if it is very tart, plan to add a little more sweetener; if it is very ripe and sugary, you may not need any extra at all.
2. Blend the First Layer
- Add your first color (for example, red berries) to the blender with 1–2 teaspoons of lemon juice and a splash of water or coconut water.
- Blend until smooth, pausing to scrape down the sides if needed.
- Taste the puree. Add a small amount of honey or another sweetener if you like, then blend again briefly.
- Pour the puree into a small cup or bowl and set aside.
Repeat this process for each color you plan to use so you end up with separate, lemony purees waiting to be layered.
3. Layer the Popsicles
- Place the molds on a tray or baking sheet so they are easy to move to the freezer without spilling.
- Fill each mold with a small amount of your first color, tilting the mold slightly if you want a diagonal effect.
- Freeze for about 20–30 minutes, just until the top of the layer is firm enough to support the next color.
- Add a second color, again filling only a thin layer, and return to the freezer.
- Continue freezing briefly and layering until you run out of colors or reach the top of the molds.
- Insert sticks once the mixture is slushy enough to hold them in place, or use the built-in lid if your mold has one.
If you are short on time, skip the partial freezing between every single layer and accept that your colors will swirl together more. The popsicles will still showcase a rainbow effect, just with softer transitions.
4. Final Freeze and Unmold
- Freeze the popsicles for at least 6–8 hours, or overnight for the cleanest results.
- To release, briefly run warm water over the outside of the molds, or dip the mold in a bowl of warm water for 10–15 seconds.
- Gently wiggle the sticks to ease the pops free. Avoid pulling too hard to prevent breaking the sticks.
Once unmolded, you can enjoy the pops immediately or place them on a parchment-lined tray to refreeze briefly before transferring to a storage container.
Flavor Variations for Every Mood
Once you understand the basic technique, it becomes easy to tweak the recipe to match seasons, holidays, or personal preferences. Try building themed popsicles that highlight specific taste profiles.
- Citrus Sunrise: Alternate orange and yellow layers using oranges, mango, pineapple, and extra lemon juice for a tart finish.
- Berry Garden: Use strawberries, blueberries, and raspberries only, then swirl them gently instead of fully separating the layers.
- Tropical Green Glow: Blend mango with a handful of spinach and kiwi, then add mint and lemon to keep the taste bright rather than earthy.
- Creamy Lemon Swirl: Combine lemon juice, yogurt, a bit of honey, and any pale fruit like banana or peach for a soft, pastel layer among brighter colors.
These popsicles are a canvas for creativity: tuck a few whole berries or sliced grapes along the sides of the mold, or vary the thickness of each layer to create unique striping patterns.
Tips for Kid Involvement
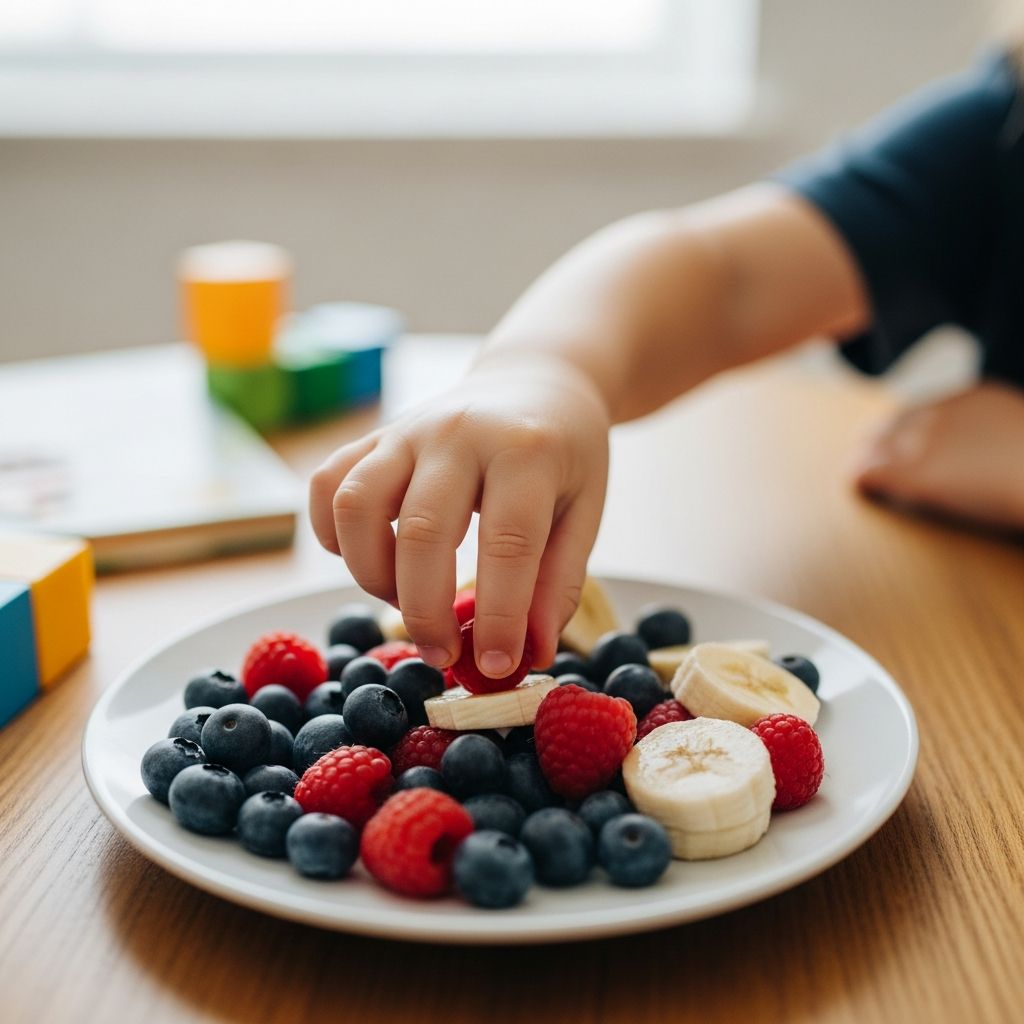
Children love hands-on projects, and this recipe offers plenty of opportunities for them to explore colors, textures, and flavors safely. Supervising adults can manage the knife work and blender, while kids handle the fun tasks.
- Let kids choose the color order for each mold.
- Invite them to taste each fruit puree and describe the flavor using simple words like “tangy,” “sweet,” or “juicy.”
- Give them a small pitcher or squeeze bottle to pour layers into the molds.
- Use the project to talk about where fruits come from and why fruits and vegetables are good everyday choices.
Turning popsicle-making into a mini science experiment or art project gives kids a sense of ownership and increases the chance that they will enjoy eating the finished treats.
Storage and Make-Ahead Advice
Homemade popsicles keep well in the freezer, which makes them perfect for prepping ahead of heat waves, birthday parties, or busy weeks. Proper storage helps preserve both texture and flavor.
- Once fully frozen, remove the pops from the molds and wrap them individually in parchment or wax paper.
- Place the wrapped pops in an airtight container or freezer bag to prevent freezer burn.
- Label the container with the flavor combination so you remember which batch is which.
Most fruit-based popsicles taste best within a month, though they are usually safe to eat for longer as long as they remain fully frozen and are stored in airtight packaging.
Nutrition Snapshot: What’s Inside Your Pop?
The exact nutrition of your popsicles will depend on the fruit, liquid, and sweetener you choose, but most variations provide a lighter option than many packaged frozen treats. Using a variety of fruits also brings a range of vitamins and plant compounds to the party.
- Citrus and berries often contribute vitamin C and colorful antioxidants.
- Bananas and peaches may offer small amounts of potassium and fiber.
- Spinach or other leafy greens in the green layer can add a gentle boost of vitamin A and other nutrients without dominating the flavor when you balance them with sweet fruit and lemon.
If you stir in yogurt, you also add a bit of protein and creaminess, which can help the pops feel more like a snack than a simple ice treat.
Frequently Asked Questions
Can I make these popsicles without any added sweetener?
Yes. If you use very ripe fruit, especially naturally sweet options like mango, banana, or ripe peaches, you can skip honey or other sweeteners completely. Taste each puree before freezing and adjust only if you feel the mixture needs a little more sweetness to balance the lemon.
What if I do not have popsicle molds?
You can create simple molds from small paper cups or reusable silicone muffin cups. Pour in the fruit purees as usual, freeze until slushy, then insert sticks. Once completely frozen, peel away the cup or pop out the frozen treats.
How do I prevent icy, rock-hard popsicles?
Very watery mixtures can freeze into solid ice, so using fruit with some natural body, like banana or mango, helps keep the texture smoother. A small amount of sweetener also interferes slightly with ice crystal formation and contributes to a softer bite.
Can I use bottled lemon juice instead of fresh?
Fresh lemon juice generally tastes brighter and cleaner, but bottled juice can work in a pinch. If using bottled, start with a smaller amount and adjust slowly, since some brands taste more concentrated or slightly bitter compared to fresh lemons.
Are there dairy-free options?
Absolutely. The basic recipe uses fruit and water or coconut water, so it is naturally dairy-free. When you want a creamy texture without dairy, blend in canned coconut milk or a favorite plant-based yogurt for one or more layers.
How long do the popsicles need to freeze?
Most home freezers require at least 6–8 hours to fully freeze layered popsicles, especially if you have made several layers and opened the freezer door multiple times during assembly. Freezing overnight is a reliable way to guarantee the pops are set all the way through.
Can I add whole fruit pieces instead of pureeing everything?
Yes, folding in small chunks of fruit adds texture and a fun visual effect. Just be sure the pieces are bite-size so they are easy and safe to eat once frozen, and consider pairing them with a smoother base so the pops hold together well.
Bringing It All Together
Healthy lemony rainbow popsicles transform basic fruit and citrus into something eye-catching, refreshing, and nourishing. With a few minutes of prep and some freezer time, you can stock your kitchen with colorful, homemade treats that satisfy sweet cravings while celebrating fresh ingredients.
Experiment with flavors, involve kids in the layering process, and adjust sweetness and texture to match your family’s preferences. These sunshine swirl pops are less a strict recipe and more a creative blueprint you can revisit all summer long and beyond.