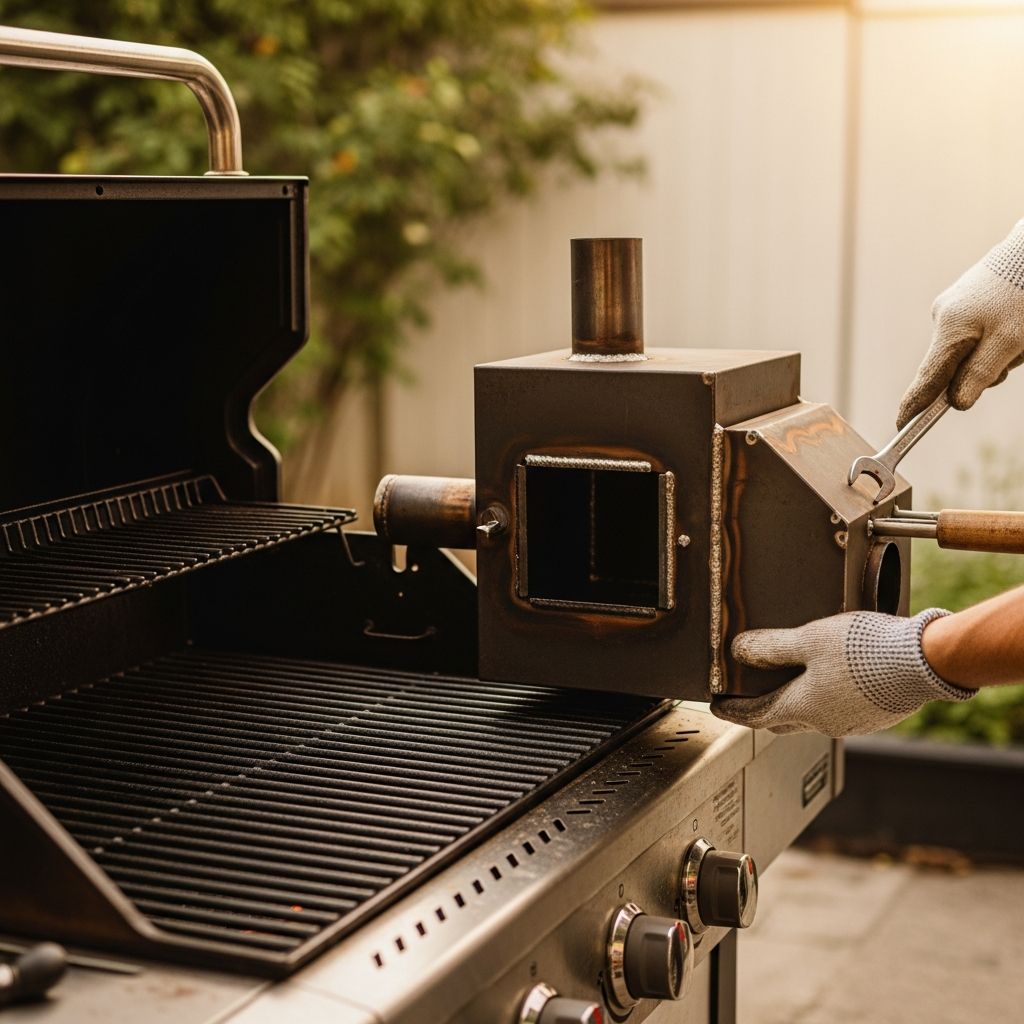
That aging gas grill on the patio can do more than sear burgers; with a few smart tweaks, it can deliver slow-smoked ribs, brisket, and chicken that taste like they came off a dedicated smoker.
By creating indirect heat, adding controlled wood smoke, and regulating temperature, a standard gas grill can mimic the environment of a traditional smoker closely enough for impressive results at home.
Why Convert a Gas Grill Instead of Buying a Smoker?
Turning a gas grill into a smoker lets you explore low-and-slow cooking without committing to a separate, often bulky and expensive, dedicated smoker.
Because gas grills heat quickly and adjust easily, they can be more forgiving for beginners learning how to manage smoking temperatures and smoke levels.
- Lower cost than buying a new smoker.
- Uses equipment you already own and know.
- Requires minimal extra gear (foil, wood, and a basic thermometer).
Safety First: Inspecting and Preparing an Older Gas Grill
Before turning any older gas grill into a smoker, inspect gas hoses, connections, and burners for cracks, leaks, and corrosion, and repair or replace damaged parts before cooking.
Clean out grease trays and scrape off old fat and food debris from the firebox to reduce flare-ups and off flavors when cooking for long periods at low temperature.
- Check for gas leaks with a soapy water solution on connections; bubbles indicate a leak that must be fixed before use.
- Remove and empty grease pans and any loose debris under the burners.
- Scrub grates and interior surfaces to prevent rancid smoke from old grease.
Core Principle: Indirect Heat and Gentle Smoke
A smoker works by cooking food slowly with indirect heat while surrounding it with a steady flow of flavorful smoke, typically at 225–275 degrees Fahrenheit.
On a gas grill, this environment is created by lighting burners on one side only and placing the food on the opposite side, with wood chips or chunks above the active burners to generate smoke.
Basic Gear You Need
Most gas grill conversions rely on simple accessories that hold wood and help maintain moisture and temperature inside the cooking chamber.
While optional tools like dedicated smoke boxes and temperature probes improve control, basic aluminum foil and a small pan of water are enough to get started.
- Heavy-duty aluminum foil or a metal smoke box.
- Hardwood chips or chunks (hickory, apple, cherry, oak, etc.).
- Disposable aluminum pan (for water or drip collection).
- Grill-safe thermometer or probe for accurate temperature readings.
Choosing the Right Wood for Smoke
Hardwoods such as hickory, oak, apple, and cherry are commonly used on gas grills because they deliver clean, food-safe smoke when heated slowly.
Flavor varies by species: hickory is stronger and more assertive, fruit woods are milder and sweeter, and blending small amounts allows you to tune intensity for different meats.
| Wood Type | Flavor Strength | Best For |
|---|---|---|
| Hickory | Robust, bacon-like smoke. | Pork shoulder, ribs, beef brisket. |
| Oak | Medium, versatile, steady. | Beef, lamb, mixed cuts. |
| Apple | Mild and fruity. | Chicken, pork chops, sausages. |
| Cherry | Mild-to-medium, slightly sweet. | Poultry, ham, ribs. |
Setting Up Two Heat Zones
The key modification for smoking on a gas grill is turning it into a two-zone cooker with a hot side and a cooler side, so food roasts slowly away from direct flame.
On most three- or four-burner grills, this means leaving one or two burners on low at one end and shutting off the burners under the food entirely.
- Designate one end as the “fire” or hot zone; this is where burners and wood packets go.
- Use the opposite side as the “food” or indirect zone for your meat.
- Keep the lid closed as much as possible to hold steady temperature and smoke.
Building Simple Foil Smoke Packets
One of the easiest ways to add smoke to a gas grill is by wrapping a handful of wood chips in foil and poking holes so smoke can escape as the wood heats.
These packets sit directly above an active burner or on the heat deflector, producing smoke for roughly 30–45 minutes before needing replacement, depending on grill temperature and packet size.
- Tear off a sheet of heavy-duty foil large enough to hold a small mound of chips.
- Place a layer of dry or lightly soaked wood chips in the center.
- Fold the foil over the chips to form a flat pouch and crimp the edges tightly.
- Flip the packet and pierce several small holes in the top with a fork or knife tip.
- Set the packet on the hot side, close to or directly above a burner.
Alternative Smoke Sources: Boxes and Tubes
Instead of foil, many grill owners use metal smoke boxes or pellet tubes that hold wood chips or pellets and are designed to sit directly over a burner or near the heat source.
Smoke tubes, in particular, can provide hours of continuous smoke when filled with pellets and lit at one end, making them useful for longer cooks like pork shoulder or brisket.
- Metal smoke box: Reusable, fits chips or small chunks, sits over a burner.
- Pellet tube: Filled with pellets, ignited at one end for long, consistent smoke.
- DIY tray: Simple metal tray or pan filled with chips and covered loosely with foil.
Adding Moisture: Using a Water or Drip Pan
Gas grills tend to be dry environments, so adding a shallow pan of water under or near the food can help stabilize temperature and keep the meat surface from drying too quickly.
A disposable aluminum pan filled halfway with water, juice, or broth also acts as a drip pan, catching rendered fat and minimizing flare-ups during long smoking sessions.
- Place the water pan in the hot zone, on top of or just above the heat deflectors.
- Position food on the cool side so rising warm, moist air and smoke surround it.
- Top off water only when necessary to avoid repeated heat loss from open lids.
Dialing In and Maintaining Temperature
For most barbecue, aim for a cooking temperature between 225 and 275 degrees Fahrenheit, adjusting knobs on the active burners in small increments to hold steady heat.
Because built-in lid thermometers are often inaccurate or positioned away from the food, a small grill thermometer or probe at grate level gives a more reliable reading.
- Start both hot-zone burners on medium to preheat, then drop them to low once smoke appears.
- Make minor knob adjustments and wait several minutes between changes.
- Use windbreaks or reposition the grill if outdoor conditions cause temperature swings.
Positioning and Managing the Food
Place larger cuts like pork shoulders, whole chickens, or brisket flats on the cooler side of the grill, as far from direct flame as practical, with fat caps facing up or toward the hotter side to help protect the lean meat.
Arrange multiple items with space between them so heat and smoke can circulate, and avoid crowding that blocks airflow or creates hot spots.
- Put thicker pieces closer to the hot zone and thinner ones farther away.
- Rotate or swap positions only if you notice uneven browning over time.
- Probe internal temperature at the thickest part of the meat, away from bone or large fat pockets.
Recognizing Good vs. Bad Smoke
Thin, almost transparent blue-gray smoke usually indicates a clean burn that gives pleasant flavor, while thick, billowing white smoke tends to leave food bitter or harsh.
Overloading the grill with wood, choking off airflow, or using damp, smoldering chips can all create dirty smoke, so use modest amounts of wood and keep at least one vent partially open.
- If smoke looks heavy and white, briefly open the lid to vent and reduce wood load next time.
- Replace fully charred packets or boxes rather than adding raw chips on top of ash.
- Give wood time to ignite and produce cleaner smoke before placing meat on the grill.
When to Add More Wood Packets
Most foods absorb smoke flavor most efficiently in the first few hours of cooking, so refreshing smoke early in the cook is more impactful than adding wood only near the end.
On a gas grill, small foil packets may last under an hour, so having several prepared allows quick swaps without leaving the lid open for long.
- Prepare multiple wood packets before you start cooking.
- Add a fresh packet when smoke visibly tapers off, especially during the first half of the cook.
- Back off on additional wood if the meat already shows a deep color and pronounced aroma.
Cleaning and Maintaining Your Converted Smoker
Because smoking sessions are longer, more fat and residue accumulate inside the grill, making regular cleanup and occasional deep scrubbing more important for safety and flavor.
Removing used foil packets, emptying grease pans, and brushing grates after each session keeps airflow clear and reduces the chance of flare-ups during your next cook.
- Allow the grill to cool, then discard spent wood and foil in a non-combustible container.
- Brush grates clean and scrape any heavy buildup from heat shields or flavorizer bars.
- Inspect burners periodically to ensure smoke and drippings have not blocked ports.
Common Mistakes to Avoid
Beginners often struggle with opening the lid too frequently, adding too much wood at once, or cooking directly over a burner instead of relying on indirect heat.
Another frequent issue is chasing temperature numbers aggressively, which leads to big swings and inconsistent results; patience and small adjustments are more effective.
- Avoid stacking food directly above active burners during smoking sessions.
- Resist the urge to constantly peek; use thermometers rather than visual checks alone.
- Use moderate amounts of wood and focus on quality of smoke, not quantity.
Quick Reference: Gas Grill Smoker Setup
| Step | Action | Goal |
|---|---|---|
| 1. Inspect & Clean | Check gas lines, burners, and remove grease and debris. | Safe operation and clean flavor. |
| 2. Create Two Zones | Light burners on one side, leave opposite side off. | Indirect heat for low-and-slow cooking. |
| 3. Add Smoke Source | Place foil packets, smoke box, or tube above the active burner. | Steady flow of clean wood smoke. |
| 4. Add Water Pan | Set a pan of water over the hot zone or under the food. | Moist environment and temperature stability. |
| 5. Control Temperature | Adjust burners to 225–275°F and monitor with a thermometer. | Consistent, gentle cooking. |
| 6. Place Food Indirect | Arrange meat on the cool side, away from direct flame. | Even cooking without scorching. |
FAQs: Smoking on a Gas Grill
Do I need to soak wood chips first?
Soaking chips is optional; wet chips smolder longer but take time to start producing smoke, while dry chips ignite faster and may burn out sooner, so many grillers choose based on convenience and how often they are willing to change packets.
Can any gas grill be used as a smoker?
Most multi-burner gas grills can be adapted, as long as you can keep at least one burner off to create an indirect zone and maintain low, stable temperatures without safety issues.
How long should I smoke meat on a gas grill?
Time depends on the cut: smaller items like chicken pieces or sausages may take 1–2 hours, while larger roasts or brisket can require several hours at low temperature until they reach a safe and tender internal temperature.
Is the smoke ring necessary for good barbecue?
The pink smoke ring often seen on traditional barbecue is cosmetic and influenced by combustion gases more than smoke alone, so gas-grill-smoked meat may not always show a strong ring but can still taste excellent.
Can I cold-smoke on a gas grill?
Some people use unlit gas grills as enclosures for pellet tubes or smoke generators at very low temperatures, but this requires careful monitoring and is better reserved for experienced users following food safety guidance.