Making your own pajama bottoms is one of the easiest and most satisfying sewing projects you can tackle as a beginner. You end up with something soft, practical, and perfectly tailored to your body and style. This guide walks through every step in simple language, so you can go from fabric to finished loungewear without feeling overwhelmed.
Why Start With Pajama Bottoms?
Pajama pants are forgiving, comfortable, and rarely judged for perfection, which makes them ideal for a first or early sewing project. They mainly use straight seams, simple curves, and an elastic waistband, so you can focus on learning to control your machine and handle fabric rather than complex fitting or closures.
- Loose fit hides small sewing imperfections.
- Elastic waists are easier to sew than zippers or buttons.
- They work with a wide range of fabrics, from flannel to lightweight cotton.
Choosing the Right Fabric and Notions
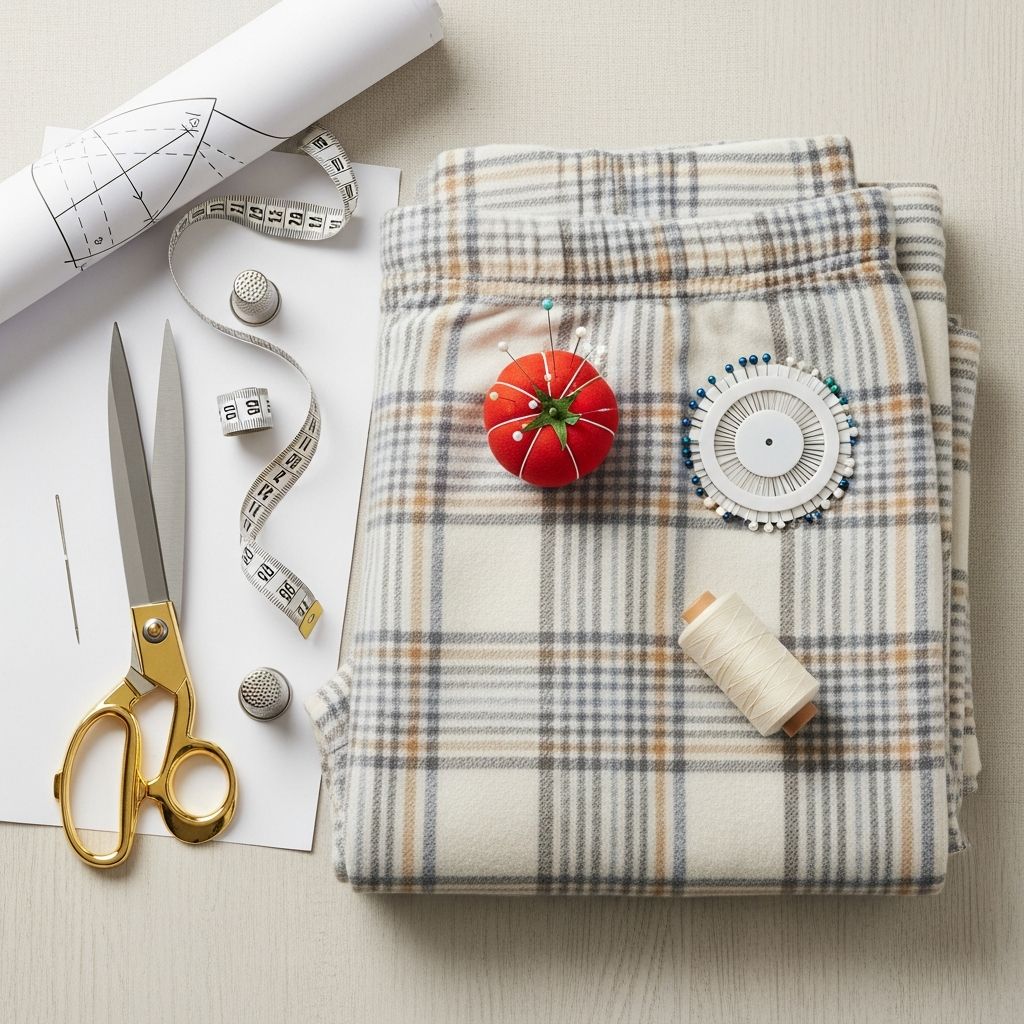
The fabric you choose will determine how your pajama bottoms feel, hang, and wash over time. For a first project, it is usually best to pick a stable, woven fabric that is not too slippery or stretchy. Fabrics with a brushed surface, like flannel, feel warm and cozy while also gripping slightly against themselves, which makes pinning and sewing simpler.
Most adults will need between 2 and 3 yards (or about 2 to 2.75 meters) of fabric, depending on height, size, and pant length. Always check the fabric width on the bolt and consider buying an extra quarter yard if you are tall, want very roomy legs, or prefer to prewash and potentially lose some length to shrinkage.
Suggested fabrics
- Soft cotton flannel for warm, winter-ready pajama bottoms.
- Lightweight quilting cotton for breathable, crisp loungewear.
- Rayon or viscose challis for drapey, flowy lounge pants (slightly trickier for beginners).
- Lightweight linen or linen blends for breathable summer pants.
Notions and tools checklist
Gather everything before you start cutting to keep the process smooth and enjoyable.
- Sewing machine with straight stitch (a zigzag option is helpful but not required).
- 1–1.25 inch (2.5–3 cm) wide elastic for the waistband.
- All-purpose thread to match or blend with your fabric.
- Fabric scissors or a rotary cutter and cutting mat.
- Pins or fabric clips.
- Measuring tape and ruler.
- Tailor’s chalk, washable marker, or fabric pencil.
- Iron and ironing board or pressing mat.
- Safety pin or bodkin for threading elastic.
Taking Simple Measurements
Before deciding on a size or drafting a basic shape, take a few quick body measurements. Wear lightweight clothing and stand naturally while someone else helps measure, if possible, for the most accurate results.
| Measurement | How to Take It | Why It Matters |
|---|---|---|
| Waist | Wrap the tape around your natural waistline, where your body creases when you bend to the side. | Determines elastic length and overall waistband comfort. |
| Hip | Measure around the fullest part of your hips and seat, keeping the tape parallel to the floor. | Ensures the pants slide comfortably over your hips without strain. |
| Outseam | Measure from your waist down along the outside of your leg to the desired hem (ankle, mid-calf, or floor). | Sets the overall leg length. |
| Inseam | Measure from the inside top of your leg (near the crotch) to the desired hem. | Helps adjust for leg length and balance between rise and hem. |
| Rise (optional) | Measure from the front waist, through the legs, to the back waist while standing. | Useful if you want to customize how high the pants sit on your body. |
Creating a Simple Pattern Without Drafting Skills
The easiest way to make pajama bottoms without complex pattern drafting is to use an existing pair of loose, comfortable pants as a guide. Look for a pair that already fits in the hips and legs and has a simple elastic waistband. Avoid styles with heavy pleats, darts, or zippers, as they complicate the tracing process.
Lay your existing pants flat and smooth, folding them in half so that one leg lies directly on top of the other. The crotch curve should be visible, and the side seam or inseam should form a clean straight edge. You will trace around this shape on your fabric, adding a bit of extra room for seam allowances and hems.
Planning seam allowances and hems
- Add about 1.5 cm (around ⅝ inch) around the sides and inseam for sewing.
- Add 2–3 cm (about 1 inch) at the hem for folding and stitching.
- Add enough extra at the top to form a waistband casing, typically 4–5 cm (1.5–2 inches) plus a small turning allowance.
Cutting Your Fabric Safely and Accurately
Prewashing your fabric before cutting is highly recommended, especially for cottons and flannels that can shrink on first wash. After washing and drying, press your fabric to remove wrinkles; creases can distort the shape of your pattern and cause uneven legs or twisted seams.
Fold the fabric so that the right sides face each other and selvedge edges align. Place the folded pants on top, matching the straight edge of your pants (either side seam or inseam) with the fold of the fabric. Trace around the pants, remembering to maintain your planned seam and hem allowances. Cut two mirrored pieces for the two legs.
Cutting checklist
- 2 leg pieces, mirror images (either cut on the fold or with a center seam).
- Optional: 2 pocket pieces for each side if you plan to add side-seam pockets.
- Optional: Small fabric strip for a decorative waist tie (purely for style if using elastic).
Sewing the Inner Leg Seams
Once your pieces are cut, the first major sewing step is to close the inner leg seams. Place each leg piece right sides together, aligning the raw edges from hem to crotch curve. Pin or clip along this line to keep the layers from shifting as you sew.
Sew along the pinned inner leg edge using your chosen seam allowance, typically 1–1.5 cm. Backstitch at the beginning and end of the seam to lock your stitches. You can leave the seam raw if you are just practicing, or finish it with a zigzag stitch or pinking shears to reduce fraying for long-term wear.
Joining the Two Legs at the Crotch
Turn one leg right side out while leaving the other inside out. Slide the right-side-out leg inside the one that is inside out. Align the crotch curves so that the inner leg seams meet neatly at the center. The right sides of the fabric should now be facing each other all along the curved seam.
Pin around the entire crotch curve, adjusting the fabric so that there are no tucks or folds trapped in the seam. Sew steadily along this curve following your seam allowance, then reinforce the center back portion with a second row of stitching if you want extra strength where the pants experience the most stress.
Shaping and Pressing for a Professional Look
After sewing the crotch seam, turn the pants right side out and check that the inner leg seams line up where they meet. A little mismatch is not critical for pajamas, but obvious twisting can usually be corrected by carefully trimming and resewing that section. Take the time to press the seams with an iron, either to one side or open depending on your preference.
Pressing during construction is one of the easiest ways to make a beginner project look more professional. Flat seams lie more comfortably against the body and are easier to topstitch, should you decide to add any decorative stitching along the waistband or hem.
Constructing a Comfortable Elastic Waistband
The waistband is created by folding the top edge of the pants to form a casing that holds the elastic. Start by turning the pants inside out. Fold the raw top edge down by about 1 cm (or ⅜ inch) and press; this hides the raw edge so it will not fray inside the casing.
Next, fold the top down again by an amount slightly larger than the width of your elastic, leaving a bit of extra space so the elastic can slide smoothly. For 2.5 cm (1 inch) elastic, folding down about 3–3.5 cm (1.25–1.5 inches) works well. Press this fold all the way around and pin or clip to hold it in place.
Sewing the elastic casing
- Sew around the folded waistband close to the lower folded edge to create a channel.
- Leave a small opening of about 5–7 cm (2–3 inches) unsewn to insert the elastic.
- Cut your elastic to a length a bit smaller than your waist measurement, usually 2–5 cm shorter depending on your comfort level.
- Attach a safety pin to one end of the elastic and feed it slowly through the casing, being careful not to twist.
When both ends of the elastic emerge from the opening, overlap them by about 2–3 cm and sew them together securely with a wide zigzag stitch or several rows of straight stitching. Once joined, tuck the elastic fully into the casing and close the opening with a short row of stitches.
Hemming the Legs
With the waistband finished, try the pants on and check the leg length while wearing the type of slippers or socks you usually pair with pajamas. Mark your preferred length with pins or a washable marker. Remember that you will fold the hem twice, so allow a couple of centimeters for turning.
Turn the pants inside out again. Fold the raw edge at the bottom of each leg up by about 1 cm (⅜ inch) and press. Fold up again by 2–3 cm (about 1 inch) to form the final hem. Press and pin, then stitch close to the upper folded edge all the way around both legs. Backstitch where the seams meet to keep the hem secure.
Optional Add-Ons and Custom Details
Once you have mastered the basic construction, it is easy to personalize your pajama bottoms. Small design tweaks can make them feel more thoughtful, whether you are sewing for yourself or gifting them to a friend or family member. These custom touches also give you a chance to practice new skills on a project that is still relatively simple.
- Pockets: Add side-seam pockets by stitching pocket pieces to the side seams before joining the legs, or patch pockets by topstitching rectangles on the front or back.
- Decorative cuffs: Use a contrasting fabric strip at the hem for a pop of color and a tailored finish.
- Mock drawstring: Stitch a fabric tie to the front center of the waistband for a classic pajama look, even if the elastic does all the work.
- Contrast waistband: Combine two coordinating fabrics for the legs and waist casing.
Care Tips for Handmade Pajamas
How you care for your pajama bottoms will affect how long they stay soft and comfortable. Check the fiber content of your fabric; cotton and linen typically wash easily in warm or cold water, while rayon and some blends prefer cooler water and gentle cycles. Turning the pants inside out before washing can help reduce visible wear on the outer surface.
Drying on low heat helps prevent noticeable shrinkage and keeps elastic from wearing out prematurely. Pressing lightly after washing can restore a crisp hem and waistband, but for casual pajama pants, many people prefer to skip ironing and embrace a softer, lived-in look.
Simple Troubleshooting for Beginners
Even with a straightforward project, small issues can appear during sewing. Most problems are easy to solve and become valuable learning experiences. If stitches look uneven, check that your machine is threaded correctly and that the tension dial sits at a standard setting recommended in your manual.
If the waistband feels too tight after inserting elastic, unpick the joining stitches on the elastic, lengthen it slightly, and resew. If it feels too loose, shorten the elastic or add a few small vertical stitches through the waistband at the side seams to pinch it in subtly without rebuilding the casing.
Frequently Asked Questions
Do I need a printed pattern to make pajama bottoms?
No. Using a pair of pants you already own as a rough template is usually enough for casual pajama bottoms. As long as the original pants are comfortable and you remember to add seam and hem allowances when tracing, you can create a simple, effective pattern shape.
Can I sew pajama pants with knit or stretchy fabric?
Yes, but knits can be trickier for beginners. If your sewing machine has a stretch or zigzag stitch and you use a ballpoint needle, you can make cozy knit lounge pants. For a very first project, though, starting with a non-stretch woven fabric is often easier and more predictable.
How long does this project usually take?
The time depends on your experience and how many details you add. For a first attempt, plan on a relaxed afternoon to wash, cut, sew, and finish the waistband and hems without rushing. Once familiar with the steps, you may be able to complete future pairs in an hour or two.
What if my legs end up slightly different lengths?
This is a common beginner mistake and easy to fix. Fold the pants in half with legs together, match the crotch and waistband, and trim the longer hem to match the shorter one. Repress and resew the hem if needed. For pajamas, a small difference often goes unnoticed in daily wear.
Is this project suitable for kids or teen sewists?
Yes. Pajama bottoms are a great first garment for supervised children and teens because the shapes are simple and the fabric is usually soft and stable. An adult can help with ironing and rotary cutting while the younger sewist practices straight seams and simple casing construction.
Ready to Sew Your First Pair?
With a simple pair of comfortable pants as your guide, a bit of fabric, and basic sewing skills, you can create pajama bottoms that fit your body and reflect your style. Each pair you make will sharpen your skills, and soon you may find yourself stitching up matching sets for family, friends, and festive occasions. Once you have mastered the basics here, you can expand into coordinating tops, shorts, and even full loungewear sets built around the same principles.