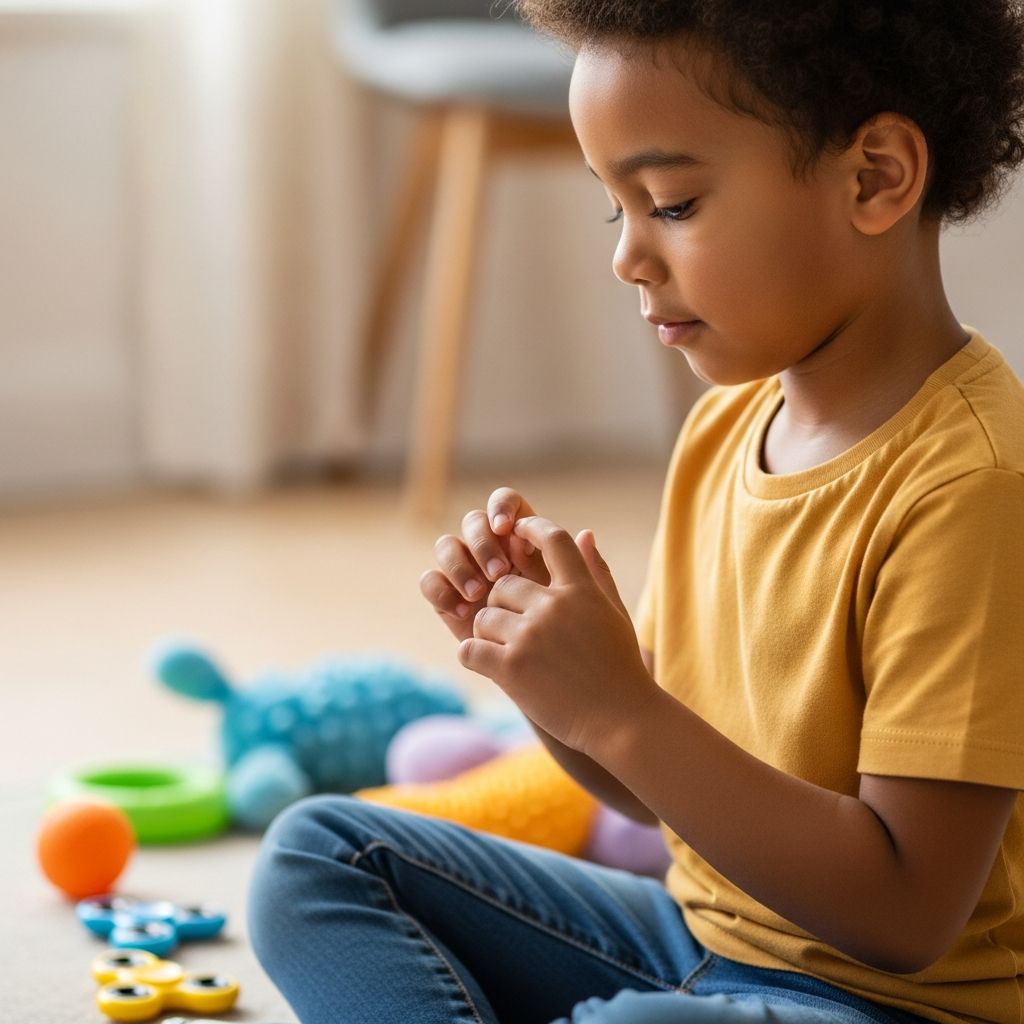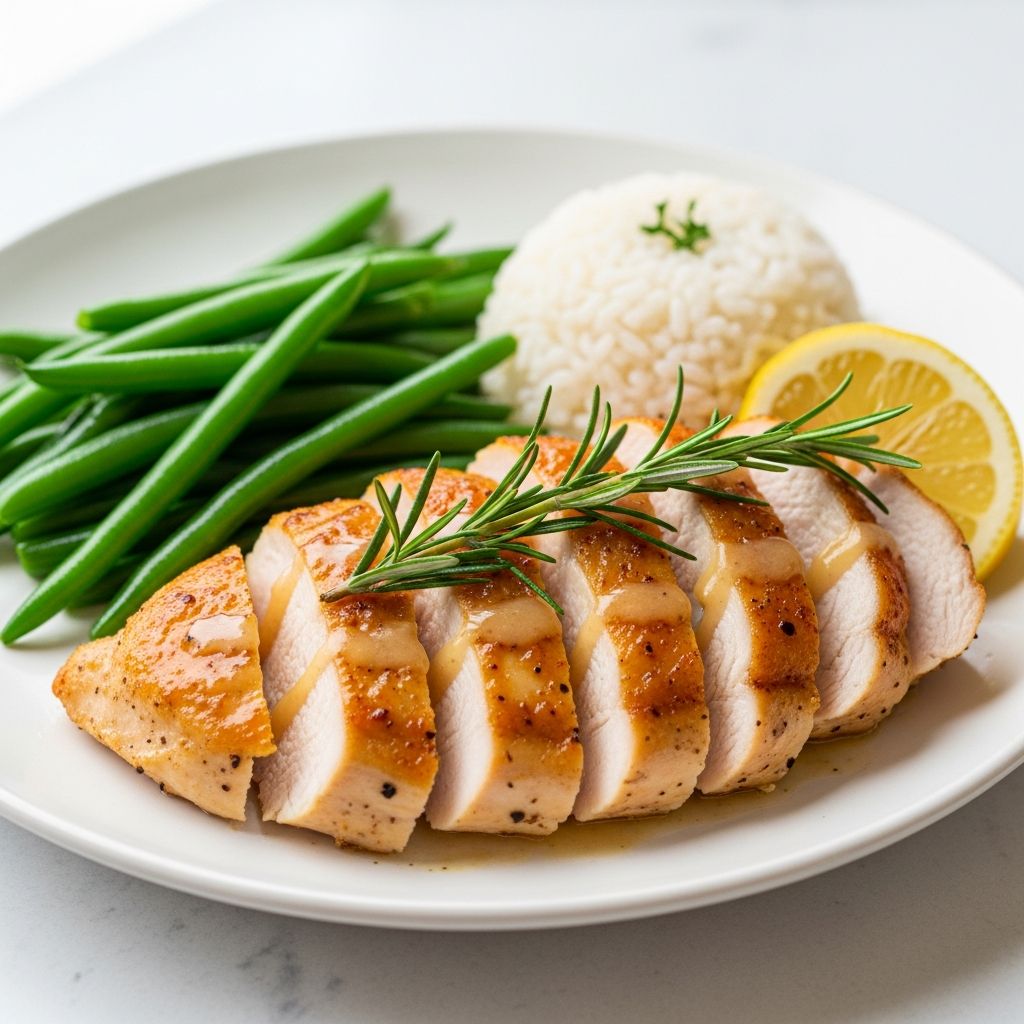
Learning to sauté chicken breasts is one of the most valuable kitchen skills for any young person getting ready to live on their own. It is fast, affordable, versatile, and can be transformed into countless meals with just a few extra ingredients.
Why Sautéed Chicken Belongs in Every Beginner’s Repertoire
When teens and college-bound kids know how to cook a basic protein like chicken breasts, they are far more likely to eat balanced, satisfying meals instead of relying only on takeout or instant noodles. This single skill can become the backbone of weeknight dinners, packed lunches, and last-minute meals.
- Chicken breasts are widely available and budget-friendly in most grocery stores.
- Once the technique is learned, it can be reused with different seasonings and sauces for endless variations.
- The process teaches important cooking fundamentals: heat control, food safety, and timing.
Kitchen Safety and Food Handling Basics
Before any young cook stands over a hot stove, a quick safety refresher is essential. Raw chicken requires special care to avoid foodborne illness, and hot oil can easily cause burns if handled carelessly.
- Always wash hands with warm, soapy water before and after touching raw chicken.
- Use a separate cutting board for raw meat to prevent cross-contamination with fruits, vegetables, and ready-to-eat foods.
- Keep pan handles turned inward on the stove to avoid bumping into them and spilling hot contents.
- Dry chicken well before adding it to the hot pan to minimize dangerous splattering.
Essential Tools for Sautéing Chicken
Perfectly sautéed chicken does not require fancy gadgets, but a few reliable tools make the process easier and more predictable. Encourage kids to know where these are stored in the kitchen and how to use them responsibly.
- Sturdy skillet: A heavy-bottomed stainless steel or nonstick pan, 10–12 inches wide, gives the chicken enough room to brown.
- Sharp chef’s knife: For trimming fat and cutting the chicken into even portions.
- Cutting board: Ideally, one plastic board dedicated to raw meats.
- Tongs or spatula: For flipping chicken safely without piercing it too much.
- Instant-read thermometer: To check that the chicken has reached a safe internal temperature of 165°F (74°C).
- Paper towels: For patting the chicken dry and wiping up small spills.
Understanding Chicken Breasts: Size, Thickness, and Doneness
Not all chicken breasts cook at the same speed. Some are thick on one end and thin on the other, which can lead to dry or undercooked areas if not handled correctly. Teaching kids how to create even pieces will make their cooking much more consistent.
- If the breast is very large, slice it horizontally into two thinner cutlets so it cooks more evenly.
- For pieces that are thicker on one end, gently pound them between sheets of parchment or plastic wrap to an even thickness.
- Explain the visual signs of doneness: the meat turns opaque and the juices run clear.
- Reinforce that a thermometer is the most reliable tool: 165°F (74°C) in the thickest part means it is safely cooked.
Step-by-Step: Basic Sautéed Chicken Breasts
The process below is designed with beginners in mind and avoids complicated techniques. It focuses on flavor, safety, and repeatable steps that kids can memorize and adapt over time.
1. Prepare the Chicken
- Remove the chicken from its packaging and place it on a clean plate or cutting board.
- Trim any large pieces of fat or tough bits with a sharp knife, always cutting away from the body.
- Pat both sides dry with paper towels; dry surfaces brown better and splatter less.
- Optionally, slice very thick breasts horizontally into two thinner pieces.
2. Season Generously
Even the simplest seasoning blend can make chicken taste restaurant-worthy. Teach kids that salt is essential, and that they can mix in other dried herbs and spices based on what the family enjoys.
- Sprinkle both sides with salt and freshly ground black pepper.
- Add optional seasonings such as garlic powder, onion powder, paprika, dried oregano, or Italian seasoning.
- Rub the spices into the chicken with clean hands so they stick.
3. Preheat the Pan and Add Oil
- Set the skillet over medium to medium-high heat.
- Add 1–2 tablespoons of cooking oil with a high smoke point, such as canola, vegetable, or light olive oil.
- Allow the oil to heat until it shimmers but does not smoke; a drop of water should sizzle when it hits the pan.
4. Sear the First Side
This is where patience pays off. Kids often want to poke, stir, and flip, but leaving the chicken alone helps it develop a golden, flavorful crust.
- Using tongs, carefully lay the chicken breasts in the pan, placing them away from the body to avoid splashes.
- Make sure the pieces do not overlap; cook in batches if necessary.
- Do not move the chicken for 4–6 minutes, depending on thickness, until the underside is golden brown.
5. Flip and Finish Cooking
- Turn the chicken over with tongs once the first side is nicely browned.
- Reduce the heat slightly if the pan seems too hot or the oil is smoking.
- Cook another 4–6 minutes, then check the internal temperature with a thermometer.
- If it has not yet reached 165°F (74°C), continue cooking for 1–2 minutes at a time and check again.
6. Rest and Slice
Resting the chicken is an important step many new cooks skip. Giving it a few minutes off the heat allows the juices to settle back into the meat instead of spilling onto the cutting board.
- Transfer the finished chicken to a clean plate or cutting board.
- Let it rest for at least 5 minutes.
- Slice across the grain into strips or cubes for salads, bowls, wraps, or pasta.
Simple Flavor Variations for Every Mood
Once the basic technique feels comfortable, kids can start changing up the flavor with different seasonings and quick sauces. By learning just a few combinations, they can keep meals interesting without complicated recipes.
| Style | Seasonings | Simple Serving Ideas |
|---|---|---|
| Herb & Garlic | Salt, pepper, garlic powder, dried thyme, dried parsley | Serve with roasted potatoes and steamed green beans. |
| Lemon Pepper | Salt, black pepper, lemon zest or lemon pepper seasoning | Slice over a bed of rice with a squeeze of fresh lemon. |
| Smoky Paprika | Salt, smoked paprika, garlic powder, onion powder | Pair with corn, black beans, and avocado for a rice bowl. |
| Simple “Pizza” Style | Salt, Italian seasoning, a pinch of dried basil and oregano | Top with a spoonful of tomato sauce and shredded cheese at the end. |
| Light Teriyaki-Inspired | Salt, pepper, a splash of soy sauce near the end of cooking | Serve with steamed rice and quick stir-fried vegetables. |
Budget-Friendly Ways to Turn Sautéed Chicken into Complete Meals
Knowing how to sauté chicken is only half the story; the next step is showing kids how to stretch it into balanced meals without spending a lot. Encourage them to think in simple formulas: protein + grain or starch + vegetable.
- Quick grain bowls: Toss sliced chicken with cooked rice or quinoa, frozen vegetables, and a drizzle of sauce (soy, vinaigrette, or store-bought dressing).
- Wraps and sandwiches: Use sliced chicken in tortillas or bread with lettuce, cheese, and whatever condiments are on hand.
- Pasta night: Stir cubes of chicken into jarred marinara or pesto and toss with cooked pasta.
- Salad upgrade: Add warm strips of sautéed chicken on top of bagged salad greens for a more filling meal.
Common Mistakes Beginners Make (and How to Fix Them)
New cooks will make mistakes, and that is part of the learning process. Helping kids understand what went wrong and how to correct it gives them the confidence to try again instead of giving up.
- Chicken is dry and tough: It was probably overcooked or very thin. Next time, cook over medium heat, check the temperature sooner, and avoid slicing the pieces too thin.
- Chicken is pale and not browned: The pan may have been too crowded or not hot enough. Leave space between pieces and preheat longer before adding the meat.
- Center is still pink: Either the heat was too high, browning the outside too fast, or the pieces were very thick. Lower the heat slightly and continue cooking, or slice thick pieces horizontally before cooking.
- Oil splattered everywhere: The chicken was likely wet or the heat was too high. Pat the chicken dry thoroughly and adjust the stove to medium rather than high.
Tips for Parents Teaching Kids to Cook Chicken
Cooking together can be a powerful way to prepare kids for independence and to build shared memories. Parents and caregivers can set a calm, encouraging tone that turns the kitchen into a learning space instead of a stressful one.
- Start by demonstrating the full process once, then let the child take the lead while you supervise.
- Focus first on safety habits (handwashing, pan placement, using tongs) before worrying about perfect browning.
- Encourage questions and be honest about your own early cooking mistakes.
- Celebrate the effort and improvement, not just the final result.
Frequently Asked Questions About Sautéed Chicken Breasts
How do I know the pan is hot enough?
Look for a gentle shimmer in the oil, like the surface of a calm lake on a breezy day. If you drop in a tiny piece of chicken or a small breadcrumb, it should sizzle right away but not burn instantly.
Can I use frozen chicken breasts?
Frozen chicken should always be fully thawed before sautéing to ensure even cooking and safe internal temperatures. Thaw in the refrigerator overnight or use the defrost setting on a microwave, then pat dry thoroughly.
What if I do not have a thermometer?
While a thermometer is the most reliable tool, you can cut into the thickest part of the chicken to check for doneness. The meat should be fully opaque, with no translucent or jelly-like areas, and the juices should run clear.
Is it okay to reuse the pan drippings?
Yes, the browned bits left in the pan after cooking are full of flavor. To make a simple sauce, remove the chicken, add a splash of broth or water to the hot pan, scrape the bottom with a spoon, and let the liquid simmer for a minute before pouring it over the chicken.
How long can cooked chicken be stored?
Cooked chicken breasts can generally be stored in a sealed container in the refrigerator for up to three or four days. Labeling the container with the date helps kids keep track of what needs to be eaten first.
Helping Young Cooks Build Independence Through Food
Teaching kids to sauté chicken breasts does more than put dinner on the table. It quietly builds confidence, independence, and problem-solving skills that carry over into other areas of life. With a bit of guidance and patience, this simple technique can become a foundation for a lifetime of capable, satisfying home cooking.