Understanding Splinters and When to Address Them
A splinter is a small fragment of material, typically wood, metal, or glass, that becomes embedded in the skin. These unwanted intruders can cause discomfort, inflammation, and if left untreated, potential infection. Understanding the nature of splinters and recognizing when prompt intervention is necessary forms the foundation of effective home treatment.
Splinters vary greatly in their characteristics. Some remain partially visible at the skin’s surface, making them relatively easy to identify and remove. Others become completely embedded beneath the skin layers, creating a more challenging extraction scenario. The material composition also matters—wooden splinters behave differently from metal fragments or plant-based materials like cactus needles.
The primary concern with splinter injuries is the risk of infection. When foreign material penetrates the skin, it can introduce bacteria and other pathogens into the wound. This risk increases if the splinter is left in place for extended periods or if removal attempts introduce contamination. Early identification and appropriate removal significantly reduce infection risk and minimize discomfort.
Preparation Steps Before Removal
Successful splinter removal begins with thorough preparation. Before attempting any extraction method, wash your hands thoroughly with soap and water to eliminate surface bacteria. This critical first step prevents introducing additional pathogens into the wound area.
Next, clean the affected skin surrounding the splinter with soap and water. Gently pat the area dry with a clean towel. If the splinter location allows, examine the area under bright lighting or with a magnifying glass to determine the splinter’s size, depth, and direction of entry. This assessment helps you select the most appropriate removal technique.
Consider numbing the area if you anticipate discomfort. Wrapping ice in a thin cloth and applying it to the splinter site for several minutes can reduce pain perception during removal. This approach works particularly well for children or individuals with low pain tolerance.
Traditional Tweezers and Needle Method
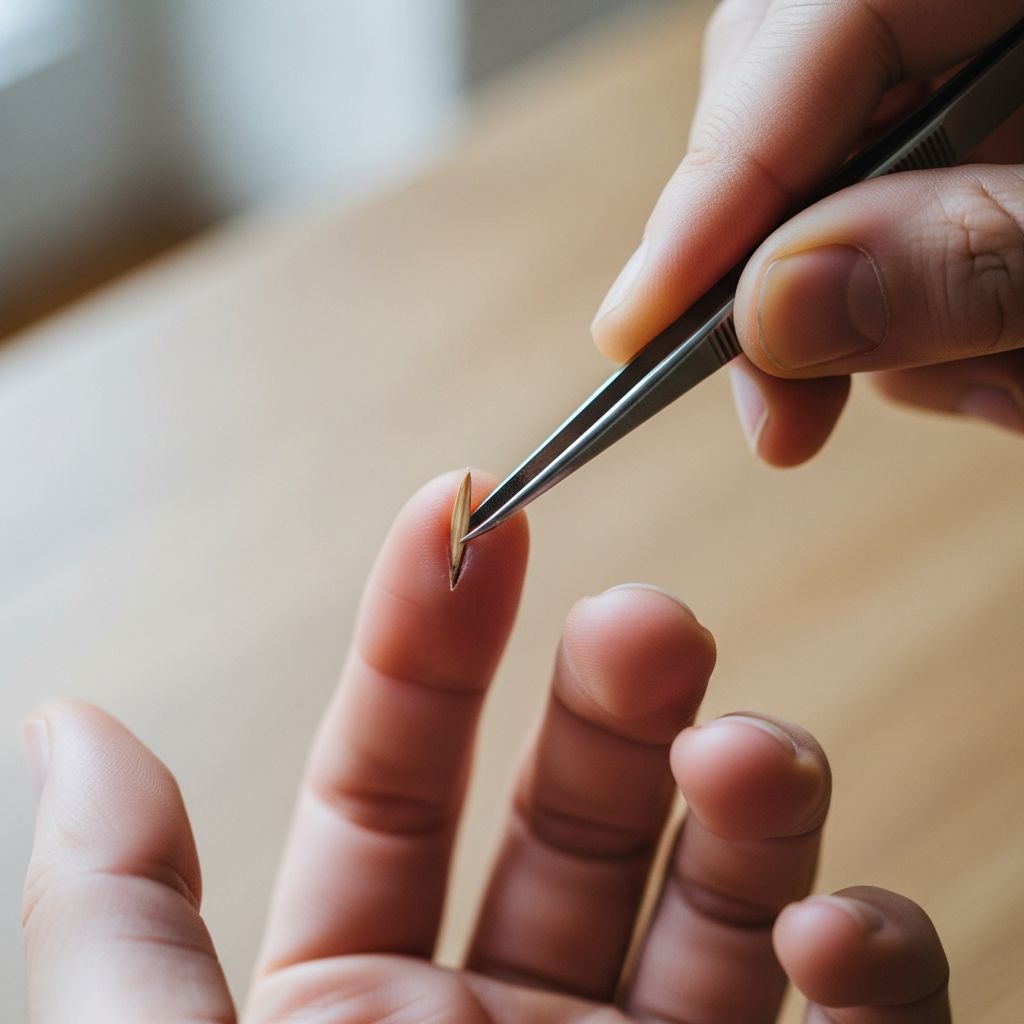
The most straightforward splinter removal approach involves using sterilized tweezers and a needle. This method works best for splinters that are partially visible or accessible near the skin’s surface.
Equipment needed:
- Fine-tipped tweezers (sterilized with rubbing alcohol or heat)
- Sterile needle
- Magnifying glass (optional but helpful)
- Antibiotic ointment
- Sterile bandage
Begin by examining the splinter’s location and angle of penetration. If the splinter is completely embedded, use the sterilized needle to gently lift one edge of the skin above the splinter. Work carefully to avoid unnecessary tissue damage. Once you’ve created an opening, grasp the exposed portion of the splinter with the tweezers and pull it out in the direction it entered the skin. Pulling against the splinter’s entry angle can cause it to break apart, leaving fragments behind.
After successful removal, wash the wound thoroughly with soap and water. Apply a small amount of antibiotic ointment and cover with a sterile bandage. Monitor the area over the following days for signs of infection such as increased redness, swelling, warmth, or discharge.
Baking Soda Paste Method for Deep Splinters
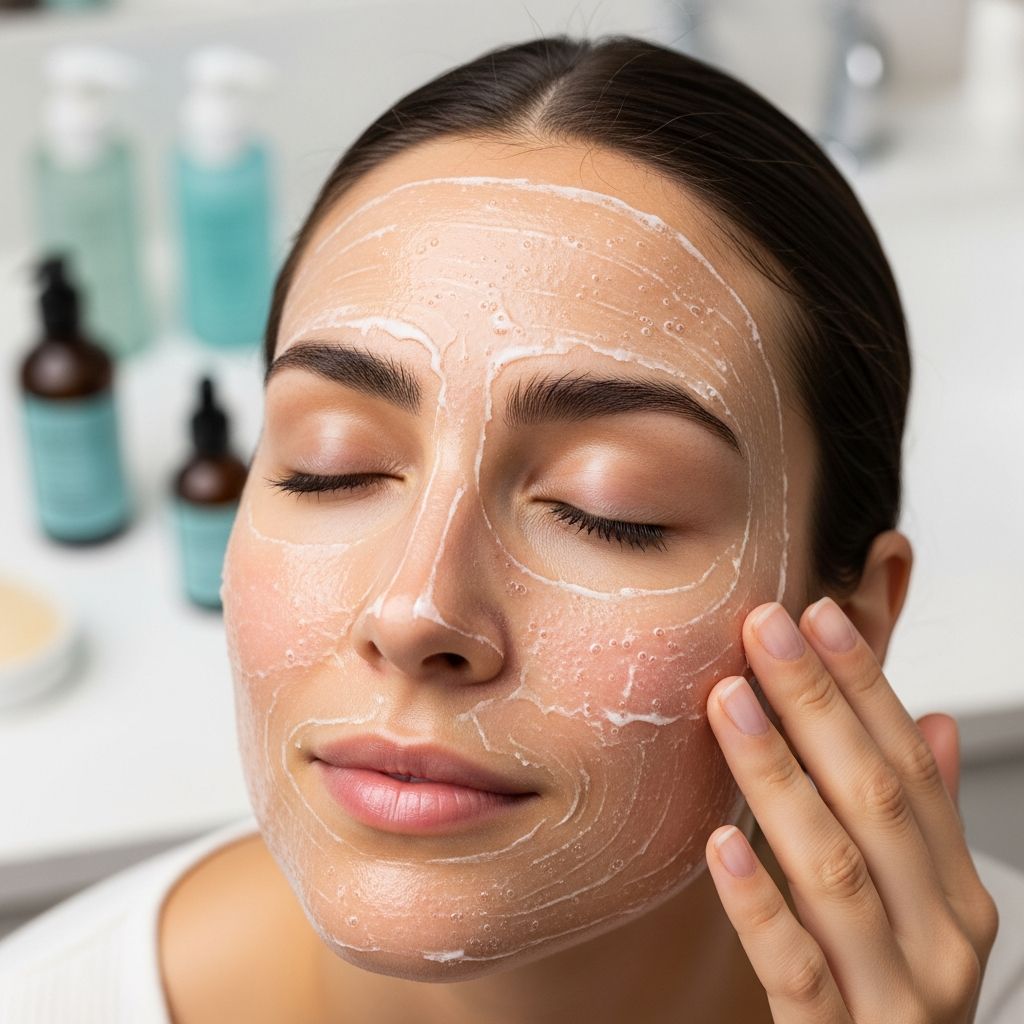
For splinters that have migrated deep into the skin layers, the baking soda paste approach offers a gentler alternative to mechanical extraction. This method works by softening the skin and promoting the splinter to migrate toward the surface, where removal becomes easier.
Step-by-step process:
- Mix one tablespoon of baking soda with one tablespoon of water to create a thick paste
- Clean the skin around the splinter with soap and water
- Apply the paste directly to the splinter site and surrounding area
- Cover the paste with a sterile bandage, ensuring the paste remains in contact with skin
- Leave the bandage in place for approximately 24 hours
- Remove the bandage and examine the area
- The splinter should be closer to the surface, making tweezers or needle extraction more manageable
This method’s effectiveness stems from baking soda’s mild alkaline properties and its ability to draw moisture to the skin surface. The resulting swelling gently pushes embedded materials outward. This approach requires patience but minimizes pain and tissue trauma.
Epsom Salt Soaking Technique
Epsom salt solutions provide another proven method for bringing splinters to the skin’s surface. The salt-infused water creates an osmotic effect that draws fluid from surrounding tissues, causing swelling that pushes the splinter outward.
Application methods:
- Full soak: Dissolve one cup of Epsom salt in a warm bath and immerse the affected area for 10-30 minutes
- Partial soak: For smaller areas, dissolve one tablespoon of Epsom salt in a sink of warm water and soak for 10-15 minutes
- Bandage method: Wet a bandage pad with Epsom salt solution and apply directly to the splinter for 1-2 hours, checking hourly for progress
The warmth of the water enhances the effect by softening skin and improving circulation. After soaking, pat the area dry and attempt removal with sterilized tweezers. The splinter should now be more accessible and easier to extract. This method may produce mild stinging, particularly around the splinter site, but discomfort typically remains minimal.
Hydrogen Peroxide Solution Approach
Hydrogen peroxide represents another household remedy that can facilitate splinter removal while providing mild antiseptic benefits. The chemical composition of hydrogen peroxide creates an environment that encourages the splinter to rise toward the skin surface.
Instructions for use:
- Mix one part hydrogen peroxide (3% concentration) with one part water
- Pour or apply the mixture directly over the splinter
- Allow the solution to remain in contact with the skin for several minutes
- Monitor the splinter location—it should gradually move closer to the surface
- Once the splinter becomes more accessible, use tweezers for extraction
The effervescent action of hydrogen peroxide creates tiny bubbles that help dislodge and push out foreign material. This method works particularly well for splinters that are moderately embedded. The dual benefit of both extraction assistance and antimicrobial properties makes hydrogen peroxide an excellent choice for wound care.
Adhesive Tape and Wax Strip Methods
For splinters with exposed ends, adhesive-based removal offers a painless and effective solution. This approach works best for thin splinters or plant-based fragments like cactus spines.
Tape method:
- Use duct tape, medical tape, or specialized splinter removal strips
- Press the tape firmly over the splinter, ensuring complete contact
- Leave the tape in place for 5-10 minutes to allow the adhesive to grip the splinter
- Pull the tape away in the opposite direction from the splinter’s entry point
- The splinter often comes away with the tape
Wax strip method:
- Prepare the wax strip according to product instructions
- Position the strip so removal pulls opposite to the splinter’s entry direction
- Apply firm, even pressure across the strip
- Wait the recommended time, then remove in one continuous motion
- Inspect the strip to confirm splinter removal
These methods prove particularly effective for very thin or delicate splinters that might break if grasped with tweezers. The adhesive approach also minimizes tissue trauma and works well for individuals who prefer avoiding needles or metal instruments.
Natural Remedy Options
Several natural substances possess properties that support splinter extraction. While scientific validation for some remains limited, many people report success with these alternatives.
Honey application: Natural honey, particularly Manuka varieties, contains antimicrobial compounds and hygroscopic properties that soften skin. Spread honey over the splinter, cover with a bandage, and leave overnight. The honey’s moisture-drawing capability encourages skin softening and splinter migration.
Banana peel and potato skin method: These plant materials contain enzymes theorized to soften skin tissue. Place a small section of banana peel or raw potato skin over the splinter, secure with a bandage, and leave for several hours or overnight. Remove the plant material and attempt tweezers extraction. However, be aware that these materials can carry bacteria, requiring thorough hand washing before and after treatment.
Essential oil approach: Diluted essential oils such as lavender or tea tree oil may support splinter extraction. Always combine potent essential oils with carrier oils to prevent skin irritation. Soak the splinter area in the diluted solution for several minutes before attempting removal. The oils’ antimicrobial properties provide additional wound protection.
Oil and vinegar soaking: Both substances can draw splinters toward the skin surface. Soak the affected area in warm oil or vinegar for 20-30 minutes. The warm liquid promotes skin softening while encouraging splinter migration.
When Professional Medical Care is Necessary
Certain splinter situations warrant professional medical attention rather than home treatment. Recognize when to seek medical care:
- Large, deeply embedded splinters that resist home removal attempts
- Splinters located near sensitive areas such as eyes or genitals
- Metal splinters or fragments from unknown materials requiring medical evaluation
- Signs of infection including increased swelling, redness, warmth, or pus drainage
- Splinters that break during removal, leaving fragments embedded in tissue
- Splinters in individuals with compromised immune systems or diabetes
- Tetanus concerns if the splinter source was rusty metal or contaminated material
Healthcare providers have access to specialized instruments, magnification equipment, and sterile technique to safely remove difficult splinters while minimizing infection risk and tissue damage.
Post-Removal Care and Infection Prevention
Proper aftercare following splinter removal significantly impacts healing and reduces infection risk. After successful extraction, wash the wound site thoroughly with soap and warm water. Pat dry with a clean cloth.
Apply a topical antibiotic ointment to the wound to prevent bacterial colonization. Cover the area with a sterile bandage that keeps the wound clean while allowing air circulation. Change the bandage daily or whenever it becomes damp or soiled.
Monitor the area for infection signs over the following week. Minor redness and mild swelling are normal immediately after removal, but these should diminish within 24-48 hours. Contact a healthcare provider if you notice increasing redness, warmth, swelling, pus, or red streaking extending from the wound site.
Keep the area clean and avoid submerging the wound in dirty water. Maintain good hygiene to prevent secondary contamination. Most minor splinter wounds heal completely within 1-2 weeks without complications.
Frequently Asked Questions
Q: How long can a splinter remain in the skin before becoming dangerous?
A: Small splinters may become encapsulated by the body and cause minimal harm over extended periods. However, removal within the first few days significantly reduces infection risk. Deeper or contaminated splinters pose greater risks and should be addressed promptly.
Q: Is it safe to leave a splinter in the skin if removal seems too difficult?
A: Leaving splinters in place increases infection risk and discomfort. Attempt one or two home removal methods; if unsuccessful after 24-48 hours, seek medical attention rather than leaving the splinter permanently embedded.
Q: Can I use any tweezers for splinter removal?
A: Use fine-tipped tweezers that allow precise control. Sterilize tweezers before use with rubbing alcohol, boiling water, or a flame. Regular household tweezers work adequately if properly cleaned.
Q: What if the splinter breaks during removal?
A: If splinters fragment during extraction, attempt to remove all visible pieces. If fragments remain embedded and cannot be easily retrieved, monitor the area closely for infection signs and consult a healthcare provider if problems develop.
Q: How can I prevent splinters from occurring?
A: Wear protective clothing and appropriate footwear in high-risk environments. Keep wood surfaces sanded smooth and sealed. Handle wood items carefully and inspect hands after outdoor activities in areas with potential splinter sources.
Q: Are there age-specific considerations for splinter removal in children?
A: Children may experience more discomfort during removal. Using ice numbing beforehand, attempting gentler methods like tape or baking soda paste first, and maintaining a calm, reassuring demeanor helps. Very young children with difficult splinters may benefit from professional removal.
Conclusion: Choosing Your Splinter Removal Strategy
Splinter removal need not be a painful or complicated process. Numerous effective methods exist, ranging from simple mechanical extraction with tweezers to gentle chemical approaches using household ingredients. The optimal choice depends on splinter depth, size, location, and personal pain tolerance.
For superficial, partially visible splinters, the tweezers method offers the quickest solution. Deep or fully embedded splinters respond well to preparatory soaking or paste methods that encourage surface migration before extraction. Tape-based approaches provide excellent options for thin splinters with accessible ends.
Successful splinter removal emphasizes proper preparation, appropriate technique selection, careful execution, and thorough aftercare. By following these evidence-based approaches, you can safely remove most splinters at home while minimizing infection risk and tissue damage. Remember that professional medical care remains available for complicated cases, providing peace of mind when home treatment proves insufficient.
References
- How to Remove a Splinter: Methods and Tips — Medical News Today. 2024. https://www.medicalnewstoday.com/articles/321876
- How to Get a Splinter Out: 9 Methods to Try at Home — GoodRx Health. 2024. https://www.goodrx.com/health-topic/environmental/how-to-remove-splinter
- Baking Soda for Splinter Removal: How to Try It — Healthline. 2024. https://www.healthline.com/health/baking-soda-for-splinter
- How to Remove a Deep Splinter: Tips & Hacks — BuzzRx. 2024. https://www.buzzrx.com/blog/how-to-draw-out-a-deep-splinter
- How to Get a Splinter Out — The Home Depot. 2024. https://www.homedepot.com/c/ah/how-to-get-a-splinter-out/9ba683603be9fa5395fab9013594e8c7
- How to Remove a Splinter: Painless At-home Methods — Solv Health. 2024. https://www.solvhealth.com/health/5-creative-ways-to-remove-a-splinter