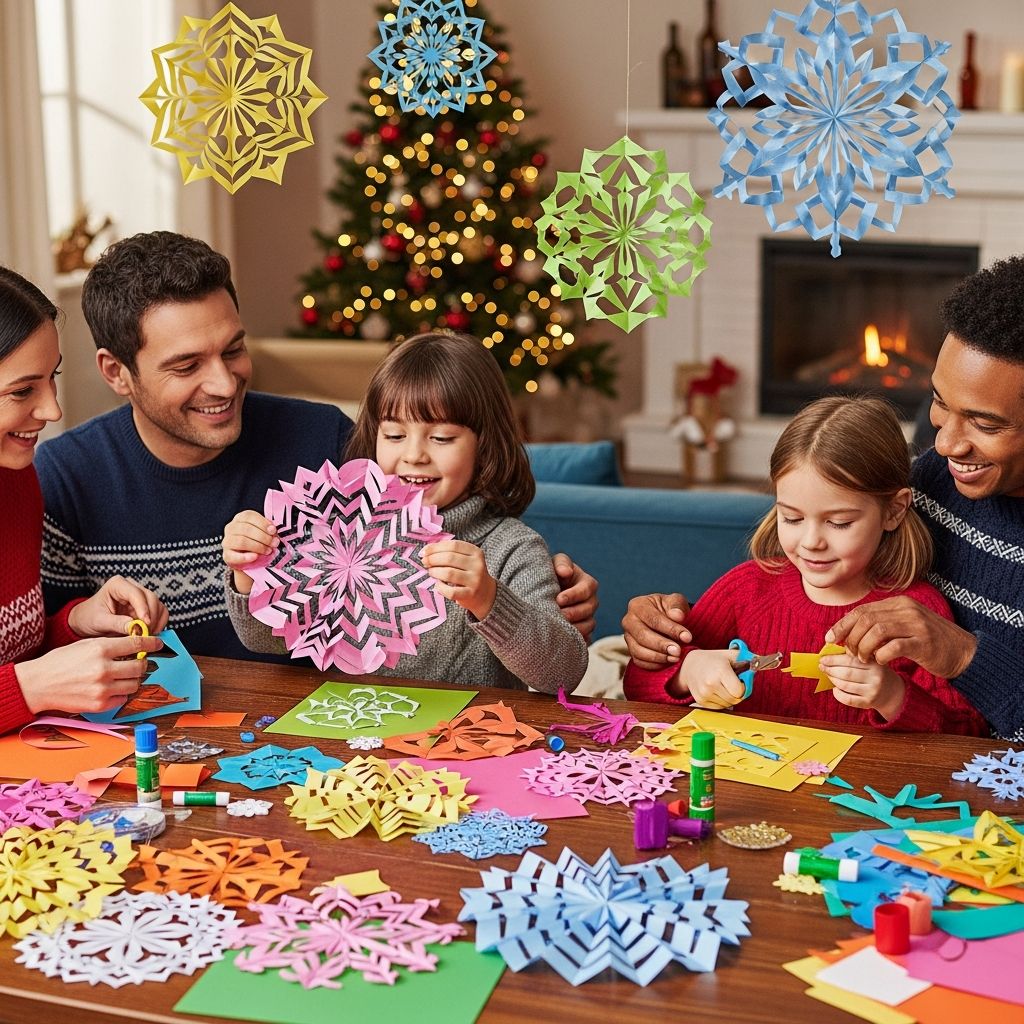
Few crafts are as simple yet magical as cutting paper snowflakes. With just paper and scissors, you can fill your home with a swirling storm of delicate, one-of-a-kind designs that celebrate winter, imagination, and the joy of making something by hand.
This guide walks you through everything you need to know: choosing paper, folding techniques, easy patterns for beginners, creative variations, safe crafting with kids, and fun ways to display your snowflake masterpieces.
Why Paper Snowflakes Are the Perfect Winter Craft
Paper snowflakes are quick to make, inexpensive, and endlessly customizable, which makes them ideal for busy families and classrooms. You can complete a single snowflake in a few minutes or turn the activity into an afternoon-long creative session.
Because no two snowflakes look exactly alike, this craft encourages experimentation rather than perfectionism. That sense of freedom is especially helpful for hesitant crafters or kids who are still building confidence with scissors.
Essential Supplies to Get Started
You do not need specialty equipment to begin; most households already have everything required. Choosing the right materials simply makes folding and cutting easier and the final designs more striking.
Start with basic supplies, then add a few decorative extras if you want to turn your snowflakes into long-lasting winter décor.
Basic Materials Checklist
- Plain white printer paper or lightweight colored paper
- Sharp scissors (child-safe scissors for younger kids)
- Pencil (for sketching patterns, optional)
- Ruler (to help create neat folds, optional)
- Flat surface for folding and cutting
Optional Decorative Extras
- Glitter glue or metallic pens for frosty details
- Clear tape, string, or thread for hanging
- Colored tissue paper for translucent, stained-glass-style snowflakes
- Adhesive putty for sticking snowflakes to windows or walls
Understanding Snowflake Shapes and Symmetry
Real snowflakes usually have six sides due to the way water molecules link as they freeze. When you fold your paper correctly, you can mimic this natural six-fold symmetry and create designs that look surprisingly intricate.
Experimenting with how the paper is folded before cutting helps you produce different effects: some folds create classic star-like snowflakes, while others result in bold, modern shapes or dense, lace-like patterns.
Common Snowflake Styles
| Style | Fold Type | Typical Look | Best For |
|---|---|---|---|
| Classic six-point | Triangle folded into thirds | Balanced, star-like snowflakes with even arms | Traditional winter window décor |
| Four-point | Square folded into quarters | Bold, geometric designs with strong angles | Garlands and large statement pieces |
| Layered clusters | Multiple small folded pieces | Dense, floral or mandala-like patterns | Centerpieces and framed art |
Step-by-Step: Creating a Six-Point Snowflake
The six-point snowflake is the most satisfying to cut because it resembles real snow crystals. Once you understand the folding sequence, the process becomes almost automatic and you can focus on experimenting with creative cut-outs.
The steps below describe one reliable method that works well with standard rectangular printer paper and is accessible for older children and adults.
Step 1: Make a Perfect Square
Begin by turning your rectangular sheet of paper into a square. Bring one corner diagonally across the page so that its edge lines up with the opposite side, forming a triangle and leaving a rectangular strip along one side.
Crease firmly and cut off the extra strip. When you unfold the triangle, you should have a square that will fold evenly in later steps.
Step 2: Fold the Square into a Triangle
Fold the square in half diagonally again to form a large triangle. Run your finger or a ruler edge along the fold to make it crisp, which helps prevent shifting as you cut.
For extra precision, flip the triangle over and press along the same fold a second time to keep everything aligned and flat.
Step 3: Divide the Triangle into Thirds
With the triangle’s point facing down, imagine splitting it into three equal slices, like a pie. Fold one side of the triangle toward the center at about a one-third angle, then fold the other side over the top so the edges align.
You may need a little trial and error the first time. Adjust the folds slightly until the sides meet neatly without overhanging edges.
Step 4: Trim the Top for a Clean Base
Once the triangle is folded into a wedge shape, you will see extra pointed corners at the top. Cut straight across the top of the wedge, trimming off the uneven tips so that the remaining piece looks like a narrow cone or long triangle.
This trimmed wedge contains all the layers of your final snowflake, and the straight cut becomes the outer edge of your design.
Step 5: Cut Your Design
Hold the folded wedge firmly and begin cutting shapes along both long edges. Small triangles, half-circles, diamonds, and curves all create interesting patterns once unfolded.
- A shallow cut creates a gentle indentation.
- A deep cut that reaches close to the center produces bold, dramatic openings.
- Cutting the tip of the wedge creates a hole in the center of the finished snowflake.
Step 6: Unfold and Flatten
After you finish cutting, open the wedge slowly, layer by layer, to avoid tearing delicate connections. Reveal the full snowflake and gently smooth it with your hands.
If your snowflake curls, place it between two sheets of plain paper and press it inside a heavy book overnight, or use a low-heat iron with a protective sheet on top.
Easy Patterns for Beginners and Kids
For younger crafters or anyone new to the process, it helps to use simple, repeatable patterns. Focusing on a few basic shapes allows beginners to see quick success and feel encouraged to keep experimenting.
Below are a few pattern ideas you can sketch lightly on the folded wedge before cutting, or simply follow as a mental guide when using scissors freehand.
Beginner-Friendly Shape Ideas
- Triangle chains: Cut a series of small triangles along both sides of the wedge to create a starburst effect.
- Rounded petals: Add soft half-circles along the edges for a flower-like snowflake.
- Arrow notches: Combine a triangle cut with a tiny slit beyond it to create sharp, feathery branches.
- Heart points: Cut small half-hearts along one edge so they become full hearts when unfolded.
Advanced Techniques for Intricate Designs
Once the basics feel easy, you can move on to more complex techniques that produce lace-like or thematic designs. These methods often involve smaller cuts and more careful folding but reward you with striking results.
Take your time with detailed patterns, and consider using slightly thinner paper so your scissors glide more easily through multiple layers.
Ideas for More Detailed Snowflakes
- Layered cutouts: Alternate deep and shallow cuts around the wedge to create inner and outer rings of detail.
- Themed shapes: Incorporate tiny stars, leaves, or abstract motifs into the pattern for holiday-specific designs.
- Micro-cuts: Use nail scissors or small precision scissors to carve tiny holes and filigree patterns.
- Double-layer snowflakes: Cut two snowflakes of different sizes and glue the smaller one on top for a three-dimensional look.
Kid-Friendly Safety Tips
Paper snowflakes are an excellent opportunity to teach safe tool use and patience. With a few simple guidelines, even young children can participate without frustration or risk.
Set up your workspace thoughtfully before cutting begins so children focus on creativity instead of struggling with logistics.
Safety Guidelines for Little Crafters
- Provide age-appropriate scissors with rounded tips and comfortable handles.
- Show kids how to keep fingers away from the blades and to cut slowly.
- Pre-fold and lightly sketch pattern lines for younger children to follow.
- Encourage frequent breaks so hands do not get tired or clumsy.
- Keep extra paper on hand; a torn snowflake becomes practice, not a disaster.
Creative Ways to Use and Display Your Snowflakes
Once your table is covered in paper confetti and finished designs, you can turn your snowflakes into seasonal décor that brightens every room. With a little planning, they can last all winter or even be stored for future holidays.
Think of your snowflakes as flexible design elements: they can hang, layer, overlap, and scatter to create different moods and styles.
Decorating Ideas at Home
- Hang snowflakes at varying heights from the ceiling with clear thread for a floating blizzard effect.
- Tape snowflakes to windows and glass doors to catch the light and create frosty silhouettes.
- Layer several snowflakes onto a piece of colored cardstock and frame them as temporary winter artwork.
- Attach small snowflakes to wrapped gifts as personalized tags or embellishments.
Classroom and Group Project Uses
- Create a collaborative “indoor snowfall” wall where each student adds a unique snowflake.
- Use snowflakes as prompts for science lessons about crystals, weather, and symmetry.
- Organize a snowflake-counting or sorting activity for younger children based on size or design complexity.
Common Mistakes and How to Fix Them
Even experienced crafters occasionally end up with lopsided or torn snowflakes. The good news is that most issues are easy to prevent or turn into creative opportunities.
Understanding what typically goes wrong helps you troubleshoot in the moment rather than feeling discouraged.
Typical Problems and Simple Solutions
- Uneven points: The initial square may be slightly off. Take extra care when forming and trimming the square so all sides match.
- Snowflake falls apart: Too many deep cuts can sever connecting areas. Leave small bridges of uncut paper between shapes.
- Paper too tough to cut: Switch to lighter paper or reduce the number of folded layers for beginners.
- Design looks messy: Try using fewer, bolder cuts rather than many small, random ones until you gain control.
Turning Snowflake-Making into a Family Tradition
Repeating this craft each winter can become a beloved ritual that marks the season as clearly as hot cocoa or holiday music. Over time, your family can build a collection of snowflakes and notice how everyone’s skills and styles evolve.
You might even date and store a few favorite designs each year, creating a visual time capsule of creativity and growth.
Ideas to Make It Special
- Choose a specific day each winter to host a “snowflake afternoon” with snacks and music.
- Assign each family member a color theme or pattern challenge for friendly, low-pressure creativity.
- Photograph especially intricate snowflakes before they wrinkle or fade, and compile them into a digital album.
Frequently Asked Questions About Paper Snowflakes
What type of paper works best?
Lightweight printer paper is usually ideal because it folds neatly and can be cut through multiple layers without much resistance. Thicker cardstock is more durable but can be difficult for children or small scissors to handle, especially when using detailed patterns.
How can I keep my snowflakes from tearing?
Use gentle pressure when cutting and avoid making cuts that remove almost all of a section’s width. Leaving small “bridges” of uncut paper between shapes maintains the snowflake’s overall strength while still allowing for delicate designs.
Can very young children participate?
Yes, with supervision and some preparation. Adults can handle the folding and rough shaping, then let toddlers or preschoolers make simple snips along the edges, focusing more on the experience than on perfect symmetry.
How do I store snowflakes for next year?
Lay snowflakes flat between sheets of clean paper or tissue inside a folder or large envelope. Keep them in a dry place away from heavy objects that might crease them in unpredictable ways.
Can I add color without using colored paper?
Absolutely. Lightly sponge on watercolor, brush diluted paint around the edges, or use colored pencils and markers to add borders and accents after cutting. Just avoid soaking the paper so much that it warps or tears.
Bring Winter Indoors with Your Own Paper Blizzard
Once you try making a few paper snowflakes, the process quickly becomes both soothing and addictive. Each new fold and cut reveals a fresh pattern, and even small variations in shape create dramatically different results.
Gather your paper, scissors, and imagination, and let your home become the stage for a personal winter storm made entirely by hand—no mittens required.