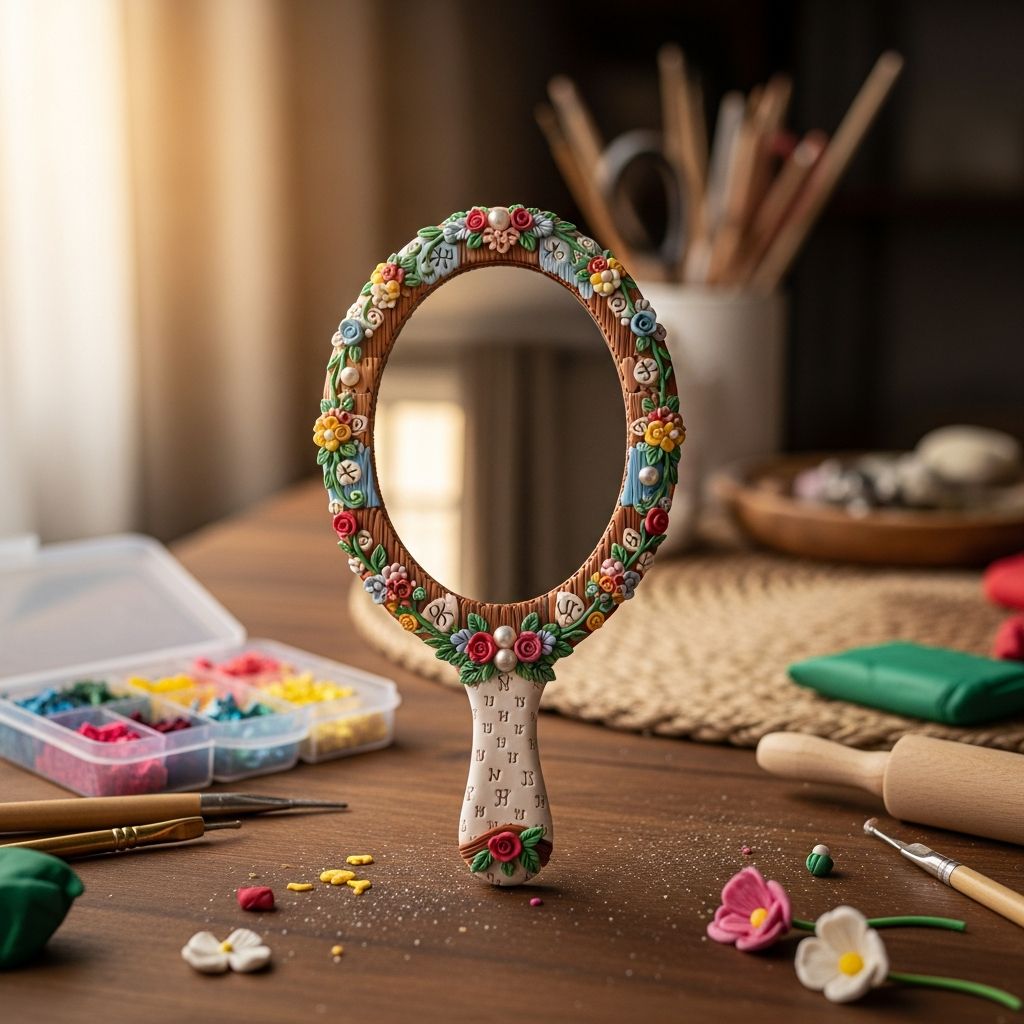
Why Choose a Polymer Clay Hand Mirror?
Hand mirrors are timeless accessories, but crafting one with polymer clay adds a personal touch that store-bought versions can’t match. Whether you’re making a gift for a loved one or a decorative piece for your own space, a polymer clay mirror is both functional and artistic. The process is beginner-friendly, and the results can be tailored to suit any style, from minimalist to ornate.
Gathering Your Materials
Before starting, collect all the necessary supplies to ensure a smooth crafting experience. Here’s what you’ll need:
- Small hand mirror (acrylic or glass, depending on your preference)
- Polymer clay (any color or texture)
- Rolling pin or smooth bottle
- Scissors or craft knife
- Acrylic paint (optional)
- Glue (preferably E6000 or Hasulith for glass surfaces)
- Decorative elements (faux flowers, beads, rhinestones, etc.)
- Sandpaper (for smoothing baked clay)
- Paintbrushes (if painting)
Having everything ready will help you focus on creativity rather than interruptions.
Step-by-Step Crafting Process
Follow these steps to create your own polymer clay hand mirror:
- Prepare the Clay: Knead the polymer clay until it’s soft and pliable. This ensures it’s easy to shape and won’t crack during baking.
- Roll Out the Clay: Use a rolling pin to flatten the clay into a thin, even layer. The thickness should be about 1/4 inch for durability.
- Shape the Base: Place your mirror on the clay and gently press around the edges to create an outline. Remove the mirror and trim the clay to fit, smoothing any rough edges.
- Bake the Clay: Follow the manufacturer’s instructions for baking. Most polymer clays require 110°C for about 30 minutes. Always bake in a well-ventilated area.
- Cool and Smooth: Let the clay cool completely, then lightly sand any rough spots for a polished finish.
- Attach the Mirror: Use a strong adhesive to secure the mirror to the clay base. E6000 or Hasulith glue works best for glass surfaces.
- Decorate: Add faux flowers, beads, or paint for extra flair. Hot glue is ideal for attaching lightweight decorations.
- Seal (Optional): Apply a clear varnish to protect the surface and add shine.
Creative Design Ideas
There are endless ways to personalize your mirror. Consider these ideas:
- Marbled clay for a modern, artistic look
- Floral patterns using faux flowers or clay cutouts
- Geometric shapes for a contemporary vibe
- Personalized initials or names with clay letters
- Vintage-inspired frames with gold or silver paint accents
Experiment with colors and textures to make your mirror truly unique.
Tips for Success
Here are some expert tips to help you achieve the best results:
- Always knead the clay thoroughly before use to prevent cracking.
- Don’t leave the mirror in the clay while baking—acrylic mirrors can melt.
- Use a template (like tracing the mirror on paper) to ensure perfect sizing.
- Let the clay cool completely before attaching the mirror to avoid warping.
- Seal painted or decorated surfaces to protect against wear.
FAQs
Can I use air-dry clay instead of polymer clay?
Air-dry clay can be used, but it’s less durable than polymer clay and may not withstand frequent handling. Polymer clay is recommended for longevity.
How do I attach the mirror securely?
Use a strong adhesive like E6000 or Hasulith glue, which bonds well with glass and clay surfaces.
Can I paint the clay after baking?
Yes, you can paint polymer clay after baking. Acrylic paints work well and can be sealed with varnish for extra protection.
Is this project suitable for kids?
Yes, polymer clay is safe for children, but adult supervision is recommended during baking and gluing steps.
Conclusion
Creating a polymer clay hand mirror is a rewarding craft that combines artistry and practicality. With a few simple materials and some creativity, you can make a beautiful, personalized gift or decor piece that stands out. Whether you’re a beginner or an experienced crafter, this project offers endless possibilities for customization and expression.