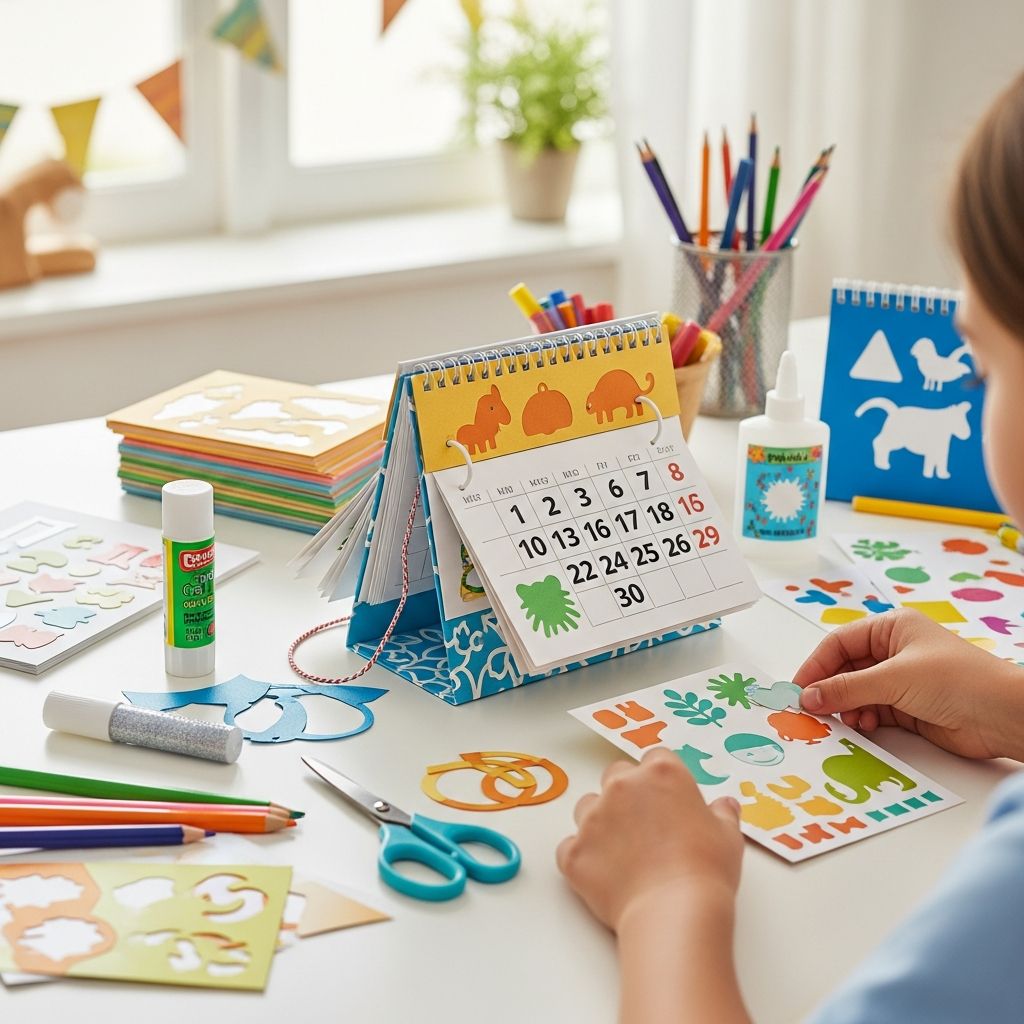
Designing a simple flip calendar with children is an engaging way to teach dates, seasons, and planning, all while letting them explore their creativity. This guide walks through how to build a kid-friendly mini calendar from scratch and customize it for your own family or classroom.
Why Make a Kid-Friendly Flip Calendar?
A homemade flip calendar transforms the abstract idea of time into something tangible kids can hold, color, and flip through. Instead of just handing them a store-bought version, you invite them into the process and help them feel ownership over the days ahead.
Because the project is compact and simple, it works equally well as a rainy-day activity, a classroom craft, or a thoughtful handmade gift for grandparents and friends.
- Encourages creativity through drawing, coloring, and simple design choices.
- Helps children practice fine motor skills like cutting, stapling, and hole punching (with supervision).
- Introduces or reinforces concepts like days of the week, months, and seasons.
- Creates a practical tool that can hang in a bedroom, on a fridge, or at a homework station.
Planning Your Calendar Project
Before cutting or printing anything, decide what kind of calendar you want to build with your child. The more intentional you are at the start, the smoother the crafting session will be and the more likely the finished calendar will actually get used.
Think about where the calendar will hang, how much space you have, and how independently your child can work with tools like scissors and markers.
Key Decisions to Make First
- Size: Mini card-sized pages are easy for little hands and take less wall space, while slightly larger pages give more room for art.
- Orientation: A vertical layout looks neat on a narrow wall; a horizontal layout can feel more like a small notepad.
- Use: Decide whether it will be decorative only, or used to track chores, homework, or activities.
- Age level: Younger kids may draw large, simple pictures; older kids might enjoy tiny details or themed doodles for each month.
Supplies and Simple Alternatives
One of the best parts of this project is that it does not require fancy equipment. Most families and classrooms already have the basic items needed, and the rest can be easily substituted with what you have on hand.
| Item | Ideal Choice | Possible Substitute |
|---|---|---|
| Paper | Sturdy cardstock or heavy printer paper | Regular printer paper layered or backed onto construction paper |
| Cutting tool | Paper trimmer for straight lines | Kid-safe scissors and a ruler as a cutting guide |
| Binding | Stapler or small binder rings | Twine and a hole punch, or washi tape across the top edge |
| Coloring tools | Colored pencils or crayons | Markers used lightly, gel pens, or stickers |
| Hanging option | Mini hole punch plus a hook or ribbon | Magnet on the back, push pin, or clip on a bulletin board |
If you plan to print a calendar grid, make sure you have access to a printer and enough ink. If not, you can hand-draw simple monthly grids together as an extra learning opportunity.
Designing the Calendar Pages
The heart of the project is the page design. Each page represents a month, so you have twelve chances to let kids express their style and connect art to seasonal themes or family traditions.
You can either prepare a basic grid layout for each month ahead of time or invite children to help you mark the days and write the month names by hand.
Suggested Page Layout
- A small header area for the month name at the top.
- A simple calendar grid with enough room to jot down one or two events per day.
- An open space for kid-drawn art on the opposite side or surrounding the grid.
- A tiny notes area for goals, reminders, or a monthly focus word.
To keep everything consistent, measure and sketch one master template, then trace or duplicate it for each month. This helps even very young kids feel confident because each new page looks familiar.
Step-by-Step Assembly Instructions
Once the pages are designed, it is time to assemble the calendar into a neat, flippable stack. Depending on the age of the child, you may handle the cutting and stapling while they focus on drawing and coloring.
- Prepare the months. Print or draw twelve small monthly pages on sturdy paper. Keep margins even so the stack looks tidy later.
- Cut the pages. Use a paper trimmer or scissors to cut the pages to the same size. Stack them and tap them on a flat surface to align all edges.
- Order the months. Arrange the pages in calendar order from January through December. For very young kids, say each month aloud while you place it so they hear the sequence.
- Bind the top. Staple along the top center of the stack, or punch two holes and thread twine or binder rings through to create a flip edge.
- Create a hanging point. Add a central hole above the staple line or attach a magnet to the back if the calendar will live on a metal surface.
- Test the flipping. Flip through each page to make sure nothing catches and that all month names are right-side up when hanging.
If you are crafting with a group of kids, consider assembling the blank stacks first and then handing out the ready-to-decorate mini calendars to avoid bottlenecks around the cutting tools.
Creative Decorating Ideas for Each Month
The decorating stage is where children really take ownership of the project. Encourage them to think about what each month feels like in your region and in your family: celebrations, weather, and favorite activities.
Seasonal Art Themes
- Winter months: Snowflakes, mittens, cozy blankets, hot drinks, stars, or twinkling lights.
- Spring months: Flowers, umbrellas, raindrops, baby animals, butterflies, and bright greens.
- Summer months: Suns, ice cream cones, beach scenes, bicycles, fireworks (if appropriate), and picnics.
- Autumn months: Leaves, pumpkins, apples, warm drinks, and favorite sweaters.
Personalized Touches
- Draw birthday cakes or tiny portraits near important family birthdays.
- Glue mini photos on the back of each page, such as family trips or memorable school events.
- Add small stickers or washi tape borders that match each month’s color scheme.
- Write a short monthly motto like “Be kind” or “Try new things” in the notes area.
For hesitant artists, lightly sketch shapes in pencil so kids can trace over them, or provide magazines and let children collage simple images onto the pages.
Using the Calendar to Teach Time and Responsibility
Once the calendar is finished, it becomes a gentle daily reminder that time has structure and that children play a role in organizing it. Instead of adults alone announcing what happens next, kids can look ahead and see plans for themselves.
Kid-Friendly Ways to Use the Calendar
- Mark school events, playdates, and practices using different colored pencils.
- Let children add small icons for recurring routines, such as a book symbol on library days or a music note on piano days.
- Track simple habits with checkmarks, such as “brushed teeth,” “read for ten minutes,” or “fed the pet.”
- Circle big family events so kids can count down to holidays and trips.
Checking the calendar together each morning can become part of your routine, giving kids a sense of stability and helping them prepare mentally for the day ahead.
Adapting the Project for Different Ages
This project scales up or down depending on the abilities of the children involved. With a few small tweaks, it can work for toddlers, early readers, and even tweens who are ready for more design independence.
| Age Group | Adult Role | Child Role |
|---|---|---|
| Preschool | Cut pages, bind calendar, write month names | Color large shapes, add stickers, choose colors |
| Early Elementary | Assist with layout, help count days correctly | Write some words, draw pictures for each month |
| Upper Elementary | Review dates and spelling | Design layout, letter the months, create themed illustrations |
| Tweens | Provide materials and space | Handle entire design, possibly adding more advanced features like color-coding systems |
For mixed-age groups, let older children help younger ones with tasks such as holding the ruler, lining up the pages, or writing labels, reinforcing cooperation and mentoring skills.
Fun Variations on the Basic Flip Calendar
Once you build one mini flip calendar, it is easy to experiment with new twists. These variations can turn a simple project into a collection of handmade tools for organizing and memory keeping.
- Chore calendar: Replace the monthly grid with a weekly chart where kids check off tasks like setting the table or feeding pets.
- Gratitude calendar: Leave spaces to write one small thing each day that your child is thankful for.
- Reading log calendar: Add a tiny book icon for each day your child reads, then tally totals at the end of the month.
- Memory calendar: Keep the current month’s page after you tear it off and invite your child to jot down their favorite memory from that month on the back.
- Language-learning calendar: Label months and days in another language your family is learning, turning the calendar into a daily vocabulary reminder.
These variations can be mixed and matched. For example, you might have a regular monthly grid on one side of the page and a gratitude or habit tracking space on the reverse.
Practical Tips for Display and Durability
A little planning around where and how you display the calendar can extend its life and keep children engaged. Since pages will be flipped all year long, aim for a spot where kids can reach but where the calendar will not be constantly bumped or splashed.
- Hang at child eye-level in a bedroom or playroom so kids can check it independently.
- Keep it away from sinks and messy art areas to avoid water damage and stains.
- Consider laminating finished pages or covering them with clear tape strips before binding for extra strength.
- Use colored staples, fun binder clips, or patterned tape to make the binding feel intentional and decorative.
If pages do start to tear near the binding, reinforce the top edge with a strip of tape and re-punch holes or re-staple through the tape.
Frequently Asked Questions
Do I have to use a printed calendar template?
No. You can absolutely draw your own grids by hand if you prefer, which can be a great math and handwriting exercise. A printed layout may save time, but it is not required for the project to work.
How many pages should my flip calendar have?
Most families find that twelve pages—one for each month—are plenty. If you want extra space, you could add a cover page or a notes page at the end for future ideas and yearly goals.
What type of paper holds up best?
Cardstock or heavy printer paper generally works best because it bends less and can handle coloring and daily flipping. If you only have thin paper, consider gluing each page onto a slightly larger piece of construction paper for support.
Can younger kids help without using sharp tools?
Yes. Adults can handle all cutting, stapling, and hole punching, while younger children focus on coloring, placing stickers, and choosing which drawings belong on each month.
How can I turn this into a gift?
Have children personalize each page with drawings that remind them of the person who will receive the calendar. Add a short note or dedication on the cover, and wrap the finished flip calendar with twine or ribbon for a charming handmade present.
Is it possible to reuse the design every year?
If you love the layout, save a blank copy or scan one of the pages before decorating. Next year, you can simply update the dates and enjoy creating new artwork with your child.
Making the Calendar a Year-Long Tradition
Once your family or classroom completes a first flip calendar, consider repeating the project every year. Comparing new versions with older ones can be a meaningful way to see how children’s handwriting, creativity, and interests evolve over time.
Whether you build a simple twelve-page stack or an elaborate themed series, a homemade flip calendar offers something store-bought versions cannot: a year of memories, recorded in your child’s own lines, colors, and ideas.