A receiving blanket is one of the most useful and comforting items you can make for a newborn. With a single piece of soft fabric and a straight stitch on the sewing machine, you can create a practical keepsake that will be used every day for cuddling, burping, on-the-go changes, and more.
This guide walks you through choosing fabric, cutting and sewing an easy blanket, and using it safely and creatively once baby arrives.
What Is a Receiving Blanket?
A receiving blanket is a lightweight, usually square or rectangular baby blanket designed to be a multipurpose workhorse in everyday care. Unlike purpose-built swaddles, which are tailored specifically for wrapping babies snugly for sleep, receiving blankets shine as all-around helpers for feeding, changing, and general comfort.
| Feature | Receiving Blanket | Swaddle Blanket |
|---|---|---|
| Main purpose | Versatile daily use (burping, changing, light cover) | Secure, snug wrapping for sleep and soothing |
| Shape & size | Often square or small rectangle, easy to fold | Typically larger, sometimes shaped or with fasteners |
| Design features | Simple hem or binding, no hardware | May include wings, Velcro, or zippers |
| Best use | Daytime care, quick tasks, snuggles | Sleep time and settling fussy newborns |
You can swaddle with a receiving blanket once you learn a good folding technique, but for many families it functions primarily as a soft, always-handy cloth for just about everything.
Baby-Safe Fabric Choices and Safety Considerations
Before you start cutting and sewing, it is important to choose appropriate materials and understand basic safety guidelines for using any blanket with an infant.
Recommended Fabrics
Babies have sensitive skin and immature temperature regulation, so breathable, gentle fabrics are essential.
- Organic cotton flannel – Soft, warm, and slightly fuzzy, ideal for cooler environments. Opt for certified organic cotton to reduce exposure to residual chemicals.
- Lightweight woven cotton or muslin – Breathable, suitable for warmer rooms, and easy to wash repeatedly.
- Bamboo or cotton-bamboo blends – Naturally soft and often highly breathable, a good choice for babies prone to skin irritation.
Whatever you choose, prewash and dry the fabric in the way you plan to care for the blanket so it softens and shrinks before you cut.
Safe Sleep Basics for Blankets
Guidance from the American Academy of Pediatrics (AAP) emphasizes that the safest sleep environment for babies under 12 months is a separate sleep surface with a firm mattress and fitted sheet only, without loose blankets or soft objects.
- Do not place a loose receiving blanket in a crib, bassinet, or play yard while your baby is sleeping.
- For sleep, consider using a properly fitted swaddle or wearable blanket instead, and stop swaddling once baby shows signs of rolling.
- When using a receiving blanket in a stroller or car seat, keep it away from the face and avoid overheating.
These precautions help lower the risk of suffocation and other sleep-related incidents.
Planning Your DIY Receiving Blanket
Once you understand the safety basics, you can design a blanket that fits your sewing skill level and your baby’s needs.
Suggested Blanket Sizes
You can make receiving blankets in several sizes. Many parents appreciate having a mix:
- Small (about 30 × 30 in / 76 × 76 cm) – Great for newborn burp cloth duty, lining changing pads, or tucking around baby in your arms.
- Medium (about 34 × 34 in / 86 × 86 cm) – A classic all-purpose size that works for quick swaddles, stroller covers, and general use.
- Rectangular (e.g., 30 × 36 in / 76 × 91 cm) – Handy as a portable changing mat or for layering over a car seat (while keeping baby’s face clear).
For your first project, a medium square with simple hemmed edges is a good starting point.
Tools and Supplies Checklist
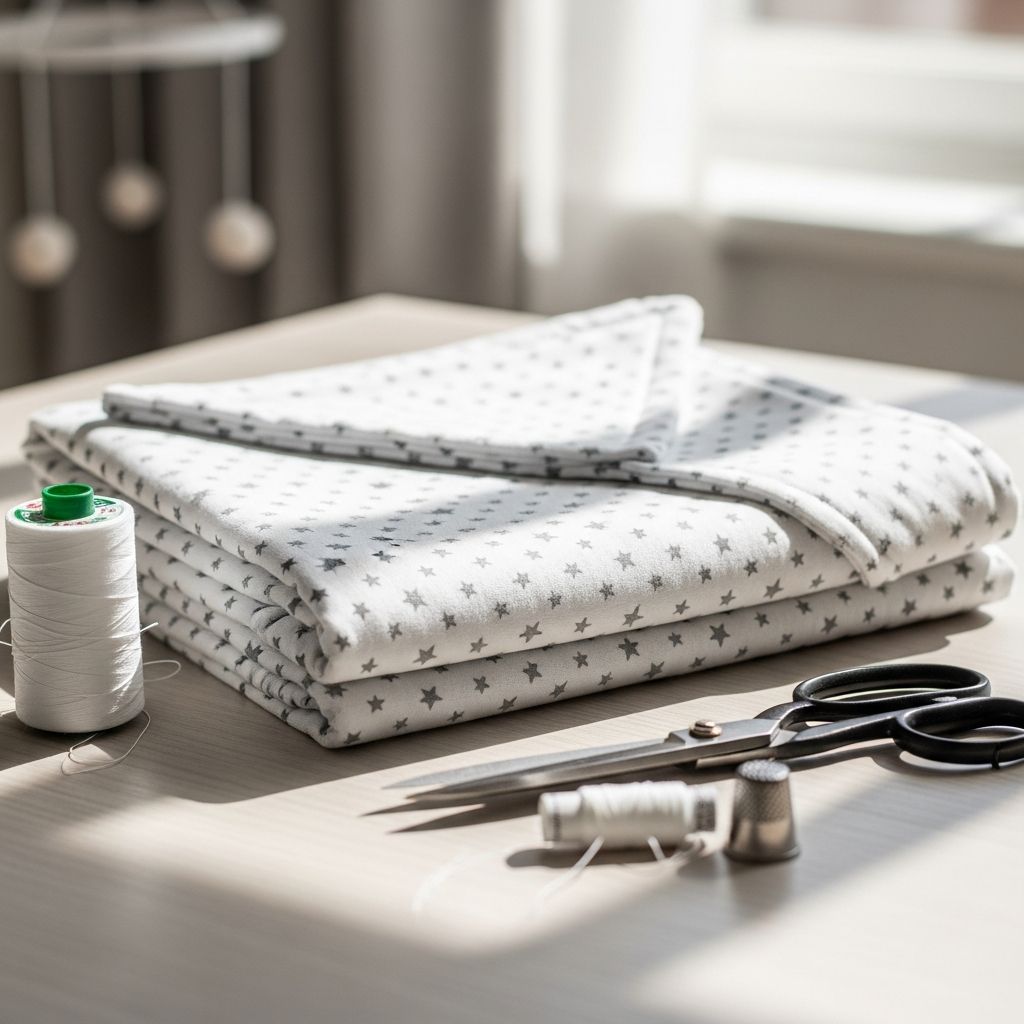
- 1 yard (or more) of prewashed baby-friendly fabric
- Coordinating thread suitable for the fabric weight
- Fabric scissors or rotary cutter and cutting mat
- Measuring tape or quilting ruler
- Pins or clips to hold edges in place
- Sewing machine with straight-stitch capability
- Iron and ironing board for pressing folds and seams
Step-by-Step: Sewing a Straightforward Receiving Blanket
This method uses a single layer of fabric with a neat, turned-under hem all the way around. It is quick to sew and easy to customize with different prints.
Step 1: Measure and Cut Your Fabric
- Lay the prewashed fabric on a flat surface, smoothing out wrinkles.
- Measure a square in your desired dimensions (for example, 34 × 34 inches), adding about 1 inch to each side to allow for a double-fold hem.
- Cut as accurately as possible; straight, square edges will make hemming easier.
Step 2: Press the Edges
- Working on one side at a time, fold the raw edge toward the wrong side of the fabric by about 1/2 inch.
- Press with a hot iron to create a crisp crease.
- Fold the edge over a second time by another 1/2 inch to fully encase the raw edge, and press again.
- Repeat for all four sides, overlapping folds cleanly at the corners.
Step 3: Pin and Prepare to Sew
- Place pins or clips along each folded edge to hold the double-fold hem in place.
- Set your sewing machine to a medium-length straight stitch.
- Choose a matching or intentionally contrasting thread color, depending on your style preference.
Step 4: Stitch Around the Perimeter
- Starting near a corner, sew close to the inner folded edge to secure the hem.
- Remove pins as you go, keeping the fabric smooth and flat.
- Slow down at corners to pivot carefully and maintain a straight line.
- When you reach your starting point, overlap a few stitches to lock the seam and trim thread tails.
Step 5: Final Press and Inspection
- Give the blanket a final press with the iron so the edges lie flat.
- Check for any loose threads or missed spots on the hem and reinforce if necessary.
- Wash and dry once more if desired so it is fresh and ready for baby.
Optional Upgrades for a More Advanced Finish
Once you have sewn a few basic receiving blankets, you may want to personalize them further. Here are some ideas that still keep the project beginner-friendly.
- Rounded corners: Use a round object (like a plate) to trace curved corners before hemming. This can make folding around baby easier and gives a softer look.
- Decorative topstitching: Add a second row of straight or zigzag stitches around the edge for a design accent and extra durability.
- Two-layer blanket: Sew two pieces of soft fabric right sides together, leave a small opening, turn right-side out, and topstitch around the edge. This adds warmth and weight while keeping seams hidden inside.
- Simple appliqué: Stitch a small heart or initial in one corner, keeping embellishments flat and away from baby’s face.
Everyday Ways to Use a Receiving Blanket
One of the reasons receiving blankets are recommended so often is their versatility in daily baby care.
- Burp cloth: Drape it over your shoulder while burping to protect your clothing and catch spit-up.
- Changing surface: Lay it under your baby on public changing tables, floors, or sofas for a clean layer between baby and the surface.
- Post-bath wrap: Use it to dry and warm your baby right after a bath, when they lose heat quickly.
- Temporary stroller or car seat cover: Place it over part of the stroller or seat to block mild sun or wind, ensuring air can circulate and the fabric stays away from your baby’s face.
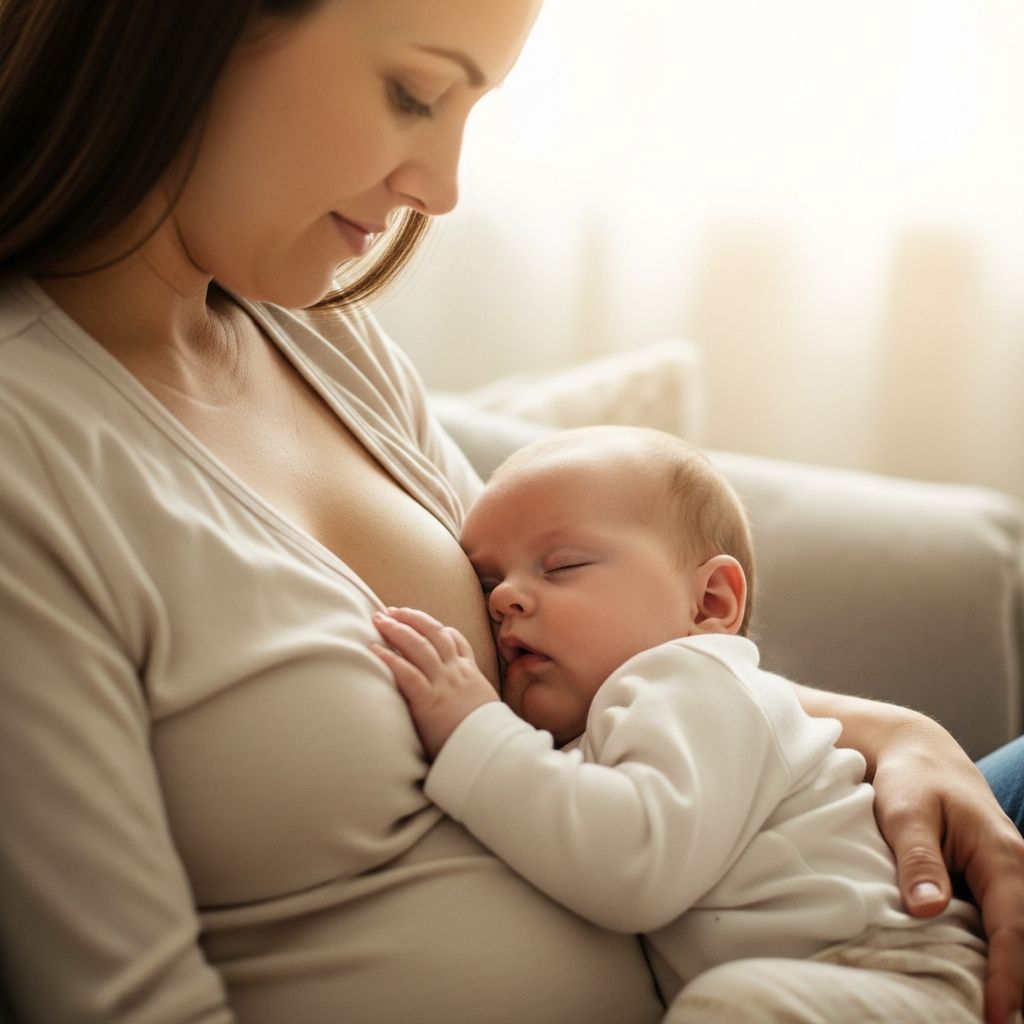
- Breastfeeding cover: Drape it lightly over your shoulder and baby for extra privacy during nursing on the go.
- Play mat layer: Spread it on the floor as a soft, washable layer for supervised tummy time or play, especially when you are away from home.
Care, Laundering, and Longevity
Receiving blankets are used for mess-prone tasks, so frequent washing is inevitable. Gentle but thorough laundering helps keep them soft and safe.
- Wash blankets in warm water with a mild detergent that is free of harsh fragrances or dyes, which can irritate baby skin.
- Rinse thoroughly to remove residue that may remain on fibers.
- Dry completely before use to avoid musty smells and moisture buildup.
- Inspect periodically for thinning fabric, frayed edges, or loose threads; retire blankets that no longer hold up safely to frequent use.
Receiving Blankets vs. Swaddles: How Many Do You Need?
Parents often wonder how many blankets and swaddles they actually need. While there is no single correct number, it is useful to think in terms of function.
- Receiving blankets: Because they are used for burping, diaper changes, and as catch-alls, many families appreciate having several on hand. You will likely use multiple blankets each day during the newborn months.
- Swaddling blankets or sleep sacks: These are more focused on sleep and soothing. Swaddling can reduce the startle reflex and help newborns sleep more soundly, but it should be stopped once your baby begins trying to roll, after which wearable blankets or sleep sacks are preferred.
Think of receiving blankets as your flexible daytime tools and swaddles or wearable blankets as part of your night-time sleep strategy.
Frequently Asked Questions (FAQs)
Can my baby sleep with a receiving blanket in the crib?
No. Current safe sleep guidelines advise that infants sleep on a firm, flat surface with only a fitted sheet and no loose blankets, pillows, or toys until at least 12 months of age. For warmth, use a swaddle (for a non-rolling baby) or a wearable blanket instead.
Is it safe to use a receiving blanket in a car seat?
You can use a receiving blanket over baby’s lap or legs for warmth, but keep it away from the face and ensure it does not interfere with the harness. Avoid routing the harness over the blanket, as this can affect its fit. Monitor closely for overheating.
What fabric is best for babies with sensitive skin?
Soft, breathable materials such as organic cotton and bamboo are often recommended for sensitive skin because they are gentle and generally free of harsh processing chemicals. Always wash new blankets before first use.
Can I swaddle using a receiving blanket?
Yes, many hospitals and families swaddle newborns with simple cotton receiving blankets. The blanket should be large enough to wrap securely but not so heavy that it causes overheating. Once your baby shows signs of rolling, stop swaddling and transition to a sleep sack.
How many DIY receiving blankets should I make?
This depends on how often you do laundry, but many parents find that 4–8 receiving blankets provide a comfortable rotation for daily messes, play, and outings. Because they are simple to sew, you can easily add more later if you find yourself reaching for them constantly.
References
- What Is a Receiving Blanket — and Do You Need One? — Healthline. 2019-06-07. https://www.healthline.com/health/baby/what-is-a-receiving-blanket
- Receiving Blankets vs Swaddles: Which One Does Your Baby Need? — Nest Designs. 2023-04-18. https://www.nestdesigns.com/blogs/sleep/receiving-blankets-vs-swaddles-which-one-does-your-baby-need
- Safe Sleep for Babies — American Academy of Pediatrics via HealthyChildren.org. 2022-10-12. https://www.healthychildren.org/English/ages-stages/baby/sleep/Pages/a-parents-guide-to-safe-sleep.aspx
- Swaddling: Is it Safe? — American Academy of Pediatrics via HealthyChildren.org. 2022-05-18. https://www.healthychildren.org/English/ages-stages/baby/diapers-clothing/Pages/Swaddling-Is-it-Safe.aspx
- Newborn Baby Care Basics — Mayo Clinic. 2023-04-20. https://www.mayoclinic.org/healthy-lifestyle/infant-and-toddler-health/in-depth/newborn/art-20045498