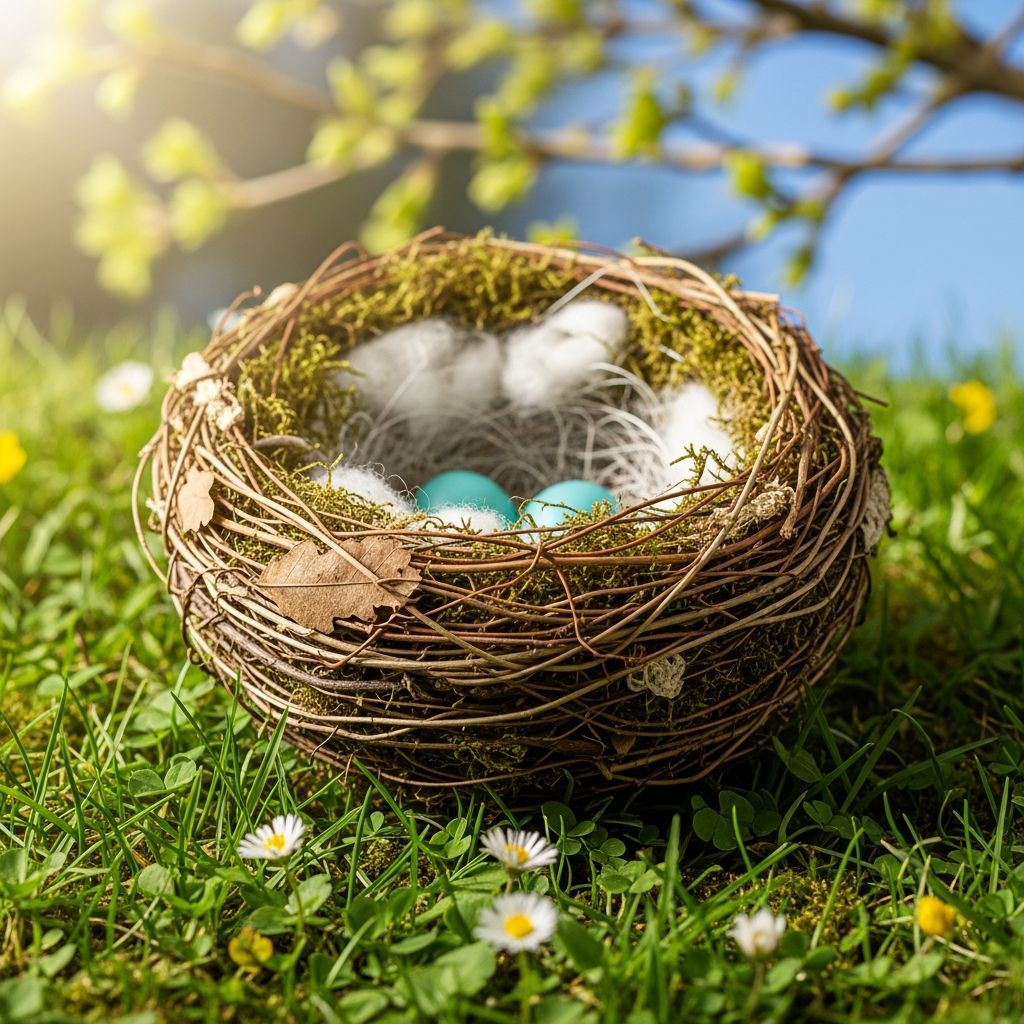
Decorative bird nests are a simple, cozy way to celebrate spring and bring a touch of the outdoors into your home. This guide walks you through a completely original, family-friendly project that uses everyday materials to create charming nests perfect for display, gifting, or seasonal play.
Why Make a Decorative Bird Nest?
Homemade bird nests offer a creative way to talk with children about nature, seasons, and how real birds build safe spaces for their eggs. They also make beautiful centerpieces, mantel accents, and classroom projects that can be adapted for different ages and skill levels.
- Encourages fine motor skills, creativity, and imaginative play for kids.
- Provides an inexpensive, low-mess craft that can be completed in a single afternoon.
- Fits into spring, Easter, nature study, or bird-themed lesson plans.
Materials and Tools You Will Need
This version of the project focuses on a nest made from shredded paper and natural elements. You can easily substitute many of the items with what you already have at home or in your recycling bin.
- Brown or neutral-colored paper (paper bags, kraft paper, or shredded paper)
- White school glue or craft glue
- Small bowl (to use as a mold)
- Plastic wrap or parchment paper (to line the mold)
- Scissors or a paper shredder
- Optional natural elements: small twigs, dried grass, raffia, leaves, or moss
- Optional decorations: faux eggs, felt birds, ribbon, or tiny flowers
Project Overview
In this craft, you will line a small bowl with paper and glue to form a nest-shaped shell. Once dry, the nest is firm enough to hold lightweight decorative items while still looking loose and rustic, similar to what a real bird might build.
Ideal Age Range
This project works well for a variety of ages with some adjustments.
- Toddlers and preschoolers: Focus on tearing paper and pressing pieces into the bowl (with adult supervision).
- Early elementary: Allow children to cut paper strips and help with arranging decorative details.
- Older kids, teens, and adults: Experiment with layered textures, color variations, and more precise shaping.
Step-by-Step Instructions
Step 1: Prepare and Protect Your Workspace
Cover your table with newspaper, an old cloth, or a disposable table covering. This makes cleanup easier and keeps glue off your furniture.
- Lay out all of your supplies within easy reach.
- Place the small bowl upside down on the work surface and cover the outside with plastic wrap or parchment paper.
- Smooth the covering so it follows the curve of the bowl, taping the edges underneath if needed.
Step 2: Cut or Tear the Paper
The texture of the nest comes from layers of thin paper strips. You can either cut or tear the paper; each method gives a slightly different look.
- For a tidy, uniform nest, cut the paper into thin strips about 0.5–1 cm wide.
- For a more rustic nest, tear the paper into uneven, narrow pieces with rough edges.
- Plan enough strips to cover the bowl in at least two or three overlapping layers.
Step 3: Mix the Glue
To make the paper more flexible and easier to mold, thin the glue slightly with water.
- Pour glue into a small bowl or container.
- Add a small amount of water, starting with about one part water to three parts glue.
- Stir until the mixture is smooth and runny but still sticky.
Step 4: Build the Nest Layers
This is where the basic nest form takes shape. You will soak each strip of paper in the glue mixture and lay it over the covered bowl.
- Dip a paper strip into the glue mix and gently squeeze off the excess with your fingers.
- Lay the strip across the outside of the bowl, starting near the rim and wrapping it partly underneath.
- Overlap additional strips at slight angles, crisscrossing them to mimic the weave of a real nest.
- Continue until the bowl is covered, focusing on the sides and leaving the very bottom slightly thinner so the nest can stand evenly later.
- Add a second and third layer of strips, paying extra attention to the rim to make it sturdy.
Step 5: Add Natural Texture
Once the basic paper layers are in place, you can work in natural or decorative elements to give the nest more character.
- Press small twigs or pieces of raffia into the wet paper, following the curve of the nest.
- Overlap dried grass or thin string to give the feeling of a real nest interior.
- Lightly brush more glue mixture over anything that seems loose so it adheres firmly.
Step 6: Allow the Nest to Dry
Drying time depends on how many layers you used and how wet your glue mixture is. Plan for several hours or overnight.
- Set the bowl and nest aside in a warm, dry area where it will not be disturbed.
- Check the surface; it should feel firm and no longer cool or tacky when fully dry.
- If the nest still seems flexible, allow additional drying time before removing it from the mold.
Step 7: Lift the Nest Off the Mold
When everything is dry, the nest should easily release from the bowl thanks to the plastic or parchment barrier.
- Gently peel the nest away from the sides, working slowly to avoid cracking.
- Remove the plastic wrap or parchment from the inside of the nest.
- If there are thin or fragile spots, reinforce them with a few extra glued strips and let dry again.
Safety and Supervision Tips
Even though this is a simple project, a few basic precautions help everyone have a safe, enjoyable experience.
- Supervise children when using scissors and guide younger kids in safe cutting techniques.
- Use non-toxic glue and wash hands after handling it, especially before snacks.
- Keep very small decorations, like tiny faux eggs or beads, away from children who still put objects in their mouths.
Creative Variations on the Basic Nest
Once you master the core technique, you can adapt this project in dozens of ways. Small changes in color, material, or scale can transform the look of your finished nest.
| Variation | Materials to Adjust | Resulting Style |
|---|---|---|
| Natural woodland nest | Use brown paper, twigs, dried leaves, and green moss. | Earthy, rustic decor suitable for nature-themed rooms. |
| Pastel spring nest | Use light pink, blue, and cream paper with soft ribbon. | Gentle, whimsical look ideal for spring parties or Easter. |
| Metallic accent nest | Include metallic thread or gold foil paper strips. | Elegant centerpiece for grown-up tablescapes. |
| Miniature nests | Use small condiment cups or toy bowls as molds. | Tiny nests for place cards, ornaments, or dollhouses. |
Fun Ways to Use Your Finished Nests
Decorative bird nests can be more than just shelf ornaments. With a little imagination, they become part of family rituals, learning activities, and even seasonal traditions.
- Fill them with faux eggs for a spring centerpiece on your dining or coffee table.
- Place small handwritten notes or affirmations inside and read them together as a family.
- Use them as gentle storage for tiny toys, story props, or nature treasures collected on walks.
Incorporating Learning and Storytelling
While you craft, you can turn the project into an informal lesson about birds and their habitats. This makes the craft especially useful for teachers, homeschoolers, or parents who want to blend learning with hands-on fun.
- Discuss why different birds use different nesting materials and how that keeps eggs safe.
- Invite children to imagine a bird family that might live in their nest and tell a story about them.
- Connect the project to simple science topics like seasons, weather, and animal behavior.
Display and Care Tips
Handmade nests are delicate but can last for multiple seasons with the right care. Treat them as you would any paper-based decoration.
- Keep nests away from direct moisture and strong sunlight to prevent fading or warping.
- Dust gently with a soft brush or dry cloth, especially if you added loose materials like moss.
- Store nests in a box or container with tissue paper when not in use to protect them from crushing.
Frequently Asked Questions
Can younger children really help with this craft?
Yes. Even very young children can participate by tearing paper, handing strips to an adult, and gently pressing pieces onto the bowl. Adjust the steps to match their ability level and always supervise use of scissors and glue.
What if I do not have brown paper bags?
You can use almost any type of thin paper, including newsprint, colored construction paper, or old wrapping paper. If the colors are bright, the nest will simply look more playful and decorative, which is perfect for a spring celebration.
How long does the nest take to dry?
Drying time varies, but most nests made with a few layers of paper and glue will dry within several hours or overnight. For best results, start the project in the morning so it is completely dry and ready to unmold by the following day.
Can these nests hold real eggs or food?
These decorative nests are not designed for food or real eggs because they are made from paper and craft glue. If you want to incorporate them into a table setting, keep any edible items in separate, food-safe containers placed inside or near the nest.
Is it possible to reuse the mold?
Yes. Simply recover the outside of the bowl with fresh plastic wrap or parchment paper if the previous layer has glue residue. This makes it easy to create multiple nests in different styles and sizes for a full spring display.
Final Thoughts
Creating handcrafted bird nests is a relaxing, low-cost project that allows families to slow down and celebrate the arrival of spring together. With a few household materials and a bit of imagination, each nest becomes a unique little work of art that reflects the personalities and creativity of its makers.