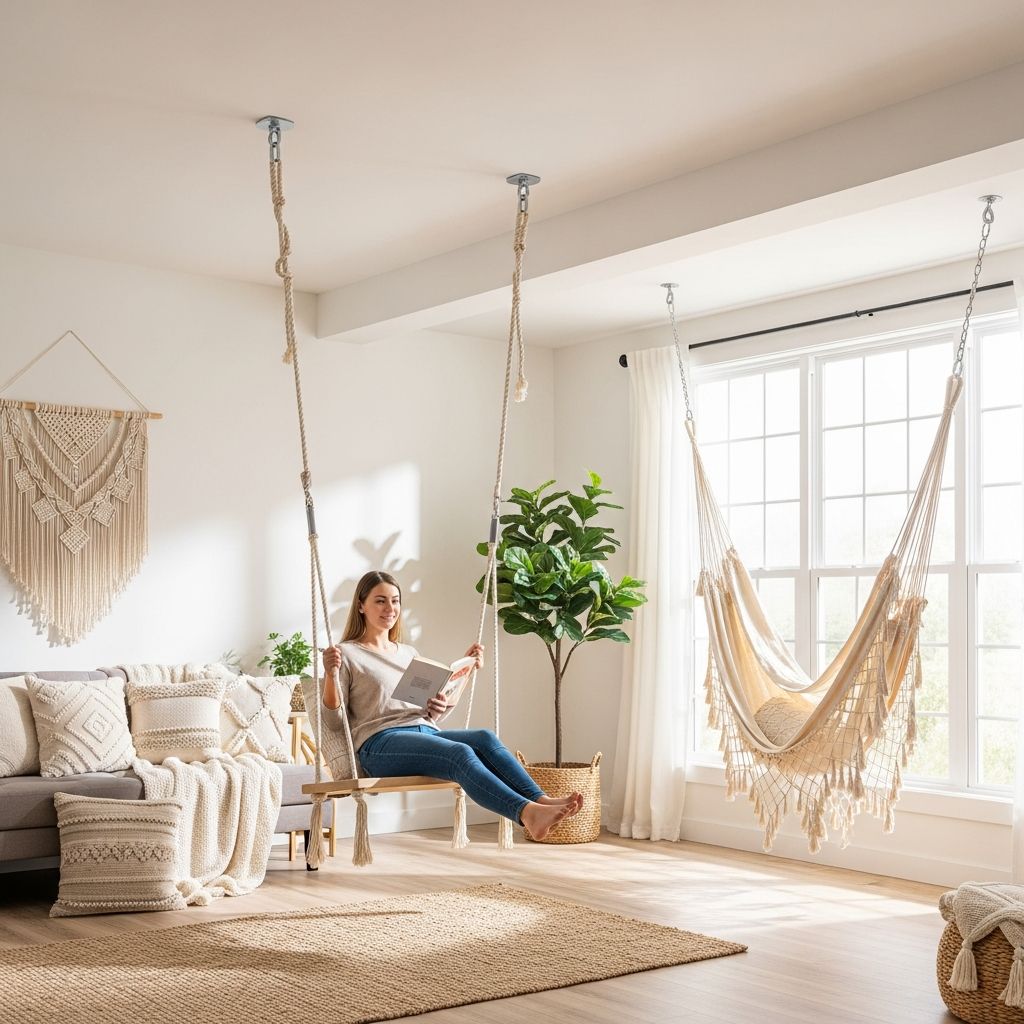
Transform any room into a serene retreat by installing a hanging chair or hammock from the ceiling. These suspended seats offer gentle swaying motion, promoting relaxation and adding a unique aesthetic touch to living spaces, patios, or bedrooms. Proper installation ensures safety and longevity, supporting weights up to 300 pounds or more when done correctly. This guide provides everything needed for a successful DIY project, from selecting materials to final testing.
Why Choose a Ceiling-Hung Swing or Hammock?
Suspended seating maximizes floor space, ideal for small apartments or cozy nooks. Unlike floor chairs, they encourage mindful lounging, reducing stress through rhythmic movement. Popular styles include woven hammock chairs, macramé egg swings, and cushioned pods, each bringing distinct comfort levels. Benefits extend to improved posture during reading or meditation sessions, making them family favorites.
- Space efficiency: Frees up ground area for other uses.
- Therapeutic sway: Mimics natural rocking for better sleep prep.
- Versatile decor: Complements bohemian, modern, or rustic interiors.
Assessing Your Space and Load Capacity
Before purchasing, evaluate your ceiling type—wood joists, concrete slabs, or exposed beams—and intended location. Ensure at least 7 feet of height clearance, with the seat ending 18-36 inches from the floor for easy access. Account for swing radius: position 4 feet from walls and 14 inches from edges to avoid collisions.
| Ceiling Type | Recommended Hardware | Max Load |
|---|---|---|
| Wood Joist (2×6+) | Lag screws or eye bolts | 300-500 lbs |
| Concrete | Expansion anchors | 250-400 lbs |
| Exposed Beam | Ceiling plate + chain | 400+ lbs |
Consult building codes; for rentals, get landlord approval. Structural engineers recommend joists spanning at least 2×6 inches for dynamic loads from swinging.
Essential Tools and Hardware Checklist
Gather these items upfront to streamline the process. Opt for corrosion-resistant materials like stainless steel or galvanized components for indoor humidity.
- Stud finder for locating joists
- Power drill with wood/concrete bits
- Tape measure and level
- Ladder or stable platform
- Socket wrench or pliers
- Safety gear: gloves, glasses
Hardware specifics:
- Heavy-duty eye bolt (3/8-inch, 4-inch thread, 300+ lb rating)
- Ceiling mount plate (supports 250-300 lbs)
- Chain (1/4-inch, 325 lb test) or paracord/rope (300 lb+)
- Quick links, carabiners, or S-hooks (rated 300 lbs each)
- Lag screws (5/16 x 4 inch) or masonry anchors
Step-by-Step Installation Process
Step 1: Locate and Mark the Structural Support
Use a stud finder to scan the ceiling, marking joist centers every 16-24 inches. Test by tapping—solid thuds indicate beams. For ideal spots, align over load-bearing areas. Mark a central point with pencil, ensuring 3-4 feet swing clearance.
Step 2: Measure for Perfect Height
Sit in the chair on the floor, noting desired seat height (typically 18-24 inches off ground). Add distance to attachment point, subtracting from ceiling height. This determines chain/rope length—aim for adjustable setup.
Step 3: Drill Precision Pilot Holes
Select a bit slightly smaller than hardware diameter. For wood, drill 3 inches deep into joist center; for concrete, use hammer drill for 2.5-inch depth. Vacuum debris to maintain accuracy. Multiple holes for plates distribute force better than single points.
Step 4: Secure the Anchor Hardware
Insert eye bolt or screws, twisting firmly with wrench until flush. For plates, align holes and tighten all fasteners evenly. Verify levelness—tilted mounts cause uneven wear. Pro tip: Add washers for extra grip on wood.
Step 5: Attach Suspension Elements
Link chain or rope to anchor via carabiner. Create secure knots like bowline for ropes. Adjust length so seat hangs correctly. Connect chair’s suspension ring or spreader bar with locking carabiner—never use non-rated clips.
Step 6: Final Adjustments and Testing
Level the setup, trimming excess chain if needed. Sit gradually, starting with partial weight. Bounce lightly to simulate use; no creaks or movement means success. Re-check all connections after 24 hours.
Safety Protocols and Common Pitfalls
Prioritize safety: Never exceed rated capacities, including dynamic swinging forces (up to 2x static weight). Avoid drywall-only mounts—they fail under load. Inspect monthly for wear, especially ropes fraying or chains rusting.
- Weight limits: Factor occupant plus motion multiplier.
- Child supervision: Keep seats 3+ feet high; no unattended kids.
- Professional help: For doubtful structures, hire a contractor.
Avoid pitfalls like ignoring joists (use plates spanning multiples) or skimping on hardware quality. Concrete requires toggle bolts over plastic anchors.
Creative Placement Ideas for Your Home
Bedrooms suit bedside readers; living rooms get conversation pods. Patios need weatherproof chains. Pair with plants or lights for ambiance. Multiple swings? Space 6 feet apart on reinforced beams.
Troubleshooting Installation Issues
| Problem | Solution |
|---|---|
| Chair swings unevenly | Re-level hardware; shorten one chain side |
| Creaking noises | Tighten all fittings; add lubricant to joints |
| Joist too weak | Install cross-beam or anchor plate |
| Concrete cracking | Use proper expansion bolts; consult pro |
Maintenance for Long-Lasting Enjoyment
Clean fabric with mild soap; store chains dry. Lubricate carabiners yearly. Replace ropes every 2 years or at wear signs. Seasonal checks prevent accidents.
Frequently Asked Questions
Can I hang a swing from a plaster ceiling?
No, plaster/drywall alone can’t support dynamic loads. Always anchor to joists or use spanning plates.
How much weight can most home ceilings handle?
Standard joists support 300-500 lbs if properly installed; verify with stud finder and load ratings.
What’s the best height for the seat?
18-24 inches from floor for adults; adjustable chains allow customization.
Do I need a professional for concrete ceilings?
DIY possible with masonry bits, but consult if unsure about slab integrity.
How far from walls should it be?
Minimum 4 feet behind, 14 inches sides for safe swinging.
References
- Structural Design Requirements for Overhead Lifting Devices — Occupational Safety and Health Administration (OSHA). 2023-05-15. https://www.osha.gov/laws-regs/regulations/standardnumber/1910/1910.179
- Ceiling Joist Spans and Load Capacities — American Wood Council. 2024-02-10. https://awc.org/publications/span-tables/
- DIY Hanging Chair Installation Guide — TaskRabbit Blog. 2023-08-22. https://www.taskrabbit.com/blog/how-to-hang-chair-from-ceiling/
- How to Hang Hammock Chair Indoors — Limbo Imports. 2024-01-05. https://limboimports.com/blogs/news/how-to-hang-hammock-chair-swing-indoors
- Installing Hanging Chairs Safely — Domino Magazine. 2023-11-18. https://www.domino.com/content/how-to-install-hanging-chair/