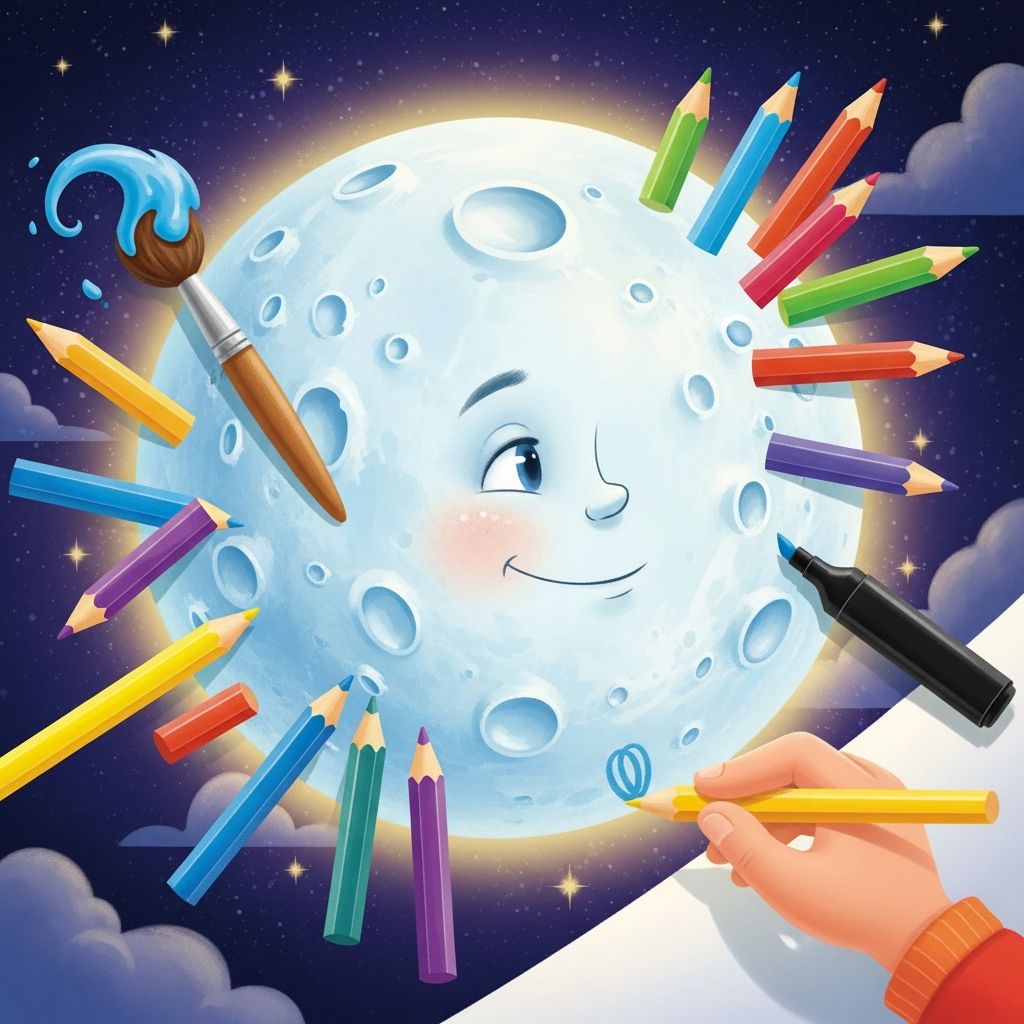
Drawing the moon is one of the easiest ways to start exploring night sky art. With just a circle, some shading, and a bit of imagination, you can create everything from a simple cartoon moon to a dramatic, glowing full moon in space. This guide is designed for kids, parents, and beginners who want clear, friendly steps and lots of creative ideas.
Why the Moon Is a Great First Drawing Project
The moon is a perfect subject for new artists because it is recognizable even when it is not perfectly drawn. A slightly uneven circle or lopsided crescent still clearly reads as a moon. That makes it less stressful for children and beginners who are learning to control their hands and tools.
Art educators often encourage simple shapes, like circles and arcs, as a foundation for more complex drawing skills. These basic forms train hand–eye coordination and help learners feel more confident as they see quick results from their efforts.
- Simple shapes: Mostly circles and curves, easy for small hands.
- Flexible style: Can be realistic, cartoonish, or abstract.
- Endless scenes: Add stars, clouds, rockets, or forests around it.
- Great practice: Helps practice shading, contrast, and texture.
Basic Tools and Materials
You can draw a moon with almost anything, but some materials make the process smoother, especially for kids. The goal is to keep it simple and comfortable rather than complicated or messy.
Suggested Supplies
- Plain drawing paper or a sketchbook page
- Pencil (HB or B is soft enough for gentle shading)
- Eraser (a kneaded eraser works well for lifting light areas)
- Sharpener
- Optional: Colored pencils, crayons, or markers
- Optional: A round object to trace (cup, tape roll, lid)
Artists who draw the real moon through telescopes often use a mix of medium-soft pencils (such as HB and B) because these show up clearly in low light but are still easy to erase and blend. For home art at a table, these same ideas carry over: a pencil that is not too hard and not too smudgy works best.
Step-by-Step: Drawing a Simple Full Moon
This first project focuses on a clear, easy full moon. You can adapt each step to make your moon more cartoon-like or more realistic.
1. Start with a Light Circle
Use a pencil to sketch a gentle circle. Do not worry if it is not perfect. You can:
- Draw it freehand for a more organic look, or
- Trace around a cup or lid for a precise circle.
Keep your lines light so they can be adjusted or erased later.
2. Mark the Light Source
Decide where the light is coming from. In many moon drawings, the moon is lit from one side, which helps it look like a 3D sphere. On the edge where the light hits, the tones will be lighter; the opposite edge will be darker.
3. Place Major “Seas” and Craters
The big dark shapes you see on photos of the moon are called maria (Latin for “seas”). They are not real oceans, but wide, flat plains formed by ancient volcanic activity. You do not need to be scientifically exact, but placing a few large, uneven patches makes the moon look more believable.
- Draw 3–6 irregular, rounded patches inside the circle.
- Vary the size so some are big blobs and some are small.
- Add a few small circular or oval shapes as craters.
4. Shade the Moon Gently
Shading helps the moon look like a glowing ball instead of a flat plate. Observational guides for lunar sketching suggest working from light to dark and building tones gradually using soft strokes.
- Use the side of your pencil lead to lay down soft, curved strokes following the round contour of the moon.
- Keep the brightest area near the light source you picked.
- Darken the edge farther from the light for a sense of depth.
5. Darken the Seas and Craters
Inside your circle, deepen the shading on the large patches and some craters so they stand out. You can:
- Fill them with small circular strokes for texture.
- Make one side of a crater darker to suggest a shadow.
Professional lunar observers often rely on contrasts between light and dark areas to capture the shape of features rather than outlining every detail. You can do the same on a simpler scale—think in terms of patches of light and shadow rather than lots of tiny lines.
6. Clean the Highlights
Use an eraser to lift out small bright zones.
- Gently dab the eraser where the moon is brightest.
- Erase a few thin, light streaks radiating from one crater to suggest rays.
This final touch gives the moon a softly glowing feel without needing complicated tools.
How to Draw a Crescent Moon
Crescent moons are popular in children’s books, crafts, and classroom decorations because they are easy to recognize and fit naturally with stars and nighttime characters.
Step Guide for a Crescent
- Draw a full circle lightly.
- On one side, draw a second, slightly smaller circle that overlaps the first.
- Erase the overlapping area from the smaller circle, leaving the curved crescent shape from the larger one.
- Thicken the outline to make it clean and bold.
- Add a bit of shading on the inner curve to give it volume.
Now you have a classic crescent that can be decorated with a face, hanging stars, or even a character sitting on its tip.
Adding Backgrounds: From Simple Skies to Story Scenes
Once the moon is drawn, you can quickly turn the page into a complete picture. Even professional moon illustrators sometimes sketch a basic outline at the telescope and finish the shading and surroundings in better light later. You can adopt a similar idea by drawing the moon first, then building the world around it.
Easy Background Ideas
- Starry sky: Add dots and small crosses for stars, grouping some in clusters.
- Clouds: Draw wavy, overlapping bumps across the sky with the moon partly hidden.
- City skyline: Use rectangles and triangles at the bottom to suggest distant buildings.
- Forest silhouette: Draw tall triangles and irregular lines to show trees in shadow.
- Space theme: Add planets, a rocket, or an astronaut floating nearby.
Shading Styles: Choose the Look You Like
There is no single “correct” way to shade the moon. Different techniques create different moods. Astronomical sketchers have developed several methods to suggest lunar texture, many of which you can try on a small scale.
| Shading Style | How It Looks | How to Do It | Best For |
|---|---|---|---|
| Soft blending | Smooth, gentle tones | Light pencil layers blended with finger or tissue | Glowing, dreamy moons |
| Cross-hatching | Visible lines, sketchy feel | Overlapping lines in different directions | Comic or notebook style |
| Stippling (dots) | Textured, grainy surface | Build tone by adding many tiny dots | Detailed, patient artists |
| High contrast | Very bright vs very dark areas | Strong dark shading and sharp highlights | Dramatic posters or covers |
Guides on lunar stippling emphasize patience and consistency: smaller, evenly spaced dots create smoother shadows, while clusters of dense dots mark the darkest features. This method takes longer but can be surprisingly relaxing, especially for older kids or adults who enjoy detailed work.
Fun Moon Variations for Kids
Once you can draw a basic moon, you can start turning it into characters, symbols, or tiny settings. Treat the circle or crescent as a stage and build a story around it.
Ideas to Try
- Moon with a face: Add sleepy eyes, cheeks, and a gentle smile.
- Moon balloon: Draw a string hanging from the bottom and a child holding it.
- Moon boat: Turn a crescent sideways and add a mast and tiny sails.
- Animal friends: Draw a cat, owl, or fox sitting on a crescent edge.
- Moon in a jar: Sketch a glass jar with the moon glowing inside.
Educators often use imaginative variations like these to keep children engaged and to encourage creative thinking. Drawing games and storytelling through pictures can support visual literacy and narrative skills.
Helping Children Enjoy the Process
For parents and teachers, the main goal is less about a perfect result and more about building confidence and enjoyment. Child development research shows that hands-on art supports fine motor control, visual–spatial skills, and self-expression.
- Focus on effort: Praise trying, experimenting, and noticing new details instead of neatness.
- Model flexibility: If a circle is uneven, turn it into a glowing, wobbly moon.
- Offer choices: Let kids pick whether they draw a full, half, or crescent moon.
- Connect to real images: Show a photo of the real moon or a picture from a space agency for inspiration.
Official space images, such as those from national space agencies, reveal details like bright crater rays and dark maria that kids love to imitate. These can be simplified into a few bold shapes for an age-appropriate version.
Common Mistakes and Easy Fixes
Small issues are part of learning. Here are some gentle adjustments you can make without erasing your whole drawing.
- Problem: The moon looks flat.
Fix: Increase contrast by darkening one edge and brightening the opposite side. - Problem: Craters look like circles drawn on top.
Fix: Add a darker side inside the crater and a lighter edge opposite it to show depth. - Problem: The sky feels empty.
Fix: Add a few stars in different sizes, a small planet, or some clouds. - Problem: Too many heavy lines.
Fix: Go over some outlines with a kneaded eraser to soften them, then rebuild shadows with gentle shading instead of dark borders.
Frequently Asked Questions (FAQs)
How do I teach a young child to draw the moon?
Start with tracing a round object and then erasing a slice for a crescent. Keep steps verbal and simple: “Draw a circle; erase a bite; add a smile.” Use thick crayons or markers if holding a thin pencil is hard.
How can I make my moon look more realistic?
Study a clear photograph of the real moon and copy only a few major dark patches and a couple of bright craters. Use soft shading instead of dark outlines and make one side slightly darker to suggest roundness.
What if my circle is very uneven?
Turn it into a glowing, fuzzy-edged moon by gently shading around the outside edge and inside the circle. A slightly imperfect outline can actually make the moon feel more natural.
Is it better to use pencil or pen for moon drawings?
Pencil is more forgiving and easier for beginners because it erases and blends well. Pen can be fun for styles like stippling or comics, but mistakes are harder to hide, so it is best after you feel comfortable with the basic shapes.
How can I combine science and art when drawing the moon?
You can label big features with simple names like “sea,” “crater,” or “ray,” or compare your drawing to authentic lunar maps from scientific or educational organizations. This turns a quick sketch into a mini astronomy lesson.
References
- The Art of Drawing the Moon — British Astronomical Association. 2018-06-01. https://britastro.org/section_information_/lunar-section-overview/lunar-section-tutorials/the-art-of-drawing-the-moon
- Moon — NASA Solar System Exploration. 2023-10-10. https://solarsystem.nasa.gov/moons/earths-moon/overview/
- Moon: Our Natural Satellite — European Space Agency. 2021-02-15. https://www.esa.int/Science_Exploration/Space_Science/Moon
- Learning in and through the Arts — National Endowment for the Arts. 2015-03-30. https://www.arts.gov/sites/default/files/ArtsLearning.pdf