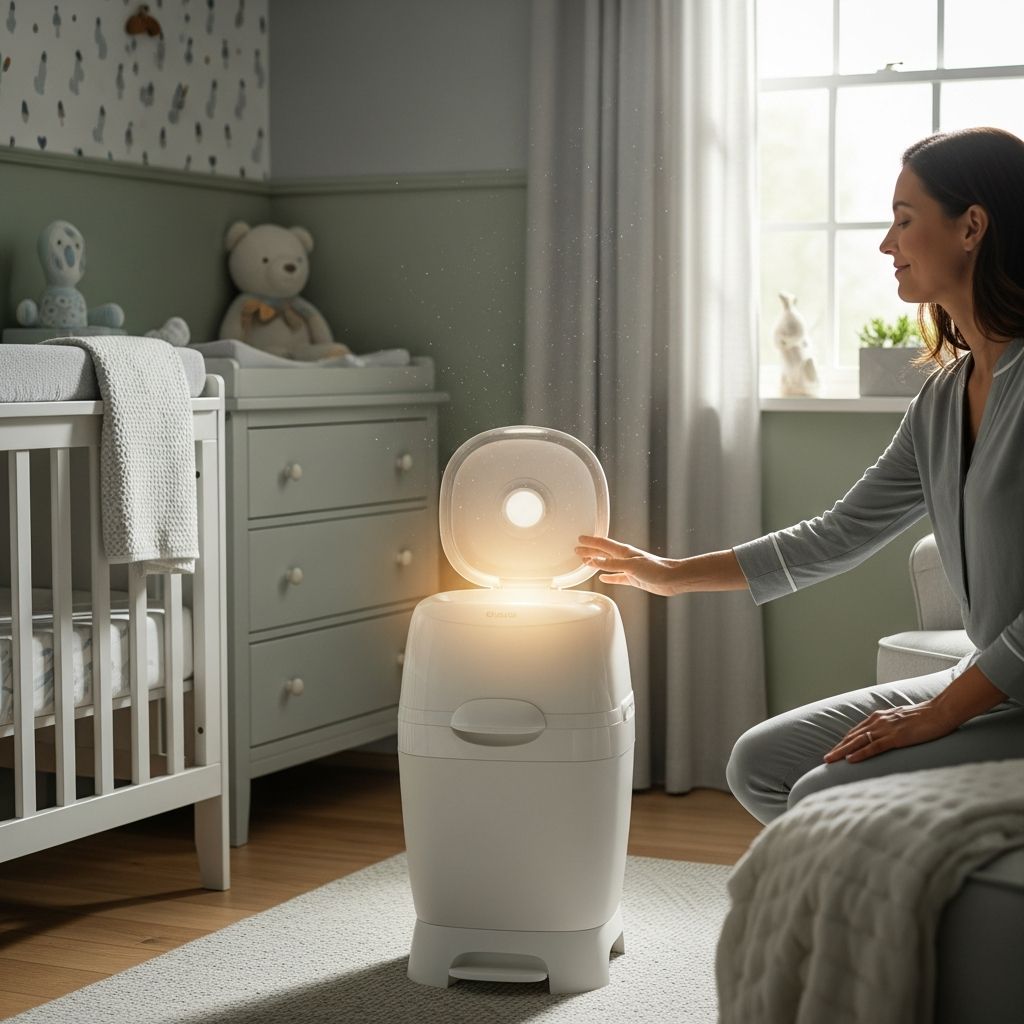
Every parent has a moment when they realize the sweet, cozy nursery has started to smell… not so sweet. Diaper pail odor sneaks up slowly, then suddenly hits you in the face at 6 a.m. Changing brands, buying scented bags, or lighting a desperate candle only helps so much if the root causes aren’t addressed.
This guide breaks down why diaper pails smell so bad, what actually works to control odor, how to choose the right setup for your home, and simple routines that keep the nursery livable without turning you into a full-time janitor.
Why Diaper Pails Smell So Intense
Understanding what you are fighting makes it easier to pick the right solution. A diaper pail isn’t just a trash can; it is a warm, sometimes humid container filled with organic material that bacteria love. Odor is the side effect of that quiet science experiment in the corner of the room.
When diapers sit for hours or days, bacteria break down waste and release volatile compounds that quickly fill small spaces like nurseries. Add a closed door, a heating vent, and maybe a humidifier, and you have the perfect environment for smells to linger long after the pail is emptied.
- Warmth speeds up bacterial activity, which increases odor.
- Moisture from diapers and humidifiers helps smells cling to plastic, fabric, and even paint.
- Small rooms with limited ventilation allow smells to build up instead of dissipating.
Choosing the Right Diaper Pail for Your Home
Not all diaper pails are created equal, and the right choice depends on your space, your tolerance for maintenance, and whether you use disposable or cloth diapers. Before buying whatever is most heavily advertised, think about how the pail will actually be used day to day.
Below is a comparison of common diaper pail styles to help narrow your options.
Diaper Pail Styles at a Glance
| Type | Best For | Odor Control | Maintenance Level |
|---|---|---|---|
| Standard lidded pail with regular bags | Parents on a budget who can take out trash frequently | Basic; relies on frequent emptying and deodorizers | Low cost, but requires more frequent trips to the trash |
| Specialized diaper pail with proprietary liners | Smaller spaces where odor control is a top priority | High; liners and sealing mechanisms trap smells more effectively | Moderate cost; must keep buying brand-specific refills |
| Steel or metal diaper pail | Homes where plastic absorbs and holds odors over time | Very good; metal does not absorb odor like plastic | Requires occasional deep cleaning but resists long-term stink |
| Cloth-diaper-specific wet bag or pail | Families using cloth who wash every 1–3 days | Moderate; breathability reduces mildew but still needs frequent washing | Requires regular laundering of bags or pail liners |
When comparing options, focus less on clever features and more on how easy it is to empty, clean, and keep sealed. A simpler design that you’re willing to maintain will always outperform a complicated system you dread dealing with.
Daily Habits That Keep Odor Under Control
The most effective odor-fighting system isn’t a single product; it is a set of small habits that add up. Once these steps become part of your routine, the pail stops being a constant source of dread.
Simple Daily Steps
- Empty the pail on a schedule, not just when it’s full. In most homes, that means at least once a day for newborns and every other day for older babies.
- Close each diaper tightly. Roll and fasten tabs or use a quick knot in the bag before tossing it in the pail to contain as much odor as possible.
- Separate the truly awful diapers. For especially pungent diapers, double-bag and take them straight to an outdoor bin instead of letting them linger inside.
- Use a quick deodorizing sprinkle. A small shake of baking soda or another safe deodorizer in the bag or at the bottom of the pail reduces day-to-day stink.
- Ventilate briefly each day. Opening a window for a few minutes or running a fan helps clear lingering smells from the room.
Weekly and Monthly Routines
Even if you empty the pail regularly, residue builds up on the lid, hinges, and interior walls. A simple cleaning plan keeps invisible grime from turning into obvious odor.
- Give the pail a weekly wipe-down with a mild cleaner or vinegar-and-water solution, paying attention to grooves and creases.
- Once or twice a month, wash or scrub the entire interior, then let it dry completely before adding a new bag.
- If the pail uses reusable liners, wash them frequently so moisture and odor don’t become permanent fixtures.
Natural and Low-Toxicity Odor Fighters
Many parents prefer low-fragrance or fragrance-free nurseries to avoid overwhelming perfumes around a baby. Fortunately, several simple, inexpensive tools can reduce odor without filling the room with heavy scents.
Common Household Helpers
- Baking soda: Sprinkle a thin layer at the bottom of the pail or place a small open container inside to help neutralize acidic and basic odor molecules.
- Activated charcoal: Ready-made charcoal sachets or canisters absorb unpleasant smells and work quietly in the background.
- Coffee grounds (dried): Thoroughly dried used grounds in a breathable sachet can help absorb odor while adding a mild roasted scent.
- Vinegar solution: A diluted vinegar spray works as a cleaner and helps cut through residue that holds onto odor.
- Essential oils (used cautiously): A drop or two on a cotton ball placed out of reach can add a light scent, but should never be applied directly to baby items or skin.
The key with natural options is consistency rather than intensity. A small, regularly refreshed deodorizer works better than loading the pail with strong fragrances that only mask the problem temporarily.
When the Pail Itself Becomes the Problem
After months of use, especially in warm or humid homes, certain materials start to hold onto smells no matter how carefully you clean. At that point, you may be fighting the pail as much as the diapers.
Signs It May Be Time to Replace
- The pail smells even when completely empty, cleaned, and dried.
- The plastic is scratched or scuffed inside, giving odor more places to hide.
- Hinges or sealing mechanisms are warped and no longer close tightly.
- You notice a musty, sour smell separate from the typical diaper odor.
If this is the case, switching to a metal pail or a higher-quality design can be worth the investment. Think of it as upgrading from a permanent odor sponge to a more durable, less absorbent container.
Smart Product Choices and Budget-Friendly Hacks
Parents are constantly told that the solution to every problem is another specialized product. Some items genuinely help with diaper pail smell; others mainly help the marketing department. A balanced approach saves money and keeps clutter to a minimum.
Worth Considering
- Quality trash or pail liners: Thicker liners or bags specifically designed for diapers reduce leaks and slow odor from escaping.
- Clip-on or stick-on deodorizers: Small, replaceable charcoal or baking-soda-based deodorizers that attach to the lid can be surprisingly effective.
- Air purifier for the nursery: A compact purifier with a carbon component helps reduce lingering smells, as well as dust and other particles, in the room’s air.
Budget Hacks That Work
- Use regular kitchen trash bags in pails designed for pricey proprietary liners, if the fit and seal still work well.
- Repurpose small pet waste bags or produce bags to double-bag the strongest diapers.
- Make your own deodorizing sachets with baking soda or dried coffee grounds and scrap fabric or paper filters.
- Create a dedicated “diaper trash run” as part of your evening or morning routine to avoid overfilling the pail.
Balancing Hygiene, Sanity, and Real Life
No system will produce a nursery that smells like a spa 24/7, especially during the first year when diaper volume is at its highest. The goal is not perfection; it is a practical, livable setup that keeps smells manageable without turning every day into a cleaning marathon.
Instead of searching for a single miracle fix, think of odor control as a set of small, realistic agreements with yourself: empty the pail often, clean it just enough, use a few simple tools, and forgive the fact that some days will simply smell like family life with a baby.
Frequently Asked Questions About Diaper Pail Odor
Do I really need a special diaper pail?
Not every family needs a dedicated diaper pail. If you live in a home where the outdoor trash can is just a few steps away and you do frequent trash runs, a regular lidded trash can with a good bag may be enough. Specialized pails become more valuable in apartments, upstairs nurseries, or cold climates where frequent trips outside are not realistic.
How often should I empty the diaper pail?
As a rough guideline, newborn households typically need to empty the pail daily, while homes with older babies may be able to go every other day. However, nose and comfort level are the real indicators: if you can smell it when you walk into the room, it is time.
Are scented bags safe to use around babies?
Scented bags are widely used, but some parents prefer to avoid strong fragrances, especially if anyone in the home is sensitive to smells. If you use them, choose lightly scented options and avoid placing the open roll directly under the crib or near a sleeping area.
Can I use bleach to clean the diaper pail?
Moderate, diluted use of bleach can disinfect and help with persistent odor, but it must be rinsed thoroughly and the pail allowed to dry completely before reuse. Many parents opt for milder cleaners or vinegar for routine cleaning and reserve stronger products for occasional deep cleans.
Is cloth diapering worse or better for odor?
Cloth and disposable diapers each come with their own odor patterns. Cloth pails can smell strong on wash day but are emptied and washed frequently, while disposable pails may hold smaller smells for longer stretches. With either option, frequent emptying and good ventilation make a bigger difference than the type of diaper.
What if my nursery still smells even after I change and clean everything?
If odor lingers, check less obvious areas: carpets, curtains, upholstered chairs, and even the baseboards near the changing area. A deep clean of soft surfaces, plus a short period of increased ventilation or air purification, usually clears odors that have escaped the pail and settled into the room.
Quick-Start Checklist for New Parents
To make this manageable, use the list below as a simple starting point. You can always adjust and add products or steps later, but this foundation will get you through the early, sleep-deprived months.
- Pick a pail that seals well and is easy to clean.
- Commit to emptying it on a regular schedule.
- Keep a small deodorizer (like baking soda or charcoal) inside the pail.
- Wipe the lid and rim weekly; deep clean once or twice a month.
- Ventilate the nursery briefly each day.
- Double-bag and immediately remove especially smelly diapers.
With a realistic plan and a few reliable tools, diaper pail odor becomes a manageable annoyance instead of a daily crisis. You cannot avoid every smell that comes with raising a baby, but you can absolutely keep the worst of it from taking over your home.