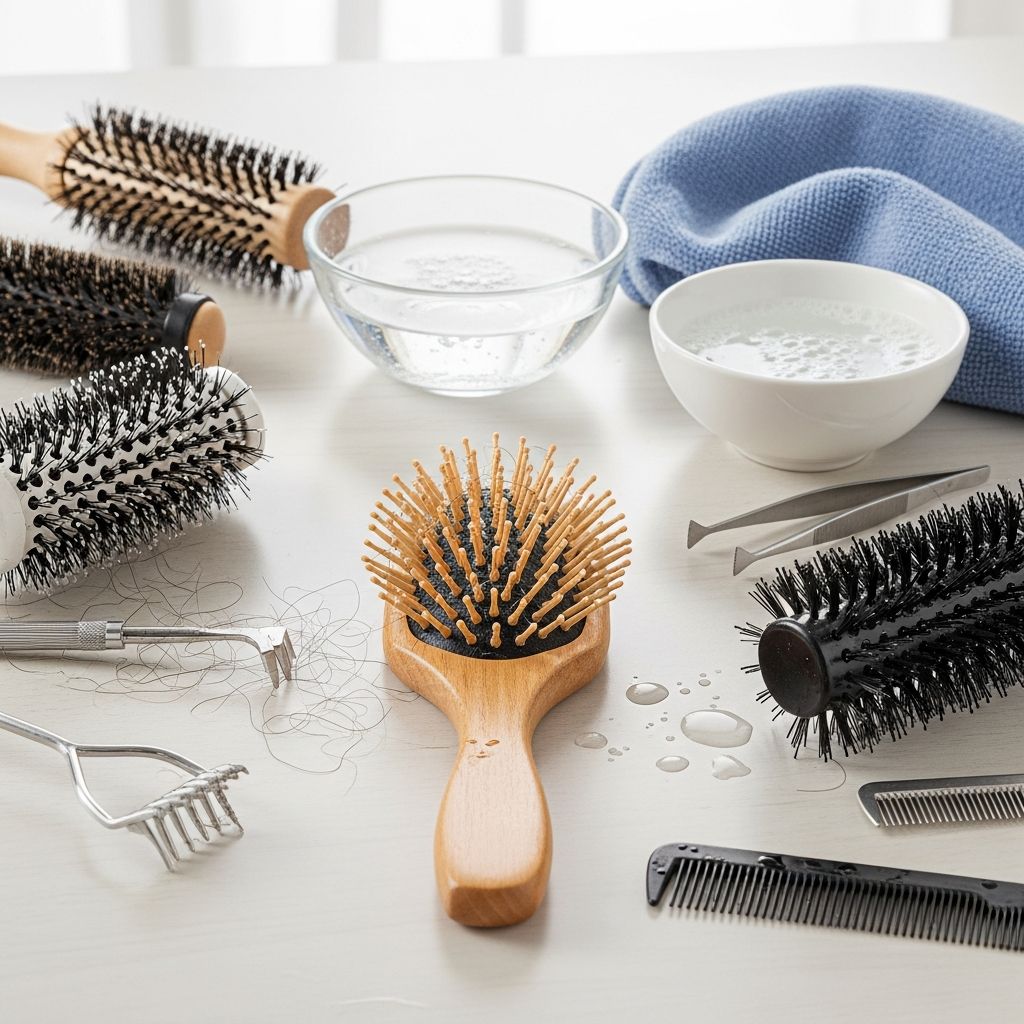
A clean hairbrush does more than look nice on your bathroom counter. Regular cleaning removes old hair, scalp oils, styling product residue, and microorganisms that can transfer back to your hair and scalp. Keeping brushes clean supports scalp hygiene and can help your hair look and feel fresher between washes.
Why Cleaning Your Hairbrush Matters
Every time you use a brush, it collects:
- Loose hairs and lint
- Natural scalp oils and sweat
- Residue from products like hairspray, mousse, dry shampoo, and oils
- Dead skin cells and environmental dust
Over time, this buildup can:
- Redistribute oil and product back onto freshly washed hair, making it look greasy faster
- Trap dirt and microorganisms that thrive in moist, oily environments
- Cause bristles to clump together, making detangling less effective
- Shorten the life of your brush, especially if it has a padded base or natural materials
Know Your Hairbrush: Materials and Risks
The way you clean a hairbrush depends heavily on what it is made of. Some materials tolerate soaking, while others can warp, rust, or crack if left in water too long.
| Brush Type | Main Materials | Water Tolerance | Cleaning Approach |
|---|---|---|---|
| Plastic paddle or vent brush | Plastic body, plastic or nylon bristles | High (can usually be soaked) | Soapy water soak, scrub, rinse thoroughly |
| Wooden handle brush | Wood body, various bristles | Low (avoid soaking the wood) | Quick dip of bristles, spot-clean handle, air dry |
| Boar bristle / mixed bristle brush | Natural bristles, often cushioned base | Moderate (short, controlled contact with water) | Gentle swirl in soapy water, careful brushing, fast drying |
| Metal barrel round brush | Metal barrel, synthetic bristles | Moderate–high (avoid prolonged soaking to prevent rust) | Short soak and scrub, fast rinse and dry |
| Detangling or cushioned brush | Plastic/wood, rubber cushion base | Low–moderate (do not submerge the cushion fully) | Dip bristles only, wipe cushion and handle with damp cloth |
Basic Cleaning Tools You’ll Need
You do not need specialty products to keep brushes clean. Most households already have what’s required.
- Mild shampoo or gentle liquid soap (baby shampoo or sulfate-free products are ideal)
- Warm water in a bowl or sink
- Old toothbrush for scrubbing between bristles
- Pointed tool like a rattail comb, the end of a teasing comb, or a clean pen to lift out hair
- Scissors for cutting out compacted hair mats if needed
- Towel or cloth for drying
- Optional: baking soda or vinegar for extra degreasing or odor removal
Step-by-Step: Everyday Hairbrush Cleaning Routine
This routine works for most plastic and synthetic brushes and can be adapted for more delicate tools.
1. Remove Hair and Lint
Start by getting rid of the visible hair that wraps around bristles and collects at the base.
- Use fingers to pull out larger clumps of hair.
- Slide the pointed end of a comb under mats of hair at the base and lift them up.
- If hair is very tight, carefully snip across the mat with scissors, then pull the cut sections free.
Removing hair first allows the cleaning solution to reach the bristles and base instead of being blocked by tangles.
2. Mix a Gentle Cleaning Solution
- Fill a bowl or your sink with warm (not hot) water.
- Add a small amount of shampoo or gentle liquid soap and swish to create light suds.
- For heavy oil or product buildup, add a teaspoon of baking soda for extra degreasing power.
3. Clean Plastic or Fully Water-Safe Brushes
These include most plastic paddle, vent, and basic round brushes without wooden parts or fabric padding.
- Submerge the entire brush in the soapy water for about 5–10 minutes.
- After soaking, use a toothbrush to scrub:
- At the base of the bristles, where residue usually collects
- Along the length of each bristle
- Around the edges and back of the brush head
Soaking softens residue, while brushing breaks up stubborn deposits.
4. Adjust for Wooden Handles and Cushioned Bases
Wood and cushioned brushes require a slightly different approach to prevent water damage.
- Hold the brush so that only the bristles dip into the soapy water; keep the wooden handle or rubber cushion mostly dry.
- Swirl the bristles in the solution for 1–2 minutes instead of leaving the brush to soak.
- Dip the toothbrush in the soapy water and gently scrub the bristle area, avoiding oversaturating the cushion.
- Wipe the handle and cushion with a slightly damp cloth instead of rinsing them directly under running water.
5. Rinse and Dry Thoroughly
- Rinse the bristles under a stream of clean water or in a bowl of fresh water to remove soap.
- Gently shake off excess water.
- Lay the brush bristle-side down on a towel so that water can drain away from the base and handle.
- Let it air dry completely before using it again. Avoid drying directly on a radiator or using a hairdryer at high heat, which can warp plastic or weaken adhesive.
Deep Cleaning for Heavy Product Buildup
If you regularly use styling products like hairspray, gels, creams, or oils, you may notice a waxy film forming around the base of the bristles.
Signs Your Brush Needs a Deep Clean
- A grey or white coating at the base of the bristles
- Visible flakes and lint trapped in the brush
- Brush feels sticky or tacky to the touch
- Your hair looks dull or greasy after brushing despite being freshly washed
Enhanced Cleaning Solutions
- Baking soda boost: Add 1–2 teaspoons of baking soda to the soapy water for stronger degreasing action.
- Vinegar rinse (plastic/metal only): A mixture of warm water and a small amount of white or apple cider vinegar can help break down residue and reduce odor.
Use vinegar only on brushes without metal coatings prone to corrosion and avoid prolonged exposure for metallic parts.
Special Situations: Germs, Illness, and Lice
Brushes can harbor microorganisms, especially if they are shared or used when someone is sick. Sharing brushes and combs can spread certain infections or lice.
After Illness
For minor respiratory or skin illnesses, a thorough wash with soapy water, plus surface disinfection, is usually sufficient:
- Wash the brush as described above.
- After rinsing, wipe nonporous surfaces with an alcohol-based disinfectant wipe, following the product instructions for contact time.
- Allow to air dry completely.
When Head Lice Are Present
Public health guidance notes that lice survival off the scalp is limited, but decontaminating hair tools can help prevent reinfestation.
- Remove hair from the brush or comb.
- Place the tool in hot water at least 130°F (54.4°C) for 5–10 minutes to kill lice and their eggs.
- Let it dry completely before using again.
- Alternately, non-washable items can be sealed in a bag for several days, as lice require a human host to survive.
How Often Should You Clean Your Hairbrush?
The right schedule depends on how often you brush, your hair type, and product usage.
- Remove loose hair: Every day or every few uses.
- Quick wash with soap and water: Every 1–2 weeks for most people.
- Deep cleaning: About once a month, or more often if you use a lot of styling products.
- After lice, contagious scalp issues, or heavy illness: Immediately after treatment or as recommended by a healthcare professional.
Regular cleaning makes each session easier; once heavy buildup is gone, maintenance becomes fast and simple.
Extending the Life of Your Hairbrush
Proper care can delay the need to replace your tools and keep them working as intended.
- Avoid extreme heat: Don’t leave brushes on hot styling tools or in direct sun; heat can warp plastic and weaken bristles.
- Skip harsh chemicals: Bleach or strong solvents can damage rubber cushions, adhesives, and natural bristles.
- Store dry: Keep brushes in a dry, ventilated place instead of closed, damp containers.
- Inspect regularly: If you notice missing bristles, sharp edges, or cracked handles, it may be time to replace the brush to avoid snagging or damaging hair.
FAQ: Cleaning and Caring for Hairbrushes
How often should I replace my hairbrush?
With regular cleaning and gentle use, many brushes can last several years. Consider replacing your brush if bristles are bent, melted, or falling out, the cushion has split, or the brush is scratching or pulling your hair.
Can I put my hairbrush in the dishwasher?
Most manufacturers do not recommend dishwashers unless they specifically label the brush as dishwasher-safe. High heat and strong detergents can warp plastic, loosen bristles, and degrade rubber or glue components.
Is it okay to share hairbrushes?
Sharing brushes can spread lice and certain scalp conditions. Public health organizations generally advise against sharing personal hair tools to reduce the risk of transmission of parasites and infections.
Can I use rubbing alcohol to disinfect my brush?
Rubbing alcohol can be used on hard, nonporous parts of the brush after washing to reduce microbes. Apply with a cloth or spray, then let it air dry. Avoid soaking natural bristles or wooden handles in alcohol, as it can dry or crack them over time.
What’s the best way to clean a boar bristle brush?
Use a gentle shampoo solution and avoid soaking the entire brush. Dip only the bristles, use a toothbrush to work through them, rinse quickly, and dry bristle-side down. Keep the wooden handle and cushion as dry as possible to prevent swelling or separation.
References
- How to Clean a Hairbrush: Step-by-Step Guide — Healthline. 2019-08-05. https://www.healthline.com/health/how-to-clean-a-hairbrush
- How To Clean Hair Brushes: A Step-by-Step Guide — Hairlust. 2023-03-14. https://hairlust.com/blogs/blog/how-to-clean-hair-brushes
- How To Clean Your Hair Brushes And Combs — Curly Hair Lounge. 2020-02-10. https://curlyhairlounge.com/how-to-clean-your-hair-brushes-and-combs
- How to Clean a Hairbrush — Hairstory. 2021-06-15. https://hairstory.com/blogs/news/how-to-clean-a-hairbrush