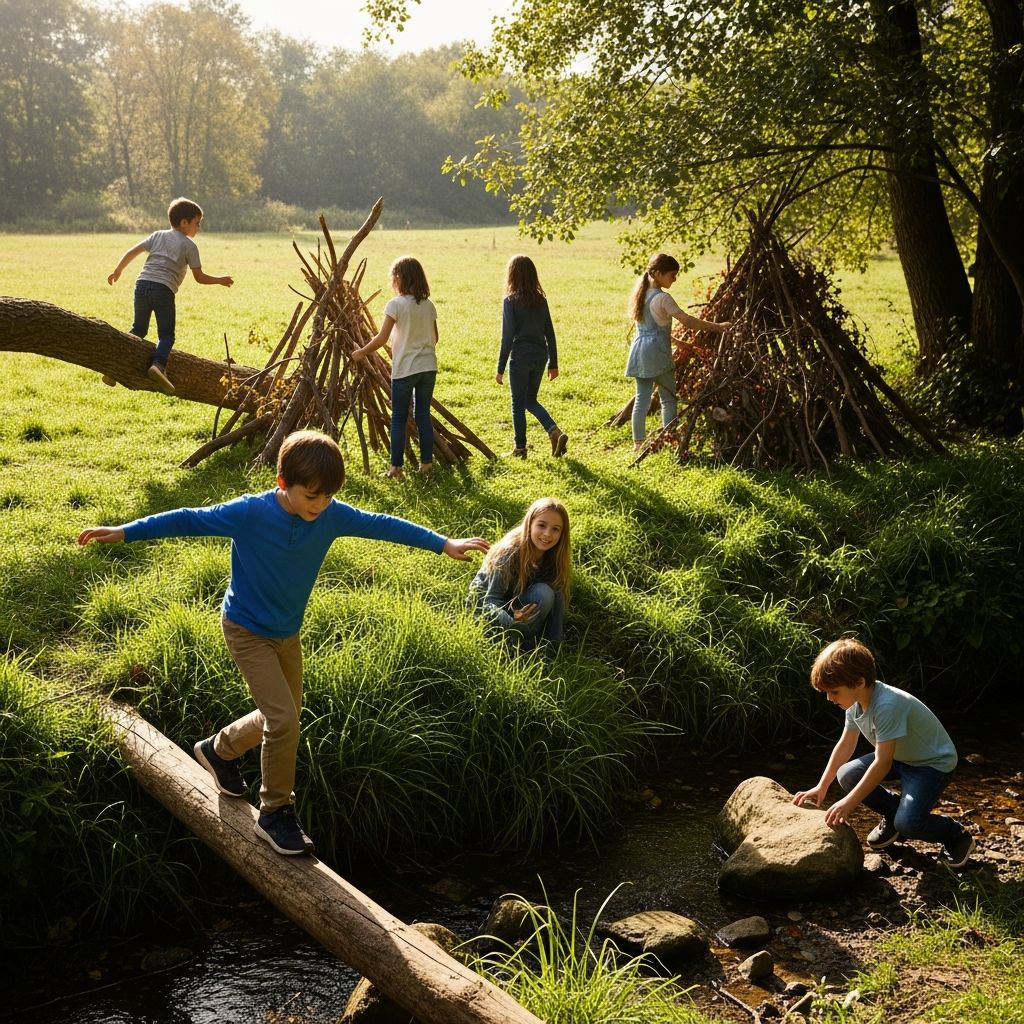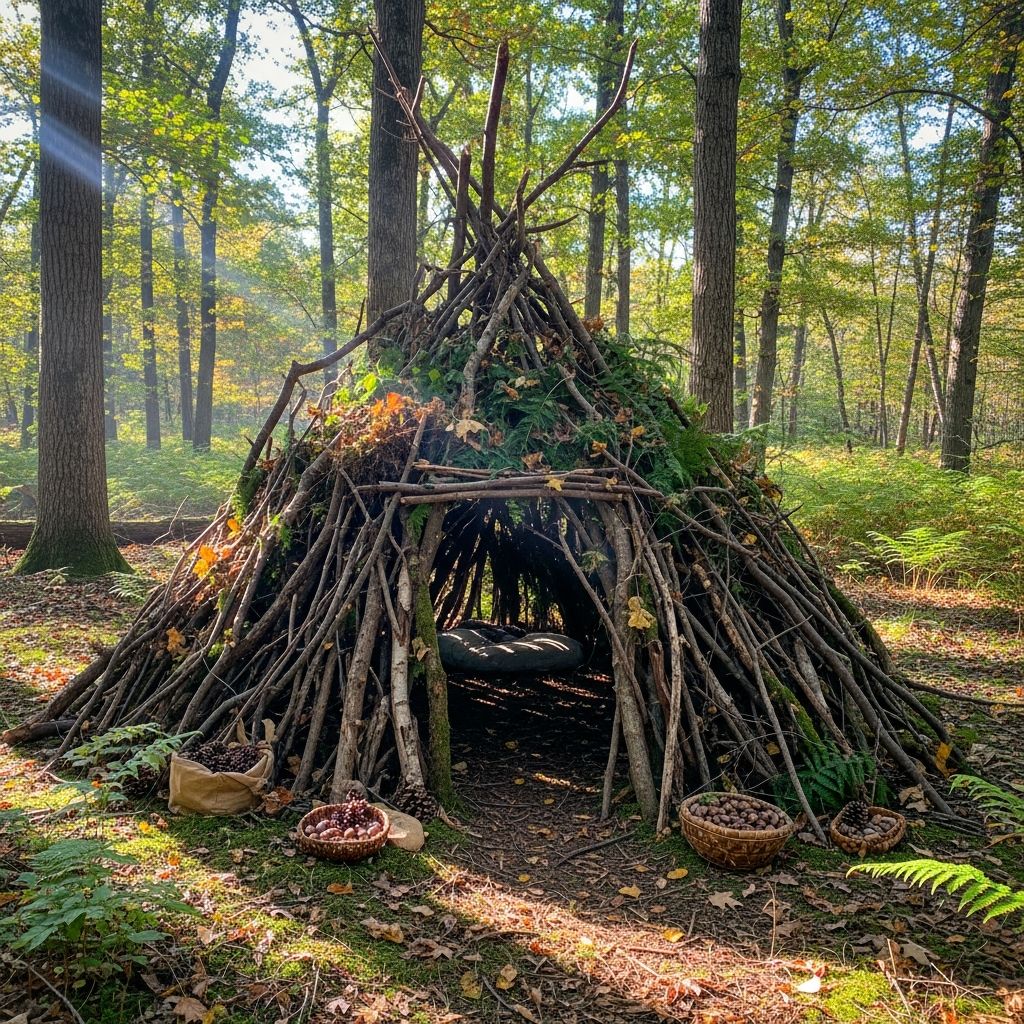
Few childhood memories are as vivid as claiming a corner of the woods and turning it into a secret hideout made entirely from sticks, leaves, and imagination. A simple stick fort transforms a walk in the forest into a full day of cooperative building, problem-solving, and open-ended play.
Why Stick Forts Are Magic for Kids
Building a stick fort gives children a rare chance to be in charge of a real, tangible project, using materials they find around them in nature. Instead of following step-by-step instructions, they experiment, negotiate, and adapt together as their structure takes shape.
- Hands-on learning: Kids experience basic engineering ideas like balance, support, and weight distribution without ever opening a textbook.
- Creativity and storytelling: A fort can become a castle, a research station, a ranger’s hut, or a dragon cave depending on the game they invent.
- Movement and sensory play: Lifting branches, dragging logs, and sorting sticks gives them full-body activity and rich sensory input.
Ground Rules Before You Head Into the Woods
Before anyone picks up a branch, set a few clear agreements. These rules protect your kids, respect the forest, and keep the experience fun and low-stress for adults.
- Safety first: No running with sticks, no swinging branches near faces, and no climbing on top of the fort.
- Respect nature: Use fallen branches and deadwood; do not snap live limbs off trees or damage plants and habitats.
- Stay in sight: Establish boundaries so kids always know how far they can wander while collecting materials.
- Leave no trace (or almost): Decide together whether the fort is temporary or something you’ll visit again, and how you’ll tidy up when you are done.
Choosing the Perfect Fort Spot
Location can make or break a stick fort. A smartly chosen spot will protect kids from hazards, make building easier, and give the finished hideout a cozy, inviting feel.
Checklist for a Good Fort Location
- Flat, stable ground: Avoid steep slopes, animal burrows, stream banks, and muddy hollows that can become slippery.
- Natural support: Look for a sturdy tree trunk, a large rock, or even a fallen log that branches can lean against.
- Plenty of materials nearby: The best spot is surrounded by fallen branches, leaves, and maybe a few stones for the base.
- Safe overhead: Check for dead branches, loose limbs, or leaning trees that could fall in wind or with movement.
| Location Type | Pros | Cons |
|---|---|---|
| Next to a big tree | Excellent support for leaning branches; natural shade; feels enclosed and cozy. | Must check for dead limbs overhead; roots can create uneven footing. |
| Beside a large rock | Rock acts as a solid wall and windbreak; great for cave-like forts. | Limited angles to lean sticks; may be harder for younger kids to help. |
| Against a fallen log | Easy to lean smaller sticks; good for low, tunnel-style forts. | Not as tall; less headroom for standing or sitting on stools. |
Gathering Materials With Kids
Collecting branches is half the adventure. Turn it into a scavenger hunt that gets children noticing shapes, textures, and how different pieces might work in their construction.
What to Look For
- Main supports: Long, sturdy branches, ideally taller than your child, to form the backbone of the fort.
- Cross pieces: Medium-length sticks that can rest between supports and help tie the structure together.
- Fillers: Lighter, thinner sticks for walls and roof covering, plus leaves, bark, or evergreen branches for shade and camouflage.
- Optional extras: Smooth stones for paths, mossy chunks for decoration, and stumps or logs for seating.
Encourage kids to test weight by safely lifting each branch and to check for rot or insects before adding it to the pile. A soft, crumbly branch might be fun to break apart but will not hold up a wall.
Planning the Structure (Kid-Friendly Engineering)
Before you build, step back and let kids imagine what they want: a tunnel, a teepee-like shelter, or a long, low wall they can hide behind. Sketching a quick, simple floor plan in the dirt can help them see where the entrance, sitting area, and walls will go.
Simple Fort Styles to Try
- Lean-to shelter: Branches lean at an angle against a tree or log, forming a slanted roof that is easy to build and great for beginners.
- Teepee fort: Long sticks meet at the top in a cone shape, leaving a central space inside that feels like a tent.
- L-shaped hideout: Two walls meet at a corner, perfect for kids who want a simple “base” rather than a full enclosure.
Talk through basics like balance and center of gravity in age-appropriate language. For young kids, it can be as simple as “heavy things on the bottom, lighter things on top” and “if it wobbles, we fix it before sitting inside.”
Step-by-Step: Building a Simple Lean-To Fort
A lean-to is a great first project because it uses one strong support and a lot of creativity. Below is a parent-friendly roadmap that keeps kids in the lead while you handle safety.
- Mark the footprint: Use sticks or stones to outline where the wall and opening will be. Make sure there is room inside for at least two people to sit comfortably.
- Set the main ridge: Rest a thick branch at an angle between the ground and your support tree or rock, or wedge it into a natural notch if one exists. This ridge acts like the spine of the shelter.
- Add main rafters: Lean the longest branches from the ground up against the ridge, spacing them like ribs along a backbone. Check that each one contacts both the ground and the ridge securely.
- Fill in gaps: Layer lighter sticks between the main supports, overlapping pieces so that they brace against each other instead of slipping.
- Build up the base: Place heavier logs or stones at the bottom edge of the wall to keep branches from sliding and to add weight and stability.
- Test and adjust: Gently shake sections from the outside, watching for sliding or wobbling branches. Help kids troubleshoot weak spots together.
Keeping the Fort Safe and Stable
Because children will duck, crawl, and lean on the fort, stability matters just as much as creativity. A few simple habits turn a pile of sticks into a structure you feel comfortable letting them enjoy.
Quick Safety Checks
- Low risk of collapse: Push gently on the outside wall at several points. If a section moves more than expected, rearrange or add supporting branches.
- No sharp hazards inside: Trim or move any broken ends that stick into the sitting area or doorway at eye level.
- Balanced loading: Keep the heaviest pieces at ground level and rely on lighter branches and coverings near the top.
- No overhead deadwood: Re-check nearby trees after you finish; vibrations and climbing can shake loose branches that looked stable before.
If you use string or twine, tie knots where children cannot easily trip on them, and avoid creating loops large enough to catch a foot, hand, or neck.
Adding Roofing, Walls, and Camouflage
Once the framework feels solid, kids are usually eager to transform it from a skeleton of sticks into a real hideout. This is the perfect moment to step back and let their aesthetic choices take over.
- Natural roofing: Layer leaves, ferns, bark, or evergreen branches starting at the bottom and working upward, overlapping like shingles.
- Windbreak walls: Fill in lower gaps where wind and sun come through most strongly, leaving small windows where kids want to peek out.
- Camouflage: Add fallen leaves and moss to the outer surface to help the fort blend into the forest, turning it into a nearly hidden base.
- Cozy interior: Use a small tarp, picnic blanket, or foam pads on the ground to create a dry, comfortable sitting area.
Remind kids that the goal is partial shelter, not a weatherproof cabin. Watching a few leaves drift down or light filter through gaps is part of the charm.
Working as a Team: Roles for Every Age
One of the big benefits of fort-building is how naturally it invites teamwork. Siblings and friends with different ages and abilities can all contribute to the same shared space.
Simple Roles Kids Love
- Architect: Chooses the basic layout, decides where the entrance goes, and helps approve any big changes.
- Collector: Searches for sticks, leaves, bark, and stones, sorting them into piles labeled “long,” “short,” and “heavy.”
- Tester: Tries out seating, checks if the doorway is big enough, and notices where sunlight or wind still comes through.
- Decorator: Adds natural ornaments like pinecones, feathers, and interesting rocks to personalize the space.
Rotate roles so every child tries different tasks, and occasionally let them swap jobs with you. When an adult becomes the “collector” or “tester,” kids often feel more confident stepping into leadership.
Extending the Play Beyond Building
The moment the last branch is in place is not the end of the activity; it is the beginning of a new round of imaginative play. The fort becomes a stage for stories, quiet conversations, and nature observation.
- Story time shelter: Bring a short book or tell improvised campfire-style tales inside the fort.
- Nature observation station: Keep a small notebook and pencil in the fort to record birds, insects, plants, and weather changes.
- Secret clubhouse: Create a simple password, a shared sign, or a flag kids can hang when the fort is “open.”
- STEM challenges: On another day, try to improve the fort by adding a second wall, better drainage, or a more comfortable seating area.
Over time, returning to the same hideout lets children see how weather, seasons, and wildlife change the structure, which naturally leads into lessons about ecology and time.
Frequently Asked Questions
How long does it take to build a stick fort?
For a small lean-to or teepee-style shelter, expect 60 to 90 minutes from choosing the spot to declaring it “finished enough” to play in. Larger or more carefully decorated forts can stretch into an entire afternoon, especially if children get absorbed in details and storytelling.
Do we need tools or rope?
Most beginner forts can be built with nothing but hands and found materials. If you bring twine or lightweight string, use it sparingly and only under adult control, tying a few key junctions where branches tend to slip. Avoid sharp tools with young children; older kids can use simple hand tools only with strict supervision.
Is it okay to leave the fort up?
That depends on local rules and land use. In a backyard or private woods, it is usually fine to leave the structure and revisit it, as long as it remains safe and does not damage trees. In public parks or sensitive natural areas, it is often best to dismantle or partially remove the fort when you leave, scattering materials so they blend back into the forest floor.
What if there are not many sticks around?
When natural materials are scarce, build smaller structures like miniature forts for toy animals, or shift the activity to designing floor plans with pebbles, cones, and leaves. Another option is to bring a few lightweight poles from home, then use available leaves and grasses for decoration so the environment remains minimally disturbed.
How do we keep kids from arguing while building?
Clear roles and time limits help. Decide together who is the architect, collector, and decorator for the first 15 minutes, then switch roles. When conflicts arise over design choices, invite kids to try one idea on one side of the fort and another idea on the other side, turning disagreement into experimentation.
Turning Sticks and Imagination Into Lasting Memories
A stick fort may be temporary, but the sense of ownership and capability kids feel when they sit inside something they built from scratch tends to last much longer. With a bit of planning, a focus on safety, and plenty of freedom for creative decisions, you can turn an ordinary walk in the woods into a shared adventure your family talks about for years.