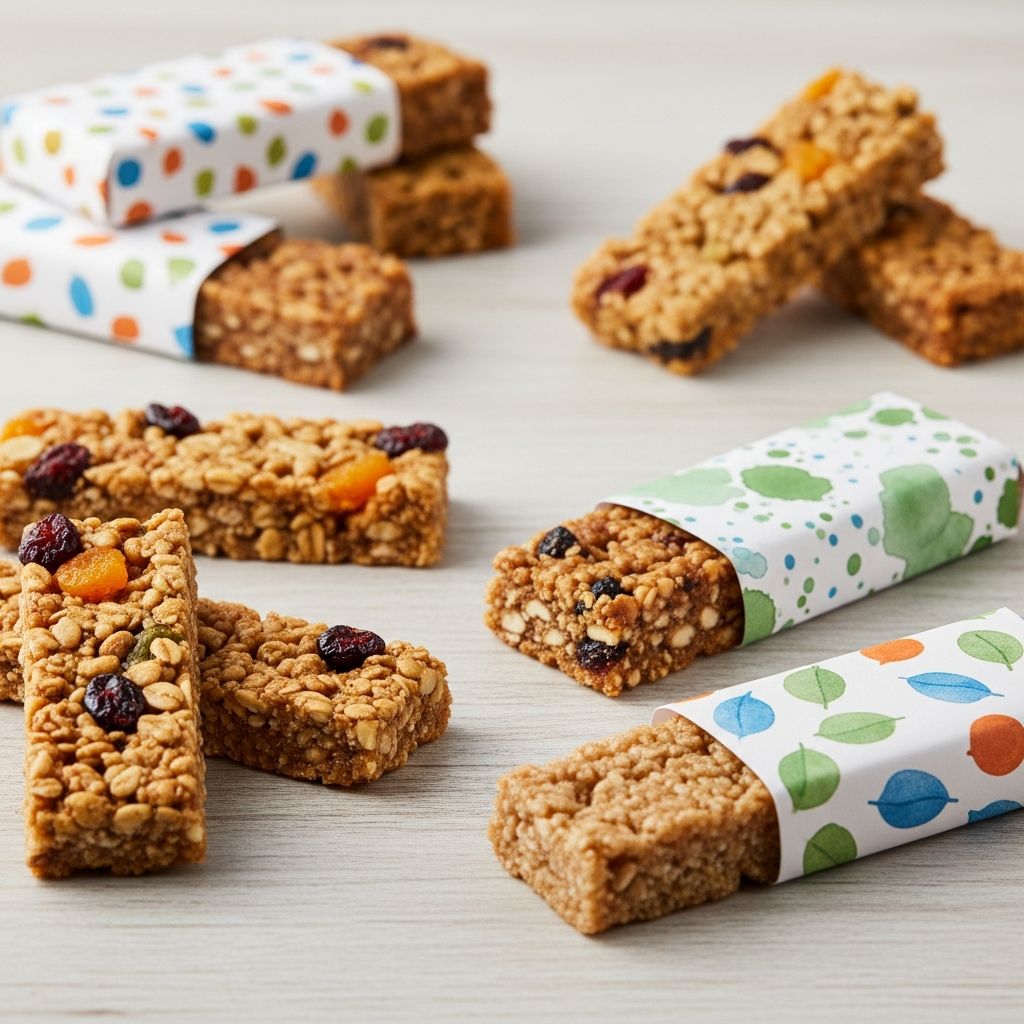
Homemade granola bars are one of those rare snacks that check almost every box: they are simple to make, easy to customize, gentle on the budget, and perfect for busy mornings or packed lunches. When you add personalized wrappers, they become more than food — they turn into a little project that blends cooking, crafts, and creativity.
Why Make Your Own Granola Bars?
Store-bought bars might be convenient, but they often come with extra sugar, long ingredient lists, and lots of packaging. Crafting your own batch at home gives you full control over the sweetness, texture, and flavors, and lets you use ingredients you already love.
- Control the ingredients so you can reduce sugar, avoid allergens, or add more fiber and protein.
- Save money by using pantry staples like oats, nuts, seeds, and dried fruit.
- Turn snack prep into an activity that kids can help with, from stirring the mixture to decorating the wrappers.
Essential Building Blocks of a Granola Bar
Good granola bars rely on a simple framework: a base, a binder, and your favorite mix-ins. Once you understand this structure, you can adjust the recipe to match your own taste and dietary needs.
- Base: Rolled oats are the classic choice, sometimes combined with puffed cereal or shredded coconut.
- Binder: A combination of a sticky sweetener (like honey or maple syrup) and a fat (like nut butter or coconut oil) holds everything together.
- Mix-ins: Nuts, seeds, spices, chocolate, and dried fruit add flavor, texture, and nutrition.
Example Ingredient Formula
| Component | Typical Amount (per 8–10 bars) | Examples |
|---|---|---|
| Base | 2–3 cups | Rolled oats, puffed rice cereal, shredded coconut |
| Binder: nut/seed butter | 1/2–3/4 cup | Peanut butter, almond butter, sunflower seed butter |
| Binder: liquid sweetener | 1/3–1/2 cup | Honey, maple syrup, brown rice syrup |
| Mix-ins | 1–1 1/2 cups | Chopped nuts, seeds, chocolate chips, dried fruit |
| Flavor boosts | 1–3 tsp | Vanilla, cinnamon, cocoa powder, citrus zest |
Step-by-Step: Chewy Granola Bars at Home
This is a flexible, oven-baked method for making chewy bars that hold together well. Adjust quantities to fit your pan, and feel free to substitute similar ingredients.
Suggested Ingredients
- 2 1/2 cups rolled oats (regular or gluten-free)
- 1/2 cup chopped nuts (almonds, walnuts, pecans, or mixed)
- 1/4 cup seeds (sunflower, pumpkin, or chia)
- 1/2 cup nut or seed butter (peanut, almond, or sunflower)
- 1/3–1/2 cup honey or maple syrup (more for sweeter, stickier bars)
- 1/4 teaspoon fine salt
- 1 teaspoon vanilla extract
- 1/2 cup mix-ins such as mini chocolate chips or dried fruit
Directions
- Prepare the pan: Line an 8-inch or 9-inch square baking pan with parchment paper, leaving extra overhang so you can lift the bars out later.
- Toast the dry ingredients (optional but tasty): Spread oats, chopped nuts, and seeds on a baking sheet. Toast in a moderate oven until just fragrant and lightly golden. Let them cool slightly so they do not melt the chocolate chips immediately.
- Warm the binder: In a small saucepan, gently heat the nut butter, honey or maple syrup, salt, and vanilla. Stir until everything is smooth and pourable.
- Combine: In a mixing bowl, stir together the oats, nuts, and seeds. Pour the warm binder over the top and mix until every bit is evenly coated.
- Add mix-ins: When the mixture has cooled for a few minutes, fold in chocolate chips, dried fruit, or other mix-ins so they stay mostly intact and don’t fully melt.
- Press firmly: Transfer the mixture to your lined pan. Use the back of a spoon, a flat spatula, or a piece of parchment under your hands to press the mixture down as firmly and evenly as possible, especially into the corners.
- Chill: Refrigerate the pan for at least 2 hours, or until the mixture is completely cool and set.
- Slice: Lift the slab out of the pan using the parchment overhang. Place it on a cutting board and use a sharp knife to cut into bars or squares.
Flavor Inspiration: Make Every Batch Different
Once you have a reliable base recipe, you can start experimenting with flavor combinations. Think of your favorite store-bought bar and see if you can recreate it with better ingredients at home.
- Chocolate & Sea Salt: Add cocoa powder to the oats, stir in dark chocolate chips, and sprinkle a pinch of flaky salt on top before chilling.
- Peanut Butter & Jam: Swirl a teaspoon of fruit jam over the top of the pressed mixture and ripple it in with a knife for pockets of fruity sweetness.
- Tropical Sunrise: Use shredded coconut, dried pineapple, and chopped dried mango, and add a touch of citrus zest.
- Cinnamon Raisin Crunch: Add ground cinnamon, raisins, and chopped walnuts or pecans for a breakfast-style bar.
- Seed Power: Skip the nuts and use a blend of sunflower, pumpkin, and chia seeds for a nut-free school-safe version.
How to Keep Bars from Falling Apart
One of the most common frustrations with homemade granola bars is crumbling. A few simple adjustments can dramatically improve structure and chew.
- Use enough binder; if your mixture feels dry or sandy, add an extra spoonful of nut butter or syrup.
- Press very firmly into the pan so the ingredients are compacted into a solid slab.
- Allow complete cooling and chilling before cutting; warm bars tend to crumble.
- Cut with a sharp chef’s knife or serrated knife, using a gentle sawing motion.
Storage, Freezing, and Food Safety
Homemade bars keep well if stored correctly, making them ideal for meal prep. Simple wrapping and a bit of planning go a long way.
- Store at room temperature in an airtight container for several days, separated with parchment if they are sticky.
- Refrigerate for a firmer texture and slightly longer shelf life.
- Freeze individually wrapped bars in a freezer-safe bag; most recipes keep well for up to 2–3 months.
- Label packages with the flavor and date so you remember what is inside and how long they have been stored.
Designing Custom Granola Bar Wrappers
Homemade bars are delicious on their own, but creative wrappers turn them into special lunchbox treats, party favors, or thoughtful gifts. You can keep it very simple or go all-in with colors, patterns, and labels.
Basic Materials
- Plain white or brown paper (printer paper, kraft paper, or butcher paper)
- Parchment paper or waxed paper (to place directly against the food if you want an extra layer)
- Markers, crayons, colored pencils, or stamps
- Stickers, washi tape, or small labels
- Scissors and a ruler for neat edges
Simple Wrapper Method
- Measure the bar: Measure the length, width, and height of one bar so you know how big each wrapper should be.
- Cut the paper: Cut rectangles of paper wide enough to wrap around the bar with some overlap, and long enough to fold over the ends like a small package.
- Add a food-safe layer (optional): If using decorative paper that is not food-safe, first wrap the bar in parchment or waxed paper, then cover that layer with your decorative wrapper.
- Wrap the bar: Place the bar in the center, fold the long sides over, then fold or twist the ends under or to the side, securing with tape or a small sticker.
- Label and decorate: Write the flavor, date, and any fun message on the outside, then add drawings, stickers, or colorful tape.
Kid-Friendly Wrapper Ideas
If kids are helping, the wrapper stage is where they can really take over. The goal is not perfection but fun; slightly crooked lines and quirky doodles are part of the charm.
- Assign each child a flavor and let them create a signature color or character for their bars.
- Use alphabet stickers to spell names or short messages like “Good luck!” or “Snack time!”.
- Turn wrappers into mini activity sheets with simple mazes, tic-tac-toe grids, or jokes written on the outside.
- Create a “build-your-own brand” where kids design a logo, slogan, and tiny nutrition-style box with silly facts.
Granola Bars for Parties and Gifts
Individually wrapped bars make practical and charming favors, especially for gatherings where guests might appreciate a take-home snack. With coordinated wrappers, they can also double as part of the decor.
- For birthday parties, match the wrapper colors to the party theme and display the bars in a basket or box.
- For holidays, use seasonal colors and add simple tags such as “Homemade with love” or a short greeting.
- For teacher or neighbor gifts, bundle several bars together with ribbon and include a small card listing flavors and ingredients.
Nutrition Considerations and Substitutions
Because granola bars can be tailored so easily, it is simple to adapt them for different dietary goals or restrictions. Small changes to the base recipe can make a big difference.
- Gluten-free: Choose certified gluten-free oats and ensure any add-ins are labeled gluten-free.
- Nut-free: Swap nut butters for seed butters, use seeds instead of nuts, and check all mix-ins for cross-contact warnings if snacks are headed to nut-free schools.
- Less sugar: Use the lower end of the sweetener range, add extra spices for flavor, and lean on nuts and seeds rather than chocolate or candy mix-ins.
- High-protein: Add extra nuts or seeds, or stir in a small amount of protein powder, adjusting the binder if the mixture becomes too dry.
Example Weekly Snack Plan Using Granola Bars
Planning your bars into the week helps reduce last-minute scrambling. Here is a simple example of how a single batch might stretch across several days.
| Day | Use | Wrapper Idea |
|---|---|---|
| Monday | Lunchbox snack | Basic paper wrap with child’s name and a doodle |
| Tuesday | After-school activity snack | Bright washi tape band around plain parchment |
| Wednesday | Coffee break at work | Simple kraft paper sleeve labeled with flavor |
| Thursday | Playdate treat | Stickers matching a shared theme (animals, space, etc.) |
| Friday | On-the-go breakfast | Sturdy wrap with date and a short motivational note |
Frequently Asked Questions
How long do homemade granola bars last?
Most batches keep well for several days at room temperature and up to a week in the refrigerator when stored in an airtight container. If you freeze individually wrapped bars, they can remain good for a few months and are easy to toss into lunchboxes in the morning.
Why are my granola bars too hard?
Bars can become hard when baked too long or when the binder includes too much sugar that caramelizes. To keep them chewier, use moderate oven temperatures, avoid overbaking, and use a higher proportion of nut butter or oil relative to granulated sweeteners.
Can I make granola bars without an oven?
Yes. No-bake versions combine toasted or raw oats with warm binder and then rely on firm pressing and chilling in the refrigerator or freezer. These bars tend to be a bit softer but can still hold together well if pressed tightly and given enough chilling time.
What is the best way to cut clean slices?
Make sure the mixture is fully chilled before cutting, and use a long, sharp knife. Press down firmly in one motion or use a gentle sawing action rather than chipping away at the edges, which can cause crumbling.
Can I reduce the sweetener without ruining the recipe?
You can often reduce liquid sweetener slightly, especially if your recipe uses a generous amount of nut butter that also acts as a binder. If you cut the sweetener too drastically, the bars may start to fall apart, so reduce gradually and pay attention to the texture of the mixture before pressing it into the pan.
With a few basic techniques and a little creativity, homemade granola bars and custom wrappers can become a regular part of your kitchen routine. Whether you are prepping for the school week, putting together a thoughtful gift, or simply looking for a satisfying snack, this project offers a fun way to combine cooking, crafting, and everyday nourishment.