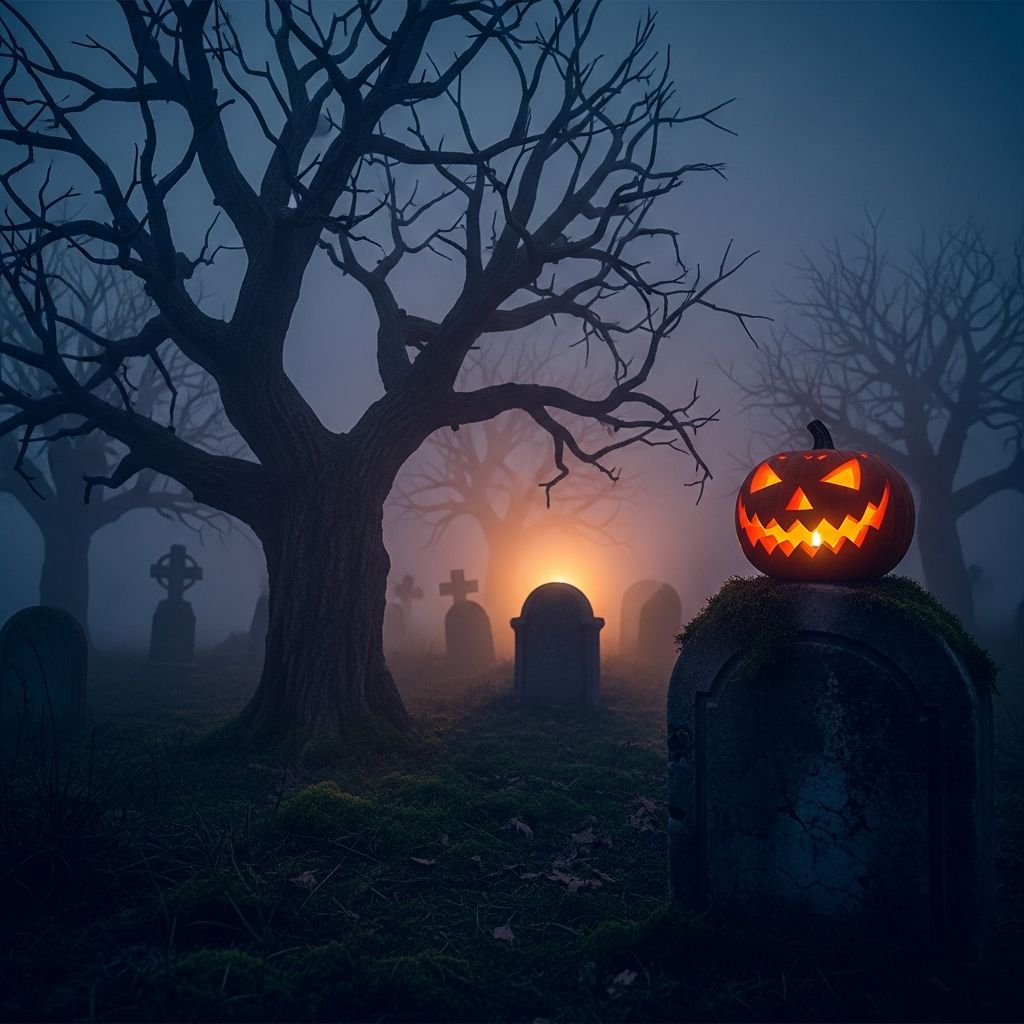
Halloween is one of the most photogenic nights of the year: costumes, moody light, glowing pumpkins, and excited kids all collide in a swirl of color and motion. Yet many people end up with blurry, dark, or flat images that do not match the magic they remember. With a bit of planning and a few simple techniques, you can create Halloween photos that feel as alive as the night itself.
Start With a Simple Photo Game Plan
Before the chaos of candy and costumes starts, decide what kind of Halloween story you want to tell. Thinking in terms of a story keeps you from feeling rushed and helps you come away with images that fit together, like pages in a spooky picture book.
- Pick your main characters. Decide who you most want to feature: your kids, your friends, your pets, or the whole neighborhood.
- Choose 2–3 scenes. For example: getting ready at home, trick-or-treating on the street, and a final portrait with candy loot.
- Set a time window. Plan a quick pre-trick-or-treat session in good light, plus a shorter after-dark session so kids don’t get restless.
Thinking ahead for five minutes—not five hours—means you can relax when the night begins, because you already know which moments matter most to you.
Choosing Locations That Do the Work for You
Great Halloween photos rely as much on the setting as on the costumes. Instead of trying to fix dull backgrounds later, find spots that are already doing half the creative work for you.
Easy, High-Impact Spots Around Home
- Front porch or entryway. Use pumpkins, lanterns, or simple string lights as your ready-made backdrop.
- Living room window. Have kids stand just inside a window around sunset to get soft, flattering light with indoor decorations behind them.
- Backyard corner. A single tree, fence, or sheet hung as a backdrop can become a mini outdoor studio.
Neighborhood and Community Backdrops
- Decorated houses. Ask friends or neighbors if you can use their particularly spooky porch for 2–3 quick photos.
- Pumpkin patches or fall festivals. Visit a day or two before Halloween when it is quieter and the light is better.
- Quiet side streets. A dim, lantern-lit sidewalk or an alley with string lights can become a mood-rich background.
Look for simple, uncluttered areas where your subjects can stand a few steps away from busy decorations, so they remain the clear focus of the image.
Working With Tricky Halloween Light
Halloween usually happens after sunset, which is when cameras—and especially phones—struggle. Rather than fighting the darkness, use it as part of the mood by understanding how to place your subjects and choose the right kind of light.
Use Natural Light While You Still Can
If possible, plan at least a short portrait session before it is completely dark. The last 30–45 minutes before sunset (or just after on a bright day) often give gentle, even light that flatters costumes and face paint.
- Position subjects so they face the brightest patch of sky, not the sun itself.
- Turn off harsh indoor ceiling lights if they mix weirdly with the softer outdoor light.
- Stand a few steps back and zoom slightly (if your camera allows) to avoid distorted features.
Making the Most of Nighttime Glow
Once the sky is dark, lean into the glow of streetlights, porch lamps, and jack-o-lanterns instead of relying on your flash alone. Treat these light sources like tiny stage spotlights.
- Side light for drama. Have a child hold their pumpkin slightly to the side of their face to create spooky shadows.
- Backlight for atmosphere. Stand your subjects in front of a glowing doorway or streetlight and expose for their silhouettes.
- Multiple small lights. Combine fairy lights, lanterns, and pumpkins to create layered, interesting illumination.
If your device allows it, increase ISO moderately, use night or low-light mode, and stabilize your camera by bracing your elbows against your body or a nearby wall to reduce blur.
Flash: Friend, Foe, or Secret Weapon?
On-camera flash can easily flatten costumes and create harsh shadows, but avoiding it completely often leads to motion blur. Instead of seeing flash as all-or-nothing, treat it as a tool you can soften and shape.
- Diffuse the flash. Put a small piece of semi-transparent tape or tissue in front of a built-in flash to spread the light.
- Back up a bit. Standing farther away softens the effect of the flash and reduces shiny highlights on face paint.
- Mix flash with existing light. Use the lowest flash power setting that still freezes the subject while keeping the mood of the background.
If you have an external flash, pointing it at a light-colored wall or ceiling instead of directly at your subject creates a much more flattering, natural look.
Posing Kids (and Adults) Without Killing the Fun
Halloween energy is wild, and stiff, overly posed portraits rarely match the feeling of the night. Instead of ordering everyone to stand still and smile, build poses around small games and actions.
Play-Based Pose Ideas for Kids
- Costume actions. Ask a witch to pretend to stir a potion, a superhero to leap, or a vampire to \”hide\” behind a cape.
- Call-and-response. Say \”On three, everyone make your spookiest face!\” and shoot a burst of photos.
- Secret missions. Whisper a mini challenge: \”Creep toward me like a sneaky ghost and freeze when I say stop.\”
Natural Group Arrangements
For family or friend groups, skip rigid rows and aim for loose clusters that show connection.
- Have the tallest stand or sit slightly behind the others, leaning in instead of forming a straight line.
- Ask everyone to look at the smallest child or pet for a quick, candid-feeling moment.
- Let kids hold their candy buckets, brooms, swords, or wands to give nervous hands something to do.
Capturing the Little Details That Tell the Whole Story
While big group shots are important, the tiny moments and close-ups often become the most treasured images. Think beyond faces and step closer to capture textures and details.
| Detail Type | What to Look For | Why It Matters |
|---|---|---|
| Costume close-ups | Buttons, capes, elaborate makeup, fake fangs, lace, or stitching | Shows effort and creativity that wide shots often miss |
| Hands and props | Hands gripping buckets, carving tools, wands, or toy weapons | Conveys emotion and personality in a subtle way |
| Environment | Candles, webs, candy bowls, fallen leaves, fog machines | Builds atmosphere and context around your main portraits |
| Post-trick-or-treat chaos | Piles of candy, shoes by the door, costumes on the floor | Finishes the story with a real-life, behind-the-scenes touch |
Try shooting some of these details from directly above or very close-up. Filling the frame with a single pumpkin, mask, or painted eye can be more striking than another full-body portrait.
Smartphone Settings and Tricks for Spooky Nights
If you are using a smartphone, you can still capture beautiful Halloween images—just use its strengths. Modern phones offer powerful night modes and portrait effects that work best when you help them out a little.
- Clean the lens. Smudges cause flare and softness that become more obvious with glowing lights.
- Use night mode wisely. Ask kids to hold very still for a few seconds while the phone gathers light.
- Avoid extreme digital zoom. Instead, step closer or crop later for sharper results.
- Tap to focus and expose. Tap on the face; then slide your finger up or down to make the scene brighter or darker.
Consider using a small, inexpensive phone tripod or propping your phone against a wall for group shots, especially in very low light.
Keeping Everyone Safe and Happy While You Shoot
Halloween photography should not come at the expense of safety or enjoyment. With so much going on—cars, crowds, and excitement—build your photo ideas around what is safe and comfortable for your subjects.
- Stay off busy roads. Take longer posed photos in driveways, porches, or closed side streets, not in active traffic.
- Watch trip hazards. Long costumes, dark sidewalks, and camera bags make falls more likely; keep gear minimal and paths clear.
- Respect consent. Ask permission before photographing other people’s children or private property decorations.
Plan to put the camera away periodically to join the fun. Short, focused photo bursts with breaks in between often lead to more genuine smiles and less resistance from kids.
Editing for Moody, Magical Halloween Style
Thoughtful editing can take a good Halloween photo and make it feel cinematic. You do not need complicated software; many phone apps provide enough control to enhance atmosphere without overdoing it.
- Adjust exposure and contrast first. Brighten faces slightly while keeping the background darker for a night-time feel.
- Enhance warm tones. Gently boost oranges and yellows to emphasize candles and pumpkins.
- Add a touch of clarity. A small increase in clarity or texture can accentuate cobwebs, costumes, and carved details.
- Use selective edits. If the sky is too bright or a pumpkin is too dim, use a brush or radial tool to adjust just that area.
For a unified look across the whole night, apply the same general edit style to a group of images: similar contrast levels, color balance, and vignettes will make them feel like part of one coherent story.
Creative Halloween Photo Ideas to Try
When you have the basics down—light, focus, and safety—experiment with a few creative ideas that add extra flair to your images. These do not require professional gear; just some planning and imagination.
- Shadow monsters. Use a flashlight to cast large shadows of kids in costume against a wall or garage door.
- Foggy silhouettes. If you have a small fog machine, backlight your subjects and capture their outlines in the mist.
- Glow-stick trails. Give kids glow sticks and use a slightly longer exposure to record colorful streaks as they move.
- Window stories. Photograph silhouettes in costume framed by a lit window from outside, like a scene from a storybook.
- Candy dump finale. At the end of the night, have kids pour their candy on the floor and lie beside it or hold it up triumphantly.
FAQ: Halloween Photography
How can I avoid blurry Halloween photos in the dark?
Blurry photos usually come from low shutter speeds and moving subjects. To reduce blur, hold the camera very steady, brace your arms, and ask your subjects to freeze for a moment. Increase ISO or use a night mode so the camera can use a faster shutter speed, and take several shots of the same moment so at least one is sharp.
Should I use flash for trick-or-treating pictures?
Flash can help freeze motion in very dark conditions, but it looks best when softened and mixed with existing light. Stand slightly farther away, diffuse the flash if possible, and let the glow of streetlights and pumpkins still show in the background. For some shots, try turning flash off and using nearby light sources as your main illumination.
What is the best time to take Halloween portraits?
The ideal time is usually before it is fully dark—roughly in the hour leading to sunset or immediately after, depending on the weather. This \”in-between\” light lets you capture costume details clearly while still hinting at the night to come. You can then add a few dramatic after-dark shots once the trick-or-treating begins.
Do I need a professional camera for good Halloween photos?
No. A professional camera offers more control, but smartphones and basic cameras can produce excellent results when used thoughtfully. Focus on good light, simple backgrounds, and clear expressions, and your photos will stand out regardless of the device.
How can I get shy kids to cooperate for photos?
Instead of demanding posed smiles, invite shy kids into small games linked to their costume, like pretending to cast a spell or creeping like a ghost. Keep sessions very short—just a minute or two—and praise their efforts. Often, the in-between moments when they are laughing at a sibling or adjusting a costume turn into the best images.
Bringing It All Together
Halloween photography is less about perfect technical execution and more about capturing the feeling of the night: excitement, mystery, and a little bit of make-believe. By planning a handful of key scenes, working with available light, and encouraging playful posing, you can turn one busy evening into a set of photographs that will still make people smile years later.