Beach days do not have to be expensive to be unforgettable. With a little planning and a lot of imagination, your family can turn ordinary sand into castles, creatures, and whole miniature worlds that spark creativity and strengthen bonds.
Why Sand Play Is Perfect for Families
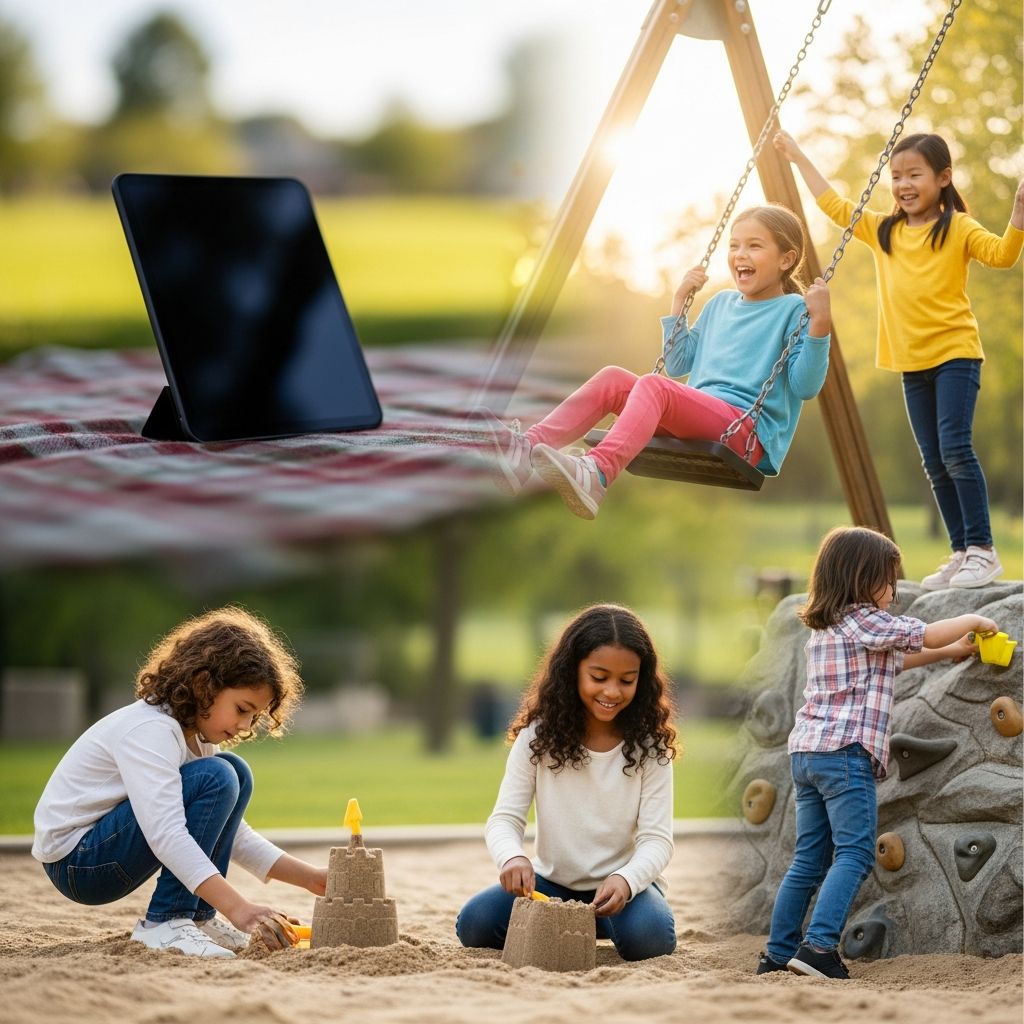
Sand play is one of the easiest ways to keep children of different ages engaged at the same time. It invites hands-on exploration, builds coordination, and encourages kids to cooperate and share ideas. Parents also benefit from this slow, low-tech activity, because it shifts focus away from screens and onto shared experiences in nature.
Unlike many structured activities, building sand castles and sculptures has no single “right” result. Children can experiment freely with shapes, tools, and decorations, which boosts confidence and imaginative thinking. As the tide eventually washes everything away, kids also get a gentle lesson in letting go and enjoying the moment.
What to Bring for a Sand-Building Day
You do not need specialized or expensive equipment to build impressive sand creations with kids. Simple, sturdy tools and basic beach essentials are usually enough to keep everyone busy and safe for hours.
- Basic sand tools: Buckets, small shovels, plastic cups, and scoops help kids move sand and water, pack shapes, and build towers.
- Detail tools: Old spoons, spatulas, paintbrushes, and plastic knives allow for carving doors, windows, scales, or patterns on sculptures.
- Decorations: Shells, pebbles, driftwood, seaweed, and leaves add color and texture and help children personalize their creations.
- Comfort and safety: Sunscreen, hats, water bottles, and snacks ensure that kids stay hydrated, protected, and energized while they play.
Parents may also want to pack a small first-aid kit and a change of clothes, especially for younger children who tend to get completely covered in wet sand.
Choosing the Best Sand and Spot
Good results start with good sand. For sturdy sand castles and detailed sculptures, damp sand is better than the dry sand higher up on the beach. Sand that clumps easily in your hand is ideal, because it holds its shape when packed.
- Look near the waterline: The sand here is usually moist enough to pack easily but not so saturated that it collapses into a puddle.
- Avoid deep holes: Digging deep pits can be dangerous, especially for small children and when the tide comes in quickly.
- Watch the tide: Choose a spot that is not too close to the water if your kids are likely to be upset when waves reach their creations.
When possible, pick an area with enough open space that your family can spread out tools and supplies without bumping into other beachgoers.
Age-Appropriate Sand Activities
Different ages enjoy different levels of challenge, so tailoring sand activities to your child’s stage makes the experience more fun and less frustrating. Younger children often prefer simple shapes and sensory play, while older kids enjoy more precise projects and competitions.
Toddlers and Preschoolers
Very young children are still learning how sand behaves, so focus on activities that are safe, open-ended, and easy to repeat. Giving them simple tasks lets them feel involved without demanding perfection.
- Filling and dumping buckets, cups, and molds.
- Pressing hands and feet into damp sand to make prints.
- Patting sand into small hills and knocking them down.
- Decorating simple mounds with shells or small stones.
School-Age Kids
Once children can follow instructions and handle tools safely, they are ready to work on recognizable sand castles and themed sculptures. They often enjoy setting goals and working on projects that last for more than a few minutes.
- Designing basic castles with towers, walls, and moats.
- Creating animals or creatures such as turtles, fish, or dragons.
- Building small “villages” with roads, bridges, and houses.
- Adding stories or characters to explain what is happening in their sand world.
Tweens and Teens
Older kids sometimes claim they are “too big” for sand play, but they often change their minds once they see more advanced challenges. Detailed sculpting, time limits, or friendly competitions can bring out their creativity and leadership skills.
- Planning and sketching complex castles or themed sculptures before building.
- Working as team leaders to organize younger siblings or friends.
- Experimenting with finer details such as arches, staircases, and patterned walls.
- Filming time-lapse videos of the building process for sharing later.
Basic Technique: Building a Simple Sand Castle
Even a first-time builder can help kids create a sturdy sand castle by following a few simple steps. The focus should be on packing damp sand firmly and working from a solid base upward.
- Create a base mound: Scoop damp sand into a large pile and pat it down with hands or feet to make it compact and stable.
- Add water and pack: Use a bucket or small container to pour water over the mound, then press the sand firmly so it sticks together.
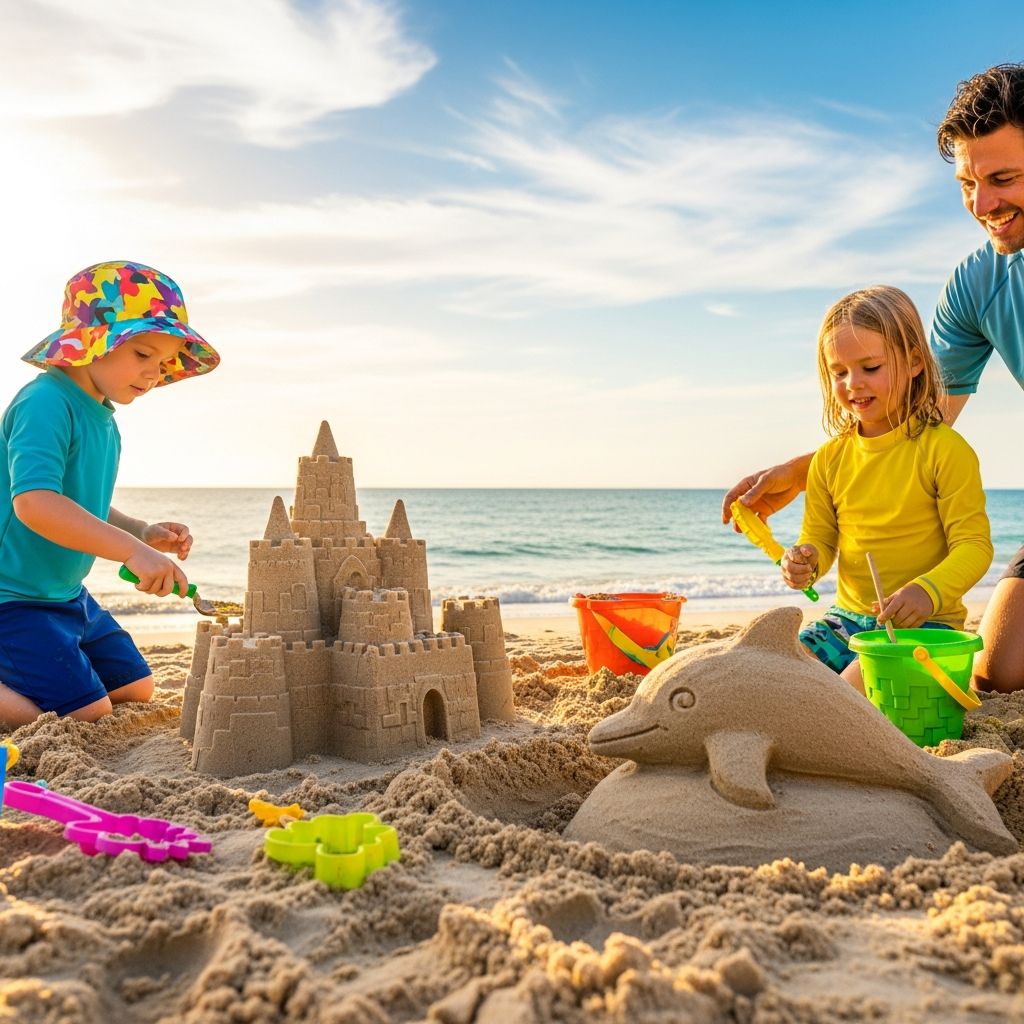
- Shape towers: Fill buckets with damp sand, press it down, turn them upside down on the mound, and gently lift them away to reveal tower shapes.
- Carve features: Use small tools to carve doors, windows, and steps into the walls and towers.
- Decorate: Press shells, stones, and other natural items into the structure to add color and texture.
Encourage kids to think of the castle as a work in progress rather than a fragile masterpiece. Sand creations will crack, crumble, and change shape, and learning to repair and adjust is part of the fun.
Shaping Sand Sculptures and Creatures
Sand sculptures use the same basic principles as sand castles but focus more on organic shapes such as animals, people, or fantasy creatures. Kids enjoy seeing familiar forms appear from what started as a plain pile of sand.
- Start with a large mound: Pile up more sand than you think you will need; it is easier to carve away excess than to add height later.
- Rough out the shape: Use hands and shovels to suggest the main outline of the creature or object before worrying about details.
- Refine slowly: Gradually smooth surfaces and carve features such as eyes, fins, or scales using smaller tools.
- Add contrast: Use shells, dark pebbles, or seaweed to highlight eyes, patterns, or accessories.
Some families enjoy choosing a theme for the day, such as sea creatures, dinosaurs, or storybook characters, and seeing how many different sculptures they can create together.
Helpful Sand-Building Tools and Ideas
Nearly any household item that can scoop, smooth, or carve sand has potential as a sand-building tool. Simple materials can be repurposed, making this activity accessible and budget-friendly for families.
| Item | Use at the Beach |
|---|---|
| Plastic food containers | Molds for walls, towers, or block shapes. |
| Old kitchen spatulas | Smoothing and cutting sharp edges. |
| Spoons and butter knives | Carving lines, windows, and textures. |
| Paintbrushes | Dusting loose sand off delicate details. |
| Straws | Blowing away fine sand from tiny features. |
For younger kids, keep tools simple and free of sharp edges. Older children may enjoy experimenting with more precise instruments, but supervision is important whenever tools are involved.
Safety and Comfort Tips for Parents
Because sand play happens outdoors and often near water, basic safety rules help keep the experience enjoyable. A few simple guidelines can prevent sunburn, dehydration, and accidents while kids stay focused on building.
- Apply and reapply sunscreen regularly, especially if children are getting wet frequently.
- Encourage breaks in the shade and offer water often so kids do not overheat.
- Set boundaries for how close children can go to the water on their own.
- Discourage digging deep holes that could collapse or become hard to see as the tide changes.
Parents can also model good beach etiquette by filling in large holes before leaving and making sure that no sharp or unsafe objects remain in the sand.
Making Sand Building a Learning Experience
Every sand project can double as a gentle learning opportunity without turning playtime into a formal lesson. By asking open questions and narrating the process, parents can help kids notice patterns, practice new words, and build problem-solving skills.
- Talk about shapes, sizes, and measurements while you build towers or moats.
- Notice how wet and dry sand behave differently and ask kids to predict what will happen when more water is added.
- Encourage children to plan their creations before they start, then reflect on what worked well afterward.
- Introduce simple teamwork roles such as “water collector,” “builder,” and “decorator” to practice cooperation.
These small, playful conversations help children connect their beach fun with broader skills such as observation, planning, and communication.
Fun Variations and Beach Games
To keep kids excited throughout a long beach day, mix traditional castle building with games and challenges. Rotating activities can help prevent boredom and encourage everyone to participate in different ways.
- Timed challenges: See what kind of structure the family can build in 10 or 15 minutes.
- Themed builds: Pick a theme such as “underwater city” or “space colony” and design everything around it.
- Obstacle courses: Create a mini course for toy cars or figures using tunnels, bridges, and ramps.
- Storytelling sessions: Have each child invent a story about the castle or creatures you have built together.
These variations add layers of creativity and help involve children who might be less interested in the building process but enjoy stories or friendly competition.
FAQs About Building Sand Castles and Sculptures With Kids
How wet should the sand be?
The best sand for building is damp enough to hold its shape when squeezed but not so wet that water pools around it. If a handful of sand breaks apart easily, add more water; if it drips, mix in more dry sand.
What if we do not have beach toys?
You can still build plenty with bare hands and a few simple items from home like plastic containers or spoons. Kids often enjoy improvising with whatever is available, and that flexibility can spark even more creativity.
How do we keep younger kids safe near the water?
Set clear boundaries before building begins, such as a line in the sand that younger children should not cross alone. Choose a spot far enough from the waterline that waves will not reach your group unexpectedly, and maintain close supervision whenever children go to fill buckets.
How can we stop castles from collapsing?
Most collapses happen because the sand is too dry or not packed tightly enough. Encourage kids to add more water, press down firmly, and build wider bases instead of very tall, thin towers that topple easily.
What should we do when the tide washes everything away?
Turning this moment into a ritual can make it less disappointing. Some families like to take photos of their creations before the tide reaches them, then watch together as the waves slowly smooth the sand, treating it as part of the story rather than a loss.
Creating Lasting Memories With Temporary Creations
Sand castles and sculptures may last only a few hours, but the memories made while building them can endure for years. The shared laughter, teamwork, and sense of accomplishment help children feel connected and confident.
By keeping materials simple, expectations flexible, and the focus on process rather than perfection, parents can turn almost any beach trip into a free, screen-free adventure that the whole family looks forward to repeating.