Daylight Saving Time can feel confusing for adults, let alone children. Clocks change, bedtimes shift, and daily routines adjust. Turning this seasonal time change into a playful learning opportunity helps kids feel prepared instead of puzzled. With a few simple craft supplies, you can explore how clocks work, what time means in daily life, and why we “spring forward” and “fall back” each year.
Research shows that young children understand time best when it is linked to predictable daily routines and visual cues like pictures and schedules. Hands-on activities also support attention, memory, and problem-solving skills, especially in the early years. The projects below combine both ideas: concrete visuals and open-ended play.
Why Connect Crafts with Daylight Saving Time?
Before picking up the glue stick, it helps to know why these activities matter. Daylight Saving Time (DST) is the practice of moving clocks ahead by one hour in spring and back by one hour in fall to better match waking hours with daylight. Children often notice that it is suddenly light later in the evening or dark when they wake up, and they may ask questions—or resist going to bed.
Using crafts to talk about DST supports children in several ways:
- Builds a sense of routine: Linking the clock change to morning, afternoon, and bedtime activities helps kids anticipate what comes next.
- Develops early math concepts: Clocks introduce numbers, sequences, counting by fives, and comparing “before” and “after.”
- Encourages emotional comfort: When kids can see and touch a clock they made themselves, the abstract idea of time feels friendlier and less intimidating.
- Supports language skills: Talking about “earlier,” “later,” “yesterday,” and “tomorrow” expands vocabulary around time.
Gathering Basic Craft Supplies
You do not need specialty materials to make meaningful time-themed projects. Most of what you need is likely already in your home or classroom.
- Sturdy paper plates or recycled cardboard circles
- Colored markers, crayons, or pencils
- Brass paper fasteners (brads) for moving clock hands
- Pipe cleaners, card stock, or craft foam for clock hands
- Glue sticks, tape, child-safe scissors
- Old magazines or printed pictures representing daily activities
- Optional: stickers, googly eyes, ribbon, and decorative paper
You can swap many of these materials based on what you have available. For example, cardboard from a cereal box can become a clock face, and strips cut from a tissue box can become clock hands.
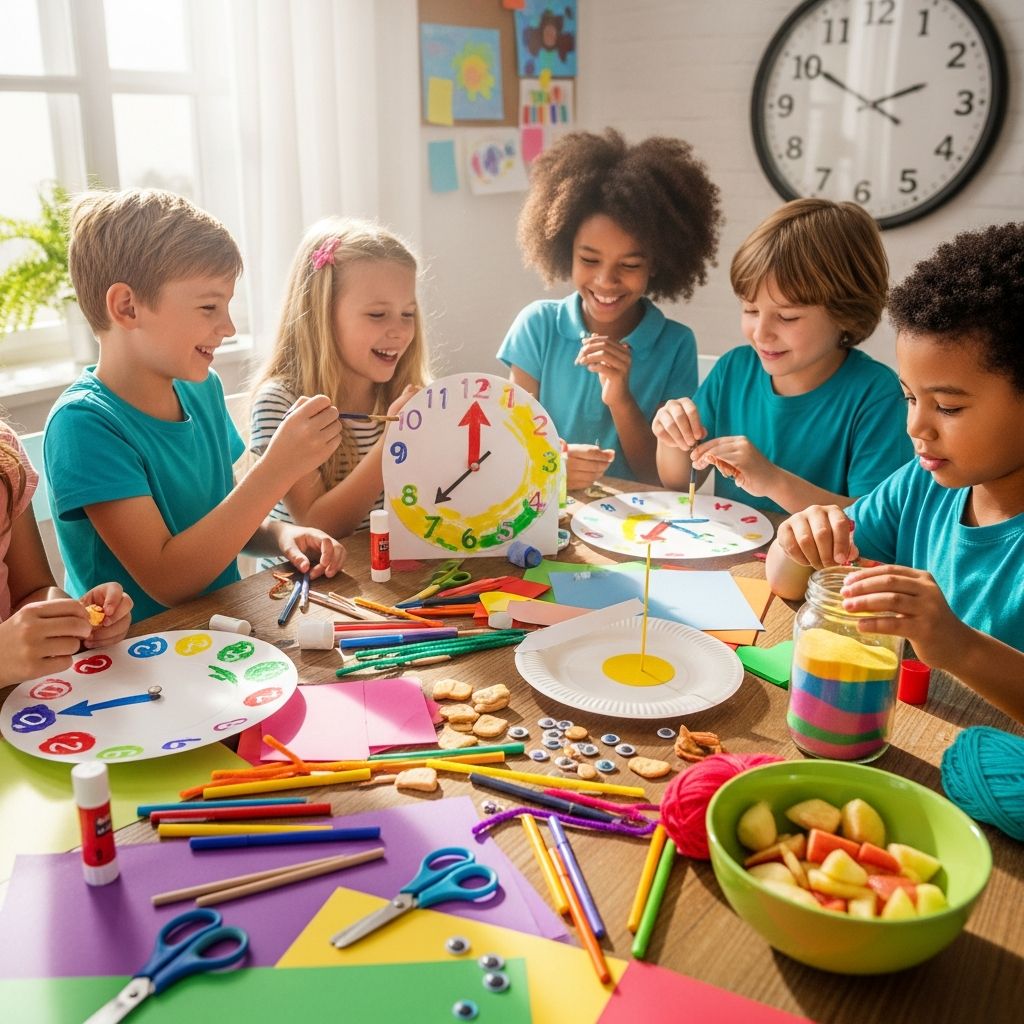
Project 1: Build a Friendly Learning Clock
A homemade learning clock gives kids a concrete way to see how the hour and minute hands move. It also becomes a tool you can reuse any time you talk about schedules or routines.
Step-by-Step Instructions
- Create the clock face: Draw or trace a large circle on a paper plate or cardboard. Mark the center with a small dot.
- Add the numbers: Write numbers 1 through 12 around the edge. For young children, you can lightly sketch guidelines in pencil first. Older kids can place the numbers themselves as a mini-math challenge.
- Design the clock hands: Cut one shorter strip for the hour hand and one longer strip for the minute hand from card stock, cardboard, or pipe cleaners. Color-code them (for example, blue for hours, red for minutes) to make them easier to tell apart.
- Attach the hands: Stack the two hands on the center dot and push a brad through. Open the brad at the back so the hands can spin.
- Personalize: Invite kids to decorate the clock with drawings, stickers, or faces. Giving the clock a “personality” often makes children more eager to use it.
How to Use the Learning Clock
- Ask, “Can you move the big hand to the 12 and the little hand to the 7? That’s when we usually wake up.”
- Show how the clock looks at bedtime, lunchtime, or school start time, then talk about what changes after we “spring forward” or “fall back.”
- Challenge older children to match digital times (for example, 3:30) using their analog clock.
Visual comparisons like this help children bridge the gap between analog clocks (with hands) and digital displays, which they may see on ovens, microwave ovens, and devices.
Project 2: Picture Routines Around the Clock
Young children tend to think about time in terms of events: “after breakfast,” “before bath,” “when we read stories.” Turning those events into pictures and matching them with times on a clock strengthens both time-telling and routine awareness.
Creating a Routine Time Game
- Collect pictures: Cut out or print small images that represent familiar activities—waking up, eating, playing outside, reading, brushing teeth, going to bed.
- Prepare time cards: On small pieces of card stock, write simple times such as 7:00, 8:00, 12:00, 3:00, and 8:00 (for bedtime). For toddlers, you might skip the minutes and use only full hours.
- Make a display clock: Use the learning clock from Project 1 or create a larger wall clock from cardboard so everyone can see.
- Play “Match the Moment”: Set the clock to a time and ask your child to find the picture that matches what usually happens then. Take turns so kids can also set the time.
Extending the Activity
- Sort the pictures into morning, afternoon, and evening piles first, then assign times.
- For children who can read, write short phrases instead of using pictures (for example, “homework” or “soccer practice”).
- Discuss how a routine might shift when the clock changes, such as moving outdoor play earlier when it gets dark sooner in fall.
Project 3: “Spring Forward” and “Fall Back” Reminder Crafts
Adults often rely on reminders to change their clocks, and kids love making something that feels useful to the whole family. A simple reminder craft turns an abstract calendar event into a concrete, visible moment.
Simple Reminder Cards
- Fold the base: Fold a piece of card stock in half to make a small card.
- Add a mini clock: Draw a small clock on a paper circle and glue it to the front. Have your child color it to show either the new bedtime or the time to change the clocks.
- Write the message: Help your child write phrases like “Don’t forget to move the clocks ahead!” or “Time to fall back one hour!” on the front or inside.
- Display: Tape the card near a light switch, on the refrigerator, or next to your main home clock.
These cards double as an early literacy activity, giving children a chance to practice writing numbers and letters with purpose.
Comparing Before and After Times
For older kids, you can add a simple comparison chart to the inside of the card:
| Daily Activity | Standard Time | After “Spring Forward” |
|---|---|---|
| Wake-up | 7:00 | “Feels like” 6:00 |
| Bedtime | 8:00 | “Feels like” 7:00 |
| Dinner | 6:00 | Still light outside |
This comparison helps children understand why their bodies might feel different at the new time and prepares them for the short-term change in their sleep pattern. Pediatric sleep researchers note that even a one-hour shift can temporarily affect bedtime and waking patterns for some children.
Project 4: Time-Themed Games for Active Learners
Not all children love sitting at the table for crafts. Time-themed games get kids moving while they practice noticing and talking about time.
Human Clock Game
- Lay a hoop or rope circle on the floor to represent a clock face.
- Place number cards (1–12) around the circle.
- Two children stand inside the circle to become the “hands.” One student is the hour hand, the other is the minute hand.
- Call out a time and ask the children to point to the correct numbers with their arms.
This full-body activity can be especially helpful for children who learn best through movement and physical play.
Time Scavenger Hunt
- Write several times on sticky notes (for example, 7:00, 12:00, 4:00, 8:00).
- Hide them around the room.
- Ask children to find a sticky note and then show that time on their learning clock.
- For an extra challenge, ask them to name an activity that usually happens at that time of day.
Helping Kids Adjust to the Clock Change
Crafts and games make Daylight Saving Time more understandable, but the time change can still cause temporary sleepiness or irritability. Sleep and pediatric organizations recommend adjusting gradually when possible and keeping bedtime routines consistent. You can weave craft projects into this transition period to make it smoother.
Practical Tips for Families
- Shift bedtime slowly: If you know a clock change is coming, move bedtime by 10–15 minutes each night for several days rather than changing a full hour at once.
- Use natural light: Exposure to morning daylight helps reset the body’s internal clock. Open curtains soon after waking and spend a short time outdoors if you can.
- Keep routines steady: Reading, bath, and quiet time before bed should stay in the same order, even if the clock says a different hour.
- Talk about feelings: Let kids know it is normal to feel “a little extra sleepy” or “wide awake at bedtime” for a few days after the change.
Frequently Asked Questions About Daylight Saving Crafts
At what age can children start learning to tell time?
Many preschoolers can begin recognizing clock numbers and simple ideas like “morning” and “night.” More precise time-telling, such as reading both hour and minute hands, usually develops in early elementary years. Crafts that use pictures and simple hours are appropriate even for toddlers, as long as the focus stays on routines rather than exact minutes.
How do I explain Daylight Saving Time without confusing my child?
Use simple language tied to everyday life. You might say, “Twice a year we move the clocks so we can have more playtime in the daylight.” Pair the explanation with a visual like your homemade clock, and show how you move the hands forward or backward one hour while describing what will feel different the next day.
What if my child mixes up the hour and minute hands?
This is extremely common when children first learn to read analog clocks. Color-coding the hands, making the minute hand longer, and repeating phrases like “the short hand tells the hour” can help. You can also start with “o’clock” times only, where the minute hand stays on the 12, then gradually add half-hours and quarter-hours.
Are digital clocks better for teaching time?
Digital clocks are easier for children to read quickly, but analog clocks provide a strong visual sense of passing time. Both formats are useful. Many educators suggest starting with analog clocks to build understanding of hours and minutes, then reinforcing with digital times that children see on devices and appliances.
How can I include multiple ages in the same activity?
Use layered tasks. Younger children can decorate clock faces, glue pictures, and talk about “breakfast time” or “bedtime.” Older children can place numbers on the clock themselves, calculate one-hour changes during DST, or create comparison charts showing how their schedule shifts. Everyone can participate in reminder crafts for the family.
References
- Understanding and Supporting Children’s Developing Sense of Time — National Association for the Education of Young Children. 2019-04-01. https://www.naeyc.org
- The Power of Playful Learning in the Early Childhood Setting — Hirsh-Pasek, K., Golinkoff, R. M., et al., American Journal of Play. 2009-01-01. https://files.eric.ed.gov/fulltext/EJ1069038.pdf
- Daylight Saving Time — U.S. Department of Transportation. 2024-03-01. https://www.transportation.gov/regulations/daylight-saving-time
- Learning to Tell Time: Children’s Acquisition of Clock Reading Skills — University of Michigan School of Education (overview of research). 2018-05-10. https://soe.umich.edu
- Daylight Saving Time and Sleep — American Academy of Sleep Medicine. 2020-10-01. https://aasm.org/daylight-saving-time-and-sleep