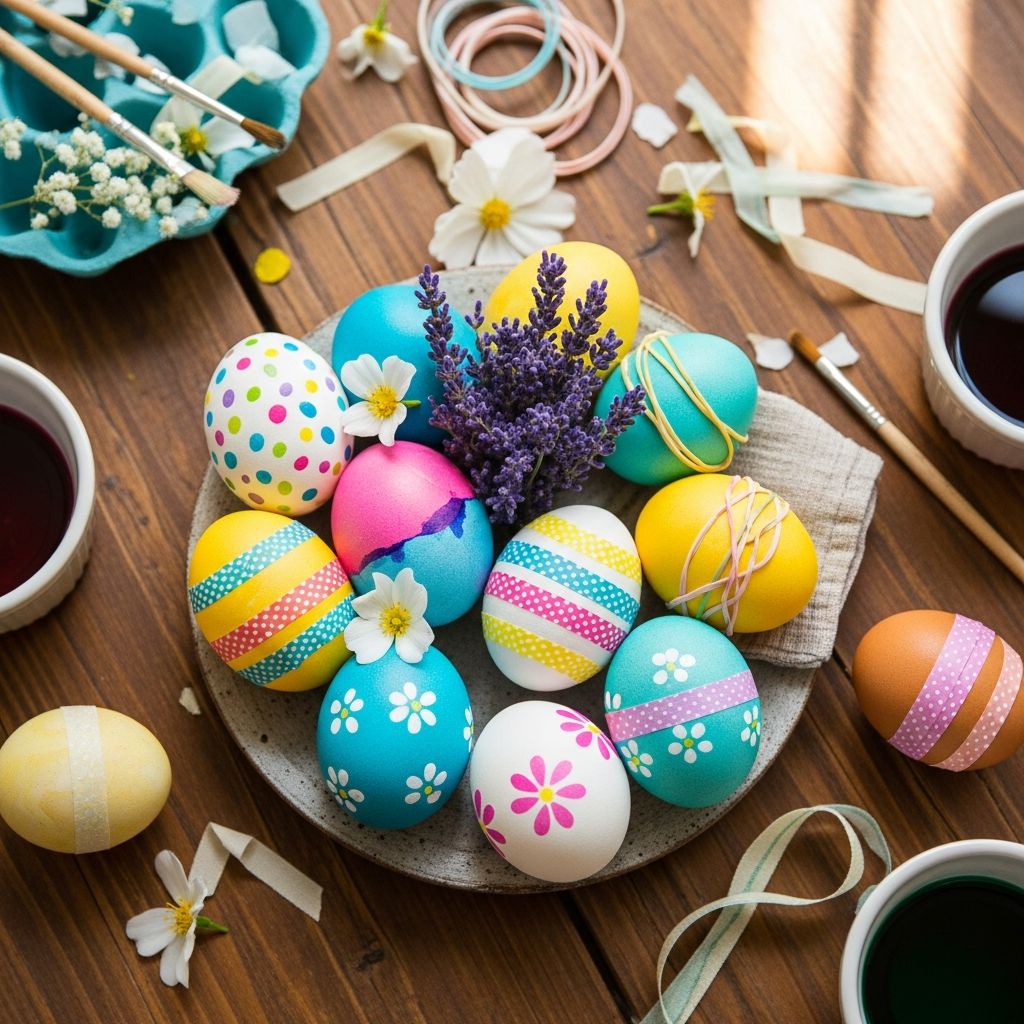
If Easter snuck up on you and the egg dye kits are long gone, you can still create beautiful, creative eggs without panic. With a few everyday supplies and a bit of imagination, you can decorate a whole basket of eggs in an evening and keep kids happily occupied at the same time.
This guide gathers simple, low-stress, and mostly low-mess ideas inspired by classic crafts and modern DIY tips. You will not need specialty tools, and you can easily adapt most ideas for real hard-boiled eggs or reusable faux eggs.
Getting Started: Eggs, Safety, and Simple Prep
Before jumping into decorating, a couple of basic choices make the rest of the process smoother and safer, especially with kids.
Choosing Between Real and Faux Eggs
| Type of egg | Best for | Pros | Cons |
|---|---|---|---|
| Hard-boiled eggs | Edible centerpieces, egg hunts, quick projects | Inexpensive, food-safe when handled properly, traditional | Short shelf-life, must stay refrigerated if you plan to eat them |
| Blown-out real shells | Delicate keepsakes, detailed art | Lightweight, can last years if stored carefully | Fragile, more prep time to empty and rinse shells |
| Wooden or plastic craft eggs | Reuse every year, paint-heavy projects | Durable, kid-proof, no refrigeration, no food-waste | Not edible, slightly higher upfront cost |
Food Safety Notes (If You Plan to Eat the Eggs)
When decorating hard-boiled eggs that will be eaten, basic food-safety rules matter:
- Use only food-safe colorants such as commercial food dyes, food-safe markers, or color from edible ingredients (like tea or red cabbage).
- Keep eggs refrigerated and avoid leaving them at room temperature for more than about two hours in total, including decorating and display.
- Discard cracked eggs or eggs that have been hidden outdoors in warm conditions.
If you would rather not think about food safety at all, work with wooden or plastic eggs and treat them as pure decorations.
Idea 1: Marker and Pen Magic (No Dye Required)
When you are rushing, skipping liquid dye is one of the easiest ways to reduce mess. Markers and pens turn eggs into little canvases instantly.
Supplies You Probably Already Have
- Permanant markers or paint pens (fine and medium tips)
- Ballpoint or gel pens for fine details
- Pencil for sketching light guidelines (optional)
- Hard-boiled, wooden or plastic eggs
Quick Design Prompts
- Pattern stripes: Draw horizontal bands and fill each with a different pattern: dots, zigzags, tiny triangles, or simple flowers.
- Doodle eggs: Treat each egg like a miniature page from a sketchbook. Draw clouds, hearts, stars, tiny houses, or robots.
- Black-and-white contrast: Use only black on white eggs for a modern look: mandalas, chevrons, or bold graphic shapes.
- Lettered messages: Write short spring words or names and decorate around the letters.
Because the surface is small, even very simple patterns look impressive when a dozen eggs are displayed together.
Idea 2: Fast Tape and Sticker Resist Designs
Resist techniques look advanced but are forgiving and quick. The basic idea is to cover parts of the shell before adding color, then peel away the masking to reveal the original surface underneath.
Easy Tape Resist Steps
- Attach strips of painter’s tape or washi tape in stripes, crisscrosses, or diagonals.
- Color over the exposed shell with markers, watercolor, or diluted acrylic paint.
- Let dry thoroughly.
- Peel away the tape to reveal crisp, light lines.
Using Stickers as Stencils
- Place small stickers (stars, circles, letters, or homemade shapes cut from label paper) firmly on the egg.
- Color or lightly paint over the entire egg.
- After it dries, remove the stickers to leave bright silhouettes.
This method is perfect for younger kids, because they can stick and peel without worrying about drawing perfectly.
Idea 3: Speedy Painted Effects Without Traditional Dye
Paint can create soft, dreamy or bold, graphic effects on eggs without setting up bowls of liquid dye. Watercolor is especially forgiving and easy to rinse from brushes, making it kid-friendly.
Soft Watercolor Wash Eggs
- Use watercolor pans or diluted craft paint.
- Wet the brush and sweep color around the shell, letting it pool and blend.
- Layer a second shade for a two-tone sky or sunset look.
- Dab with paper towel for cloudy, mottled texture.
Dry-Brush and Sponge Texture
- Load a nearly dry brush or small sponge with a little paint.
- Tap gently over the egg to create speckles and patchy color.
- Use two or three colors in the same family (like mint, teal, and navy) for depth.
These approaches work especially well on faux eggs, which can be handled and re-painted if needed.
Idea 4: Nature-Inspired Eggs from a Backyard Walk
A short walk outside can supply both inspiration and actual materials for decorating. Nature-themed eggs double as a quiet learning activity about plants, insects, and the night sky.
Botanical Shadow Eggs
- Collect small leaves or soft flower petals.
- Press them gently against the egg and wrap with an old piece of nylon stocking or cheesecloth to hold them flat.
- Brush or dab on paint or food coloring around the wrapped area.
- Let dry, then remove the fabric and plant pieces to reveal a leaf or petal silhouette.
Constellation or Night-Sky Eggs
- Paint the egg in deep blue or purple and let dry.
- Use a white or metallic pen to add tiny dots as stars.
- Connect some dots into familiar constellations or simply scatter stars randomly.
For an extra learning moment, keep a simple star chart or nature guidebook nearby to copy real patterns.
Idea 5: Quick Collage and Decoupage Eggs
Paper scraps instantly dress up plain eggs, and you can use whatever you have on hand: old magazines, gift wrap, tissue paper, or kids’ artwork.
Basic Decoupage Technique
- Tear or cut small pieces of thin paper (smaller conforms better to curves).
- Mix white glue with a little water to the consistency of light cream.
- Brush a thin layer of glue on the shell.
- Press paper pieces on, smoothing gently from center to edge.
- Seal with another thin layer of glue on top and let dry.
Fast Design Ideas
- Map or book page eggs: Use tiny bits of old atlases or book pages for a vintage style.
- Color-block tissue: Tear bright tissue paper into simple geometric shapes and overlap for a stained-glass look.
- Kids’ art eggs: Cut favorite drawings into strips or shapes and collage them onto keepsake faux eggs.
Idea 6: Minimalist Line Art and Modern Eggs
If you prefer a sleek, modern table, a few well-designed eggs can look more stylish than a full rainbow basket.
Simple Modern Styles
- Monochrome sets: Paint eggs in shades of one color (for example, pale gray to charcoal), then add tiny metallic dots.
- Single-line drawings: With a fine black pen, draw continuous-line faces, leaves, or animals wrapping around each egg.
- Graphic bands: Mask off a band with tape and fill it with one bold hue or metallic paint.
Arrange just a handful of these eggs in a simple bowl for an unexpectedly elegant centerpiece.
Idea 7: Kid-Friendly Stations for Fast Group Decorating
When several children are involved, setting up small “stations” keeps things moving and reduces crowding and spills.
Suggested Stations
- Drawing station: Cups of markers, crayons, and pens, plus plain eggs.
- Paint station: One tray with water cups, a few brushes, and diluted paint in muffin tins.
- Sticker and tape station: Stickers, washi tape, and labels for resist designs.
- Collage station (for older kids): Small paper scraps, pre-mixed glue, and a single brush each.
Rotate kids every few minutes so they can try multiple techniques without waiting too long in one place.
Idea 8: Super-Last-Minute Five-Minute Eggs
If guests are on their way and you truly have only minutes, focus on speed over variety.
- Metallic marker makeover: Grab metallic permanent markers and draw quick patterns on room-temperature eggs for instant shine.
- Ribbon-wrapped eggs: Use double-sided tape to secure a single ribbon band around each egg, then tie a tiny bow on top.
- Spot-and-dot eggs: Use the eraser end of a pencil dipped lightly in paint to stamp polka dots all around.
- Stamped eggs: Use small rubber stamps and an ink pad labeled non-toxic to cover shells with repeating icons.
Displayed together in a nest of shredded paper, even these five-minute eggs look intentional and festive.
Making It Stress-Free: Clean-Up and Storage Tips
Half the battle of last-minute projects is minimizing mess and putting everything away quickly.
- Cover your work surface with a garbage bag or old plastic tablecloth for fast cleanup.
- Give each child a shallow box lid or baking sheet as a personal workspace.
- Keep a damp cloth nearby for quick hand wipes before eggs are dropped.
- Let eggs dry in an empty egg carton labeled with each decorator’s name.
- For keepsake eggs, store in a small box padded with tissue paper, away from heat and moisture.
Frequently Asked Questions (FAQs)
Can we eat decorated eggs after they have been out for the egg hunt?A: Food-safety agencies advise that eggs used for eating should not stay unrefrigerated for more than about two hours in total, including decorating and hunting. If eggs were outside in warm weather or sat out for a long time, treat them as decorations only and discard them afterward.
Q: Which decorating methods are safest for very young children?
For toddlers and preschoolers, focus on low-mess options such as stickers, crayons, and washable markers. Skip fragile blown eggs and strong solvents or spray paints. Hard-boiled or sturdy faux eggs are easiest for small hands to hold.
How far in advance can I prepare hard-boiled eggs for decorating?
Properly refrigerated hard-boiled eggs keep about one week. You can cook them several days ahead and decorate closer to the holiday, as long as they remain refrigerated before and after decorating.
Are permanent markers safe to use on eggs we might eat?
Most permanent markers are not designed as food-safe. If you plan to eat the eggs, use food coloring, food-grade pens, or crayons on intact shells. Alternatively, reserve marker-decorated eggs as non-edible centerpieces and use separate eggs for eating.
How can I keep very detailed designs from smudging?
Work on dry shells at room temperature, avoid touching wet ink or paint, and let each side dry completely before turning the egg. For non-edible faux eggs, you can seal designs with a light coat of clear acrylic spray once everything is fully dry.
References
- Egg Safety and the Easter Holiday — U.S. Food and Drug Administration. 2022-03-24. https://www.fda.gov/consumers/consumer-updates/egg-safety-and-easter-holiday
- Eggs: A Safe Easter Tradition — U.S. Department of Agriculture, Food Safety and Inspection Service. 2020-03-12. https://www.fsis.usda.gov/food-safety/safe-food-handling-and-preparation/food-safety-basics/eggs-safe-easter-tradition
- Martha Stewart’s Best Easter Egg Tips — Martha Stewart / YouTube. 2014-04-11. https://www.youtube.com/watch?v=VG0q_KmCz9s
- 5 Easter Egg Decorating Ideas Inspired by Nature — The Artful Parent. 2017-03-27. https://artfulparent.com/egg-decorating-nature-ideas/
- 10 Fun Easter Egg Coloring Ideas for Kids — OOLY. 2023-03-15. https://www.ooly.com/blogs/blog/10-fun-easter-egg-coloring-ideas-for-kids