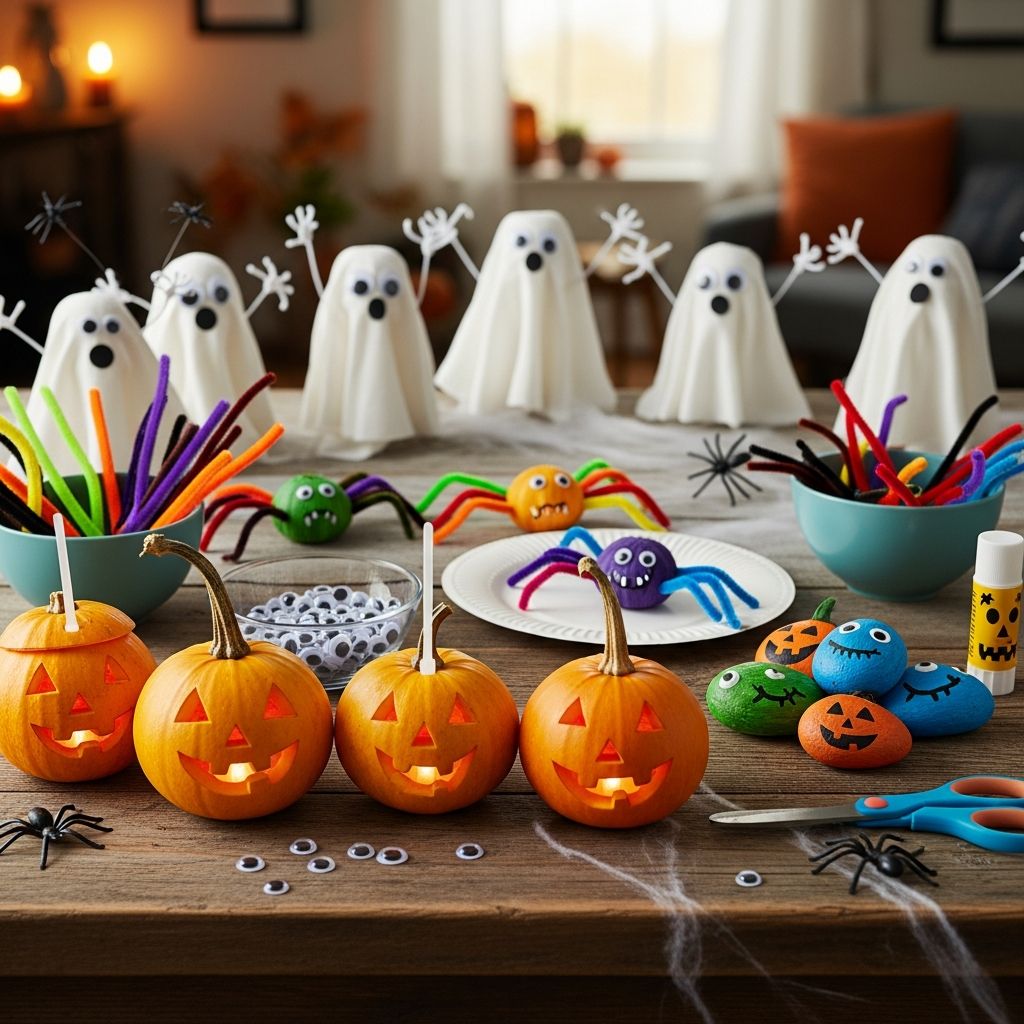
Halloween is the perfect excuse to slow down, pull out the glue sticks and markers, and turn an ordinary afternoon into something a little spooky and a lot of fun. Whether you have toddlers who love sticky foam shapes or teens who want crafts that double as room decor, you can build a whole season of memories with simple, creative Halloween projects.
This guide explores easy, budget-friendly Halloween crafts organized by age and activity level, with ideas for decorating your home, keeping kids busy, and even hosting a low-stress craft party. All explanations and projects here are fully original and designed to be flexible based on what you already have at home.
Why Halloween Crafts Are Worth the Mess
Before jumping into specific projects, it helps to know why Halloween crafting is more than just a way to fill time. Beyond the glitter on the floor and the paint on tiny fingers, these activities can support creativity, confidence, and connection within your family.
- Boosts creativity: Turning ordinary household items into pumpkins, bats, and ghosts encourages kids to see new possibilities in the everyday.
- Builds skills: Cutting, gluing, threading, and painting develop fine motor skills, hand-eye coordination, and patience.
- Creates traditions: Annual crafts become part of your family’s Halloween story, just like carving pumpkins or trick-or-treating.
Essential Halloween Craft Supplies (On a Budget)
You do not need a fully stocked art studio to make impressive Halloween crafts. A small box of basics can take you through most of the projects in this article and can be reused throughout the year.
- Construction paper or cardstock in orange, black, white, green, and purple
- Washable paints and brushes, crayons, and markers
- Glue sticks, white glue, and tape
- Scissors suitable for kids and adults
- String, yarn, or ribbon for hanging decorations
- Paper plates, cardboard boxes, toilet paper rolls, and jars from the recycling bin
- Optional extras: googly eyes, felt scraps, pipe cleaners, glitter, stickers, and tissue paper
| Age Group | Must-Have Items | Nice-to-Have Extras |
|---|---|---|
| Toddlers (2–3) | Large construction paper, washable glue sticks, big stickers | Foam shapes, large googly eyes, pre-cut paper pieces |
| Young kids (4–7) | Scissors, markers, paper plates, yarn | Pipe cleaners, tissue paper, kid-safe paint |
| Older kids & teens | Cardboard, acrylic paint, tape, string lights | Felt, hot glue (with supervision), glass jars |
Quick No-Mess Crafts for Busy Weeknights
When homework, practice, and dinner are all competing for attention, no-mess crafts can deliver Halloween fun without creating a disaster in your kitchen. These projects use primarily stickers, paper, and tape so clean-up stays simple.
- Sticker Monster Portraits: Draw a simple oval or blob shape on paper and let kids transform it with eye stickers, mouth shapes, and marker details. Encourage them to name their monsters and tell a short story about them.
- Paper Jack-O-Lantern Faces: Cut out orange circles ahead of time, then offer pre-cut triangles, mouths, and eyebrows in black paper. Children can mix and match expressions to create funny or spooky pumpkin faces.
- Window Silhouette Scenes: Cut basic shapes like bats, cats, and haunted houses from black paper. Tape them to a window and layer colored tissue paper behind them to create a glowing, stained-glass effect when the lights are on.
Painted Halloween Projects (For When Mess Is Ok)
Some days, getting a little messy is half the fun. With a plastic tablecloth and washable paint, you can turn common items into bold Halloween decor pieces that kids will be proud to show off.
- Mini Monster Boxes: Save small cardboard boxes and paint them in bright Halloween colors. Add paper teeth, horns, and eyes to turn them into treat-holding monster containers for candy or small toys.
- Spooky Sky Art: Paint a paper background in ombre shades of purple, blue, and black. Once dry, glue on paper silhouettes of trees, bats, and a full moon for a dramatic night scene.
- Footprint Ghosts: For young kids, paint the bottom of a foot with white washable paint and stamp it onto colored paper. When dry, add eyes and a mouth to turn the footprint into a floating ghost.
Upcycled Crafts from the Recycling Bin
Many memorable Halloween decorations come from ordinary packaging that would otherwise be thrown away. Turning recyclables into spooky decor also teaches resourcefulness and environmental awareness.
- Jar Lantern Creatures: Clean glass jars and decorate them with tissue paper, paint, or paper cutouts. Place battery-operated tealights inside to create glowing pumpkins, mummies, and monsters.
- Cardboard Castle or Haunted House: Stack and tape cardboard boxes into a rough house or tower shape. Paint or cover in paper, then cut windows, doors, and ghostly residents to peek out.
- Toilet Roll Bats: Fold the top edges of a cardboard roll inward to make bat ears, paint the roll black, and add paper wings and eyes. These can be strung on yarn to create a flying bat garland.
DIY Halloween Decorations Kids Can Actually Help With
Store-bought decorations are easy, but handmade decor adds personality and gives kids a sense of ownership over the holiday. Choose projects that are simple enough for younger children to participate in but still look impressive when displayed.
- Friendly Porch Ghosts: Use white fabric or old white T-shirts to cover lightweight balls or crumpled paper. Tie string under the “head” and draw or glue on eyes. Hang them from tree branches or porch hooks.
- Paper Chain Countdown: Make a long chain of orange and black paper strips. Number each link and let kids tear off one piece every day leading up to Halloween as a spooky countdown.
- Door Monster Makeover: Transform your front door into a giant monster using large paper shapes for eyes, eyebrows, teeth, and a tongue. Tape everything on so it is easy to remove on November 1.
Crafts for Toddlers and Preschoolers
Young children benefit from simple, process-based projects where the experience matters more than the final result. Choose crafts that involve big motions, large materials, and minimal cutting.
- Sticky Shape Collages: Place a sheet of clear contact paper sticky side up and tape it to the table. Offer pre-cut paper and foam shapes in Halloween colors. Children can build their own abstract pumpkins, ghosts, and monsters.
- Pumpkin Sponge Stamps: Cut basic pumpkin shapes out of sponges, dip them in orange paint, and stamp them on paper. Kids can add faces and details with markers once the paint dries.
- Soft Spider Webs: Draw a simple web shape on paper and let kids place pieces of yarn along the lines using glue. Add a paper or pom-pom spider when the glue is dry.
Crafts for Older Kids and Teens
Older kids and teenagers may prefer projects that feel more like real decor or functional items rather than simple toys. Offering them a bit more creative control and complexity can keep them engaged.
- Shadow Box Scenes: Use a shallow box or small crate as a stage. Paint the inside a dark color and create layered paper cutouts of graveyards, haunted houses, or forests. Add battery lights for a dramatic glow.
- Custom Wall Banners: Cut triangle or rectangle banner pieces from felt or heavy paper. Paint or draw letters that spell out spooky words, then string them on ribbon to hang across a wall or window.
- Stamped Treat Bags: Decorate plain paper bags with hand-carved or foam stamps of bats, pumpkins, or skulls. Teens can design their own stamp shapes, turning the project into a mini printmaking session.
Hosting a Low-Stress Halloween Craft Party
A Halloween craft party does not have to be elaborate to be memorable. With a few organized stations and simple snacks, kids can rotate through projects while adults supervise and chat.
- Set up themed stations: For example, one table for decorating masks, another for making paper pumpkins, and a third for painting small decorations.
- Prep materials in advance: Cut out shapes, pour paint into small cups, and portion supplies so kids spend their time creating instead of waiting.
- Offer take-home bags: Provide small bags or boxes where each child can store their finished crafts and any leftover materials.
Safety Tips for Halloween Crafting
Craft time should feel exciting but also safe. A few basic guidelines can prevent mishaps and keep everyone focused on having fun rather than worrying about accidents.
- Use washable, non-toxic materials whenever possible, especially with younger children who may rub their eyes or taste the supplies.
- Supervise scissors, hot glue, and any sharp tools closely, assigning tougher tasks to adults or older teens.
- Protect work surfaces with newspaper or a plastic tablecloth, and encourage kids to wear old shirts or aprons.
Simple Ways to Display Finished Halloween Crafts
Once your crafts are complete, displaying them thoughtfully can make your home feel like a custom haunted house and show kids that their creativity is valued. Think beyond the refrigerator door.
- Rotating Gallery Wall: Dedicate one wall or hallway to seasonal kid art and replace pieces throughout October.
- Centerpiece Collection: Group jar lanterns, mini monsters, and painted pieces on a tray to create a Halloween centerpiece for the dining table.
- Window Showcase: Tape silhouettes, tissue-paper pumpkins, and ghost garlands along window frames so they can be seen from outside.
Frequently Asked Questions About Halloween Crafts
How early should we start Halloween crafting?
Many families begin crafting in early October so they have time to enjoy their decorations before the big night. If your kids are very excited about Halloween, you can even start in late September and create a few projects each week.
What if I am not good at crafts?
You do not need to be an artist to lead Halloween projects. Focus on providing materials, asking open-ended questions, and letting kids make creative choices. Imperfect ghosts and lopsided pumpkins often become the most cherished decorations.
How can I keep the mess under control?
Limit crafts to one designated space, like the kitchen table, and cover it before starting. Keep a small bin or tray for tools and choose one or two projects per session so supplies do not spread everywhere.
What are some inclusive, non-scary craft ideas?
Emphasize friendly faces, bright colors, and harvest themes like pumpkins, leaves, and stars. Smiling ghosts, silly monsters, and cartoon bats can all feel festive without being frightening, especially for younger or more sensitive children.
How do I store Halloween crafts for next year?
Once the season ends, gently wrap fragile items in tissue paper and place them in a labeled box with other Halloween decorations. Flat artwork can be slid into large envelopes or a portfolio, ready to be rediscovered next autumn.
Making Halloween Craft Time Your Own
No matter which projects you choose, the real magic of Halloween crafting lies in the laughter, conversation, and stories that unfold while you work. Use these ideas as a jumping-off point, then adapt them to your family’s tastes, traditions, and time. A few sheets of paper, some glue, and a bit of imagination are all you need to transform your home into a cozy, spooky space filled with handmade memories.