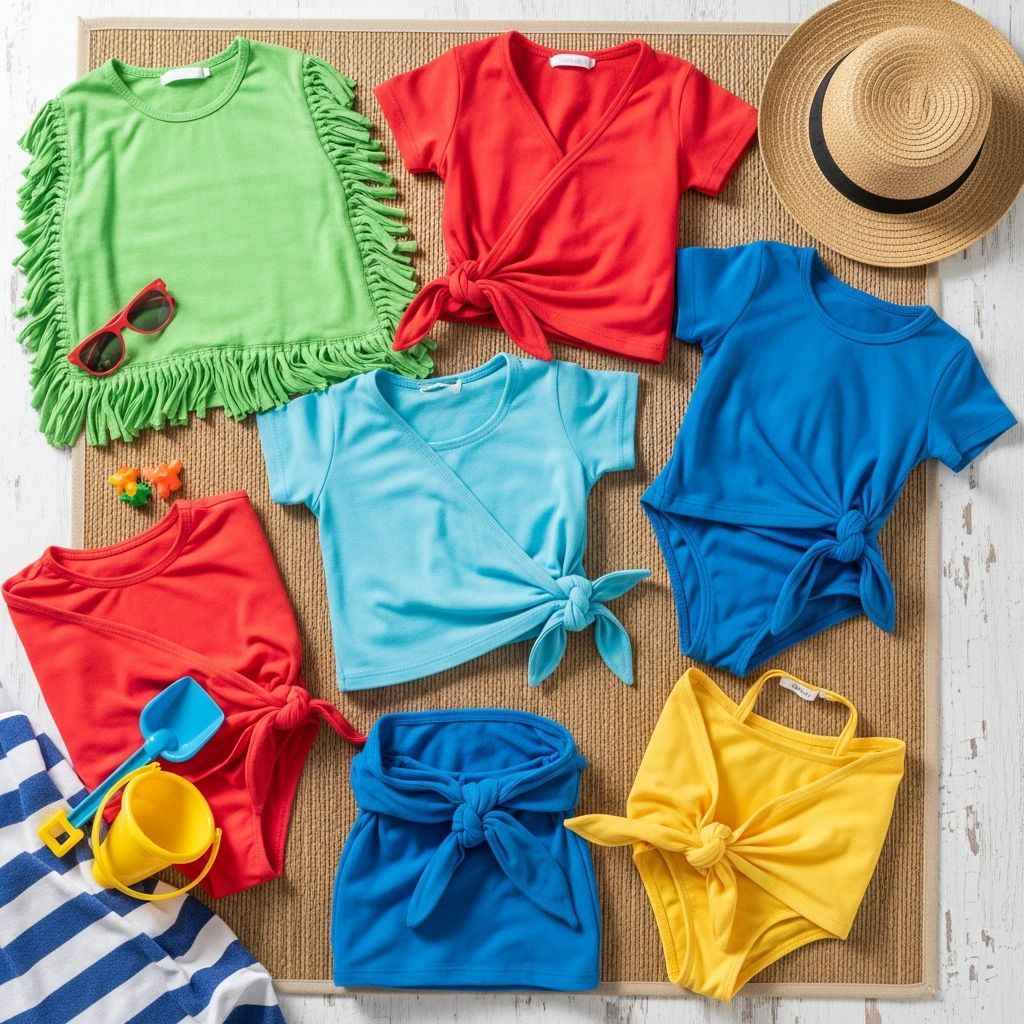
Transforming a simple oversized T-shirt into a bright, breezy swimsuit cover-up is an ideal warm-weather craft for kids and tweens. It is inexpensive, requires only basic supplies, and encourages creativity while kids practice fine motor skills such as cutting, tying, and arranging beads.
This guide walks you through a complete, kid-friendly project inspired by classic T-shirt refashions—but with fresh design ideas, safety tips, and several decoration variations so every child can create a one-of-a-kind pool or beach outfit.
Why T-Shirt Cover-Ups Make a Great Kid Craft
Before diving into instructions, it helps to understand why this project works so well for families:
- Low cost: Plain T-shirts and simple craft materials are affordable and easy to find in most households or local stores.
- Flexible sizing: Using shirts several sizes too big allows kids to end up with a dress-like cover-up that fits comfortably over swimsuits.
- Creative freedom: Kids can experiment with color, patterns, fringe, and bead placement, encouraging imagination and design thinking.
- No sewing required: All shaping is done through cutting, knotting, and tying, making it accessible for children who are not ready for a sewing machine or needle.
- Skill building: Measuring, planning a pattern, cutting along marked lines, and tying knots all support coordination and problem-solving skills in a fun context.
Basic Materials and Optional Extras
You can adapt this project to what you already have at home. Below is a general list of supplies, plus optional items to add flair.
| Item | Purpose | Notes for Grown-Ups |
|---|---|---|
| Oversized cotton T-shirts | Base for the cover-up | Men’s or adult sizes work well to create a dress length on kids. |
| Fabric spray paint or brush-on fabric paint | Color and patterns | Choose non-toxic fabric paints designed for textiles and follow label instructions. |
| Sharp fabric scissors (adult-handled) | Cutting fringe and shaping necklines | Adults or older teens should manage or closely supervise cutting to reduce injury risk. |
| Pony beads or large plastic beads | Decorating fringe and ties | Use beads with large holes and supervise younger children to prevent choking hazards. |
| Cardboard or plastic bags | Protecting work surfaces | Place inside the shirt and under it to prevent paint bleed-through. |
| Washable marker or tailor’s chalk | Marking cut lines | Helps kids follow a guide instead of cutting freehand. |
| Elastic hair ties or scrap T-shirt strips | Creating gathered details | Optional for cinching sleeves or hems. |
Step-by-Step: Turning a T-Shirt into a Swim Cover-Up
The basic transformation follows a simple structure: paint first, then cut and decorate once the shirt is dry. Adjust steps as needed for the age and attention span of the children.
1. Prepare the Space and the Shirt
- Cover the table or floor with newspaper, an old sheet, or a plastic tablecloth.
- Slide a piece of cardboard or a plastic bag inside the T-shirt so paint does not soak through to the back.
- Have kids write their names on the inside tag or collar with a permanent marker if multiple children are crafting together.
- Discuss safety rules: scissors only on the table, no swinging paint bottles, and hands washed after paint use.
2. Add Color with Simple T-Shirt Painting Techniques
Fabric paint gives each cover-up its personality. Offer a few easy methods and let kids choose.
Swirl and Spray Pattern
This method creates circular bursts of color that mimic a starburst or soft tie-dye effect.
- Have the child gently twist the T-shirt from the center into a tight spiral, like winding a snail shell.
- Keep the spiral in a flat disk and secure it with two or three elastic bands if needed.
- Spray or dab fabric paint over the top and sides of the spiral, using one or multiple colors.
- Carefully unfold the shirt to reveal the circular pattern; kids can add more paint to any empty areas.
Line and Stripe Design
For kids who prefer more control over the pattern:
- Lay the shirt flat and mark simple stripes, zigzags, or blocks of color lightly with washable marker.
- Use spray paint for soft edges or brush-on paint for sharp lines.
- Encourage children to balance light and dark colors so the design remains visible once worn over a swimsuit.
Stencils and Shapes
If you have stencils or household objects that can act as stencils (cardboard stars, plastic lids, paper hearts), kids can layer shapes over the base colors.
- Place the stencil flat on the shirt.
- Lightly spray around the edges for a silhouette effect or spray directly over the shape for a filled design.
- Lift carefully to avoid smudging.
Always allow paint to dry fully—ideally several hours or overnight—before cutting or wearing the shirt, following the manufacturer’s instructions to set the color (such as ironing or tumble drying).
3. Cutting the Neckline and Armholes
Once the paint is dry, move on to shaping the shirt into a flowy cover-up. For safety and accuracy, an adult or older teen should handle the main cutting, with kids helping by marking lines.
- Have the child put on the dry shirt over their swimsuit.
- Using a washable marker, lightly mark:
- Where they would like the new neckline to sit (lower or wider than the original, but not so low that it becomes uncomfortable).
- Where the armholes should start so they can move freely without slipping off the shoulder.
- Take the shirt off and lay it flat, smoothing out wrinkles.
- Cut along one side of the neckline, then fold the shirt in half and cut the other side using the first cut as a guide to keep both sides symmetrical.
- Repeat the fold-and-copy method for armholes if you choose to trim sleeves into tanks or cap sleeves.
Cutting in small amounts at a time helps avoid taking off too much fabric. You can always trim more, but you cannot put it back.
4. Adding Fringe to the Hem
Fringe gives the cover-up movement and provides a base for beads and knots.
- Decide how long the cover-up should be. Mark a horizontal line lightly with chalk or washable marker a few inches above the bottom hem—this will be the top of the fringe.
- Cut vertical strips from the bottom hem up to this line, about 1–2 cm wide. Try to keep strips similar in width so the fringe looks even.
- Stretch each strip gently to curl the edges and add a more finished look.
5. Decorating with Beads and Knots
Large pony beads are perfect for this step. They slide easily onto fabric strips and add pops of color.
- String one or more beads onto each fringe strip.
- Tie a tight knot at the end of each strip below the last bead to keep it from slipping off.
- For variety, kids can:
- Alternate bead colors in patterns (e.g., blue–white–blue–white).
- Leave some strips beaded and others plain.
- Tie two neighboring fringe strips together under their beads to create small loops.
Remind children not to chew on beads and to keep small pieces away from younger siblings, in line with general child safety guidelines for small objects.
Optional Style Variations Kids Can Try
Once kids understand the basic method, they can customize their cover-ups with simple changes. Here are several easy ideas.
Side-Tied Cover-Up
For a more fitted look:
- Cut fringe up each side of the shirt, from the bottom hem toward the armpit, stopping at the hip or natural waistline.
- Let kids tie matching strips from the front and back together into bows or double knots.
- Adjust how tight the ties are to change how fitted the cover-up feels.
Asymmetrical Hemline
To create a slanted, beachy edge:
- Mark a line that rises from one side of the shirt to the other, creating a diagonal.
- Cut along this diagonal and then create fringe along the new edge.
- Add beads only along the low side for a cascading effect, or all the way across for a more dramatic look.
Simple Waist Tie
Some kids prefer a cinched waist rather than a straight shape.
- Cut a long, thin strip from an old T-shirt (or use a soft belt or cord).
- Have the child try on the cover-up and tie the strip around their waist in a bow.
- For a more permanent solution, an adult can cut two small slits at the waist and thread the tie through like a drawstring.
Convertible Sleeve Details
If you saved the original sleeves:
- Cut the sleeves into several thin loops.
- Use these loops to gather the shoulder area of the cover-up, tying small knots or bows to create faux ruffles.
- Alternatively, turn leftover sleeve fabric into matching headbands or simple hair ties to coordinate with the cover-up.
Practical Tips for Adults Supervising This Craft
With a bit of planning, this project can fill a long summer afternoon safely and smoothly.
- Group setup: If several kids are crafting together, label each shirt up front and assign individual drying spots to avoid mix-ups.
- Drying schedule: Plan painting early in the day, then pause for a snack or another activity while shirts dry before the cutting stage.
- Age-appropriate roles: Younger children can choose colors, spray or brush paint, and help choose bead patterns, while adults handle cutting and any more complex shaping.
- Follow paint care instructions: Fabric paints usually require curing time and sometimes heat setting (using an iron or dryer). Following these directions helps the design last through multiple washes.
- Protect skin and clothing: Smocks or old clothing prevent stains, and hand-washing after the project is recommended.
Care and Use: Making Cover-Ups Last
After kids invest time and effort, they will want their creations to last more than one pool trip.
- Wait the full recommended curing time before the first wash so the paint adheres properly.
- Turn the shirt inside out before washing to protect the paint and fringe.
- Use cool water and a gentle cycle; hang dry when possible to minimize wear from the dryer.
- Check beads and knots occasionally and re-tie if any become loose.
Frequently Asked Questions (FAQs)
What type of T-shirt fabric works best?
Soft, 100% cotton or cotton-blend shirts work best because they absorb fabric paint well and are easy to cut. Thicker shirts can feel heavy when wet, so lightweight fabric is usually more comfortable for children.
Is fabric spray paint safe for kids?
Choose non-toxic fabric paints intended for crafts, and use them in a well-ventilated area or outdoors. Adults should handle shaking and aiming spray bottles for younger children and supervise to prevent spraying toward faces or eyes, following general craft safety recommendations.
How can I adapt this activity for a party or camp group?
Pre-label shirts, pre-cut basic necklines, and set up separate stations (painting, drying, cutting, beading). Rotating small groups through each station helps keep kids engaged and reduces crowding. Older participants can assist younger children with beading and knot tying to foster peer learning.
What if a child is nervous about making permanent cuts?
Practice on an old scrap shirt first. Show how small cuts can gradually be expanded and reassure them that asymmetry can still look fun and intentional. Let hesitant kids focus on painting and beading while adults handle the shaping.
Can these cover-ups be used at public pools and beaches?
In most cases, yes, as long as the shirt remains modest and safe for movement. Families should check any posted dress guidelines at specific facilities to make sure cover-ups meet local rules for swim areas.
References
- The Power of Creative Arts in Children’s Lives — National Endowment for the Arts. 2011-03-30. https://www.arts.gov/sites/default/files/Arts-At-Risk-Youth.pdf
- Sewing and Textiles for Children: A Guide for Educators — University of Kentucky Cooperative Extension. 2015-06-01. https://www2.ca.uky.edu/agcomm/pubs/fcs/fcs2140/fcs2140.pdf
- School-Age Children Developmental Milestones — Centers for Disease Control and Prevention (CDC). 2023-03-31. https://www.cdc.gov/ncbddd/childdevelopment/positiveparenting/middle.html
- Safety of Art Materials for Children — U.S. Consumer Product Safety Commission. 2022-09-15. https://www.cpsc.gov/s3fs-public/5015.pdf
- Choking Hazards — American Academy of Pediatrics, HealthyChildren.org. 2022-11-08. https://www.healthychildren.org/English/health-issues/injuries-emergencies/Pages/Choking-Prevention.aspx
- Swimming Pool and Beach Safety — American Red Cross. 2023-05-20. https://www.redcross.org/get-help/how-to-prepare-for-emergencies/types-of-emergencies/water-safety/swimming-beach-safety.html