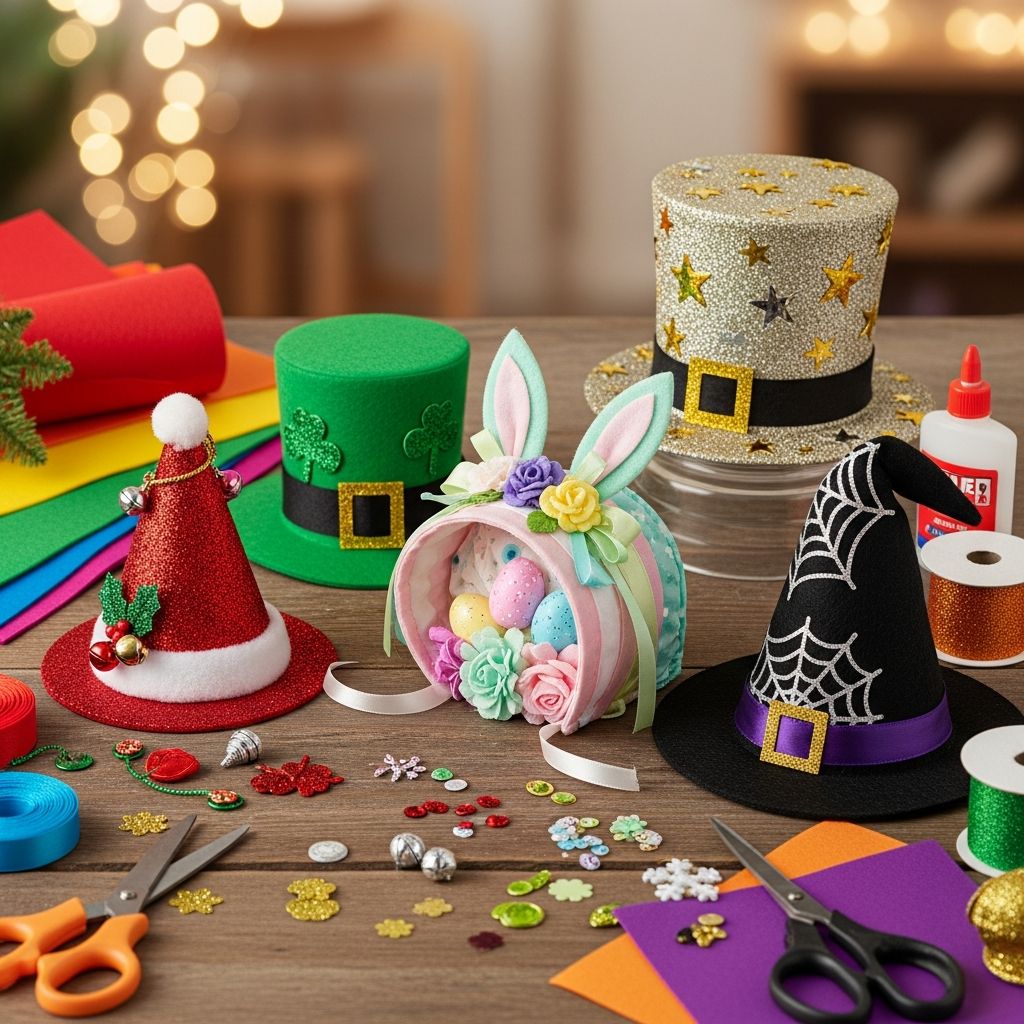
Holiday hats are an easy way to turn an ordinary gathering into a memorable celebration. With just a few basic supplies and a little imagination, you can create custom headwear that suits every season, theme, and personality.
Why Make Your Own Holiday Hats?
DIY holiday hats add personality and charm to parties, school events, photos, and family traditions. Instead of buying generic store-bought hats, you can tailor designs to your colors, theme, and the ages of your guests.
Handmade hats also double as activities: kids love decorating their own wearable art, and adults appreciate a creative icebreaker that gets everyone smiling and posing for pictures.
- They are inexpensive and use materials you probably already have at home.
- They can be adapted to nearly any holiday or occasion.
- They encourage creativity, fine motor skills, and imaginative play for kids.
- They make party photos more colorful and cohesive.
Essential Supplies for Versatile Party Hats
You do not need specialized craft equipment to create impressive holiday hats. Most projects begin with a simple base that can be reshaped, cut, or decorated to match different celebrations.
Start with a small collection of flexible, sturdy materials and decorative accents that are safe for kids and easy to clean up.
Common Hat Bases
- Paper plates (sturdy, uncoated or lightly coated)
- Cardstock or light cardboard (for cones and bands)
- Construction paper or colored craft paper
- Elastic cord, ribbon, or yarn for chin straps
- Headbands (plain plastic or fabric) for glue-on hat toppers
Decorative Add-Ons
- Markers, crayons, colored pencils, gel pens
- Child-safe paints and paintbrushes
- Stickers, foam shapes, and alphabet letters
- Glitter glue (less mess than loose glitter), sequins, rhinestones
- Scrap fabric, felt, tissue paper, crepe paper streamers
- Pom-poms, pipe cleaners, feathers, and faux flowers
Basic Tools
- Scissors (regular and child-safe versions)
- Hole punch for straps and hanging elements
- Stapler (for adults to use) and tape
- Glue stick and white craft glue
- Pencil and ruler for simple measuring
Safety Tips Before You Start Crafting
Before diving into hat making, set up a safe and organized workspace. Pens, scissors, and small decorative pieces should be handled with care, especially when young children are involved.
A few guidelines help keep the experience fun for everyone and prevent accidents or frustration.
- Use blunt child-safe scissors and supervise cutting for young crafters.
- Avoid small decorations (like tiny beads) for toddlers and babies who may put items in their mouths.
- Opt for non-toxic, washable markers, paints, and glue.
- Test hat sizes and elastic tension so hats are comfy but not too tight.
- Cover the workspace with old newspaper or a plastic tablecloth for easy cleanup.
Foundations: Simple Hat Shapes You Can Reuse
Most holiday hats can be built from just a few basic shapes. Once you master these foundations, you can adapt them with colors and decorations for virtually any occasion, from New Year’s Eve to a springtime tea party.
Choose one or two base styles to keep your crafting process quick and consistent across different holidays.
1. The Brimmed Ring Hat
This style resembles a wide-brimmed hat that sits on top of the head. It works especially well for designs where a central motif, symbol, or character rises from the middle.
- Cut a central hole in a paper plate to create a ring-shaped brim.
- Leave a portion of the inner section attached to act as the center design.
- Shape the remaining attached area into a holiday symbol (such as a heart, tree, or star).
- Decorate the brim and centerpiece with markers, paints, or glued-on elements.
2. The Cone Party Hat
The classic cone hat is perfect for New Year’s, birthdays, and any celebration where you want vertical height and a playful shape. It also travels well and stacks easily for storage.
- Cut a large quarter-circle from cardstock.
- Curve it into a cone shape and secure the edge with tape or staples.
- Attach elastic or ribbon inside for a chin strap.
- Top with a pom-pom, tassel, or curled paper accent.
3. The Wraparound Crown or Band
Flat crowns and bands are comfortable for long wear and especially good for very young children who dislike tall hats. They are also easy to personalize with names and messages.
- Cut a strip of cardstock long enough to wrap around the head.
- Staple or tape the ends after measuring for size.
- Attach cut-out shapes, lettering, and small 3D elements along the band.
Holiday Hat Ideas by Season
Below is a collection of fresh ideas for customizing basic hat shapes for different holidays. You can mix and match concepts or invite guests to invent their own twists on these themes.
Use the ideas as a starting point, then let color, texture, and creativity guide the final look of each hat.
Winter Celebrations
Winter hats tend to draw on cool color palettes, sparkling textures, and iconic seasonal symbols. Focus on whites, silvers, blues, and jewel tones, with plenty of shimmer.
- Snowflake Halo Hat: Use a brimmed ring base, add cut-out snowflakes around the edge, and highlight them with glitter glue and pale blue accents.
- Cozy Fireplace Cone: Wrap a cone hat in brick-patterned paper, glue on paper “logs,” and top with tissue-paper flames.
- Polar Animal Crown: Make a band-style crown and attach ears, noses, or whiskers to turn guests into polar bears, penguins, or arctic foxes.
Spring and Valentine Themes
Spring hat designs work well with florals, hearts, and soft pastel colors. These are perfect for Valentine’s Day parties, school events, and family brunches.
- Blooming Garden Brim: Create a ring hat and decorate the brim with paper flowers, leaves, and ladybugs.
- Conversation Heart Crown: Use a band base and glue on pastel heart shapes featuring sweet messages written with marker.
- Butterfly Perch Hat: Attach folded paper butterflies to the top of a brimmed hat so they appear to be landing gently around the head.
Patriotic and Summer Parties
Warm-weather hats are ideal for parades, barbecues, and family reunions. Lightweight materials and bold colors make these designs stand out outdoors.
- Starburst Celebration Crown: Cut large and small stars from metallic paper and attach them upright along a band hat.
- Picnic Check Cone: Wrap cone hats in red-and-white checked paper and add paper “ants” marching around the brim.
- Fireworks Halo: Glue pipe cleaners and curled strips of shiny paper to a ring hat so they shoot outward like bursts of color.
Fall Festivals and Harvest
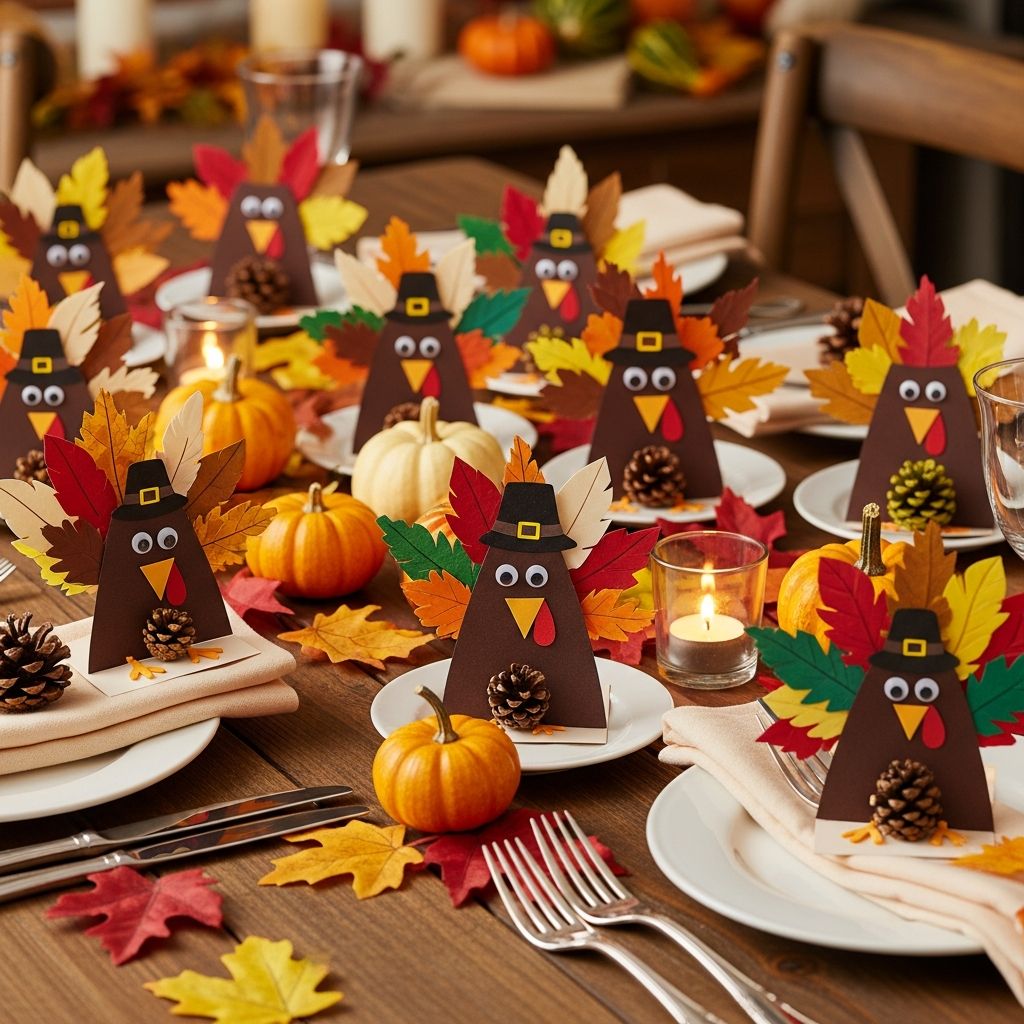
Autumn hats lean into warm tones, leaves, pumpkins, and rustic textures. These designs are excellent for school harvest parties or family craft nights.
- Harvest Wreath Hat: Decorate a ring base with paper leaves, acorns, and mini paper pumpkins.
- Friendly Scarecrow Cap: Use a band hat with a wider top brim and glue on straw-like strips of yellow paper, along with a drawn-on patchwork pattern.
- Pumpkin Patch Crown: Attach several small pumpkin cut-outs along a band and personalize each pumpkin with names or initials.
Quick Reference: Hat Styles and Ideal Occasions
The table below offers a brief guide to choosing the right hat shape for different events. Use it to plan your next party or classroom activity efficiently.
| Hat Style | Best For | Difficulty Level | Suggested Materials |
|---|---|---|---|
| Brimmed ring hat | Younger kids, themed symbols, classroom crafts | Easy | Paper plates, markers, stickers, glitter glue |
| Cone party hat | New Year’s, birthdays, loud celebrations | Moderate | Cardstock, tape, elastic, pom-poms |
| Wraparound crown | Long events, name labels, group photos | Easy | Cardstock strips, letter stickers, foam shapes |
| Headband topper | Adults, teens, photo booths | Moderate | Plain headbands, felt shapes, hot glue (adult use) |
Hosting a Holiday Hat Decorating Station
A decorating station turns hat making into a full activity rather than just a pre-made favor. Guests can customize designs to match their personality while you provide simple ready-to-use bases.
Prepare in advance so that children and adults can sit down and start crafting without waiting for complicated cutting or measuring.
Setup Ideas
- Pre-cut hat bases in a variety of styles and sizes.
- Group materials by type: coloring tools, stickers, 3D decorations, and adhesives.
- Provide example hats or simple sketches for inspiration.
- Keep a trash bin or small container nearby for scrap pieces.
Tips for Large Groups
- Offer one “featured” design per holiday to simplify choices.
- Label each station with a small sign describing what to do there.
- Have adults or older kids help with cutting and stapling to keep the line moving.
- Provide name labels so each hat returns to its rightful creator.
Styling and Displaying Your Finished Hats
Once your hats are complete, make them part of the decor and entertainment. Styled displays and themed photo backdrops encourage guests to actually wear and enjoy their creations.
Use simple household items and existing decor to highlight the hats without spending extra on accessories.
- Arrange hats on cake stands, shelves, or a mantel for a festive display.
- Create a photo corner with a plain background, string lights, or a paper garland.
- Encourage guests to pose in small groups, swapping hats for variety.
- Send each guest home with a hat and a printed or digital photo from the event.
Eco-Friendly and Budget-Conscious Hat Ideas
Holiday crafts do not have to be wasteful. With a few thoughtful choices, you can reduce waste, save money, and still create eye-catching hats that feel special and festive.
Focus on reusable or recyclable materials and designs that can be refreshed for future events.
- Use scrap paper, cereal boxes, and packaging cardboard as hat bases.
- Skip loose glitter in favor of drawn-on shimmer effects or colored pencils.
- Choose reusable headbands and detachable decorations that can be stored and re-themed.
- Encourage guests to recycle or reuse paper elements after the party.
Frequently Asked Questions About DIY Holiday Hats
How can I adjust hat sizes for different ages?
For brimmed ring hats, start with a smaller inner circle and gradually enlarge it until the hat sits comfortably on the wearer’s head. For bands and crowns, wrap the strip loosely around the head, mark where the ends meet, and fasten at that point so the hat is secure but not tight.
What is the easiest hat style for very young children?
Flat wraparound crowns are usually the most comfortable and manageable for toddlers and preschoolers. These styles avoid tall or top-heavy designs, reduce the chance of hats slipping over eyes, and allow kids to decorate on a simple flat surface.
How do I keep hats from falling off during active games?
Add adjustable chin straps with elastic or ribbon, tied or stapled securely inside the hat base. You can also slightly curve bands and crowns to match the shape of the head, which adds stability without making the fit too tight.
Can these hats be reused for multiple holidays?
Many simple designs can be refreshed and reused by changing colors and removable decorations. For example, a plain gold crown can work for New Year’s, birthdays, and graduations if you swap out attached shapes and wording each time.
What if I am not very “artistic”?
You do not need advanced drawing skills to make charming holiday hats. Focus on simple shapes, clear color themes, and easy patterns like stripes, dots, or zigzags, and let stickers and pre-cut pieces carry most of the visual impact.