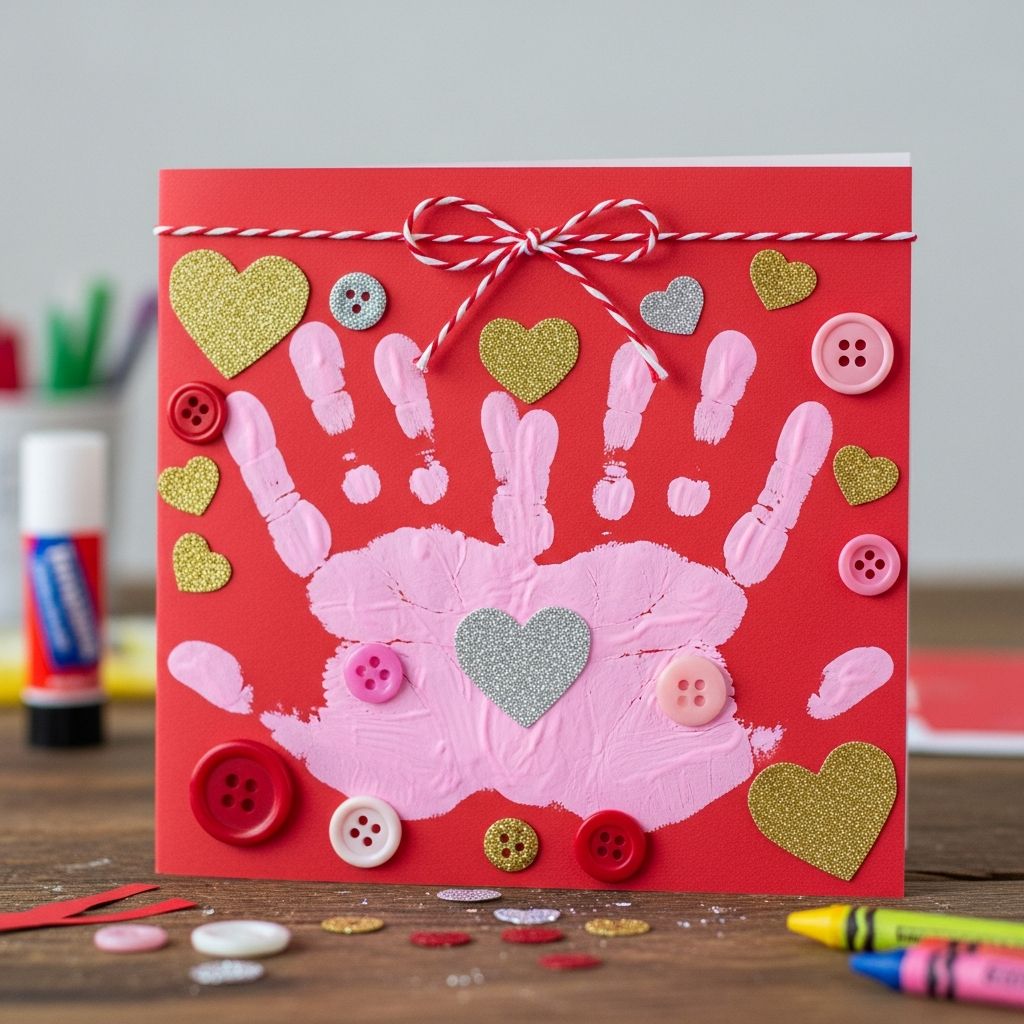
Valentine’s Day is the perfect excuse to turn tiny handprints into a big, huggable card that grandparents, parents, and caregivers will proudly keep for years. This guide walks you through designing a “big-hands” Valentine card where paper hands open to reveal a sweet message, combining creativity, connection, and a bit of kid-friendly mess.
Why a Big-Hands Card Is So Special
A big-hands Valentine card stands out from store-bought cards because it captures the size, personality, and creativity of a child at a specific moment in time. Instead of a generic message, the card literally opens with your child’s hands, turning a simple craft into an emotional keepsake.
These cards are especially meaningful for long-distance loved ones, like grandparents or family members who cannot visit often. When they open the card and see those little hands stretched wide, it feels like receiving a hug in the mail.
- It uses simple, inexpensive supplies that many families already have at home.
- It doubles as a memory of your child’s hand size and handwriting at a certain age.
- It encourages kids to think about kindness, gratitude, and how to express love with words and art.
Supplies You Will Need
This project is flexible: you can keep it minimal or go all-out with decorations. Start with the basics below and then let your child choose a few extras.
- Colored cardstock or construction paper (1 sheet for hands, 1 for the card base)
- Pencil (for tracing hands)
- Child-safe scissors
- Glue stick or double-sided tape
- Markers, crayons, or colored pencils
- Optional extras: stickers, glitter glue, heart-shaped cutouts, washi tape, ribbon, or small photos
Choose heavier paper for the card base so it stands up well and can be handled multiple times without tearing. Lighter paper works fine for tracing tiny hands, especially for toddlers who are still learning to keep their hands still.
Planning the Card Design
Before picking up scissors, talk with your child about who the card is for and what feeling they want it to convey. This step helps kids feel ownership of the project and sparks ideas for colors, words, and decorations.
Ask simple questions to guide them:
- “Who do you want to surprise with this card?”
- “What do you love doing with that person?”
- “What colors remind you of them?”
Encourage kids to pick a color theme, such as classic red and pink, a favorite sports team color combo, or even rainbow. This planning step makes the rest of the process smoother and reduces the chance of kids feeling overwhelmed by choices.
Step-by-Step: Making the Big-Hands Heart Card
The core idea is simple: two traced hands spread wide, connected by a long strip or heart-shaped message inside. The instructions below are written with children in mind, so you can read and demonstrate as you go.
Step 1: Trace the Hands
Ask your child to place one hand flat on a piece of colored paper, fingers comfortably spread but not painfully stretched. Lightly trace around the hand with a pencil, going between each finger to capture the shape clearly.
Repeat with the other hand, leaving enough space on the paper for cutting. For very young children, you may want to gently press their fingers down one by one as you trace to prevent wiggling and help them feel involved without frustration.
Step 2: Cut Out the Hand Shapes
Carefully cut along the traced lines to create your hand shapes. Older kids can do this themselves, while adults may need to handle tight curves between fingers for toddlers or preschoolers.
If the paper is thin, consider cutting two sets of hands and gluing them together back-to-back for a sturdier result. This also allows you to use one color on the front and another on the back for contrast.
Step 3: Create the “Big Hug” Message Strip
Now create the piece that connects the hands. Cut a long strip of paper about the width of two or three fingers. This strip can be straight like a banner or folded like an accordion for a pop-out effect when the card opens.
Have your child write a simple message on the strip such as “I love you this much,” “You mean the world to me,” or a phrase they invent themselves. Encourage invented spelling for younger kids; imperfect handwriting often becomes the most treasured part.
Step 4: Attach the Hands to the Strip
Lay the strip flat and glue one hand to each end so the palms face inward, as if they are reaching out toward each other. Check that the message on the strip reads properly when the hands are gently pulled apart.
Let the glue dry completely before folding or attaching the hands to the card base. This keeps the hands from shifting or falling off when opened and closed repeatedly.
Step 5: Build the Card Base
Fold a piece of cardstock in half to create a traditional greeting card shape. This folded piece will hold the hands-and-strip piece inside, like a surprise element that expands when the card is opened.
Open the card base and position the hands so they stretch across the middle fold, with the strip resting inside the crease. Glue the back of each hand to the inside of the card, leaving the strip free to expand as the card opens.
Step 6: Decorate the Outside and Inside
Once everything is secure, invite your child to decorate the front of the card, the back, and the space around the hands. Simple decorations like hearts, stars, or doodles of favorite shared activities work wonderfully.
Encourage kids to add an extra message on the front, such as the recipient’s name or a playful greeting. Remind them that there is no “wrong” way to decorate; this is their love letter in art form.
Design Variations for Different Ages
One of the best things about the big-hands card is how easy it is to adapt for toddlers, preschoolers, and older kids. You can simplify the steps or add detail depending on attention span and motor skills.
| Age Group | Suggested Adjustments | Focus Skills |
|---|---|---|
| Toddlers (2–3) | Adult does most tracing and cutting; child adds scribbles, stickers, and fingerprints around the hands. | Sensory play, color recognition, early fine-motor experience. |
| Preschoolers (4–5) | Child helps trace hands, tries cutting simple curves, and dictates or writes a short message on the strip. | Scissor practice, name writing, expressing feelings with words. |
| Early Elementary (6–8) | Child handles all tracing, cutting, writing, and decorating; can add extra hearts or a patterned background. | Handwriting practice, planning steps, detailed creativity. |
| Older Kids (9+) | Kids can experiment with layered papers, folded pop-ups, or adding small photos and mini-envelopes inside. | Design thinking, layout planning, more advanced paper crafting. |
Creative Themes and Personal Touches
Once you master the basic structure, you can transform the big-hands card into dozens of themed versions. Let your child’s interests lead the way, and adapt the colors and decorations to match.
- Storybook theme: Decorate the hands with tiny drawings of favorite book characters or scenes and write a message inspired by a beloved story.
- Sports theme: Use team colors, draw mini balls or jerseys on each finger, and write a message like “You’re my MVP.”
- Nature theme: Add paper flowers, leaves, clouds, or suns around the hands, and use green or sky-blue paper for the base.
- Photo memory theme: Glue small printed photos on each palm, such as a picture of the child and the recipient together.
- Gratitude theme: Write one thing the child loves about the recipient on each finger or along the strip.
Encouraging kids to personalize their card strengthens emotional connection and helps them practice expressing appreciation in specific, heartfelt ways.
Helping Kids Express Their Feelings
Many children know they love someone but struggle to put that feeling into words. Crafting a big-hands card offers a gentle opportunity to talk about what love looks like in everyday life.
While working, ask prompts that invite kids to reflect, such as:
- “What’s something kind this person does for you?”
- “When do you feel happiest with them?”
- “What’s your favorite memory together?”
Help them turn answers into short phrases for the card: “Thank you for reading stories,” “I love our park days,” or “You always make me laugh.” This process turns the card into a mini gratitude practice wrapped in glue and paper.
Making the Craft Manageable for Grown-Ups
Valentine’s crafts can get chaotic if you are juggling multiple kids, limited time, or a small space. A bit of preparation goes a long way toward making this activity enjoyable instead of overwhelming.
- Prep ahead: Pre-cut paper strips and fold card bases before inviting kids to the table, especially if you’re working with a group.
- Set boundaries: Decide in advance whether you will use glitter or paint and protect your table with newspaper or a plastic cloth.
- Create stations: If you have more than one child, set up a tracing station, a cutting station, and a decorating station to minimize crowding.
- Embrace imperfection: Crooked cuts and smudged lines are part of what makes handmade cards so lovable.
Remember that the emotional goal of the craft is connection, not perfection. If the process is calm and playful, the finished card will feel special regardless of neatness.
Eco-Friendly and Low-Waste Options
If sustainability matters to your family, this project easily adapts to use what you already have on hand. Repurpose materials from your recycling bin instead of buying new supplies.
- Cut the card base from a clean cereal box, then cover the printed side with scrap paper.
- Use leftover wrapping paper, magazine pages, or old art projects for colorful hand shapes.
- Replace glitter with paper confetti punched from junk mail or leftover scraps.
By sharing these choices with kids, you can connect love for people with care for the planet, reinforcing the idea that thoughtful crafting does not require waste.
Sharing, Mailing, and Saving the Card
Once the glue is dry and decorations are complete, it is time to deliver the big-hands Valentine hug. If your child is giving it in person, encourage them to practice saying their message aloud when the recipient opens the card.
If you plan to mail the card, consider the following tips:
- Measure the card and choose an envelope big enough so the hands do not bend awkwardly.
- Place a sheet of scrap paper over any raised stickers to protect them in transit.
- Let kids add heart doodles or small drawings on the outside of the envelope.
After Valentine’s Day, store especially meaningful cards in a memory box or binder. Over the years, it can be deeply moving to line up the cards and see how your child’s hands, art style, and messages have grown.
Frequently Asked Questions
How long does a big-hands Valentine card take to make?
Most families can complete this project in 20–40 minutes, depending on how much decorating your child wants to do. Younger kids may move quickly, while older kids often linger over drawings, patterns, and extra messages.
What if my child hates tracing or sitting still?
Some kids dislike having their hands traced or get wiggly quickly. In that case, try tracing one hand at a time on different days, or trace the hand while they are distracted by music or a story. Alternatively, you can trace their hand once onto cardboard and use that as a reusable stencil for multiple cards.
Can we make this card without scissors for safety reasons?
Yes. For very young children or settings where scissors are not allowed, an adult can pre-cut hand shapes and strips ahead of time. Kids can then focus entirely on gluing and decorating, which still gives them ownership of the finished card.
What if my child’s handwriting is hard to read?
Hard-to-read handwriting is part of the charm of kids’ crafts. If you are concerned, you can lightly write the message in pencil and ask your child to trace over it with marker, or write a translation in small print somewhere else on the card.
Can this project work for other holidays?
Absolutely. The hand-hug concept adapts well to Mother’s Day, Father’s Day, birthdays, and even “just because” cards. Change the colors, message, and decorations to match the occasion, while keeping the same basic structure.
A big-hands Valentine card is more than paper and glue; it is a snapshot of your child’s growth and affection at one point in time. With simple supplies and a bit of imagination, you can help kids create a keepsake that feels like a hug every time it is opened.