Sun printing is a simple, enchanting way to show children how light and shadow can turn everyday objects into striking artwork. In this guide, families learn how to create their own sun prints using easy-to-find materials, child-friendly explanations of the science, and plenty of ideas for expanding the activity into a whole afternoon of discovery.
Why Sun Prints Are Perfect for Children
Sun prints give children an immediate, visible result, which keeps them interested and proud of their work. The process naturally invites conversation about nature, design, and light without feeling like a classroom lesson.
- They combine art, science, and time outdoors into one hands-on experience.
- The activity scales easily for different ages, from preschoolers arranging simple shapes to older children planning complex compositions.
- Sun prints require relatively few supplies and can be done in small spaces such as a balcony, patio, or backyard.
Types of Sun Prints You Can Try
Families can make sun prints in more than one way, and choosing a method depends on the age of the children, the budget, and how much time is available. Below is a simple comparison to help decide where to begin.
| Method | Best For | Main Materials | Typical Look |
|---|---|---|---|
| Cyanotype paper | Quick projects, strong blue-and-white contrast | Pre-treated blue paper, water, flat objects, clear cover | Classic deep blue background with white silhouettes |
| Construction paper fading | Very young kids, large groups, classrooms | Colored construction paper, flat objects, plastic wrap or glass | Faded color background with darker shapes where objects blocked light |
| Fabric sun printing | Longer-term projects, gifts, experienced crafters | Light cotton fabric, fabric paint or cyanotype chemicals, objects | Textile pieces that can be sewn into bags, flags, or cushions |
New families often start with pre-treated cyanotype paper or simple construction paper because these options involve minimal preparation and clear visual changes. Once children are familiar with the idea of blocking light to create shapes, they can safely move on to fabric or more advanced approaches.
Gathering Materials for a Family Sun-Print Session
Before heading outside, it helps to collect all the supplies and place them on a tray or table. This prevents the light-sensitive surfaces from sitting in the sun longer than intended and keeps kids focused on arranging objects instead of searching for missing items.
Basic Supply List
- Light-sensitive surface, such as cyanotype paper or brightly colored construction paper.
- Flat objects with interesting outlines, for example leaves, flowers, keys, lace, toys, or letter shapes.
- A rigid backing board such as cardboard or a tray to carry the artwork to and from the sun.
- Clear cover material like plexiglass, picture-frame glass, or transparent plastic wrap to hold objects flat.
- Small weights such as stones, clips, or tape to keep the cover from shifting in the breeze.
- A shallow container of clean water (for cyanotype paper) to rinse after exposure.
- Optional: gloves or tongs for handling wet prints, and clothespins or string for hanging them to dry.
Object Ideas Children Love
One of the joys of sun printing is that almost anything with a clear outline can be used. Encourage children to experiment with combinations of natural and household objects to see how different silhouettes interact on the page.
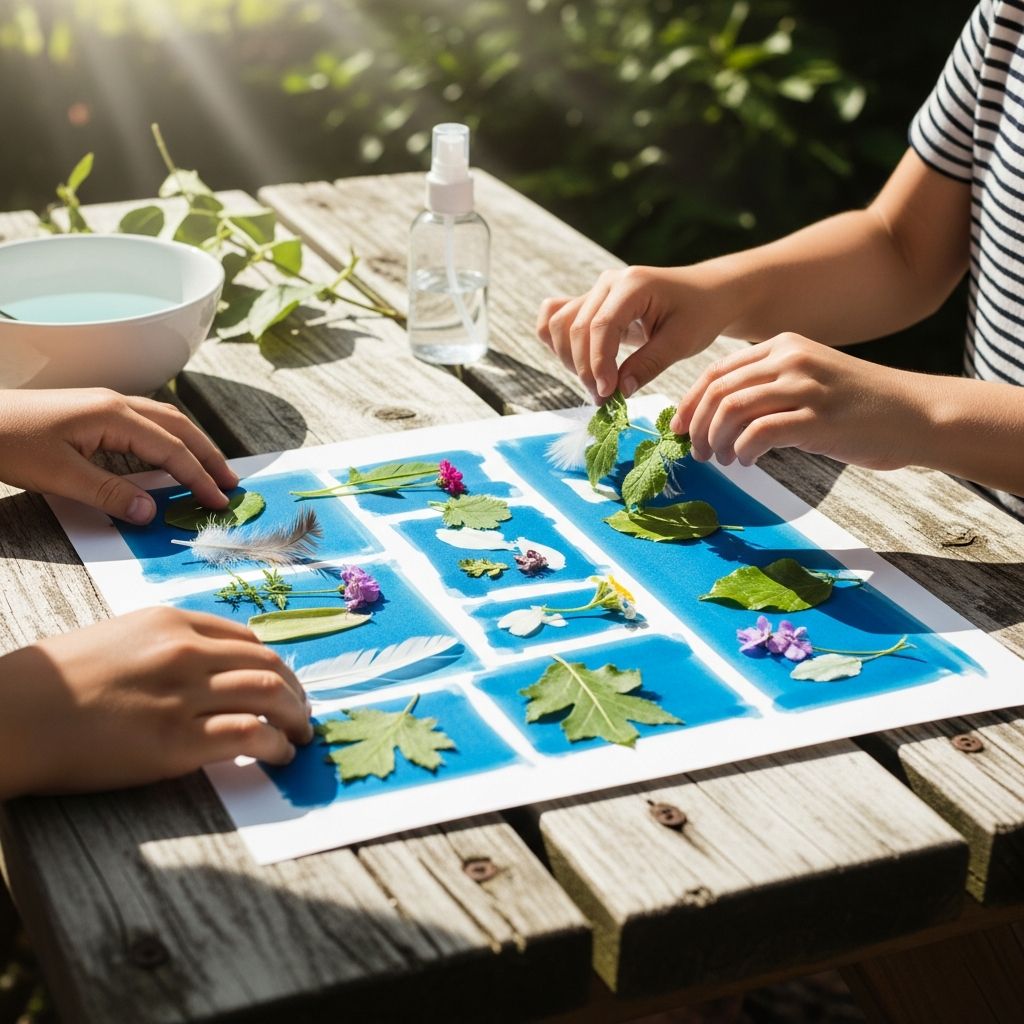
- Nature treasures: fern fronds, dandelion leaves, flower petals, feathers, interesting seed pods.
- Household items: scissors, spoons, buttons, lace, paper clips, cookie cutters, toy animals.
- Paper creations: cut-out hearts, stars, letters, or simple stencils made from cardboard.
- Textured items: mesh bags, doilies, or thin ribbons that create patterned areas of light and dark.
Step-by-Step: Creating a Simple Sun Print
The exact instructions vary slightly depending on the type of paper, but the basic flow is the same: arrange objects, expose to sunlight, and reveal the image. The step-by-step outline below describes a general kid-friendly approach that can be adapted to your chosen materials.
- Prepare a shaded work area.
Set up your backing board on a table indoors or in a shaded outdoor spot so the light-sensitive surface is not exposed to direct sunlight too early. This small detail gives children more time to think about composition before the reaction begins.
- Arrange the objects.
Place the paper or fabric on the backing board with the treated side facing up, then invite children to lay their chosen objects on top. Suggest that they leave some empty areas and overlap some shapes so the final print shows both bold silhouettes and more intricate intersections.
- Secure everything with a clear cover.
Gently place plexiglass or plastic wrap over the arrangement. Press it down so that leaves and small parts make firm contact with the surface, which produces sharper edges in the finished design.
- Expose the artwork to sunlight.
Carry the board into a sunny, wind-sheltered spot. Exposure time depends on the brightness of the day and the type of material: strong midday sun usually works faster than early morning or late afternoon light, and construction paper projects often take longer than cyanotype sheets.
- Watch for color changes.
Children enjoy checking what is happening: the background may grow lighter or darker while the areas under objects change more slowly. Use this as a chance to talk about how light energy interacts with dyes and coatings.
- Reveal the hidden image.
When the exposure is complete, move the board back into the shade, lift off the cover, and remove the objects. For cyanotype paper, gently rinse the print in water to stop the reaction and let the final blue tones develop. For faded construction paper prints, no rinsing is needed—simply let the sheet dry and flatten.
- Dry and display.
Lay prints flat on a clean surface or hang them with clothespins. As they dry, the colors often deepen or even shift slightly, which children can observe over the next hour or two.
Light, Shadow, and Science Kids Can Understand
Sun printing creates a natural bridge between art and basic science concepts without requiring formal experiments or complicated vocabulary. Small observations during the activity help children link what they see to ideas like energy, shadow, and protection from the sun.
Simple Concepts to Emphasize
- Light travels in straight lines.
Where an object blocks the light, a shadow forms and the surface underneath changes more slowly or not at all. This difference in exposure is what creates the silhouette.
- Some materials fade in sunlight.
The color in paper or fabric can gradually weaken when energy from the sun breaks apart dye molecules. Explaining this helps children understand why artwork on a sunny wall becomes paler over time.
- Shadows can show shape and detail.
Thin or lacy materials let part of the light through, making softer or patterned areas instead of solid outlines. Children can experiment by layering translucent and opaque objects to see the difference.
Talking About Sun Safety
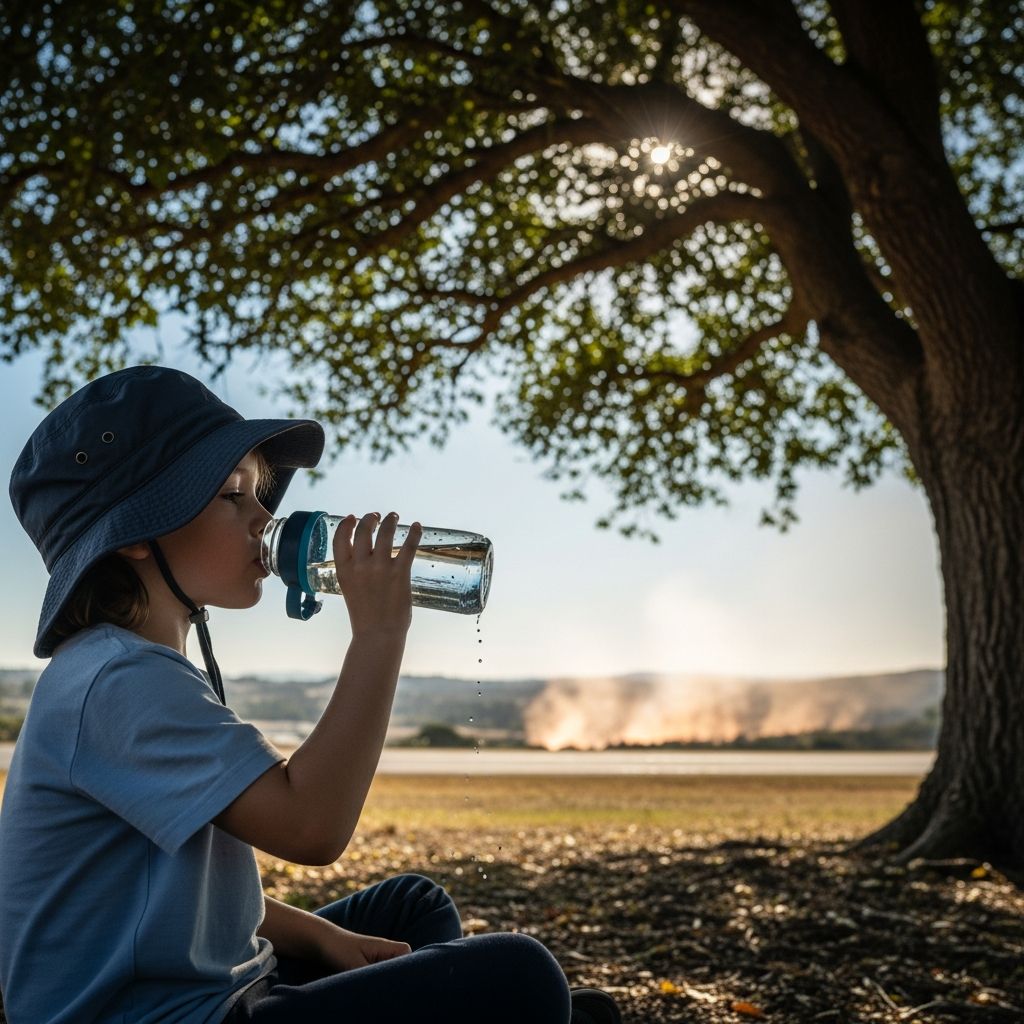
A sun-print project also gives families an easy opportunity to mention basic sun safety. Compare the objects protecting the paper to hats, sunglasses, and shade protecting skin and eyes.
- Remind children to wear sun protection when outdoors for more than a short time.
- Explain that just as paper fades, unprotected skin can burn when exposed to too much light.
- Encourage breaks in the shade, especially on hot days, so the project stays fun and comfortable.
Troubleshooting Common Sun-Print Problems
Not every attempt turns out perfectly, and that is part of the learning process. When results differ from expectations, children practice problem-solving and see how small changes in setup affect the outcome.
Typical Issues and Easy Fixes
- Blurry shapes or double edges.
This often happens when the wind moves objects or the paper itself during exposure. To improve clarity, use heavier objects, more tape or clips, and a firmer backing board.
- Very faint contrast.
If the print looks washed out, the exposure might have been too short or the sun too weak. Next time, extend the time in the sun or choose a brighter part of the day with fewer clouds.
- Uneven coloration.
Patches of different intensity may appear where shadows from trees or buildings crossed the artwork. Selecting a spot with consistent direct light helps, or families can embrace the variation as an extra design element.
- Wet prints curling as they dry.
For projects that involve rinsing, place the damp sheets between layers of absorbent paper and weigh them down with books until they are mostly dry. This keeps them flatter for framing.
Creative Ways to Use Finished Sun Prints
Once children see the beautiful shapes they can create, they often want to use the prints for more than a single sheet of paper on the fridge. Turning the artwork into other items reinforces the feeling that their creations are special and useful.
Project Ideas for Display and Sharing
- Mini gallery wall. Frame several prints of different sizes and arrange them in a grid, mixing bold leaf silhouettes with more delicate lace patterns.
- Nature journals. Glue small prints into notebooks and invite children to label them with the names of leaves, flowers, or objects used.
- Greeting cards and bookmarks. Cut larger prints into strips or rectangles and fold or laminate them to create handmade cards and reading markers.
- Seasonal banners. Punch holes at the corners of multiple prints, string them together with ribbon, and hang them as a temporary window or porch decoration.
- Gift wrapping accents. Use small prints as tags or decorative panels on plain wrapping paper for birthdays and holidays.
Adapting the Project for Different Ages
Sun printing can be adjusted to fit toddlers, grade-school children, and teens by changing how much control they have over the design and how much background explanation is offered. This flexibility makes the activity a good choice for mixed-age groups, families, or camps.
Age-Appropriate Modifications
- Toddlers and preschoolers.
Offer only a few large, easy-to-handle objects and focus on simple cause-and-effect goals, such as making one big leaf shape appear on the page.
- Early grade-school children.
Encourage them to tell a short story or theme with their layout, like an underwater scene or a garden bed, and invite them to record what they notice about how long the exposure takes.
- Older children and teens.
Let them experiment with layered exposures, masks, or even hand-drawn transparencies. They can compare different materials, keep notes, and refine their technique over several sessions.
Frequently Asked Questions About Sun Printing With Children
Do we need strong midday sun to make this work?
Bright midday sun usually produces faster and more dramatic results, but sun prints can still work on cooler or slightly overcast days by extending the exposure time. Encourage children to compare two days with different light levels so they can see how conditions affect the outcome.
Is sun printing safe for kids?
Most family-oriented sun-print kits and paper are designed with home use in mind, and the process is safe when used as directed and supervised by an adult. Caregivers should handle any chemicals according to the manufacturer’s instructions, wash hands after the activity if materials are rinsed, and practice normal sun safety such as wearing hats and sunscreen.
What if our space is small or mostly shaded?
Families without large yards can still enjoy sun printing on a balcony, driveway, or sidewalk as long as some direct light reaches the surface for part of the day. If shade is a constant issue, consider using the brightest window ledge available and simply plan for longer exposure times.
Can we reuse the same paper or fabric?
Paper that has already been exposed usually cannot be reused because the chemical reaction or fading has already occurred. Fabric projects may allow for additional layers of design on top of earlier prints, but the underlying image will remain as part of the overall pattern.
How can we store sun prints so they last?
To help sun prints remain vibrant, keep them out of constant direct sunlight once they are finished and dry. Using acid-free folders, frames with protective glazing, or storage boxes will reduce further fading and keep the paper or fabric in good condition for years to come.
By treating sunlight as both a tool and a teacher, families can transform ordinary afternoons into memorable experiments in art, science, and observation. With a few sheets of paper, some favorite objects, and a patch of sky, children gain not only beautiful keepsakes but also a deeper appreciation for the patterns of light that shape the world around them.