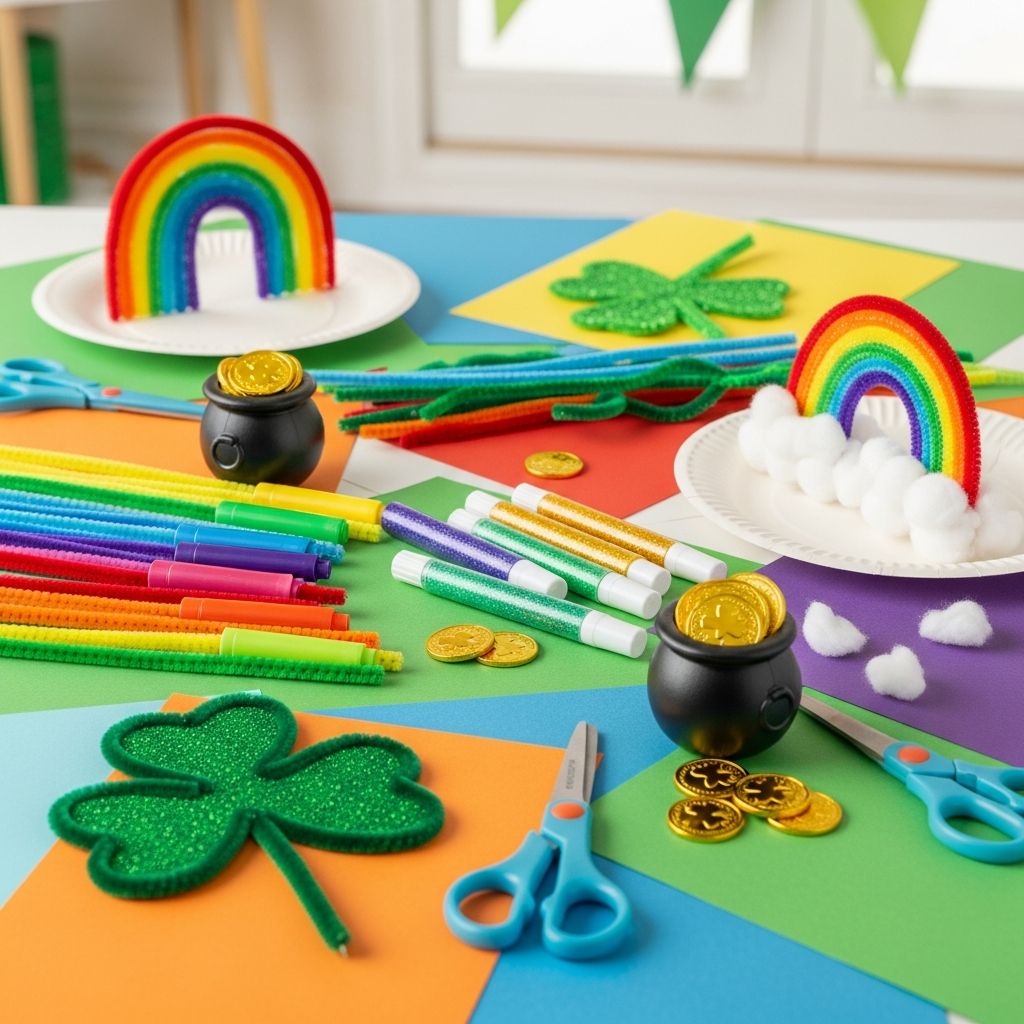
St. Patrick’s Day is a perfect excuse to dive into color, celebrate creativity, and spend intentional time making art with kids. Rainbow print projects are especially fun because they combine simple supplies with big, bright results that look impressive even when tiny hands are still learning how to control a paintbrush.
This guide walks you through original, family-friendly rainbow print ideas designed for St. Patrick’s Day. You will find supply lists, step-by-step instructions, display ideas, and learning extensions so that the activity can be playful, meaningful, and easy to adapt for different ages.
Why Rainbow Prints Work So Well for Kids
Rainbow print crafts are ideal for St. Patrick’s Day because they bring together classic holiday themes—rainbows, pots of gold, and good luck symbols—while giving children wide creative freedom. Instead of focusing on complicated drawing skills, these projects emphasize color exploration, pattern making, and simple printing motions that feel accessible to beginners.
Children also love rainbow prints because no two finished pieces look the same. Even when following the same basic technique, each child can choose how thick to make the stripes, how much white space to leave, how bold to go with colors, and what extra details to add, from clouds to glittery gold coins.
Getting Ready: Setting Up a Low-Stress Craft Space
Preparation makes the difference between a relaxed craft session and a stressful one. Before calling kids to the table, take a few minutes to protect surfaces and gather supplies in one place. This simple step helps you stay present with the creative process instead of scrambling for missing materials mid-project.
- Cover the table with a reusable plastic tablecloth or kraft paper for easy clean-up.
- Set out a small tray or baking sheet for each child to define their personal work space.
- Pre-pour small amounts of paint into shallow containers so kids can reach colors without tipping bottles.
- Keep wet wipes, a small trash bag, and a roll of paper towels nearby for quick spills.
| Item | Quantity per Child | Notes |
|---|---|---|
| Heavy-weight paper or cardstock | 2–3 sheets | Allows for practice and a final piece |
| Paint colors | At least 5 colors | Include classic rainbow tones plus gold if available |
| Printing tool (e.g., sponge, cardboard, or brush) | 1–2 tools | Simple, chunky shapes are easiest for small hands |
| Water cup and paper towel | 1 set | Use for rinsing and dabbing brushes dry |
| Protective layer for table | Shared | Plastic tablecloth, old sheet, or kraft paper |
Supplies for Rainbow Print Projects
You do not need fancy or specialty art materials to make beautiful rainbow prints. In fact, part of the charm of these crafts is how easy it is to adapt them to whatever you already have at home, from kitchen sponges to recycled cardboard.
Below is a flexible list of supplies that you can mix and match. Think of this as a menu: choose what fits your budget, your storage space, and your kids’ ages, rather than feeling locked into one exact formula.
- Paper: white cardstock, watercolor paper, or heavy sketch paper.
- Paint: washable tempera or non-toxic craft paint in rainbow colors and optional metallic gold.
- Printing tools: cut sponge pieces, foam shapes, cardboard strips, or wide paintbrushes.
- Drawing tools: crayons, markers, or oil pastels for adding details after the paint dries.
- Embellishments: tissue paper scraps, sequins, foil confetti, or biodegradable glitter.
- Adhesives: glue sticks or white school glue for attaching extra decorations.
Project 1: Simple Arc Rainbow Prints
This first project focuses on creating curved rainbow arcs using a very simple printing motion. It works beautifully for toddlers and preschoolers because the motion is large, clear, and repetitive, while older children can refine their arcs and add more detailed landscapes under the rainbow.
Steps for Simple Arc Prints
- Place a sheet of cardstock horizontally so there is ample space for a wide rainbow across the middle.
- Choose a printing tool such as a sponge strip, half a kitchen sponge, or a short piece of cardboard cut into a curve.
- Brush or dab a thin line of red paint along the edge of the tool, then gently press the edge in a curved motion across the paper, lifting at each end to complete the arc.
- Rinse or wipe the tool, then repeat with orange, yellow, green, blue, and purple beneath the first arc to build the full rainbow.
- If desired, add soft white clouds at the base of each side by dabbing a clean sponge into white paint and pressing lightly.
Encourage kids to practice short arcs on scrap paper first. Once they understand the movement, they can commit to a larger, dramatic arc on a clean sheet. The slight unevenness of the lines will make the finished piece feel lively rather than perfect, which is part of its charm.
Project 2: Rainbow Stripe Printing with Household Tools
For kids who enjoy experimentation, rainbow stripe printing invites them to use everyday objects as stamps. The goal is to create bands of color across the page using household tools such as forks, cardboard rolls, or the edge of a plastic ruler.
Household Items That Make Interesting Prints
- Forks: drag the tines through paint to make textured parallel lines.
- Bubble wrap: press into paint and then onto paper for dotted rainbow patterns.
- Cardboard tubes: stamp overlapping rings that you can later connect into bands of color.
- Old gift cards: scrape paint in long straight or wavy lines for streaky rainbow effects.
Let each child pick two or three tools and test them on a scrap sheet. Once they select their favorites, they can layer colors on a fresh page, working from top to bottom to suggest a floating rainbow or filling the entire background with color.
Project 3: Rainbow Paths to a Pot of Gold
To connect the rainbow motif more directly with St. Patrick’s Day, invite kids to create rainbow paths that lead down to a pot of gold. This project works especially well for early elementary ages who enjoy storytelling and imaginative play.
How to Build the Scene
- Ask kids to lightly sketch a small pot or cauldron shape near the bottom of the paper. They can fill it with yellow or gold paint, foil pieces, or small circles of yellow paper to represent coins.
- From the pot, paint or print multiple rainbow stripes that curve or zigzag upward. Each stripe can be made with a sponge, brush, or cardboard edge.
- Encourage kids to add tiny details along the rainbow paths, such as stars, hearts, clovers, or footprints, using markers or fine brushes after the paint dries.
- Optional: add a simple landscape by painting green hills beneath the pot and a light blue wash in the sky area around the rainbow.
As they work, you can ask storytelling prompts: Who hid the pot of gold? What might be at the other end of the rainbow? These questions transform the artwork into a jumping-off point for creative language and narrative play.
Adapting Rainbow Prints for Different Age Groups
One of the strengths of rainbow print crafts is their flexibility. With small adjustments to tools and expectations, you can tailor the same core idea for toddlers, preschoolers, and school-age children, making it easy to craft with siblings at the same time.
| Age Group | Focus | Recommended Tools | Adult Support |
|---|---|---|---|
| Toddlers | Exploring color and texture | Large sponges, thick brushes, finger painting | High; pre-pour paint and guide hand-over-hand if needed |
| Preschoolers | Simple arcs and stripes | Sponge strips, cardboard edges, cut foam shapes | Moderate; demonstrate motion and let them experiment |
| Early Elementary | Composing scenes and stories | Mixed tools plus markers, crayons, and embellishments | Light; focus on conversation and extension activities |
Keeping the Mess Under Control
A little planning goes a long way toward keeping paint-based projects manageable. Instead of avoiding messy art altogether, adjust how you set up the space and what rules you establish with kids before they begin.
- Dress kids in old T-shirts or aprons that can get stained without worry.
- Limit the number of active colors at the table; you can always add more once the first layer dries.
- Use shallow containers rather than deep cups for paint so that tools can touch the surface without becoming submerged.
- Set a clear boundary: paint stays on the paper and tools, not on chairs, clothes, or faces.
Educational Extensions: Turning Craft Time into Learning Time
These rainbow projects naturally support early learning in areas such as color recognition, counting, fine motor development, and storytelling. With just a few prompts and questions, you can transform an enjoyable craft into a rich learning experience.
- Color mixing: Ask what happens when two colors overlap and encourage kids to notice any new hues that appear.
- Sequencing: Practice naming the order of colors in a rainbow and see if kids can repeat that pattern on their own.
- Vocabulary building: Introduce words like arc, stripe, texture, blend, and contrast while you work.
- Math play: Count the number of stripes, coins in the pot, or dots in a printed pattern.
Displaying Rainbow Masterpieces
Taking a moment to display your children’s artwork shows that their creative effort matters. It also turns your home into a festive St. Patrick’s Day gallery filled with color and joy.
- Hang finished pieces along a hallway using clothespins and string, forming a “rainbow wall.”
- Fold painted cardstock into simple greeting cards and send them to grandparents or friends as cheerful holiday mail.
- Trim the edges of a rainbow print and place it in a simple frame, then rotate seasonal artwork throughout the year.
Frequently Asked Questions
How can I simplify these crafts for very young toddlers?
For toddlers, reduce the steps and keep the focus on sensory exploration rather than perfect arcs or detailed scenes. Offer one or two colors at a time, use large sponges or finger painting, and limit the session to short bursts so they finish before becoming overwhelmed.
What if we do not have paint at home?
If paint is not available, you can still explore rainbow prints by using stamp pads, washable markers, or even colored pencils with simple rubbing techniques. For example, kids can place textured items under paper and rub crayons across the top in bands of color to suggest a rainbow pattern.
How long do these projects take from start to finish?
Most of the rainbow print activities described here can be completed in about 20 to 40 minutes, including set-up and basic clean-up. If you plan to add extra details with markers or embellishments, you may want to allow additional drying time in between layers.
Can these crafts be used in a classroom or group setting?
Yes, rainbow print projects scale well to classrooms and group events because they rely on simple, repeatable motions and shared materials. Prepare paint trays and tools in advance, divide children into small stations, and rotate them through different techniques like sponge arcs, stripe printing, and pot-of-gold scenes.
How can I store finished artwork and avoid clutter?
Consider photographing each piece before recycling or gifting it so that you keep a digital memory instead of every physical page. You can also bind a small selection of favorites into a yearly art book using a three-hole punch and binder rings.
Bringing Color and Connection to St. Patrick’s Day
Rainbow print crafts offer far more than a quick holiday activity; they are an opportunity to slow down, talk, and create side by side. With simple materials and a bit of planning, you can turn St. Patrick’s Day into a colorful tradition that kids look forward to each year.
Whether your family prefers loose, abstract prints or detailed pots of gold and rainbow paths, the real treasure is the time spent together experimenting, laughing, and proudly showing off whatever appears on the page.