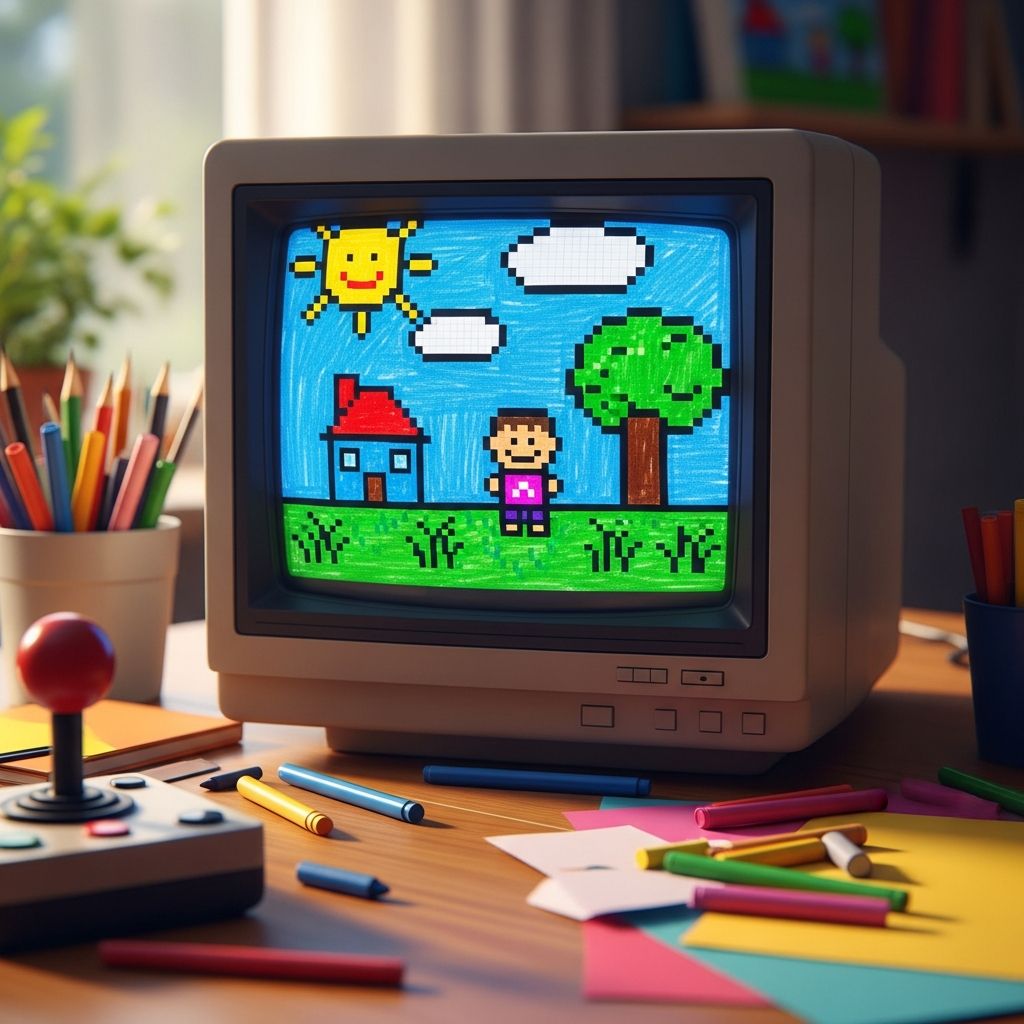
Pixel painting is a simple, screen-free art project that borrows the blocky look of old-school video games and turns it into something kids can touch, paint, and proudly hang on the wall.
This guide walks you through an easy family-friendly method to design, draw, and paint pixel-inspired pictures using grids, bold colors, and just enough planning to keep things fun rather than frustrating.
Why Pixel Painting Works So Well With Kids
Pixel painting breaks images into small squares, which makes complex pictures feel achievable for young artists and non-artsy grown-ups alike. Instead of huge blank paper, kids tackle one little square at a time, which reduces overwhelm and encourages focus.
The block-based style also invites creative problem solving: children decide which details matter and how to simplify shapes, colors, and patterns so their idea still “reads” clearly in a chunky, playful way.
Benefits of Pixel-Style Art Projects
- Helps kids practice spatial awareness as they match small squares on paper to larger squares on a canvas or board.
- Encourages patience and persistence through a clear, step-by-step process.
- Strengthens color recognition and planning skills when children choose tidy, limited palettes.
- Offers a natural way to talk about early math concepts like rows, columns, counting, and coordinates.
- Creates bold, graphic results that look impressive even when the process felt simple.
Recommended Ages and Skill Levels
Pixel painting can be adjusted to work for a wide range of ages just by modifying grid size and design complexity. Younger kids do best with big squares and simple silhouettes, while tweens and teens might enjoy smaller squares and more detailed designs.
| Age Range | Suggested Grid Size | Design Complexity |
|---|---|---|
| 5–7 years | 6×6 to 10×10 | Single object (heart, star, smiley face, simple animal) |
| 8–10 years | 10×10 to 14×14 | Characters, basic scenes, two or three objects |
| 11–13 years | 14×14 to 20×20 | More detailed characters, objects with patterns, simple landscapes |
| Teens & adults | 20×20 and up | Layered scenes, text, abstract patterns, portraits |
Materials: What You’ll Need to Get Started
You can adapt pixel painting to almost any budget or supply stash. The basic idea is to draw a grid and fill its squares with consistent color blocks, whether on canvas, cardboard, or thick paper.
- Surface: Canvas board, stretched canvas, thick watercolor paper, or cut cardboard.
- Paint: Acrylic craft paint is ideal; tempera works well for younger kids.
- Brushes: Small, flat brushes make it easier to stay inside grid lines.
- Grid tools: Ruler and pencil; optional permanent marker for bolder lines.
- Palette: Plastic tray, scrap plate, or palette paper for mixing colors.
- Reference grid: Graph paper or a hand-drawn grid for planning the design.
- Extras: Painter’s tape, eraser, paper towels, water cup, and apron or old shirt.
Planning the Pixel Design on Paper First
Before any paint comes out, start with a small planning grid on paper. This step gives kids a test space to experiment, erase, and simplify their ideas without committing to the canvas yet.
- Draw or print a grid on paper that matches the number of rows and columns you want on your final painting.
- Have your child lightly sketch an object or character across the grid, then turn strokes into colored squares.
- Mark each square with a color code (such as letters or numbers) so it is easy to transfer to the painting later.
Choosing Simple, Bold Subjects
The most successful pixel paintings usually start with shapes that are easy to recognize, even when they’re chunkier and less detailed than a typical drawing. Think of designs that can be read almost like a logo or icon from far away.
- Smiley faces, hearts, stars, arrows, or simple emojis.
- Animals with strong outlines such as cats, fish, birds, or dinosaurs.
- Everyday objects like ice cream cones, rainbows, balloons, or rockets.
- Letters or initials broken into boxy, pixel-like shapes.
Limiting the Color Palette
Pixel art shines when colors are deliberate rather than random. Instead of using the entire paint collection, choose a disciplined palette so the design looks cohesive and intentional.
- Pick 3–5 main colors plus white and black for shading or background.
- Encourage kids to think about contrast: dark shapes on a light background or vice versa.
- Consider choosing a theme, such as “sunset colors,” “ocean blues,” or “candy brights.”
Drawing the Grid on the Painting Surface
Translating the paper plan to the canvas starts by drawing a neat grid. This is the structure that keeps the whole project looking like a pixel piece instead of a freeform painting.
- Measure the height and width of your surface and decide how many squares you want in each direction.
- Use a ruler and pencil to divide the surface into evenly sized squares, pressing lightly so pencil marks can be softened later if desired.
- If kids find it hard to see pale pencil lines, go over the grid gently with a thin marker or paint pen once everything looks correct.
Transferring the Design from Paper to Canvas
Once the grid is ready, kids can transfer their design square by square. This is where the planning pays off, because they simply match each small square on the paper to a larger one on the surface.
- Ask kids to label or color in a few key anchor squares first (such as eye positions or corners of the design).
- Have them fill in remaining squares with light pencil symbols or dots that indicate which paint color will go where.
- Remind them that it is okay to edit as they go if something feels off; the grid is a guide, not a rulebook.
Painting the Background First
Starting with the background color helps frame the main design and makes later details easier to judge. A solid background also reduces the visual noise of pencil marks or grid lines that may remain visible.
- Lightly erase any labels or pencil marks that are not needed for the main design, leaving the grid intact.
- Use a bigger brush to fill in large background areas, working around the main design squares.
- Let the background dry completely so it does not smudge when painting the central image.
Filling in the Pixel Squares
This is the most satisfying part for kids: turning empty boxes into rich color blocks that slowly reveal their picture. Encourage them to treat each square as its own tiny painting but to keep edges clean where colors meet.
- Work one color at a time, filling in all its squares before rinsing the brush.
- Use the flat edge of the brush to trace the square’s outline, then fill the interior with smooth strokes.
- Keep paint slightly thinned with water so it spreads easily but still covers the surface in one or two coats.
Adding Simple Shading and Highlights
Even young artists can experiment with depth by using slightly lighter or darker tones of the same color in neighboring squares. Pixel painting makes this feel much less intimidating than smooth gradient blending.
- Mix a darker version of a color by adding a tiny amount of black or its complementary color.
- Mix a lighter version by adding white or a pale yellow, testing on scrap paper first.
- Place darker squares where shadows might fall, and lighter squares where light would hit the object.
Cleaning Up Lines and Edges
Once the paint has dried, you can decide how much of the grid should remain visible. Some families like crisp black outlines around each square, while others prefer a softer look with faint or hidden grid lines.
- For bold outlines, use a thin paintbrush or paint pen to trace the grid lines only where you want them emphasized.
- For a subtle effect, lightly paint over any remaining pencil marks with background color.
- Encourage kids to step back every few minutes; what looks messy up close often appears sharp and intentional from a distance.
Making It a Family or Group Project
Pixel painting scales beautifully for families, classrooms, or birthday parties. You can create a series of small individual canvases that fit together like tiles, or work on one large canvas where each person fills a portion of the grid.
- Assign each participant a section of the grid with its own small color key.
- Choose a simple theme—like underwater creatures or outer space—and let everyone design a tile that fits the theme.
- Hang the finished pieces together to form a collaborative “pixel mural” that celebrates the whole group.
Fun Variations to Try
Once your family gets comfortable with basic pixel painting, you can play with new tools, materials, and visual twists that keep the project fresh. The blocky structure stays the same, but the surface, medium, or rules change.
- Black-and-white challenge: Use only black, white, and grays to create dramatic high-contrast designs.
- Neon night scene: Paint a deep navy background and use bright neon colors for glowing shapes.
- Metallic accents: Add small metallic squares (gold, silver, copper) as jewelry, stars, or buttons.
- Recycled canvas: Paint over an old canvas or sturdy cardboard to give it new life.
- Pixel words: Design short words or initials as chunky pixel letters for bedroom or locker decor.
Common Challenges and How to Fix Them
Even simple projects come with small bumps, especially the first time kids try something new. Most pixel painting problems are easy to rescue with a bit of patience and a second layer of paint.
| Issue | What It Looks Like | Easy Fix |
|---|---|---|
| Uneven grid | Squares are different sizes or slanted. | Lightly redraw lines using a ruler; paint background color to hide mistakes. |
| Patchy color | Some areas look streaky or thin. | Let the first layer dry fully, then apply a second, slightly thicker coat. |
| Colors bleeding | Paint runs into neighboring squares. | Use less water, allow sections to dry before painting next to them. |
| Lost design details | Image looks too simple or unclear from far away. | Add small accent squares for eyes, outlines, or highlights to sharpen the shape. |
Display, Gift, and Storage Ideas
Part of the fun of pixel painting is how graphic and decorative the final pieces look. Treat them like real artwork rather than temporary crafts, and kids gain confidence seeing their creations treated with respect.
- Hang multiple small canvases together in a grid for a game-inspired gallery wall.
- Attach ribbon loops to the backs of tiny canvases and turn them into ornaments or door tags.
- Photograph finished pieces so you can keep a digital gallery even after gifting or rotating art.
Frequently Asked Questions About Pixel Painting With Kids
Do we have to use canvas, or will paper work?
Thick paper or cardstock works beautifully, especially for first attempts or classroom projects. If kids fall in love with the process, you can move to canvas or wood panels for more durable keepsakes.
What kind of paint is safest for younger children?
Washable tempera paint is usually the easiest and least stressful option for kids who are still learning to manage drips and spills. Older children can graduate to acrylic paints, which provide stronger color and durability but require more care.
How long does a pixel painting usually take?
A small 8×8 or 10×10 grid can often be completed in an hour, not counting drying time between layers. Larger, more detailed paintings may be better split into multiple short sessions so kids stay engaged and avoid rushing.
Can kids design their own grids without adult help?
Many children can handle simple planning grids on their own once they understand that each square represents a color choice. Adults can support by helping measure the final painting surface and double-checking that the grid will fit evenly before any lines are drawn.
What if my child makes a mistake on the canvas?
Pixel painting is very forgiving: once the paint dries, you can usually cover unwanted marks with a fresh layer of background color or the correct shade. Treat mistakes as part of the experiment rather than something to hide, and kids will be more willing to keep exploring new designs.
Encouraging Creativity Beyond the Grid
Pixel painting gives kids a structured starting point, but it does not need to end with perfect rows and columns. Once they understand the basic approach, some children will naturally bend the rules—adding splashes, textures, or unexpected shapes on top of their neat squares.
Use that curiosity as a bridge into other art forms: mosaic crafts, collage, sewing small squares of fabric, or even building pixel designs from blocks or beads. The confidence they gain from watching a carefully planned grid become a finished painting will carry over into all kinds of creative adventures.