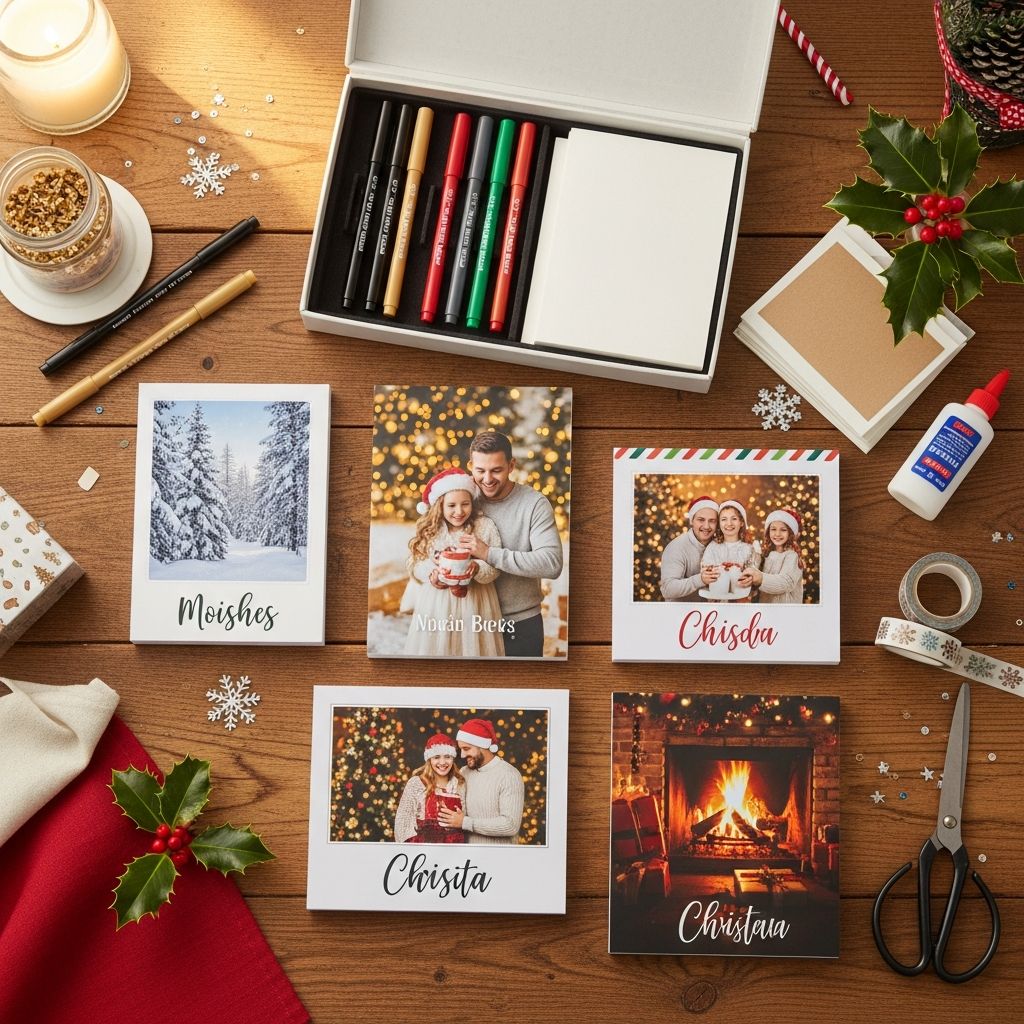
Personalized photo notepads turn something ordinary—scribbling a quick note or list—into a small daily moment of joy. Each sheet becomes a reminder of a favorite memory, a loved one, or a special place, making these notepads ideal for meaningful holiday gift giving.
Why Photo Notepads Make Perfect Holiday Gifts
During the holidays, many people look for gifts that balance practicality with heartfelt meaning. Personalized photo notepads sit squarely in that sweet spot, offering everyday usefulness wrapped in sentiment.
- Highly practical: Everyone uses notepads—for to-do lists, grocery reminders, or quick notes near the phone.
- Emotionally personal: A favorite family photo, pet portrait, or vacation snapshot makes each page feel special.
- Budget friendly: A single digital design can be printed multiple times, making it easy to create sets for several recipients.
- Customizable for anyone: You can tailor each notepad to teachers, grandparents, coworkers, kids, and more.
Planning Your Personalized Notepads
A little planning ensures your notepads feel intentional rather than last-minute. Before opening any design software or ordering prints, outline your goals and recipients.
Define the Purpose
First, think about how your recipient is most likely to use a notepad. This helps determine the best layout, size, and style.
- List makers: Long, narrow pads work well for grocery lists and daily to-dos.
- Desk notes: Square or rectangular memo pads are great for quick reminders and phone messages.
- Creative types: Larger pads or those with blank space allow sketching, doodling, or brainstorming ideas.
Choose the Right Photos
The photo you pick sets the tone of the gift. Consider clarity, composition, and emotional resonance rather than simply grabbing the first image from your camera roll.
- Use high-resolution photos so they print clearly and without visible pixelation.
- Avoid very dark or overly busy backgrounds that might compete with the text or writing area.
- Crop images so faces or key details remain prominent, even at a small size.
- Consider black-and-white edits for a timeless, cohesive look across multiple notepads.
Deciding Between DIY and Professional Printing
You can create photo notepads either at home or through a professional printing service. Each route has advantages, depending on your budget, equipment, and timeline.
| Option | Best For | Pros | Cons |
|---|---|---|---|
| Home DIY Printing | Small batches, craft lovers, last-minute gifts | Flexible, hands-on, can experiment with designs | Limited by home printer quality, more time-intensive |
| Local Print Shop | Medium quantities, higher quality paper and binding | Professional finish, guidance on paper and binding styles | Requires in-person visit and turnaround time |
| Online Photo/Stationery Service | Larger batches, mailing directly to recipients | Wide range of templates, simple ordering | Shipping time, less tactile control over paper and colors |
Materials and Tools for DIY Photo Notepads
If you decide to create your notepads at home, gather your supplies first. This keeps the process smooth and helps you estimate cost per gift.
Basic Supply Checklist
- Inkjet or laser printer with fresh ink or toner
- High-quality paper (standard copy paper or slightly heavier stock for a more premium feel)
- Cardstock for backing (optional but helpful for sturdiness)
- Padding compound or strong flexible glue (such as PVA or special notepad binding adhesive)
- Clamps or binder clips to hold pages together while drying
- Paper cutter or sharp craft knife and metal ruler
- Cutting mat to protect your work surface
Designing Your Photo Notepad Layout
A thoughtful layout makes the notepad easy to use while still allowing your photo and decorative elements to shine. Aim for clarity and simplicity over overly crowded designs.
Layout Ideas to Consider
- Top-banner photo: Place a narrow strip photo across the top and leave the rest of the page mostly blank.
- Corner image: Use a small square or circular photo in a top or bottom corner, keeping plenty of writing space.
- Faded background: Lightly fade a full-page photo so text written on top remains readable.
- Split design: Dedicate one side of the page to a small photo and boxes for dates or tasks.
Choosing Colors, Fonts, and Details
To keep your notepad both attractive and functional, choose colors and fonts with legibility in mind. Remember that the page must be easy to write on and to read later.
- Use simple sans-serif fonts for headings and names to maintain clean lines.
- Stick to one or two colors that coordinate with the photo rather than a whole rainbow.
- Keep any lined sections a light shade so handwriting remains prominent.
- Leave generous margins so ink pens and markers do not smudge off the edges.
Step-by-Step: DIY Photo Notepad Creation
Once your design is ready and your supplies are on hand, assembling a custom notepad is surprisingly straightforward. The process can be repeated with different designs for multiple recipients.
1. Prepare and Print Your Pages
- Finalize your layout in a design tool, word processor, or online template editor and set it to the desired size.
- Test print a single page to check color balance, margins, and readability.
- Adjust brightness and contrast if the photo appears too dark or washed out when printed.
- Once satisfied, print a stack of identical pages—typically 25 to 100 sheets per notepad, depending on thickness preference.
2. Trim to Size
- Use a paper cutter or a craft knife with a metal ruler to cut your pages to consistent dimensions.
- Check the edges as you work to make sure each sheet lines up neatly with the others.
- If using a backing board, cut it to match the exact size of the pages.
3. Align, Clamp, and Glue
- Stack the sheets and backing board together, tapping them on a flat surface to align all edges.
- Clamp the stack tightly along the edge where you want the binding (usually the top) using binder clips or clamps.
- Apply a thin, even layer of padding compound or flexible glue along the exposed edge with a small brush.
- Allow the glue to dry completely, then add a second layer for extra durability if desired.
4. Add Final Touches
- Once dry, gently remove the clamps and fan the pages slightly to ensure they are not stuck together.
- Optional: Attach a decorative cover sheet or wrap a band of decorative paper around the top for a polished finish.
Personalization Ideas for Different Recipients
One of the greatest strengths of personalized photo notepads is how easily you can tailor them to different people and occasions. A few targeted design changes make each pad feel thoughtfully made for a specific person.
For Family Members
- Grandparents: Feature photos of grandkids, pets, or multigenerational family portraits with captions like “Notes from the Nest.”
- Parents: Use candid family photos and a simple title such as “Family Plans & Lists.”
- Kids: Choose bright, playful colors and include space to practice writing, doodle, or jot down homework tasks.
For Teachers, Coworkers, and Friends
- Teachers: Include a class photo or apple motif, with organized sections for student names, reminders, or to-do lists.
- Coworkers: Incorporate subtle office-friendly colors, a company logo (if appropriate), or a motivational quote.
- Friends: Use shared vacation photos, inside jokes, or hobby-themed images like books, plants, or coffee cups.
Creative Uses for Photo Notepads
Beyond everyday lists, personalized photo notepads can be adapted for specific roles, turning them into targeted tools or mini keepsakes. Consider experimenting with alternative formats.
- Meal planning pads: Create sections for weekly menus and grocery items along with a small food or family photo.
- Gratitude notes: Design pages with a daily prompt and a corresponding image that inspires positivity.
- Project trackers: Use grid or bullet layouts paired with a relevant photo for crafting, home renovations, or fitness goals.
- Kid-friendly chore charts: Turn each page into a simple checklist with icons and a fun image as a reward visual.
Holiday Presentation and Packaging Ideas
The way you package your notepads can elevate them from simple stationery to a polished, gift-ready present. Small details make a big difference, especially when gifting multiple notepads as a coordinated set.
Simple Yet Stylish Wrapping Options
- Wrap each notepad in tissue paper and tie with baker’s twine or a thin ribbon.
- Add a custom tag describing the notepad’s theme, such as “Recipes,” “School Notes,” or “Big Ideas.”
- Slide the pad into a clear cellophane bag with a mini pen or pencil for an instant gift bundle.
Pairing With Other Gifts
- Combine a notepad with a coordinating mug, tea, or coffee for a cozy desk set.
- Package alongside a planner or calendar to create a full organization kit.
- Add to a teacher’s gift basket with markers, sticky notes, and a heartfelt card.
Tips for Professional-Looking Results
Even a handmade notepad can look polished and high-end with a few simple practices. Focus on consistency, neat cuts, and restrained design choices.
- Print all pages from the same file and batch to ensure consistent color and alignment.
- Use a paper cutter rather than scissors to get straight, clean edges.
- Limit the number of fonts and colors to maintain a cohesive visual style.
- Test how different pens and markers write on the paper to avoid smudging or bleed-through.
Frequently Asked Questions (FAQs)
How many pages should a homemade photo notepad have?
Most homemade notepads work well with 25 to 100 sheets. Thinner pads feel lightweight and easy to store, while thicker pads last longer and feel substantial as a gift. Choose a thickness that balances your paper cost with the number of recipients on your list.
What size works best for personalized notepads?
Popular sizes include standard letter pages cut into halves or thirds, as well as small square blocks around 4 x 4 inches. For grocery lists and daily to-dos, a narrow column roughly the width of an envelope is especially convenient.
Do I need special software to design the pages?
You can create effective designs using anything from basic word processors to online design tools, as long as they allow you to insert images, text, and lines. More advanced software offers finer control, but simplicity often leads to cleaner, more functional layouts.
Can I create matching sets with different photos?
Yes. Start with one master layout and swap in different photos or text for each recipient. This approach saves time while still giving everyone a notepad that feels personally tailored.
Are personalized photo notepads only for the holidays?
While they make wonderful holiday presents, photo notepads also suit birthdays, graduations, teacher appreciation days, housewarmings, and corporate events. Once you have a process, you can adapt the theme and imagery for any occasion throughout the year.
Bringing It All Together
Personalized photo notepads transform routine note-taking into something meaningful and memorable. By thoughtfully choosing photos, planning layouts, and either printing at home or using a professional service, you can craft gifts that are both practical and deeply personal. Whether you create a single pad for a special someone or assemble a whole stack for friends, family, and colleagues, these custom notepads are sure to be used, appreciated, and remembered long after the holiday decorations come down.