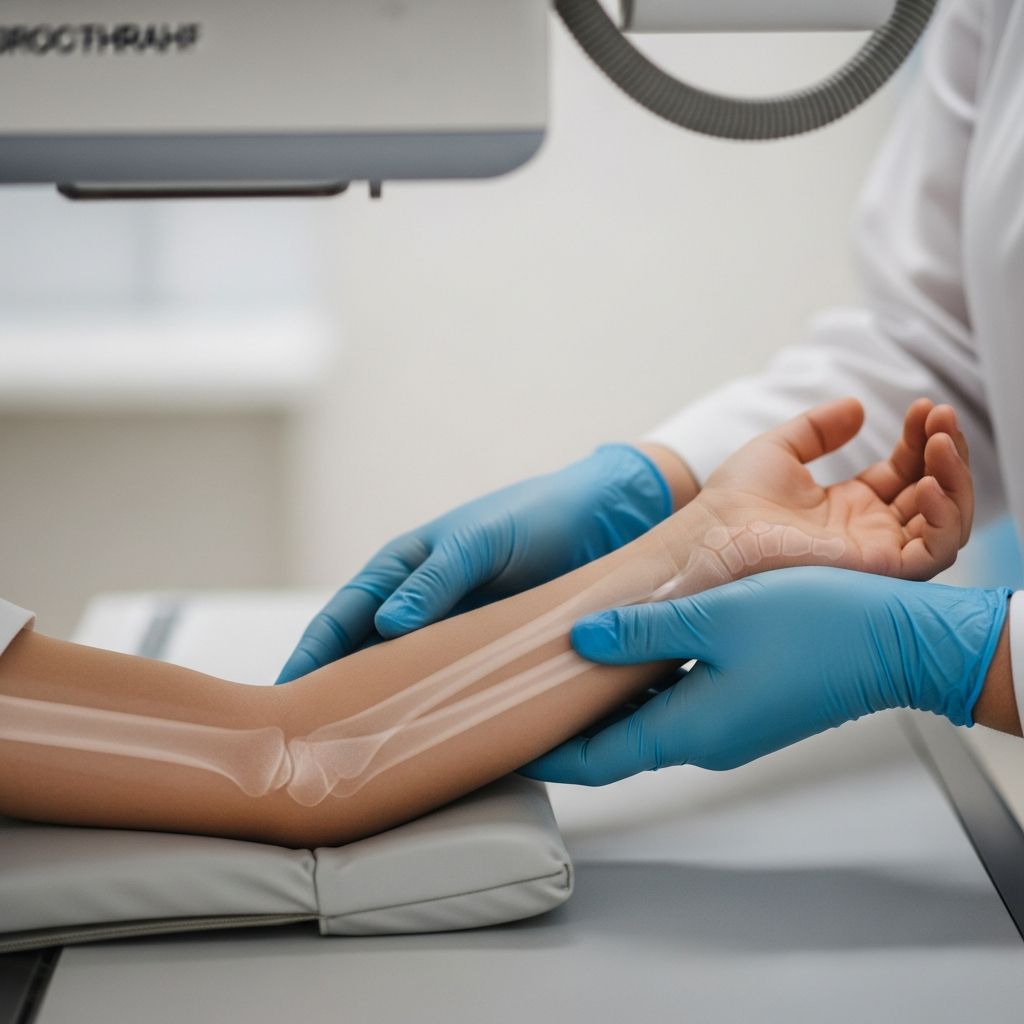
Forearm X-rays are a common diagnostic tool used to evaluate injuries in children’s arms, particularly when fractures or other damage to the radius and ulna bones are suspected. These quick, low-radiation imaging tests help doctors assess bone alignment, detect breaks, and guide treatment decisions effectively.
Common Reasons Children Need Forearm Imaging
Youngsters are prone to forearm injuries due to their active lifestyles, leading parents to seek medical evaluation. Falls from playground equipment, bike accidents, or sports mishaps often result in trauma to this area. Overuse from repetitive activities like gymnastics can also cause stress-related issues. Symptoms prompting an X-ray include sharp pain that worsens with movement, visible swelling, bruising around the forearm, tenderness to touch, or difficulty bending the elbow or wrist. In severe cases, the arm may appear deformed, floppy, or unable to bear weight.
Doctors recommend forearm X-rays for specific scenarios:
- High-impact falls or direct blows to the arm.
- Sports-related collisions or twists.
- Signs of child abuse, where forearm fractures are a frequent indicator.
- Persistent pain following minor trauma.
- Swelling or discoloration without obvious cause.
- Functional limitations, like inability to grip objects or rotate the forearm.
These tests not only confirm fractures but also monitor healing progress after initial treatment, ensuring bones are mending in proper position.
Understanding Forearm Anatomy in Kids
The forearm consists of two parallel long bones: the radius (on the thumb side) and the ulna (on the pinky side). These articulate with the elbow above and wrist below, allowing essential movements like pronation (palm down) and supination (palm up). In children, bones are softer and growth plates—cartilaginous areas at bone ends—are vulnerable to injury, which can affect future development if not addressed promptly.
X-rays visualize these structures clearly, showing potential disruptions like greenstick fractures (common in kids, where the bone bends and cracks incompletely) or complete breaks. Soft tissues, joints, and fat pads around the elbow and wrist are also evaluated for secondary signs of injury.
Preparing Your Child for the X-Ray
No extensive preparation is needed, making this accessible even for emergencies. However, parents can ease anxiety by explaining the process in simple terms beforehand: “It’s like a quick photo of your arm that helps the doctor see inside without any poking.” Remove jewelry, watches, or clothing with metal from the arm area. Facilities may provide a gown if needed. For toddlers, distractions like toys or videos work wonders.
If your child has a splint or cast already, inform the technician—they’ll accommodate it carefully to avoid pain. Fasting isn’t required, and the whole visit typically lasts under 30 minutes.
Step-by-Step: What Happens During the Procedure
The process is straightforward, painless, and brief, usually involving two views: anteroposterior (front-to-back) and lateral (side view) to capture the full forearm, including elbow and wrist joints.
Your child will sit or lie on an X-ray table. The technologist positions the arm straight with palm up for the AP view, ensuring elbow and wrist are aligned horizontally. They may adjust by having the child lean slightly or seat them low to keep the limb flat. A lead shield protects the torso from scatter radiation.
For the lateral view, the arm bends at 90 degrees at the elbow, with wrist also lateral (thumb up). The technician steps behind a protective barrier and activates the machine for 2-3 seconds per image. Holding still is crucial—blurry shots mean repeats, but kids often manage well with encouragement.
In trauma cases with suspected fractures, special supports like sponges or splints stabilize the arm without forcing painful movements. Cross-table laterals (horizontal beam) are used if full positioning hurts.
| View | Patient Position | Structures Visualized |
|---|---|---|
| AP (Anteroposterior) | Palm up, elbow extended, forearm flat | Radius/ulna length, wrist/elbow joints |
| Lateral | Elbow flexed 90°, thumb up | Superimposed bones, fat pads, joint spaces |
Evaluation ensures no rotation: epicondyles (bony elbow bumps) profile equally, radius head slightly overlaps ulna, and both joints appear open.
Safety and Radiation Concerns for Growing Bodies
X-rays use minimal ionizing radiation, far below harmful levels for a single exam—equivalent to a few days of natural background exposure. Pediatric protocols optimize doses with faster films and shields. Benefits of accurate diagnosis outweigh risks, especially for ruling out fractures needing intervention. Pregnant mothers should mention it, though abdominal shielding is standard. Long-term, repeated scans are monitored, but isolated forearm X-rays pose negligible cancer risk.
Interpreting the Results: What Doctors Look For
Radiologists check for bone continuity, alignment, and growth plate integrity. Normal images show smooth cortex (bone outline), uniform density, and clear joint spaces. Fractures appear as lines, disruptions, or overlaps. Specific pediatric patterns include buckle (compression) or torus fractures from falls.
Associated findings: elevated fat pads signal hidden elbow fractures; widened joints suggest ligament damage. Both elbow and wrist must be included to detect complex injuries like Monteggia (ulna fracture with radius dislocation) or Galeazzi variants. Follow-up X-rays track healing, confirming callus formation and alignment.
After the X-Ray: Next Steps and Home Care
Results are often available immediately for emergencies. If no fracture, rest, ice, compression, and elevation (RICE) suffice, with pain relievers like acetaminophen. Fractures may require casting, splinting, or surgery for displacement. Follow orthopedic advice closely; kids heal fast but need protection from re-injury.
Watch for worsening symptoms: increased swelling, numbness, or fever—seek urgent care. Most recover fully within weeks with proper management.
Frequently Asked Questions (FAQs)
Is a forearm X-ray painful for my child?
No, the imaging itself is painless. Discomfort may arise from positioning an injured arm, but technicians are gentle and use supports.
How long does the forearm X-ray take?
Typically 5-10 minutes total, with each exposure lasting seconds.
Can my child eat before the test?
Yes, no restrictions apply unless combined with other procedures.
What if my child can’t stay still?
Distractions, swaddling for infants, or sedation in rare anxious cases help. Most cooperate with parental reassurance.
Are there risks from radiation in kids?
Risks are extremely low; protocols minimize exposure effectively.
When are results available?
Often same day; urgent cases read on-site.
Preventing Forearm Injuries in Active Kids
Promote safety: helmets for biking/skating, wrist guards for skating, supervised play, and age-appropriate sports gear. Teach fall techniques—tuck chin, roll. Build bone health with calcium-rich diets, vitamin D, and weight-bearing activities. Early intervention for repetitive strain prevents escalation.
For parents, knowing symptoms and trusting diagnostics like X-rays empowers quick action, ensuring kids bounce back strong.
References
- X-Ray Forearm AP and Lateral-Right — CURA4U. 2023. https://cura4u.com/radiology/x-ray/x-ray-forearm-al-and-lateral-right
- The Bends and Flexures of Forearm and Elbow X-Ray Positioning — AuntMinnie.com. 2020-10-28. https://www.auntminnie.com/clinical-news/digital-x-ray/article/15563584/the-bends-and-flexures-of-forearm-and-elbow-xray-positioning
- Forearm X-Ray Protocol — YouTube (Meaghan Piretti). 2018. https://www.youtube.com/watch?v=czFPpAeZBQ8
- Clinical and Radiographic Examination – Forearm Shaft — AO Foundation Surgery Reference. 2023. https://surgeryreference.aofoundation.org/orthopedic-trauma/adult-trauma/forearm-shaft/further-reading/clinical-and-radiographic-examination
- Trauma X-Ray – Upper Limb – Radius and Ulna — Radiology Masterclass. 2023. https://www.radiologymasterclass.co.uk/tutorials/musculoskeletal/x-ray_trauma_upper_limb/forearm_trauma_x-ray
- X-Ray Exam: Forearm — Children’s Minnesota. 2023. https://www.childrensmn.org/educationmaterials/parents/article/11933/x-ray-exam-forearm/