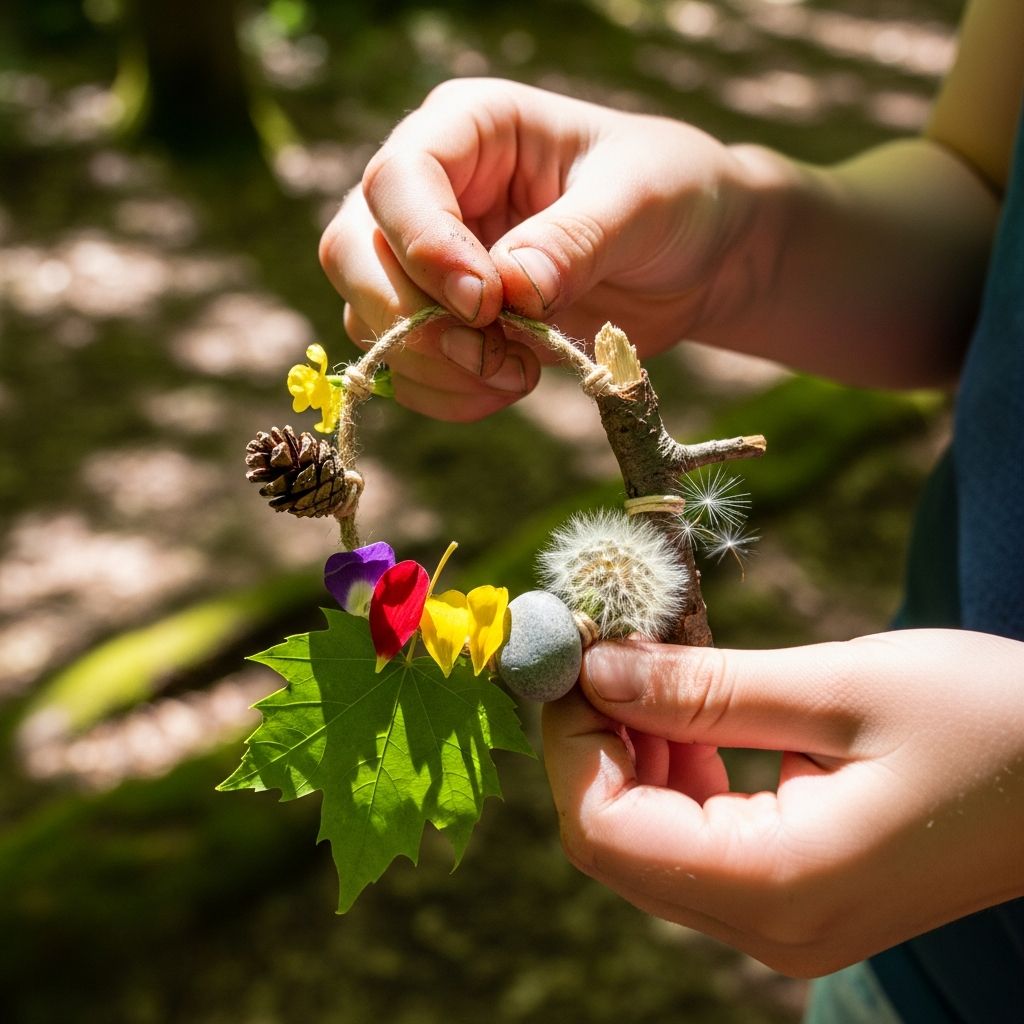
Nature walk bracelets are an easy, low-mess craft that turns an ordinary stroll outside into a mini adventure. Using nothing more than tape and natural treasures, children can create wearable art while exploring leaves, petals, seeds, and other small finds along the way.
This project is quick to set up, works for a wide age range, and is ideal for families, teachers, and caregivers who want to blend creativity with outdoor play.
Why Nature Walk Bracelets Are a Great Activity
Beyond being fun, this craft supports children’s development and their connection to the natural world. Educators often recommend outdoor experiences because they encourage curiosity, observation, and movement, all of which benefit learning and wellbeing.
- Simple and inexpensive: Uses basic materials like tape and paper.
- Flexible for different ages: Toddlers can stick large items; older kids can design patterns or themes.
- Encourages observation: Kids look more closely at plants, colors, and textures during the walk.
- Supports multiple skills: Fine motor skills, language, early science concepts, and creativity all at once.
- Perfect for groups: Works in classrooms, nature clubs, parties, or family outings.
Materials: What You Need to Get Started
You can adapt this craft to what you already have at home, school, or in your backpack.
Basic Craft Supplies
- Wide tape (duct tape, masking tape, or painter’s tape)
- Child-safe scissors (for adults or older children to cut tape)
- Optional: cardstock or light cardboard for saving finished bracelets
- Optional: crayons or markers for labeling collected items
Nature Items to Look For
- Small leaves or leaflets
- Flower petals (fallen or from weeds/wildflowers where picking is allowed)
- Grass blades and seed heads
- Tiny feathers, bark chips, or seeds
- Acorns, samaras (“helicopter” seeds), or tiny pinecones
Early childhood guides often recommend exploring a variety of colors and textures—smooth, rough, soft, bumpy—to make the activity more sensory-rich.
Step-by-Step: Making a Nature Walk Bracelet
The bracelet itself is simply a loop of tape with the sticky side facing outward. Children decorate it as they walk.
1. Prepare the Tape Bracelet Base
- Measure roughly around the child’s wrist, leaving extra space so the bracelet can slide off later.
- Cut a strip of tape that length.
- Wrap the tape around the wrist, sticky side out, and press the ends together so it forms a loose loop.
- For sensitive skin, you can tape the sticky bracelet onto a thin strip of paper, then tape that around the wrist so less adhesive touches the skin.
2. Set Expectations Before You Walk
Before you start collecting, it helps to clarify where and what children are allowed to pick. This keeps the activity safe and respectful.
- Only take items that are safe to touch and not poisonous or irritating.
- Ask before picking anything from gardens, landscaping, or private property.
- Encourage using fallen leaves, petals on the ground, or plentiful weeds when possible.
- Remind kids not to disturb wildlife, nests, or insect homes.
Many outdoor education programs emphasize teaching children to be respectful of plants and animals while still exploring them up close.
3. Collect and Stick as You Explore
- Walk slowly through a yard, park, trail, or schoolyard.
- Invite children to notice items by color, size, or texture: “Can you find something yellow? Something bumpy?”
- Help very young children press each object gently onto the tape.
- Encourage older kids to experiment with patterns, such as alternating colors or sizes.
- Rotate the bracelet as it fills so children can see all sides of their creation.
4. Finishing and Removing the Bracelet
- Once the bracelet is full—or the walk is over—decide whether to keep or compost it.
- To save it, gently slide the bracelet off the wrist. If it is too snug, cut through the tape at one point and carefully remove it.
- Press the bracelet onto a piece of cardstock to turn it into a flat display, leaving space to write labels or notes.
- Let any damp items air-dry; they may change color or texture over time.
Safety and Environmental Tips
A bit of planning keeps this activity safe for children and kind to the environment.
Health and Safety Considerations
- Check plants in advance: If you’re walking in an unfamiliar area, quickly scan for thorny or irritating plants (like poison ivy or stinging nettle) and point them out so kids can avoid them. Many public health agencies advise teaching children to recognize local toxic plants.
- Watch for allergies: Children with pollen, grass, or plant allergies may prefer non-flowering materials or a shorter activity.
- Use age-appropriate tools: If using scissors to cut tape or cardstock, adults should handle cutting for younger children.
- Hygiene: Encourage handwashing or hand-wipes after the walk, especially before eating.
Respecting Nature
- Use fallen leaves, petals, and seeds when possible, especially in protected areas.
- Avoid picking rare or protected plants; many parks have rules against collecting specimens.
- Take only small amounts from any one plant to minimize damage.
- Talk about the idea of being a “visitor” in nature, taking care not to disturb habitats.
Educational Benefits: Learning Through Play
Nature walk bracelets may feel like pure fun, but they also create rich opportunities for learning. Early-childhood experts note that outdoor, hands-on exploration supports language, science skills, and cognitive development.
| Skill Area | How the Bracelet Activity Helps |
|---|---|
| Observation & Science | Children compare leaf shapes, colors, and sizes, noticing patterns and differences like tiny scientists. |
| Language & Vocabulary | Adults can introduce new words such as “stem,” “bark,” “seed pod,” or “vein” on leaves, expanding children’s descriptive language. |
| Math Concepts | Kids count how many items are on their bracelet or sort them by color or type, building basic classification and counting skills. |
| Fine Motor Skills | Pinching small items and pressing them onto tape strengthens hand muscles needed for writing and drawing. |
| Creativity & Art | Children design patterns, experiment with color combinations, and express individual style through their bracelets. |
Ideas to Extend the Activity
Once kids are excited about nature bracelets, you can build on that interest in simple ways.
Seasonal Bracelet Themes
- Spring: New leaves, blossoms, shades of light green, and soft textures.
- Summer: Bright flowers, thick grasses, and seeds from garden plants.
- Autumn: Colorful leaves, acorns, and dry grasses.
- Winter: Evergreen sprigs (where allowed), bark, and seed heads that stay on plants.
Revisiting the activity in different seasons helps children notice how plants and landscapes change over time, an important early science concept.
Turn Bracelets into a Nature Display
- After the walk, press bracelets onto cardstock or in a scrapbook.
- Write the date, location, and season next to each bracelet.
- Label items you know (for example, “oak leaf,” “clover,” or “maple seed”).
- Keep a “nature bracelet gallery” on a bulletin board or wall for children to revisit and compare.
Incorporate Storytelling and Writing
- Ask children to tell the story of their walk and which items they chose first.
- Older children can write a short caption or a few sentences about their bracelet.
- Invite kids to name their bracelet—“Rainbow Leaf Band,” “Forest Explorer Bracelet,” or similar.
Tips for Different Settings and Age Groups
For Toddlers and Preschoolers
- Keep the walk short and focused on simple discoveries: big leaves, soft petals, or crunchy sticks.
- Use wider tape so larger items stick more easily.
- Stay close and help with pressing items onto the bracelet.
- Talk out loud about what you see: “This leaf is smooth. This one is bumpy.” Narrated experiences support early language development.
For Early Elementary Children
- Encourage them to sort items on the bracelet (for example, leaves on one side, seeds on the other).
- Introduce simple classification: broad leaves vs. needle-like leaves, smooth vs. rough textures.
- Invite them to compare their bracelets and discuss similarities and differences.
- Combine the activity with a short nature journal entry or drawing.
For Classrooms and Groups
- Explain the rules and boundaries of your walk before going outside.
- Consider assigning partners or small groups to share discoveries.
- Back indoors, hold a short “show and tell” where each child shares a favorite item from their bracelet.
- Connect the activity to curriculum topics such as plant parts, seasons, or local habitats.
Frequently Asked Questions (FAQs)
Q1: What kind of tape works best for nature bracelets?
Duct tape, masking tape, or painter’s tape all work well. Choose a tape that is wide enough to hold small items and sticky enough for leaves and petals to adhere. Some early learning guides specifically use duct tape because it is sturdy and holds its shape, even for active children.
Q2: Is it safe for young children to handle plants and outdoor materials?
With supervision and a quick review of which plants to avoid, this activity can be safe for young children. Public health and environmental agencies recommend teaching kids to recognize and avoid local poisonous plants, washing hands after outdoor play, and discouraging them from tasting or rubbing unknown plants on their skin.
Q3: How long will the bracelets last?
Fresh plant materials will usually wilt, dry, and change color over a day or two. If you press the bracelet onto cardstock and allow it to dry, it can last much longer as a flat display. Over time, the colors will fade, but this can become part of a conversation about plant life cycles and decomposition.
Q4: Can we do this activity in places where collecting is restricted?
In some parks and protected areas, collecting plant material is not allowed. In those cases, you can adapt the activity by:
- Using only items that have fallen naturally, if permitted.
- Doing a “look but don’t touch” nature walk first and making bracelets later in a yard or school garden.
- Substituting natural items from a prepared bin or tray outdoors.
Q5: What if my child is not very interested in crafts?
This activity can still appeal to children who are more interested in exploration than art. Emphasize the “treasure hunt” aspect—finding unusual shapes, colors, or textures—and treat the bracelet as a temporary collection tray rather than an art project. Many outdoor education programs find that even reluctant crafters enjoy tasks that feel like a game or a quest.
References
- Poisonous Plants in the Home and Garden — U.S. Food & Drug Administration. 2022-06-15. https://www.fda.gov/consumers/consumer-updates/plants-can-be-poisonous-too
- Water-Related Hygiene — U.S. Centers for Disease Control and Prevention (CDC). 2023-05-08. https://www.cdc.gov/healthywater/hygiene/index.html
- Leave No Trace: Know the Regulations and Special Concerns for the Area You’ll Visit — Leave No Trace Center for Outdoor Ethics. 2021-09-01. https://lnt.org/why/7-principles/know-before-you-go/
- Environmental Education: Benefits for Children — North American Association for Environmental Education. 2020-10-01. https://naaee.org/eepro/resources/environmental-education-benefits-children
- DIY Nature Bracelet Activity — Kaplan Early Learning Company. 2018-01-01. https://images.kaplanco.com/images/content/InsightsAndInspirations/nature-bracelet-activity_2_a.pdf