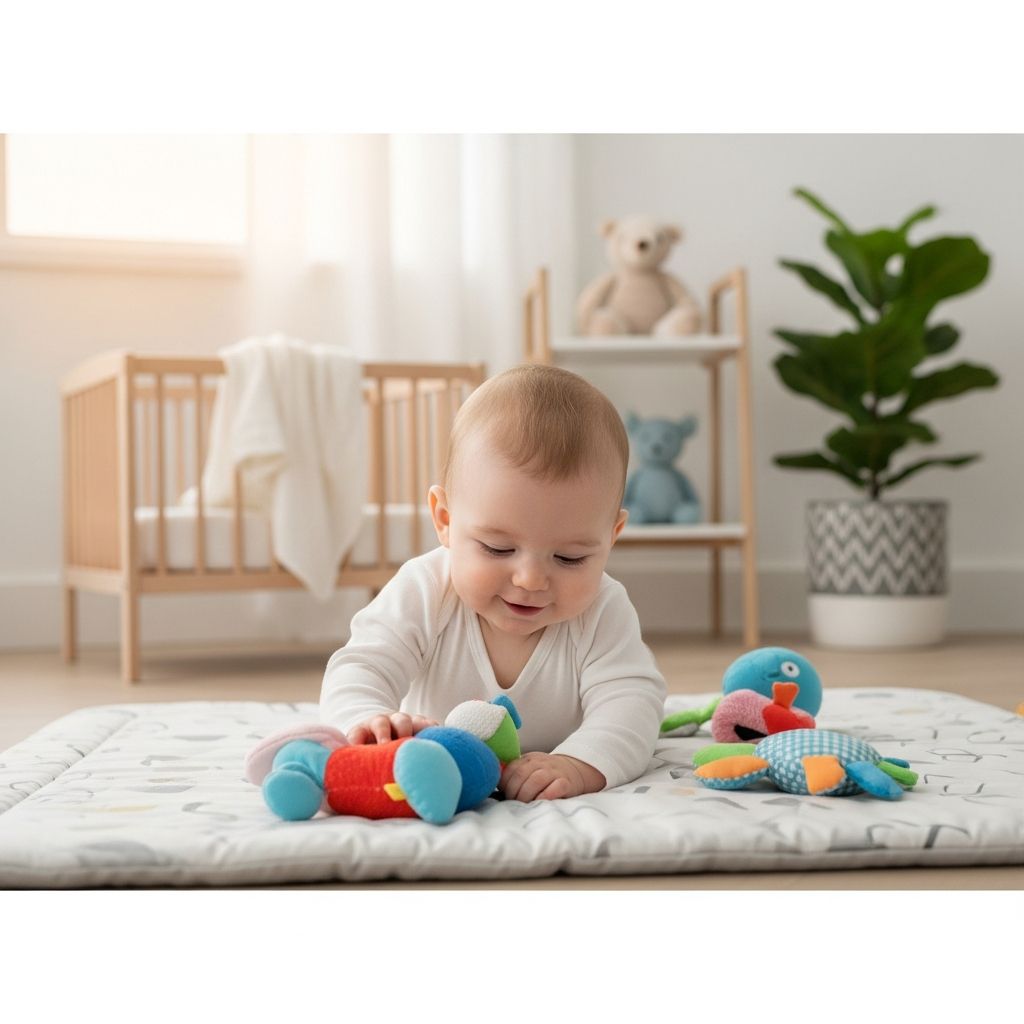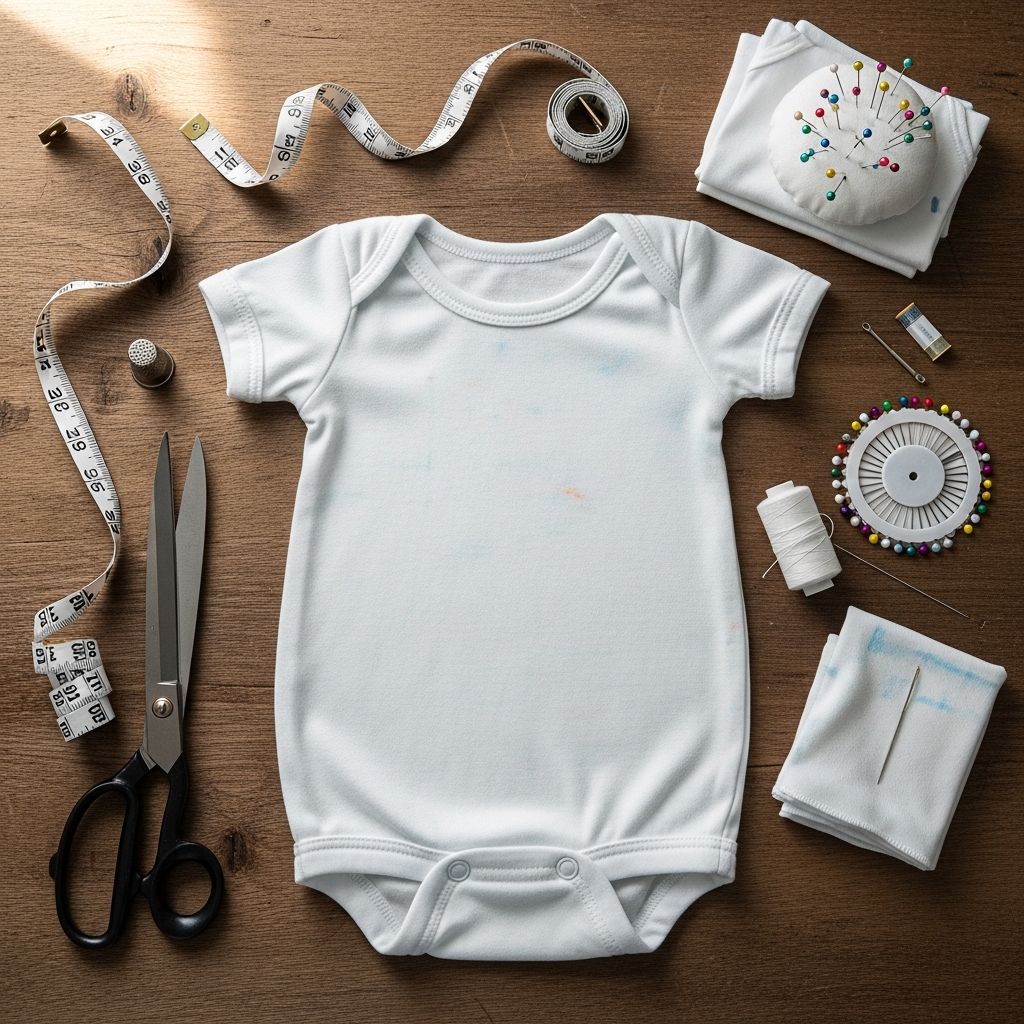
Upcycling a t-shirt into a newborn gown is an affordable, eco-friendly way to make soft sleepwear that is gentle on a baby’s skin and kind to the planet. This guide walks through the entire process, from choosing the right shirt to adding those final touches that make the gown both practical and adorable.
Why Upcycle a T-Shirt into a Newborn Gown?
Newborns grow quickly, and buying a full wardrobe of brand-new clothes can feel wasteful and expensive. Turning a t-shirt into a gown helps you reuse what you already have while creating something useful and meaningful.
- Save money by reusing clothing instead of buying new newborn gowns.
- Reduce textile waste and support a more sustainable lifestyle.
- Create custom, sentimental pieces from shirts with memories attached.
Choosing the Perfect T-Shirt
The success of this project starts with the t-shirt you select. Not every shirt in the closet will be comfortable or safe for a newborn, so take a moment to choose wisely.
- Fabric type: Look for soft cotton or cotton blends with a bit of stretch. Avoid stiff, scratchy, or heavily textured fabrics.
- Condition: Skip shirts with holes, fraying, or thin, worn areas. Newborns wriggle a lot, so the fabric needs to handle frequent washing.
- Thickness: Medium-weight knits are ideal. Very thin shirts may feel flimsy; heavy sweatshirts can overheat a baby.
- Prints and labels: Large stiff prints or rough inside labels can irritate delicate skin, so prioritize soft, flexible designs.
Essential Tools and Materials
A basic sewing setup is all you need for this upcycle project. If you are new to sewing with knit fabrics, these tools will make the process smoother and neater.
- Clean adult-sized t-shirt (men’s or women’s)
- Fabric scissors or rotary cutter and cutting mat
- Measuring tape or ruler
- Sewing machine with a stretch or zigzag stitch option
- Ballpoint or stretch sewing machine needle
- Coordinating polyester thread
- Straight pins or clips for knits
- Paper, pencil, and a newborn onesie or bodysuit (for tracing a rough pattern, if desired)
- Elastic (for the bottom hem casing, typically 1–1.5 cm wide)
Sizing a Newborn Gown
You do not need a formal printed pattern to make a newborn gown, but understanding approximate measurements helps ensure a comfortable fit. The following table offers general guidelines; you can adjust a little based on your baby’s size or the intended gift recipient.
| Measurement Area | Approximate Size (Newborn) | Notes |
|---|---|---|
| Gown length (shoulder to bottom) | 45–55 cm | Long enough to cover feet and allow room for growth. |
| Chest width (flat, half circumference) | 18–20 cm | Measure across front from side seam to side seam. |
| Sleeve length (from shoulder) | 18–22 cm | Choose full-length for cooler weather; shorter for warm climates. |
| Neck opening width (flat) | 8–10 cm | Ensure it can stretch over baby’s head without strain. |
Planning Your Gown Design
Before you cut into the t-shirt, decide how you want the gown to look and function. A little planning helps you reuse as many existing features of the shirt as possible.
- Will you keep the original t-shirt hem for the bottom or add an elastic casing?
- Do you want long sleeves for nighttime warmth or short sleeves for layering?
- Is the t-shirt graphic placed in a spot that will look cute on the front of the gown?
- Should you use the original neckline or create a new envelope or lap-style neck?
Preparing and Marking the T-Shirt
Preparation is key to a clean final result. Washing, pressing, and marking the shirt properly reduces surprises once you start sewing.
- Wash and dry: Launder the t-shirt to remove residues and account for any final shrinkage before cutting.
- Press the fabric: Lightly press the shirt to remove major wrinkles but avoid stretching it out of shape.
- Lay flat: Place the shirt on a flat surface, aligning the side seams, and smooth out any ripples.
- Decide direction: Choose which part of the shirt will become the front so the design lands correctly.
Drafting a Simple Gown Shape
You can draft a very basic pattern directly on the t-shirt, making use of an existing newborn onesie or gown as a guide. This does not need to be exact; knit fabric forgives small inaccuracies.
- Fold the shirt in half vertically, with the front facing you, to mirror the left and right sides.
- Place a newborn onesie (folded in half) on top, aligning necklines and shoulders near the t-shirt collar.
- Extend the body shape downward into a gentle A-line to form the gown, reaching the desired length.
- Mark around the onesie with chalk or a washable fabric marker, leaving seam allowance (about 1 cm) all around.
Cutting the Gown Pieces
Once the shape is marked, cutting carefully ensures your two main gown pieces match. If your t-shirt has side seams, you can cut through both layers at once for symmetry.
- Cut the body: Following your outline, cut through both front and back layers to create two identical body pieces.
- Shape the neckline: Trim the front neckline slightly deeper than the back for comfort, or reuse the existing ribbed neck if it aligns with your pattern.
- Cut the sleeves: If you want long sleeves, you can cut separate sleeve pieces from the remaining t-shirt fabric or reuse and reshape the original t-shirt sleeves.
- Smooth the curves: Check that armholes and hem lines are smooth and even, trimming any sharp corners.
Sewing the Shoulder and Side Seams
Once the pieces are cut, the gown starts to come together quickly. Sewing in the right order prevents bulky seams and makes finishing easier.
- Align shoulders: Place the front and back pieces right sides together, matching shoulder edges and pinning in place.
- Sew shoulders: Use a narrow zigzag or stretch stitch to sew each shoulder seam, then press the seam allowances toward the back.
- Attach sleeves (if separate): Pin sleeves to the armholes, right sides together, and sew with a stretch stitch, easing the sleeve cap as needed.
- Sew side seams: Fold the gown so the front matches the back, right sides together, and sew from the sleeve cuff down to the hem on both sides.
Finishing the Neckline
The neckline must be soft, stretchy, and wide enough for a newborn’s head. There are several simple approaches you can use, even as a beginner.
- Reuse t-shirt ribbing: If you kept the original neckline intact, you may only need to tidy up the joins at the shoulder seams.
- Rib-knit band: Cut a strip of rib knit slightly shorter than the neck opening, sew it into a loop, then pin and stretch it evenly around the neckline before stitching.
- Folded finish: Turn the raw edge to the inside by about 1 cm, press, and stitch with a narrow zigzag for a simple, minimal look.
Creating the Gathered or Elastic Bottom
A newborn gown is most convenient when the bottom can close around the feet but open easily for diaper changes. An elasticized hem is comfortable and practical.
- Fold hem: Turn the bottom edge to the inside by 2–3 cm to form a casing, pressing as you go.
- Stitch casing: Sew close to the folded edge, leaving a small opening (about 3–4 cm) to insert the elastic.
- Insert elastic: Cut a piece of elastic slightly smaller than the width of the gown bottom. Attach a safety pin to one end and thread it through the casing.
- Secure and close: Overlap the elastic ends by about 1–2 cm and sew securely. Distribute gathers evenly and close the opening with a few stitches.
Optional Thumb and Mitten Features
Newborns often scratch their faces with sharp little nails. Integrating simple mitten-style cuffs or thumb covers into the sleeves adds extra protection without separate accessories.
- Extended cuffs: Cut sleeves slightly longer than needed, then fold the cuff over the baby’s hand when desired.
- Fold-over mitts: Create a curved extension on the top of the cuff that can flip over the hand, fastening with a small snap if desired.
- Soft edges: Ensure all edges around the hand area are soft, with no exposed seams or scratchy stitching.
Decorative Details that Stay Practical
Personalizing the gown makes it special, but decorations should never compromise comfort or safety. Focus on soft, flat embellishments and avoid choking hazards.
- Use small fabric appliqués sewn flat to the front, avoiding thick layers over the chest.
- Add decorative topstitching in contrasting thread along hems or sleeve edges.
- Embroider the baby’s initials or a simple motif using soft embroidery floss on a small patch.
Newborn Safety and Comfort Checklist
Before the gown touches a newborn’s skin, run through a quick safety check. This helps catch small details that can affect comfort or pose risks.
- Run your fingers along every seam to ensure there are no sharp threads or scratchy areas.
- Confirm that no beads, buttons, or snaps can come loose and become choking hazards.
- Check that the neckline stretches easily over an adult fist to mimic baby’s head size.
- Wash the finished gown in baby-friendly detergent and rinse thoroughly before use.
Care and Washing Tips for Upcycled Gowns
A newborn gown will go through frequent wash cycles, so gentle but effective care is essential. Because the gown started life as a t-shirt, it is usually forgiving in the laundry.
- Wash in cool or warm water on a gentle cycle to preserve softness and elasticity.
- Use mild, fragrance-free detergent if the baby has sensitive skin.
- Tumble dry on low heat or line dry to reduce wear on elastic and seams.
- Inspect for loose threads after each wash and trim them promptly.
Common Mistakes and How to Fix Them
Even careful sewists occasionally run into problems. Most issues with knit baby gowns can be solved with simple adjustments.
- Neck too tight: Remove the neckband and replace it with a slightly longer piece, or convert to a fold-over finish with more stretch.
- Bottom too snug: Lengthen or loosen the elastic, or remove it entirely and leave a straight hem for more leg room.
- Twisted seams: Unpick the affected seam with a seam ripper, realign pieces flat, and resew slowly.
- Wavy hems: Press gently with steam, and next time use less pulling and a stretch stitch with proper tension.
Creative Variations to Try
Once you complete your first gown, it becomes easy and fun to experiment with different styles. Small changes can make each piece feel unique and tailored.
- Use color-blocking by combining sections from two different t-shirts.
- Add a small side slit at the bottom hem for easier leg movement while still using elastic.
- Create short-sleeve gowns for summer and layer them over long-sleeve bodysuits.
- Match the gown with a simple hat made from leftover fabric scraps.
FAQ: T-Shirt to Newborn Gown
Do I need a serger to sew this gown?
No. A regular sewing machine with a zigzag or stretch stitch is enough. A serger can create professional-looking seams, but it is not required for a soft, durable gown.
Can I hand sew the entire project?
Yes, but it will take more time and patience. Use small, stretchy hand stitches (such as a backstitch with slight give) and strong thread, especially on seams that will be stretched frequently.
Is it safe to use shirts with printed designs?
Printed designs can be safe if the print is flexible and not cracked or peeling. Avoid thick, rubbery graphics that feel stiff, especially over the chest and stomach area.
What size t-shirt works best?
Adult medium to extra-large shirts usually provide enough fabric for a newborn gown, sleeves, and even small matching accessories. Larger shirts also make it easier to center graphics on the front.
How many gowns should I make?
Newborns go through several outfit changes a day, so a small collection of 4–6 gowns is practical. Upcycling multiple shirts is an economical way to build this mini wardrobe.
Final Thoughts
Transforming a t-shirt into a newborn gown is a satisfying project that combines creativity, sustainability, and practicality. With a few tools and a bit of time, you can produce cozy, custom sleepwear that keeps a new baby comfortable while giving old garments a second life.