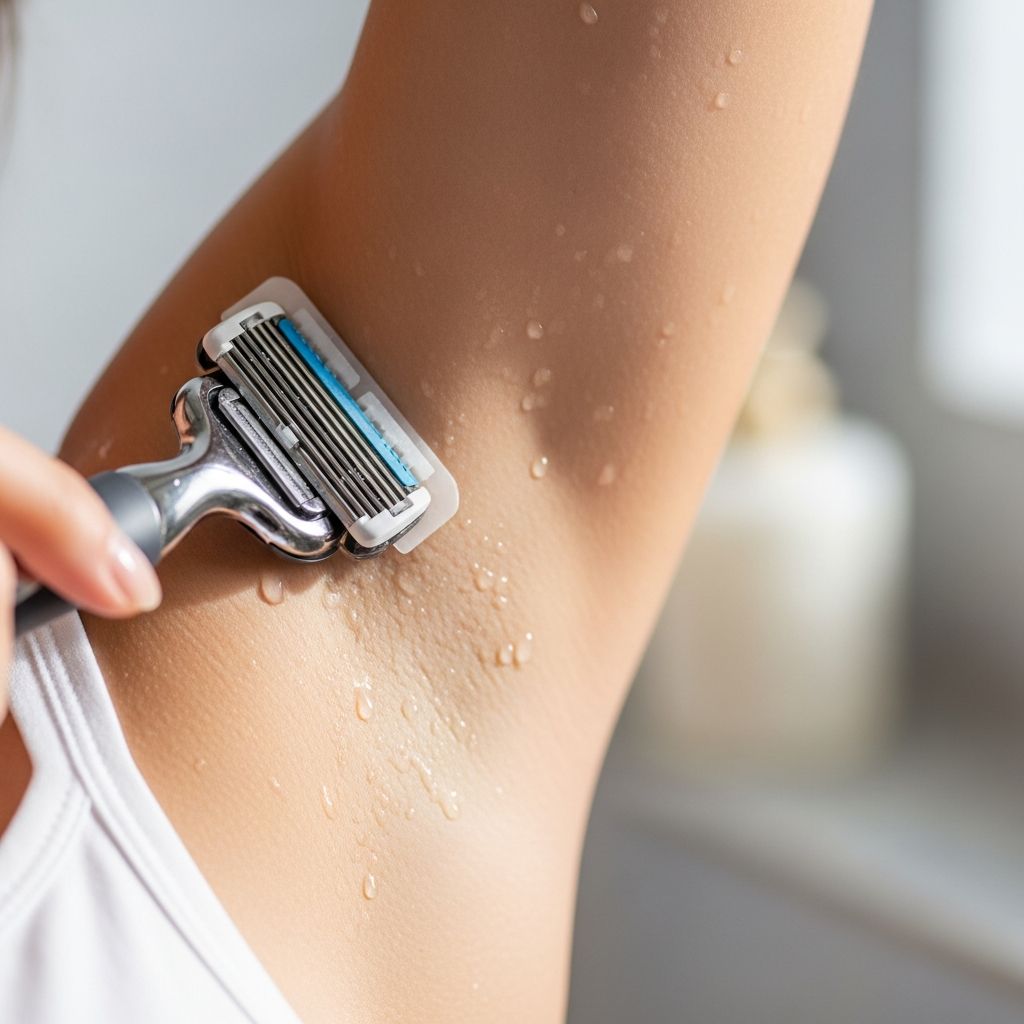
Shaving your armpits looks simple, but doing it well is a small skincare science. When you understand how underarm skin behaves, how hair grows, and which tools really matter, you can get smooth results without razor burn, bumps, or constant stubble.
Why Underarm Skin Needs Special Care
Your armpits are not like your legs or face. The skin is thinner, sits in a fold, and stays warm and moist most of the day, which makes it more prone to irritation, ingrown hairs, and bacterial buildup after shaving.
Because hair grows in different directions in this small, curved area, it is easy to miss spots or over-shave the same patch, leading to redness and razor burn. A good shaving routine is less about speed and more about smart, gentle technique.
Know Your Starting Point: Hair, Skin, and Goals
Before picking up a razor, it helps to understand your hair type, skin sensitivity, and what “smooth enough” means for you. This sets realistic expectations and guides what products and steps you need.
- Hair type: Coarse or curly hair is more likely to ingrow or feel prickly when it grows back.
- Skin type: Sensitive or dry skin needs more cushioning (like richer shaving creams and gentle exfoliation).
- Personal goal: Some people want completely hair-free; others just want shorter, neater hair. Your goal determines whether you trim, shave closely, or combine both.
Essential Tools for a Comfortable Armpit Shave
You do not need a drawer full of products, but using a few well-chosen basics will dramatically improve comfort and results. Prioritize safety and glide over fancy packaging.
| Item | Why It Matters | Tips for Choosing |
|---|---|---|
| Razor | Does the main work of cutting hair close to the skin. | Look for multiple sharp blades, a pivoting head, and a comfortable, non-slip handle. |
| Shaving cream or gel | Lubricates the skin and reduces friction. | Choose formulas labeled for sensitive skin and avoid strong fragrances if you tend to react. |
| Gentle cleanser | Removes sweat, deodorant, and oil before shaving. | Pick a mild, non-stripping body wash or bar to avoid drying out the area. |
| Exfoliating tool | Helps loosen dead skin cells and reduces ingrown hairs. | Use a soft washcloth or mild scrub once or twice a week, not a harsh scrub. |
| Aftercare product | Soothes freshly shaved skin and locks in moisture. | Look for alcohol-free lotions, gels, or oils with calming ingredients like aloe or oat. |
Step 1: Prep Your Underarms the Smart Way
Good preparation is the difference between a quick shave that burns later and a smooth shave that feels calm all day. Spend at least a couple of minutes prepping the skin and hair before the razor touches your underarms.
Cleanse Away Sweat and Product Buildup
Always start with clean skin. Rinsing away sweat, deodorant, and oil helps prevent clogged blades and reduces the risk of bacteria entering tiny nicks in the skin.
- Wash your underarms with warm water and a gentle cleanser for 30–60 seconds.
- Rinse thoroughly so there is no slippery residue left behind.
- If you wear heavy antiperspirant, take an extra moment to massage it away fully.
Soften Hair Before Shaving
Underarm hair softens significantly after a few minutes of warm water exposure. Soft hair cuts more easily, so the blades do not have to drag or tug to do their job.
- Shave at the end of your shower rather than the very beginning.
- Let warm water run over the area for at least a couple of minutes before you apply any product.
- Avoid very hot water, which can dry and irritate the skin.
Trim Longer Hair First (Optional but Helpful)
If you have not shaved in a while or you are shaving for the first time, trimming the hair down makes the actual shaving step much easier and cleaner.
- Use clean scissors or a body trimmer to reduce hair to a short length.
- Work carefully and slowly to avoid catching skin folds in the blades.
- Never dry shave long hair straight away; this increases snagging and irritation.
Step 2: Create a Protective Cushion With Product
Lather is not just for looks. A good layer of shaving cream or gel forms a thin barrier between metal blades and your delicate underarm skin, letting the razor glide rather than scrape.
- Apply an even, thin layer of shaving cream or gel over the entire hair-bearing area.
- Massage it in lightly so it reaches down to the base of the hairs.
- If you are out of shaving cream, a gentle, fragrance-free body wash or light conditioner can be used occasionally, but dedicated shaving products are generally more comfortable long term.
Step 3: Master the Actual Shaving Technique
Technique is where most irritation begins or ends. The right posture, razor strokes, and pressure help you reach every angle while keeping the skin safe.
Position Your Arm and Skin Correctly
Because the armpit is a small curved hollow, stretching the skin helps the razor work on a flatter surface. This provides closer contact without digging into folds.
- Raise your arm fully above your head and gently reach behind your neck or upper back if comfortable.
- Use your free hand to pull the skin slightly taut if you have deeper folds.
- Aim for a position you can hold steadily for 30–60 seconds per side.
Shave in Short, Controlled Strokes
Underarm hair usually grows in multiple directions, so a single long downward stroke will almost never give a truly close shave. Short strokes give you control and help you follow the curves more precisely.
- Start with gentle downward strokes in the direction that feels most natural.
- Rinse the razor, then shave in other directions (sideways and upward) as needed to catch remaining hairs.
- Avoid going over the same spot more than necessary; two to three passes in different directions usually suffice.
Let the Razor Do the Work, Not Your Hand
Pressing hard on the razor will not make the shave closer; it mainly increases the chance of cuts and razor burn. The blades are designed to cut with light pressure.
- Hold the handle lightly, almost as if holding a pen.
- Allow the head to glide over the skin using minimal downward pressure.
- If you feel tugging, switch to a fresh blade instead of pushing harder.
Keep Your Razor Clean as You Go
Hair, product, and dead skin can quickly pack between the blades, making them less effective and forcing you to drag harder over the skin. Rinsing frequently keeps cuts clean and strokes smooth.
- Rinse the razor under running water after every couple of strokes.
- Tap the handle gently against the sink or shower wall to shake out trapped hair, rather than picking at the blades.
- Never use your fingers or a towel to scrape between blades, as this can damage them and cut your skin.
Step 4: Rinse, Soothe, and Protect Your Skin
Once the hair is removed, the goal shifts to calming the skin and protecting it from friction, deodorants, and bacteria. Proper aftercare can be the difference between a smooth finish and a rash a few hours later.
Rinse With Cool (Not Ice-Cold) Water
Cool water helps remove leftover product and tiny shaved hairs while gently calming the skin. It also helps tighten the area slightly, reducing the chance of immediate redness.
- Rinse until the skin feels clean and not slippery or foamy.
- Avoid vigorous rubbing under the stream; let the water do most of the work.
Dry Gently and Moisturize
Even soft towels can cause micro-abrasions if used aggressively on freshly shaved skin. A patting motion keeps the barrier more intact.
- Press a clean towel lightly against the area instead of rubbing.
- Apply a thin layer of soothing, alcohol-free lotion, gel, or oil once the skin is just slightly damp.
- Look for calming ingredients such as aloe, chamomile, or colloidal oatmeal if you tend toward irritation.
Wait Before Applying Deodorant
Deodorants and antiperspirants often contain ingredients that can sting or irritate freshly shaved skin. Giving your underarms a short break helps reduce discomfort and redness.
- Wait at least 15–30 minutes before applying deodorant when possible.
- If you must apply it sooner, choose a gentle, alcohol-free formula.
- On days when irritation is high, consider skipping strong antiperspirants and using a mild, fragrance-light product instead.
How Often Should You Shave Your Armpits?
There is no universal schedule; it depends on how quickly your hair grows and how close you like to keep it. Some people shave daily, while others find every few days or weekly is enough.
If your skin starts feeling sore, red, or overly sensitive, that is a sign you may be shaving too often or using too much pressure. Prioritize skin health over strict schedules and adjust frequency as needed.
Common Mistakes That Cause Razor Burn and Bumps
Most underarm shaving problems come from a handful of preventable habits. Fixing these small errors usually leads to noticeably smoother, calmer skin within a few shave cycles.
- Using a dull blade: Old blades drag on hair and require more pressure, which increases irritation and the risk of cuts.
- Dry shaving: Shaving without water or product causes friction and often leads to burning, itching, and red bumps.
- Over-shaving the same area: Running the razor over one small patch repeatedly can strip the top layer of skin.
- Skipping aftercare: Not moisturizing or soothing the area leaves tiny micro-cuts exposed to sweat and friction.
- Applying harsh products immediately: Strong deodorants or exfoliants right after shaving can inflame freshly shaved skin.
Simple Underarm Shaving Routine You Can Follow
If you like having a predictable routine, use this quick sequence as your go-to template and adjust details based on your skin’s response and personal preferences.
- Shower and let warm water soften the area for a few minutes.
- Cleanse underarms with a gentle body wash and rinse thoroughly.
- Apply a layer of shaving cream or gel to the entire underarm.
- Raise your arm, stretch the skin slightly, and shave in short strokes in multiple directions.
- Rinse the razor often and avoid heavy pressure or over-shaving.
- Rinse underarms with cool water and gently pat dry.
- Apply a soothing, alcohol-free moisturizer.
- Wait a bit before using deodorant or antiperspirant.
Frequently Asked Questions About Shaving Armpits
Does shaving make underarm hair grow back thicker or darker?
Shaving cuts hair at the surface level, giving the regrowing tip a blunt edge that can feel stiffer. The hair itself does not change in thickness or color; it simply feels different as it grows out because of the blunt tip.
How often should I replace my underarm razor blade?
There is no exact number of uses, but if you notice tugging, have to go over areas repeatedly, or see rust or buildup that will not rinse away, it is time for a new blade. For many people, this falls somewhere between about 5 and 10 shaves, depending on hair type and shaving habits.
Is it okay to shave every day?
If your skin feels comfortable, you can shave frequently, but daily shaving is not mandatory for smoothness. If you notice redness, stinging, or increased bumps, reduce frequency and give the skin a rest between sessions.
What can I do about underarm shaving bumps?
Small red bumps can be caused by irritation or ingrown hairs. To help, try using a gentler razor, avoid tight clothing immediately after shaving, keep the area moisturized, and consider mild exfoliation on non-shaving days to encourage hairs to grow outward.
Can I shave my armpits without shaving cream?
In a pinch, you can use a moisturizing body wash or conditioner with plenty of water, but this should not replace a proper shaving product long term. Dedicated shaving gels and creams are designed to give better glide and protection, which usually means less irritation over time.
Is shaving my armpits necessary?
No, shaving underarm hair is entirely optional and personal. Some people prefer to remove hair for aesthetic, cultural, or comfort reasons, while others choose to trim or leave it natural; the best choice is the one that aligns with your comfort and values.
Final Thoughts: Build a Routine That Works for You
There is no single “right” way to shave your armpits, but there are principles that reliably lead to better results: soften the hair, protect the skin, use a sharp blade, move gently, and treat the area kindly afterward. When you treat underarm shaving as part of your skincare routine rather than a rushed chore, your skin will usually reward you with less irritation and a smoother, more comfortable finish.
Use the guidelines in this article as a starting framework, then adjust based on what your own skin tells you over time. With a little practice and a bit of patience, you can make underarm shaving a quick, low-stress part of your self-care instead of a source of frustration.