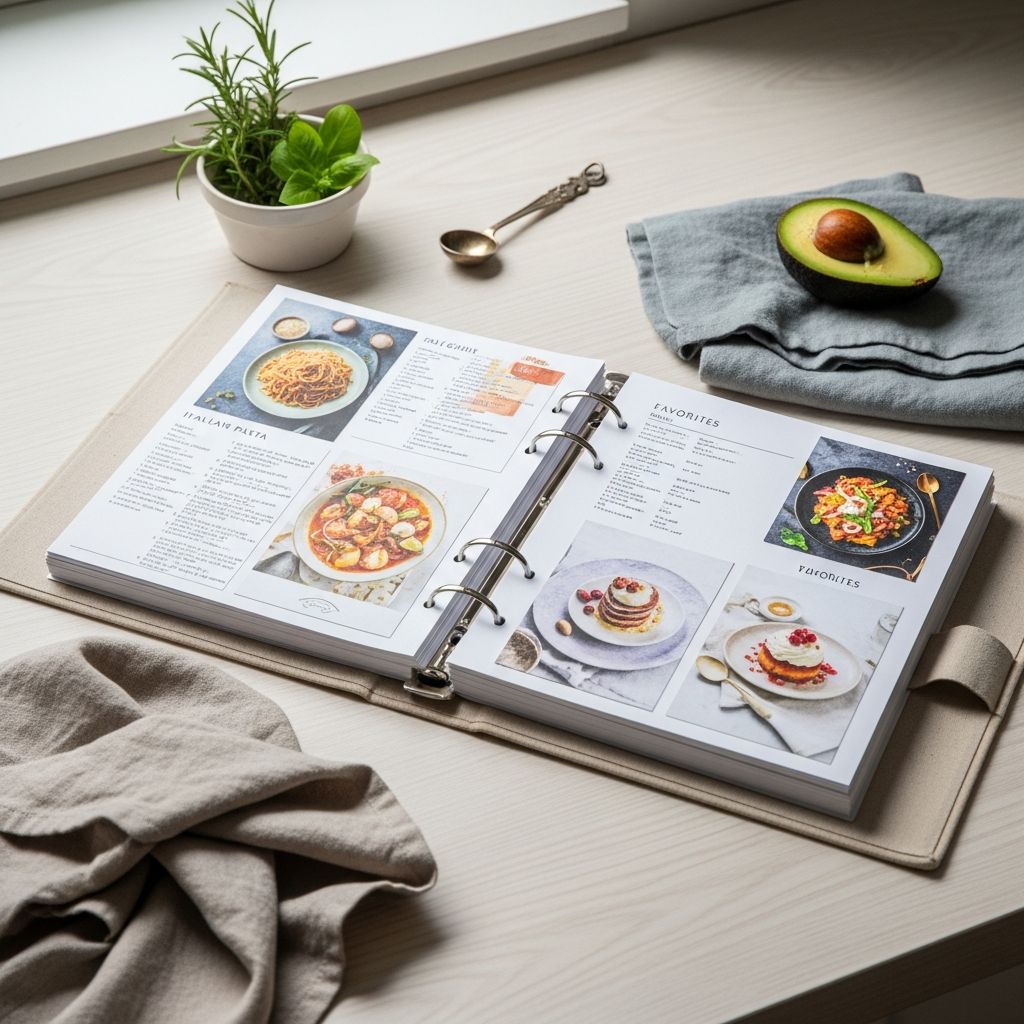
Stacks of printouts, screenshots on your phone, and food-stained index cards can make cooking more stressful than it needs to be. A well-designed recipe binder turns that chaos into a practical, attractive tool you will reach for every time you cook.
Why a Recipe Binder Beats the Junk Drawer
Digital recipe apps and online bookmarks are useful, but they often fail you in the moment you need them most: when your hands are dusty, your internet connection is lagging, or your device keeps going to sleep. A recipe binder gives you a tangible, always-available reference that lives right where you cook. It can hold everything from printed web recipes and magazine clippings to handwritten family dishes.
Done well, your binder becomes more than storage; it becomes a working tool. It helps you plan meals, remember what your family loves, and quickly find a dessert or side dish that fits what you have on hand. Instead of searching across apps and stacks of paper, you flip a few pages and start cooking.
Core Pieces of a Functional Binder
Before you worry about fonts or decorative covers, focus on a few structural pieces that make any recipe binder practical and durable. Once these are in place, you can add personal touches as time allows.
- Sturdy binder: Choose a 3-ring binder with a hard cover, ideally 1.5–2 inches thick to allow for future recipes.
- Plastic page protectors: These shield recipes from splatters, flour, and damp hands while letting you wipe pages clean.
- Tabbed dividers: Tabs make it easy to jump directly to categories instead of flipping through the entire binder.
- Loose-leaf paper or printable recipe pages: For hand-writing recipes from memory or tidying up hard-to-read cards.
- Sticky notes or flags: Perfect for marking favorites, making quick notes, or flagging recipes to try soon.
Step One: Collect Every Recipe in One Place
The most time-consuming part of building a recipe binder is the initial gathering. Instead of spreading this over weeks, set aside a focused block of time to do a sweep through your kitchen and digital spaces. The goal is not to organize yet, only to collect.
- Empty drawers, recipe boxes, and loose piles of paper into a single stack on a table or countertop.
- Print out your most-used online recipes and any that you constantly search for or re-open in your browser.
- Pull out cookbooks with just one or two recipes you love and consider photocopying those pages so you can store them in the binder.
- Ask family members if they have handwritten recipes tucked away that should be preserved and brought into your system.
Do not worry about duplicates or outdated recipes yet. Getting everything into one pile is what reveals what you actually have and what kind of categories will make sense for you.
Step Two: Decide Your Recipe Categories
Many people default to the same generic categories—appetizers, mains, desserts—but your binder works best when its sections match how you think about cooking. Consider how you usually search for a recipe: by protein, by occasion, by cooking method, or by time required.
Use the following table as inspiration rather than a rigid template. Mix and match columns to create a set of sections that feel intuitive to you.
| By Course | By Main Ingredient | By Lifestyle/Need | By Occasion |
|---|---|---|---|
| Breakfast & Brunch | Chicken | Quick Weeknights | Weeknight Dinners |
| Soups & Salads | Beef & Pork | Freezer-Friendly | Holidays & Celebrations |
| Main Dishes | Seafood | Vegetarian/Vegan | Potlucks & Parties |
| Side Dishes | Grains & Pasta | Gluten-Free | Kids’ Favorites |
| Desserts & Sweets | Vegetables | Slow Cooker & Instant Pot | Special Diet Guests |
Start with fewer categories rather than more. You can always split a section later (for instance, dividing “Main Dishes” into “Chicken” and “Beef & Pork” once it becomes too full). Your future self will thank you if your early decisions keep the binder simple to navigate.
Step Three: Sort, Purge, and Prioritize
Once categories are chosen, sort your big pile of recipes into smaller stacks that match your sections. As you go, make quick decisions about what stays and what goes, without overthinking each recipe.
- Keep: Recipes you have made and enjoyed; dishes recommended by trusted friends or family; recipes that suit your current lifestyle or dietary needs.
- Discard or recycle: Duplicates, recipes you tried and disliked, dishes that no longer fit your household (for example, pre-kid or pre-allergy favorites you never plan to revisit).
- Set aside as “to test”: Interesting recipes you have never made but still want to try. These will get their own space later.
If a recipe is faded, greasy, or written in tiny handwriting that is hard to read, re-copy or type it onto a fresh sheet. This effort pays off every time you cook from that recipe, especially for family treasures you want to keep for years.
Step Four: Protect and Insert Your Recipes
When your stacks are sorted, it is time to give each recipe a safe, accessible home inside the binder. Plastic page protectors are the secret weapon here: they preserve recipes while allowing you to remove or rearrange pages without wear and tear.
- Slide full-page recipes directly into sheet protectors and file them under the appropriate tab.
- For recipe cards or clippings, tape or glue them onto standard printer paper, then place that page in a protector.
- Group very small recipes—like spice blends or quick sauces—several to a page so you do not waste space.
- Reserve a few empty sheet protectors at the back of each section for future additions.
As you insert pages, keep an eye on balance. If one section grows much thicker than the others, consider subdividing it or moving seldom-used recipes into a secondary binder.
Designing the Front and Spine
While visual design is not essential to function, it does make the binder more inviting to use. A simple, attractive cover can encourage you to keep the binder out on your counter or shelf where it is easily grabbed at dinnertime.
- Slip a printed title page into a clear-view cover with your family name or a fun label like “Our Kitchen Playbook”.
- Label the spine clearly so you can spot it among cookbooks at a glance.
- Use consistent colors or patterns for divider tabs to give the inside a cohesive look without extra effort.
If you enjoy crafting, you can decorate the cover with photos of your favorite dishes or old family recipe cards. Keep embellishments flat so the binder stacks neatly and is easy to clean.
Smart Extras to Make Your Binder Work Harder
Once the basics are in place, a few thoughtful additions can transform your binder from simple storage into a planning and cooking command center. You do not need all of these; choose the ideas that solve real problems in your kitchen.
- Meal planning pages: Add monthly or weekly planning sheets at the front of the binder to map out dinners and note which recipes you will use.
- Grocery lists: Keep a reusable shopping list template in a sheet protector and write on it with a dry-erase marker while you plan.
- “Recipes to Try” section: Create a separate tab or even a second binder strictly for untested recipes, moving only the successes into your main sections.
- Rating and notes area: Leave space on each recipe page to jot down tweaks, cooking time adjustments, and family feedback.
- Specialty indexes: Maintain quick lists of freezer-friendly meals, slow-cooker favorites, or crowd-pleasers for company.
These extras keep the binder relevant day to day. Instead of being a static archive, it becomes a living, changing record of what your household actually eats.
Preserving Family History in Your Binder
A recipe binder is a powerful way to capture more than ingredients and instructions. It can also hold family history, cultural traditions, and stories that might otherwise be lost in a shoebox of index cards. Give these heirloom recipes a special place.
- Create a dedicated “Family Classics” or “Heritage Recipes” tab for handed-down dishes.
- Scan or photograph original recipe cards, then slip both the image and a typed, easy-to-read version into a protector together.
- Add brief notes about who created the recipe, when it was typically served, and any memorable stories tied to the dish.
Over time, flipping through this section can feel like a visit with relatives who taught you to bake, stir, and taste. It also makes it easy to share copies of these recipes with siblings, children, or friends who want them.
Keeping Your Binder from Becoming Cluttered Again
Even the most carefully designed binder can turn into a stuffed, messy volume if it is never maintained. Build in simple habits that keep it lean and useful without requiring marathon reorganizing sessions.
- Schedule a brief review two or three times per year to remove recipes you no longer cook or enjoy.
- When a new recipe is a hit, add it to the binder promptly and record any modifications you made.
- Limit the size of your “to try” section so it does not become a dumping ground for every interesting recipe you see.
- Consider starting a second binder when the rings become crowded or pages are difficult to turn; for example, one for everyday meals and another for baking and special occasions.
Think of the binder as your curated collection, not an archive of every recipe you have ever met. Clearing out the dead weight makes the recipes you love easier to find and more fun to revisit.
Ideas for Different Cooking Styles and Households
There is no single correct way to structure a recipe binder. The best layout responds to who is cooking, how often, and for whom. Tailor your sections and extras to the rhythm of your kitchen, not someone else’s ideal.
- Busy families: Focus on quick mains, one-pan meals, slow-cooker dishes, and lunchbox ideas, plus a bold “15 Minutes or Less” tab.
- Food enthusiasts: Add tabs for techniques (sauces, bread, fermentation), tasting notes, and hosting menus.
- New cooks: Include basic how-to pages such as cooking time charts, measurement conversions, and a glossary of common terms.
- Diet-specific households: Separate tabs for different dietary needs or clearly mark recipes with icons indicating vegetarian, dairy-free, or low-carb.
If multiple people cook in your household, invite them to help choose categories and add notes. A shared system is easier for everyone to use and maintain.
SEO-Friendly FAQs About Recipe Binders
How do I start organizing recipes for a binder?
Begin by gathering every recipe from drawers, folders, cookbooks, and digital sources into one place. Once you have the full collection in front of you, choose a small set of broad categories and sort recipes into stacks before placing them into page protectors and adding them to the binder.
What size binder is best for recipes?
A 1.5- to 2-inch 3-ring binder works well for most households, giving you space for dozens of recipes without becoming too heavy or awkward to use. If you cook frequently or collect a large variety of dishes, plan for multiple binders, such as one for everyday meals and another for desserts and special occasions.
How can I protect recipes from splatters and stains?
Placing printed or handwritten recipes inside plastic sheet protectors is the easiest way to shield them from spills while you cook. You can wipe the plastic clean, and the paper inside stays legible and intact for years.
Should I still keep cookbooks if I use a binder?
A recipe binder does not have to replace your cookbooks. Many people keep a small shelf of favorites but copy or print only the most-used recipes into the binder so they are easier to access during busy weeknights.
How often should I declutter my recipe binder?
Review your binder a few times per year, ideally at natural transition points such as the start of a new season. Removing rarely used recipes and updating sections helps maintain a collection that reflects how you truly cook today.
Bringing Your Recipe Binder to Life
Creating a recipe binder is both a practical project and a creative one. The structure you build now—categories, page protectors, dividers—will pay off every time you cook a familiar favorite or discover a new go-to dinner. As your tastes, family size, and schedule change, your binder can evolve alongside them.
Most importantly, do not wait for the perfect system before you begin. Start with what you have, create a few simple sections, and allow the binder to grow organically. Over time, it will become a unique record of the meals that nourish your household and the memories you create around the table.