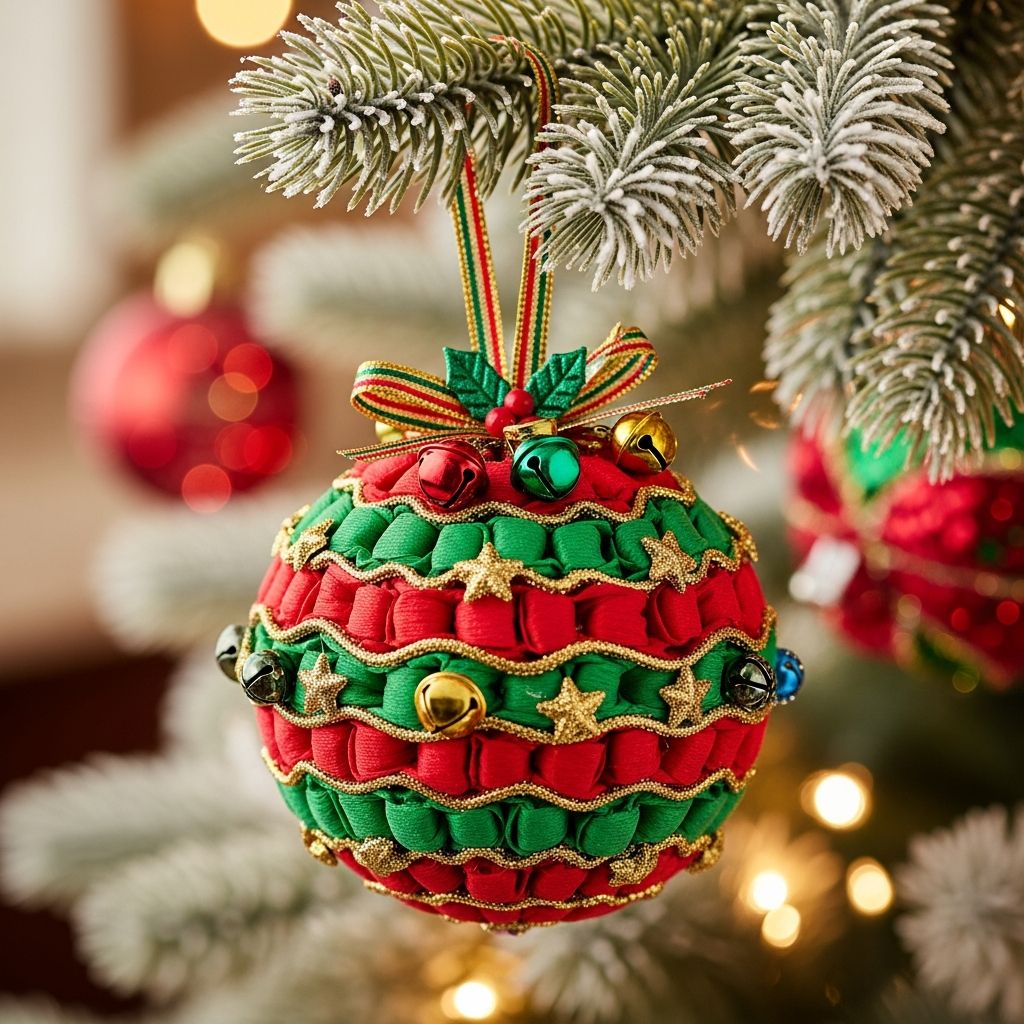
Surprise ball Christmas ornaments combine the joy of unwrapping presents with the charm of handmade holiday decor. These simple, crepe-paper-wrapped balls hide tiny treats inside and hang beautifully on the tree until it is time to unwrap the fun.
This guide shows you how to plan, build, and decorate your own surprise ball ornaments from start to finish, with tips for different ages, themes, and family traditions.
Why Surprise Ball Ornaments Are So Fun
Surprise ball ornaments turn gift-opening into a slow, suspenseful game as each layer of crepe paper reveals another tiny treasure. They work as stocking stuffers, party favors, or even as a creative twist on an advent calendar.
- They are inexpensive to make using simple materials like crepe paper streamers and small trinkets.
- They can be personalized for each recipient with customized colors, notes, and treats, making them feel thoughtful and unique.
- They double as tree ornaments or table decorations until it is time to unwrap them.
Planning Your Surprise Ball Ornaments
Before you begin, decide how your surprise balls will be used: hung on the tree, placed at dinner plates, or given as small gifts. This helps determine the size, number of layers, and the type of items you tuck inside.
- Purpose: Decide if each ball is a single small gift, part of an advent series, or a party favor for guests.
- Recipient: Consider age, interests, and food restrictions when choosing treats and toys.
- Theme: Pick a color palette or character motif such as classic red-and-green, snowman, reindeer, or metallic glam.
Essential Materials and Tools
You do not need advanced crafting skills or complicated supplies to create these ornaments. Most materials can be found at dollar stores, craft shops, or even in your existing gift-wrapping stash.
| Item | Purpose | Notes |
|---|---|---|
| Crepe paper streamers | Main wrapping material for building the ball | Choose several colors for visual interest and themes. |
| Small toys and trinkets | Hidden surprises inside each layer | Stickers, mini erasers, tiny figurines, washi tape, or hair clips. |
| Wrapped candy or chocolates | Edible treats for older kids and adults | Always use individually wrapped candy to keep everything clean. |
| Tape or glue stick | Secures crepe paper ends | Use sparingly so the ball is still easy to unwrap. |
| Ribbon or twine | Hanging loop for the ornament | Choose strong ribbon so the weight of the ball is supported. |
| Scissors | Cutting paper, ribbon, and tape | Keep away from small children while they help decorate. |
| Cardstock, pom-poms, googly eyes | Optional decorating pieces | Use to turn the ball into characters like Santa, reindeer, or snowmen. |
Choosing the Right Surprises
The heart of a surprise ball ornament is the items hidden inside, which can be playful, sentimental, or practical. The key is to focus on things that are small, lightweight, and not easily crushed.
- For kids: Mini figures, tiny crayons, confetti stickers, temporary tattoos, finger puppets, or small building bricks.
- For teens: Lip balm, enamel pins, earbuds organizers, keychains, or folded notes with positive affirmations.
- For adults: Tea bags, wrapped chocolates, coupon notes for experiences, or small beauty samples.
Step-by-Step: Building the Surprise Ball Core
Start with the largest or most special treat, which will sit at the center of the ball. This object becomes your starting point and determines how large the finished ornament can be without weighing down your tree.
- Place the largest item in your hand and tape one end of a crepe paper streamer directly onto it.
- Wrap the crepe paper around the item, changing angles occasionally (side to side, top to bottom, diagonally) until the object is fully hidden.
- Gently press the paper with your palm to encourage a round shape as you go.
At this stage, do not worry if the ball looks a bit lopsided; the next layers and additional items will help even out the shape over time.
Layering Treats and Shaping the Ornament
Once the core is formed, begin adding more surprises one by one, using the crepe paper to trap each item inside. Distribute small, flat items over flatter areas of the ball to build a smoother, more spherical shape.
- Lay a small item against the ball, then wrap several turns of crepe paper over it until secure.
- Rotate the ball and place the next item over an area that seems slightly flat, wrapping again to fill gaps.
- When you reach the end of a streamer roll, secure it with a tiny piece of tape; then attach a new color and continue wrapping.
- Periodically roll the ball between your hands or against the table to round out any remaining uneven spots.
Keep adding layers until every planned treat is encased and the ornament feels sturdy but not overly heavy for hanging.
Creating a Smooth Final Layer
The last layer of crepe paper works like gift wrap, giving your ornament a clean, polished finish. A single color on the outside makes it easier to decorate and helps your character faces or patterns stand out clearly.
- Cut a long length of crepe paper (around 1.5–2 yards) in the color you want as the final outer shell.
- Wrap this layer with a bit of tension so the paper hugs the ball and smooths out bumps, but avoid pulling so tightly that it tears.
- Tuck the final tail of crepe paper under an earlier wrap or secure it with a small piece of clear tape on the top where it will be covered by decoration.
Adding a Hanging Loop
To transform the surprise ball into a true ornament, attach a secure hanging loop before adding decorative details. This ensures the ball hangs neatly without twisting off the tree.
- Cut a piece of ribbon or twine long enough to create a small loop and knot.
- Tie the ends together to form a loop, then tape or glue the knot firmly to the top of the ball.
- Wrap a few extra turns of crepe paper or add a decorative paper cap over the knot area to hide the attachment and reinforce it.
If the ball feels too heavy for a delicate branch, save it for a sturdier spot on the tree or for tabletop display in a bowl or basket.
Decorating Ideas: Characters and Themes
Once the hanging loop is secure, the ornament becomes your blank canvas for decorating. Simple paper cutouts and craft supplies can quickly turn each ball into a holiday character or a design that matches your overall décor.