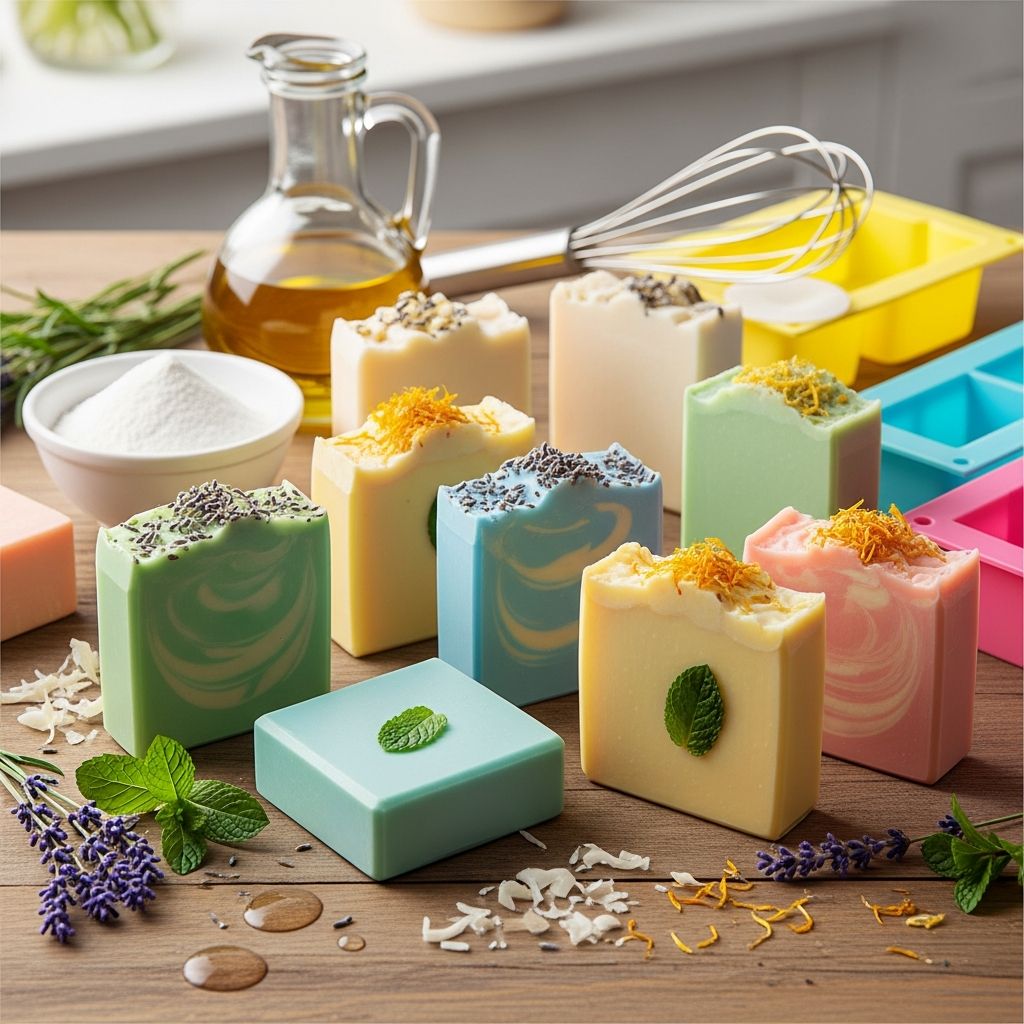
Homemade spring soap is a fun way to celebrate the season with bright colors, fresh scents, and playful designs that make washing hands a little more joyful. Whether crafting with kids or making gifts for friends, clear glycerin soap bases and a few spring-inspired touches are all you need to get started.
Why Make Your Own Spring Soap?
Buying soap is easy, but making your own gives you control over fragrance strength, appearance, and ingredients while turning an everyday item into a mini work of art. Spring is the perfect theme because flowers, greenery, and soft pastels look beautiful suspended inside clear soap bars.
- Personalize scents with essential or fragrance oils your family loves.
- Use flower shapes, botanicals, and colors to match holidays or celebrations.
- Turn handwashing into a positive habit for kids by giving them soap they helped create.
Choosing the Right Soap Base
For a simple, family-friendly project, a melt-and-pour soap base is the easiest option because it skips the need to work with lye and allows you to focus on creativity and design. Clear glycerin bases are especially useful for spring projects because they showcase embedded flowers, toys, and color layers.
| Base Type | Look & Feel | Best For |
|---|---|---|
| Clear glycerin | Transparent, glossy finish that highlights embedded items. | Layered bars with flowers, confetti, or tiny toys inside. |
| White (opaque) | Creamy appearance that shows color vividly but hides embeds. | Pastel-colored blocks, swirl designs, or stamped bars. |
| Shea butter | Soft, moisturizing feel with a slightly off-white color. | Gentle soaps for dry skin and subtle spring fragrances. |
| Goat’s milk | Rich, opaque base with a luxurious lather. | Gift soaps and more nourishing body bars. |
Clear bases create the most dramatic spring-themed soaps, while white and creamy bases work well if you want opaque, pastel blocks decorated on the surface instead of inside.
Supplies and Tools You Will Need
Before melting anything, gather your tools and ingredients so the process stays calm and fun, especially if young helpers are involved. Most items are reusable and can be dedicated to crafting rather than cooking.
- Melt-and-pour soap base (clear or white, depending on your design).
- Microwave-safe jug or double boiler for melting.
- Silicone molds (rectangles, ovals, flowers, hearts, or fun shapes).
- Soap-safe colorants (liquid or mica designed for soap making).
- Essential or fragrance oils formulated for soap.
- Rubbing alcohol in a spray bottle to reduce bubbles between layers.
- Heat-safe spatula or spoon for stirring.
- Small grater or knife if you plan to make textured pieces such as “grass.”
- Optional: biodegradable glitter, tiny plastic toys, dried botanicals, or cosmetic-safe sprinkles.
Design Ideas for Spring-Themed Soaps
Spring soap designs can be as simple or detailed as you like, and layered effects look impressive without requiring advanced skills. Think in terms of background color, decorative inserts, and a final accent on top of each bar.
- Garden meadow bars: Shredded green soap at the bottom, clear soap above with flower shapes or small toys.
- Pastel swirl soaps: White base tinted in several pastel shades, gently swirled together for a marbled look.
- Rainy day soaps: Blue-tinted base with white “cloud” chunks and a fresh, clean fragrance.
- Flower bed blocks: Layers of colored soap representing soil, grass, and sky with flower embeds in the middle.
Step-by-Step: Simple Spring Garden Soap
The following project shows how to create a garden-inspired bar with a textured base and cheerful decorations in the top layer. Adjust colors and fragrances to fit your own spring theme or holiday.
Prepare and Plan Your Design
Decide how tall you want each bar to be and how much of it should look like grass versus clear sky. Lightly sketch your idea on paper or simply visualize it: a base layer for texture, a middle section for embeds, and a final layer to seal everything in.
Cut and Melt the Soap Base
Chop the soap base into small, even cubes so it melts smoothly and avoids scorching. Place a portion of the cubes in a microwave-safe jug and heat in short bursts, stirring between intervals until the base is completely melted and fluid.
Create the “Grass” Texture
Pour a thin layer of clear or lightly tinted green soap into a flat mold or shallow dish and allow it to firm up but not fully cure. Once it is solid, remove it and grate or finely chop it into short, narrow shreds that resemble blades of grass.
Form the First Layer
Place a generous pinch of the shredded green pieces into the bottom of each soap cavity, loosely filling the base. Re-melt a small amount of clear base, tint it with a drop or two of green colorant, and pour just enough over the shreds to surround them without fully covering their texture.
Add Spring Decorations
Once the base layer is firm to the touch, arrange small items—such as flower-shaped soap pieces, cosmetic-safe sprinkles, or tiny toys—on top of the “grass.” Press them gently into place so they do not float when you pour the next layer.
Mix the Scented Clear Layer
Melt more clear soap base and allow it to cool slightly so it is warm but not steaming hot. Stir in your chosen fragrance or essential oil according to the usage rate suggested by the supplier, then tint the batch a very light blue or leave it clear for a sky effect.
Pour and Finish the Bars
Lightly mist the surface of the first layer with rubbing alcohol to help the layers bond and to reduce bubbles. Slowly pour the scented soap over your decorations, filling each mold to the desired height, and mist again with alcohol to pop surface bubbles before allowing the soap to cool completely.
Color and Fragrance Tips for a Spring Feel
Spring-inspired soaps often rely on soft colors and light, clean scents that feel fresh rather than overpowering. Use subtle shades that still allow decorative elements to show, especially if you are using a clear base.
- Choose pastel greens, yellows, pinks, blues, and lilacs for a seasonal palette.
- Use just a small amount of soap colorant; you can always deepen the color gradually.
- Try fragrances such as citrus blends, light florals, green tea, or fresh linen for a crisp, springlike mood.
- Balance visually busy bars with simple, clean scents to avoid sensory overload.
Safety and Kid-Friendly Modifications
Melt-and-pour soap is safer than cold process soap because the lye has already been saponified, but melted soap can still get hot enough to burn. Adults should handle the melting and pouring while younger children focus on design choices and decorating.
- Keep hot containers and freshly melted soap away from small hands and curious pets.
- Use child-safe, non-glass molds that are easy to handle and cannot shatter.
- Limit fragrance strength for kids’ soaps and avoid known allergens when possible.
- Clearly label any bars that contain small toys or decorations that are not suitable for toddlers.
Packaging and Gifting Your Spring Soaps
Once your soaps are fully cooled and unmolded, a little thoughtful packaging turns them into charming gifts for spring holidays, birthdays, and teacher appreciation days. Try to package them in a way that showcases the design you worked so hard to create.
- Wrap individual bars in clear shrink wrap or biodegradable plastic to protect the surface.
- Tie with pastel ribbons, twine, or thin fabric strips that match the color scheme.
- Add small tags listing the fragrance, base type, and a fun spring name for each bar.
- Arrange several bars in a basket lined with tissue paper for a seasonal centerpiece.
Frequently Asked Questions About Spring Soap Making
How long does melt-and-pour soap need to set?
Most melt-and-pour soap bases firm up enough to unmold within a few hours at room temperature, though deeper or larger molds may need overnight cooling. Waiting until the bars feel completely solid ensures clean edges and prevents dents or fingerprints.
Can I use fresh flowers or herbs inside the soap?
Fresh plants contain moisture that can discolor or decay inside the soap, so dried petals, buds, or leaves are a better choice. If you want the look of flowers without the risk of browning, consider silicone flower-shaped embeds made from colored soap instead.
Why are my soap layers separating?
Layers can pull apart if the first one is either too hot or too cold when you add the next, or if you forget to mist with rubbing alcohol between pours. Aim for the base layer to be firm but slightly warm and always spritz with alcohol before adding a new layer.
How do I prevent bubbles in my soap?
Stir gently rather than vigorously to avoid whipping air into the melted base, and pour slowly into the molds. Spraying the surface immediately after pouring with rubbing alcohol helps shrink and pop surface bubbles for a smooth finish.
Is melt-and-pour soap suitable for sensitive skin?
Many bases are gentle, but everyone’s skin is different, so check the ingredient list and test a small area before regular use. For sensitive skin, consider choosing a simple base with minimal additives and keeping color and fragrance levels low.
Bringing a Little Spring to Every Sink
Homemade spring soap bars turn ordinary handwashing into a tiny seasonal celebration filled with color, shimmer, and scent. With a few basic supplies and a bit of imagination, each bar can capture a favorite part of the season—from blooming gardens and rainy days to bright, flower-filled meadows.