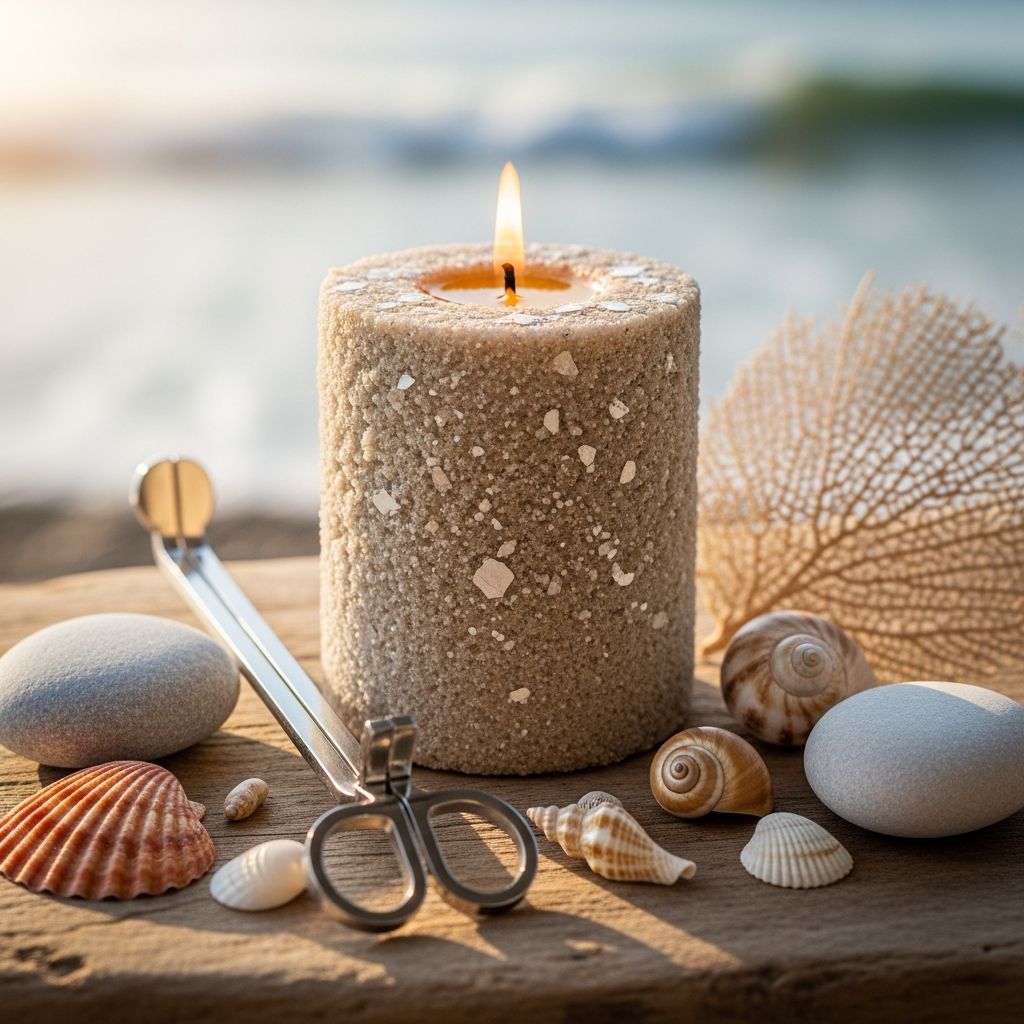
Sand candles are an inviting mix of science experiment, sculpture, and cozy home decor. They let you turn ordinary sand and melted wax into unique, textured candles that look like they came straight from a seaside artisan market. This guide walks through each step of the process, from planning your project to safely lighting your finished candle.
Why Sand Candles Are the Perfect Family Craft
Unlike many crafts that end up tucked into a drawer, sand candles become practical decorations you can enjoy over and over. The method is flexible enough for beginners yet creative enough to keep seasoned makers interested. Whether you are planning a rainy-day activity, a beach vacation project, or a birthday craft station, sand candles fit right in.
- Simple materials that are easy to find and budget-friendly.
- Open-ended designs: make stars, bowls, seashell shapes, or abstract sculptures.
- Built-in sensory fun with sand textures and melted wax changing from liquid to solid.
Essential Materials and Tools
You do not need specialty equipment to get started, but having the right basics makes the process smoother and safer. Plan your setup before you melt any wax so you are not scrambling for tools with hot liquid nearby.
| Item | What It's For | Suggestions |
|---|---|---|
| Candle wax | Forms the body of the candle | Paraffin, soy, or leftover candle stubs (cleaned) |
| Clean sand | Acts as the mold and gives texture | Play sand, beach sand (sifted), or sandbox sand |
| Candle wicks | Allows the candle to burn | Pre-tabbed cotton wicks sized for your candle diameter |
| Heat-safe container | For melting wax | Old metal can or pouring pitcher |
| Color and scent | Adds personality to your candles | Candle dye chips and fragrance oils rated for candles |
| Sandbox or tray | Holds the sand mold | Plastic tub, metal roasting pan, or beach area |
- Optional extras: seashells, marbles, glass pebbles, small stones, cookie cutters, and heat-resistant decorations.
- Safety helpers: oven mitts, old newspapers or a drop cloth, and a kitchen thermometer if available.
Safety First: Working With Hot Wax and Sand
Even though sand candles feel playful, melted wax can cause burns and should always be handled with care. Before starting, talk through safety rules with everyone involved, especially children. Treat the project like a simple science lab: fun, but with boundaries.
- Always supervise children closely around heat and sharp tools.
- Melt wax using indirect heat (such as a double boiler) instead of placing it directly on a burner.
- Keep water away from hot wax to avoid splattering and potential flare-ups.
- Protect your work surface with newspaper, cardboard, or an old tablecloth.
- Have a metal lid nearby to smother flames if a container is accidentally overheated.
Preparing the Sand Mold
The sand itself acts as your mold, so its texture and moisture level matter. Aim for sand that clumps when you squeeze it in your hand but does not drip with water. If the sand is too dry, your shapes will collapse; if it is too wet, you may end up with cloudy wax and blurred details.
Conditioning the Sand
- Fill a shallow tub, tray, or plastic bin with several inches of sand.
- Sprinkle in a small amount of water and mix thoroughly with your hands.
- Test a handful by squeezing. It should hold together when you open your fingers but crumble when poked.
Shaping Your Candle Cavity
Think of the sand as clay you are carving out. The hollow you dig will determine the overall look of your candle. Simple rounded pockets are easiest for beginners, while stars, hearts, and organic curves give more artistic results.
- Use your fingers, a spoon, or a small cup to carve a hollow in the sand.
- Press the walls firmly to avoid crumbling when the wax is poured.
- Check that the cavity is deep enough to hold a meaningful amount of wax but not so deep that the wick becomes hard to access.
- For crisp shapes, press cookie cutters into the sand and dig inside the outline.
Melting and Coloring the Wax
Once the sand mold is ready, it is time to turn solid wax into a pourable liquid. Melting wax slowly gives you better control over its temperature and keeps the process safer and more predictable.
Melting Methods
- Set up a simple double boiler by placing a metal can or pouring pitcher into a saucepan with a few inches of water.
- Heat the water gently until the wax inside the inner container begins to melt.
- Stir occasionally with a dedicated wooden stick or spoon until the wax is completely liquid.
- A thermometer can help keep the wax below its flashpoint; aim for a steady melt without boiling.
Adding Color and Fragrance
This is where your candles become uniquely yours. Different waxes and dyes behave differently, so start small and adjust as you go. Remember that colors often look lighter after the wax cools and solidifies.
- Drop in a small piece of candle dye or a few drops of liquid dye and stir well.
- Check the shade by letting a small spoonful cool on scrap paper.
- Add a measured amount of candle-safe fragrance oil if desired, stirring gently so you do not introduce too much air.
- Avoid using regular food coloring or kitchen extracts, which often do not mix well with wax.
Placing the Wick: Before or After Pouring?
There are two main ways to position the wick in a sand candle, and both can work well. The method you choose depends on your comfort level and the depth of your mold.
Embedding the Wick First
- Press the metal base of a pre-tabbed wick into the center of the sand cavity.
- Pinch the sand around the base to hold it upright.
- Use a pencil or skewer laid across the top of the sand to keep the wick vertical.
Adding the Wick After Pouring
- Pour wax into the sand cavity first, leaving a small space at the top.
- Wait until the wax begins to cool and thicken but is still soft.
- Carefully press the wick base into the center and support it until the wax fully firms up.
For beginners and for projects with kids, placing the wick in the sand before pouring often feels easier because you do not have to judge the perfect semi-soft stage of the cooling wax.
Pouring the Wax into the Sand Mold
With your wick positioned and your wax melted, you are ready for the most dramatic moment: watching the liquid wax sink into the sand cavity. This step rewards patience and a steady hand.
- Hold the container of melted wax close to the sand to reduce splashing.
- Pour slowly into the lowest point of the cavity, letting the wax rise up instead of splashing down the sides.
- Stop a little below the top of the mold to allow for expansion and easier handling.
- If cracks or bubbles appear as it cools, you can later reheat a bit of wax and pour a thin top layer to smooth them out.
Cooling, Unmolding, and Finishing Touches
The hardening stage is where the magic becomes visible. Resist the urge to rush; disturbing the sand too soon can dent or crack the candle. Once the wax is firm to the touch and no longer warm, you can begin uncovering your creation.
Removing the Candle from the Sand
- Use your fingers to carefully brush sand away from the top and sides.
- Gently lift the candle from underneath, supporting its base.
- Shake or brush off any loose grains. A soft, dry paintbrush works well for finer cleanup.
Trimming and Polishing
- Trim the wick to about 6–8 mm (roughly the width of a pencil eraser).
- If the bottom is uneven, briefly warm a flat pan and press the base of the candle against it to level.
- Leave a light dusting of sand for a natural, beachy look or brush more thoroughly for a smoother finish.
Creative Variations and Design Ideas
Once you have made a simple sand candle or two, it is hard to stop at basic shapes. The same basic technique can lead to layered colors, embedded treasures, and sculptural forms that look like miniature landscapes.
Layered Color Candles
- Pour one color of wax, let it partly cool, then carve a shallow trench or pocket in the center.
- Add a second color to the trench for a ring or stripe of contrasting wax.
- Experiment with ombré effects by gradually adding more dye to each batch of wax.
Embedded Beach Treasures
- Place clean, dry shells, small stones, or glass pebbles in the bottom of the sand cavity before pouring.
- Make sure all embedded items are heat-safe and not coated with flammable finishes.
- Position some decorations near the edge so that they peek out in the final candle.
Mini Sculptures and Themed Shapes
- Create a broad, shallow cavity and hand-sculpt wave patterns, ridges, or spiral shapes in the sand walls.
- Use multiple cookie cutter outlines in one sand tray to create a collection of small candles in one pour.
- Design themed sets, such as stars for holidays, shells for a beach wedding, or hearts for gifts.
Ideas for Using and Displaying Sand Candles
Sand candles are more than just a fun afternoon experiment; they can become part of your home decor, party centerpieces, or thoughtful handmade presents. Because each one is molded individually, no two ever look exactly the same.
- Group several candles of varying heights on a tray filled with loose sand and shells for a coastal centerpiece.
- Use unscented wax for table candles near food, and save scented versions for bathrooms or bedrooms.
- Wrap finished candles in tissue paper and tie with twine and a shell for an easy handmade gift.
Eco- and Budget-Friendly Tips
It is possible to keep this craft gentle on both your wallet and the environment by reusing materials where you can. A little forethought also cuts down on waste and makes cleanup simpler.
- Save old candle stubs, remove leftover wicks and debris, and combine the wax for new projects.
- Use the same sand repeatedly by letting it dry thoroughly between projects and storing it in a lidded bin.
- Choose natural wicks and simple, recyclable packaging if you plan to give your candles as gifts.
Frequently Asked Questions About Sand Candles
Do sand candles actually burn safely?
Yes, sand candles can burn safely when made with proper wicks, container-appropriate sizes, and quality candle wax. Treat them like any other open flame: do not leave them unattended, keep them away from flammable materials, and place them on a stable, heat-resistant surface.
Can children make sand candles?
Children can absolutely participate in sand candle projects, especially in shaping the sand cavities, choosing colors, and placing decorations. Adults should always handle the hot wax, manage the melting process, and supervise closely during pouring and cleanup.
What type of wax works best?
Paraffin is commonly used for its predictability and clarity, but soy and blended waxes can also work well. If you are reusing wax from old candles, try to stick with similar types in one project so the melting and cooling behavior stays consistent.
Why did my candle crack as it cooled?
Cracks often appear when wax cools too quickly or when the surface solidifies before the interior. To minimize this, pour at a slightly lower temperature, avoid drafts, and allow the candle to cool in a stable, room-temperature area. Small cracks can usually be disguised by adding a thin top layer of freshly melted wax.
Can I make sand candles without a beach?
Absolutely. Clean play sand or bagged construction sand from a hardware store works just as well. As long as the sand is sifted, free of debris, and moistened to the right consistency, you can create beach-inspired candles in any season and in any location.
Planning Your Next Sand Candle Project
Once you know the basic steps—conditioning sand, carving a mold, melting and coloring wax, placing a wick, and pouring—you can adjust the process to suit nearly any setting. Use bold colors for kids' party favors, muted tones for elegant centerpieces, or natural wax and sand for a minimalist, coastal look.
- Sketch a few shapes before your next project to guide your sand carving.
- Set up a dedicated "candle station" with labeled containers for wax scraps, wicks, dyes, and decorations.
- Experiment with one new variation each time, such as layered colors, embedded shells, or unusual shapes.
With a small collection of supplies and a little practice, sand candle making can become a go-to activity for family gatherings, seasonal decorating, and gift-giving. Each candle holds a story of the hands that shaped it, the sand that formed it, and the warm light it brings to the room.