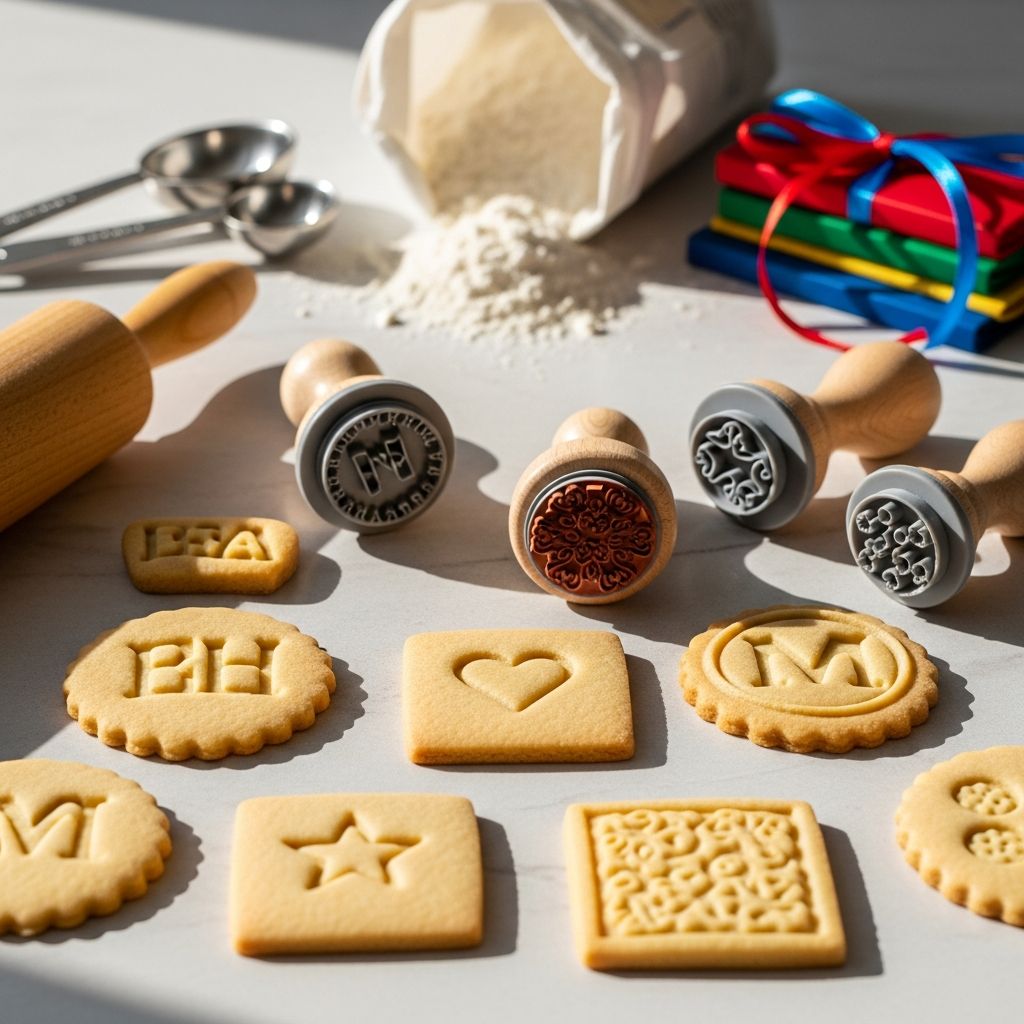
Personalized cookie stamps transform an ordinary batch of dough into a tray of edible keepsakes, perfect for birthdays, weddings, holidays, or just because. With a few simple materials and a bit of creativity, you can design unique stamps that showcase names, symbols, and messages on every cookie you bake.
This guide walks through choosing materials, designing and building your own cookie stamps, preparing the right dough, and baking cookies that hold sharp, readable impressions. You will also find variations, decorating ideas, a comparison table of stamp materials, and practical answers to common questions.
Why Make Your Own Cookie Stamps?
Store-bought cookie stamps are convenient, but they rarely match the exact theme, name, or date you might want for a special occasion. Creating your own gives you full control over size, design, and level of detail, so every cookie feels one-of-a-kind.
- Personalization: Add names, initials, dates, or short phrases that match your event.
- Creativity: Explore custom shapes, logos, and symbols you cannot find in standard baking aisles.
- Gifting power: Handmade stamped cookies feel thoughtful and memorable for recipients.
- Reusability: A well-made stamp can be used year after year for recurring holidays and traditions.
Choosing a Material for Your Cookie Stamp
You can create a custom stamp from several common crafting materials. The most popular options at home are polymer clay, air-dry clay, wood, or 3D-printed plastic. Each has different strengths, costs, and learning curves.
| Material | Pros | Cons | Best For |
|---|---|---|---|
| Polymer clay | Easy to shape by hand; bakes hard in a home oven; inexpensive; great for beginners. | Must be baked exactly as directed; not suitable for very high-volume commercial use. | Home bakers making occasional themed cookies. |
| Air-dry clay | No baking required; simple cleanup; accessible to kids with supervision. | May be more fragile; needs full curing time; can warp if dried unevenly. | Simple shapes, kids’ craft projects, light use. |
| Wood (carved) | Very durable when sealed properly; classic rustic look; can be finely carved. | Requires carving tools and experience; more time-consuming. | Experienced crafters and long-term reusable designs. |
| 3D-printed plastic | Extremely precise detail; easy to duplicate; customizable from digital designs. | Requires access to a 3D printer; learning curve with modeling software. | Tech-savvy bakers, small baking businesses, or complex logos. |
For most home crafters, polymer clay offers the best balance of control, cost, and durability. The step-by-step sections below focus on polymer clay, but the design principles apply to other materials as well.
Planning Your Cookie Stamp Design
A strong design is the difference between a crisp, readable impression and a blurry, unrecognizable pattern. Before touching any clay, sketch your idea on paper and think about scale and clarity. The stamp surface should be simple, bold, and free of fragile, tiny details.
Tips for Readable Impressions
- Keep the design bold: Thick lines, clear shapes, and large lettering hold up better during baking.
- Limit text length: Shorter phrases like a name, monogram, or one to two words stay legible.
- Avoid very thin lines: Slender lines tend to disappear when dough rises in the oven.
- Use a circular or simple outline: Circles, ovals, and basic shapes press evenly into dough.
Remember to Mirror Your Text
Any letters or numbers carved into a stamp must be reversed so that they read correctly on the cookie. Draw your design normally on paper, then create a second sketch with all text mirrored before you transfer it to your clay. This step is easy to overlook but critical to successful personalized cookies.
Tools and Supplies You Will Need
Most materials for a polymer-clay cookie stamp can be found at craft stores or online. You may already have several tools in your kitchen or art supplies at home.
- Polymer clay in a light color (one standard block is usually enough for several small stamps).
- Rolling pin or acrylic roller dedicated to crafts (not shared with food).
- Round cookie cutter or drinking glass to cut a disk shape.
- Pencil, bamboo skewer, or dotting tool to carve lines and dots.
- Craft knife for clean edges.
- Baking tray lined with parchment (for curing clay, not for food).
- Strong craft or super glue to attach a handle once the clay is cured.
- Small piece of scrap wood, cork, or extra clay to form a handle.
- Fine-grit sandpaper (optional) for smoothing edges after baking.
Keep any tools and surfaces used with polymer clay separate from your cooking utensils. Although cured polymer clay itself is typically stable, it is best practice to avoid direct food contact with uncured materials or shared tools.
Step-by-Step: Making a Polymer-Clay Cookie Stamp
This method creates a sturdy, reusable stamp with a raised design that presses into cookie dough. Set aside enough time to design, shape, and fully cure the clay according to the instructions on the package.
Step 1: Condition and Roll the Clay
Start by softening the clay in your hands until it becomes pliable and easy to shape. Then place it on a clean, non-porous surface and roll it into an even slab about 0.6–0.7 cm thick (roughly one-quarter inch). Uniform thickness ensures even pressure when you stamp the dough.
Step 2: Cut the Base Shape
Use a round cookie cutter or glass to cut a clean disk from the clay slab. This disk becomes the face of your stamp. If you plan several designs, cut multiple disks now so you can decorate them in one session.
Step 3: Transfer and Carve Your Design
Lightly sketch your mirrored design onto the clay using the tip of a pencil or a fine tool. Once you are happy with placement, deepen the lines and shapes to create raised areas and recessed sections that will form the image on the dough.
- For lettering: Carve the letters into the clay as recessed channels, leaving the surrounding surface raised.
- For symbols: Either carve out the negative space or add small rolled pieces of clay on top to create raised motifs.
- For borders: Use the point of a pencil or skewer to dot around the outer edge, forming a ring of decorative indentations.
Step 4: Shape and Attach a Handle
From the remaining clay, form two or three small shapes that can act as a handle on the back of the disk. Rectangles, domes, or a simple bar work well. Bake these handle pieces alongside the disk so they harden to the same degree.
After baking and cooling, use a strong, appropriate glue to attach the handle pieces to the back of the stamp disk. Ensure the handle is centered and comfortable to hold so you can press straight down without rocking.
Step 5: Bake and Cure the Clay
Place the clay pieces on a lined baking tray and cure them in the oven strictly following the temperature and time listed on the clay packaging. Overheating can damage the clay, while underbaking can leave it too soft or brittle. Let all pieces cool completely before handling or gluing.
Once cured and glued, optionally smooth the edges with fine sandpaper, wipe off any dust, and your stamp is ready for testing.
Preparing Cookie Dough for Clear Impressions
Even the best-designed stamp will not look sharp if the dough spreads too much or puffs excessively during baking. Choose a dough that bakes flat and holds its shape, such as a firm sugar cookie or shortbread-style recipe.
- Use a low-rising dough: Avoid recipes that rely heavily on baking powder or baking soda.
- Chill the dough: Refrigerate the dough before rolling to make it easier to handle.
- Keep add-ins small: Skip large chocolate chunks or nuts that interfere with the stamped surface.
Consistency matters more than flavor for the imprint; you can adjust flavors with extracts, zests, and spices as long as the dough stays firm and smooth.
How to Stamp and Bake Your Cookies
Once your stamp and dough are ready, the stamping process itself is straightforward. Working efficiently and keeping everything cool helps preserve clean details from oven to cooling rack.
Step-by-Step Stamping Process
- Roll the chilled dough to an even thickness, usually between 0.5–0.7 cm.
- Lightly dust the stamp with flour or powdered sugar to reduce sticking, then tap off any excess.
- Press the stamp straight down into the dough with firm, even pressure; avoid twisting.
- Lift the stamp carefully to reveal the impression.
- Use a cookie cutter to cut out the stamped circle (or other shape) around the design.
Place the stamped cookies on a baking sheet lined with parchment. For especially sharp impressions, chill or briefly freeze the stamped cookies before baking so the edges set quickly in the oven.
Tips for Keeping Impressions Sharp
- Work with small batches of dough, returning extra dough to the refrigerator as needed.
- Do not overwork scraps; repeated rolling warms the dough and encourages spreading.
- Bake just until the edges show the slightest color; overbaked cookies can puff and blur details.
Decorating Stamped Cookies for Extra Impact
Stamped cookies look beautiful plain, but a few finishing touches can enhance the design and add festive flair. Since the stamp already provides visual interest, keep decorations restrained so text remains easy to read.
- Colored egg wash: Brush hot cookies lightly with tinted egg white or milk to emphasize color and shine.
- Edible shimmer spray: A gentle mist of metallic food spray creates a coin-like or medallion effect.
- Dusting sugar: Very fine sanding sugar adds sparkle without hiding impressions.
- Fondant overlay: Press the stamp into rolled fondant, then attach the fondant disk to a plain cookie with a thin layer of icing.
For themed occasions, match your decoration style to the event: gold-toned finishes for awards or celebrations, soft pastels for baby showers, or bold colors for birthdays and sports themes.
Creative Themes and Occasions for Custom Stamps
Once you have mastered one stamp, it becomes difficult to stop at a single design. Consider building a small collection of reusable stamps tailored to holidays and milestones that matter most to you and your family.
- Weddings and engagements: Initials, monograms, or the wedding date pressed into elegant shortbread.
- Birthdays: Age numbers, nicknames, or simple icons like balloons and stars.
- Seasonal holidays: Leaves and pumpkins in autumn, snowflakes in winter, flowers and eggs in spring.
- Graduations: Graduation year, mortarboard symbols, or school initials.
- Business or club events: Simple logo shapes or short slogans for promotional treats.
Label and store each stamp carefully so it is easy to pull out the right design next time the same celebration comes around.
Safety, Cleaning, and Storage
Because the stamp touches edible dough, basic safety and cleanliness practices are essential. Treat your cookie stamps as food-contact tools even if they are made from craft materials.
- Use polymer clay according to packaging instructions and cure it completely before first use.
- Do not use the same tools and surfaces for clay and food preparation without thoroughly separating and cleaning them.
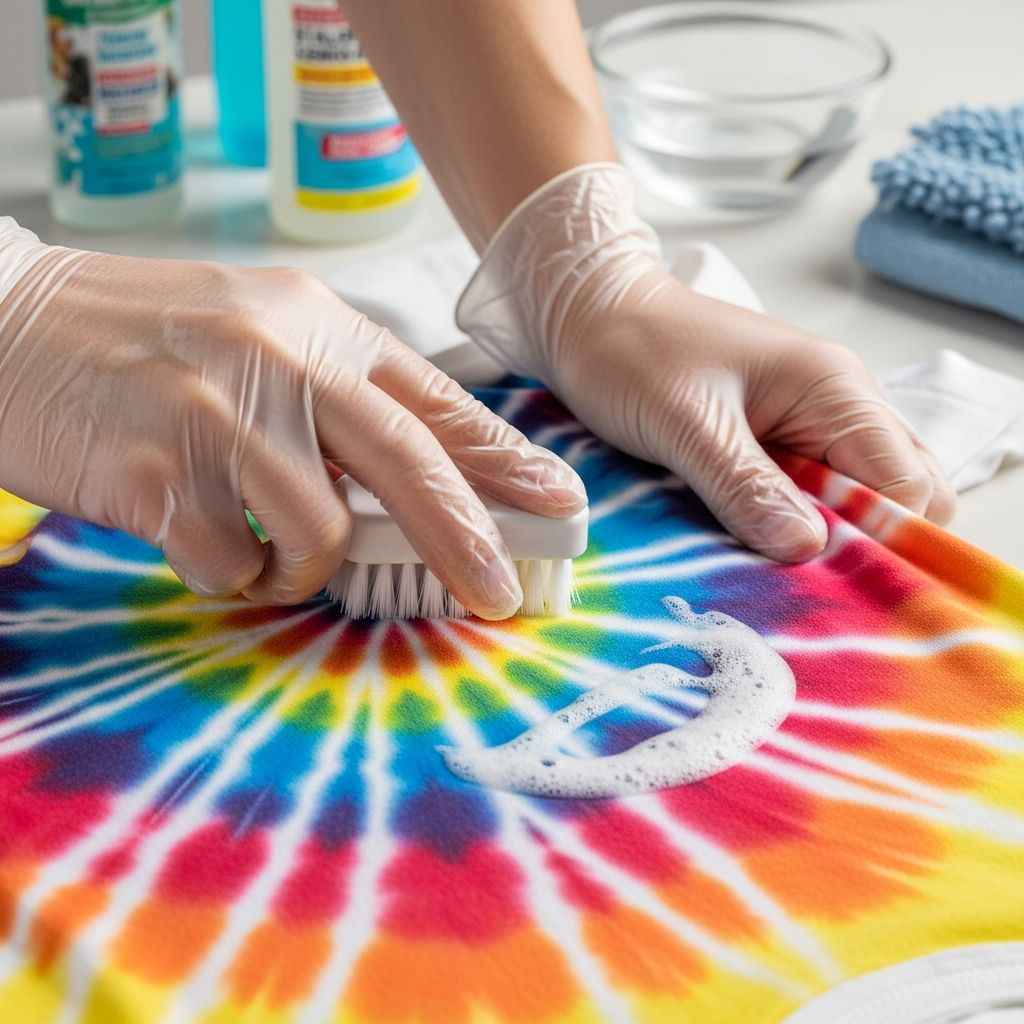
- After each cookie-baking session, gently wash the stamp surface with warm, soapy water and a soft brush, then allow it to dry thoroughly.
- Store stamps in a clean, dry container away from direct sunlight and extreme temperatures.
If a stamp cracks or chips, retire it from food use to avoid small fragments breaking off into dough. Re-creating a design with fresh materials is safer than repairing a damaged stamp for continued kitchen use.
Frequently Asked Questions About DIY Cookie Stamps
Can polymer-clay stamps safely touch food?
Polymer clay is intended as a craft material, so it should always be fully cured according to the manufacturer’s directions before it contacts dough. Many home bakers use polymer-clay stamps only on the surface of dough that will bake, then wash the stamps gently after each use and keep them strictly separate from any uncured clay or non-food-safe tools.
How do I stop dough from sticking to the stamp?
If dough sticks, the main solutions are temperature and light coatings. Work with well-chilled dough, and lightly dust the face of the stamp with flour, cornstarch, or powdered sugar before each impression. Tapping off excess powder keeps the design clear while still reducing sticking.
My impressions look great before baking but fade in the oven. What can I do?
Fading impressions usually mean the dough is expanding too much as it bakes. Try a lower-leavening recipe, chill or briefly freeze the stamped cookies before baking, and avoid placing them in an oven that is hotter than the recipe states. You can also deepen lines slightly more when carving your stamp so the design starts out bolder.
Can I use the same stamp for clay crafts and cookies?
It is best to keep food-related tools separate from non-food crafts. If you want to use a similar design for air-dry clay ornaments or other projects, create a second stamp reserved only for non-edible materials. Mark and store them separately to prevent confusion.
Is a 3D printer necessary for detailed cookie stamps?
A 3D printer is not required for beautiful results, but it does allow extremely precise logos and intricate shapes. Hand-sculpted polymer clay works very well for bold, graphic designs and simple text. If you have access to 3D-printing services or know someone who does, you can experiment with both approaches and choose what fits your budget and skill level.
Final Thoughts
Homemade cookie stamps open the door to deeply personal, creative baking without requiring advanced decorating skills. Once you learn how to design, shape, and care for a custom stamp, every batch of cookies can carry a message, symbol, or memory shaped specifically for the people you love.
Start with a simple design, such as a name or small symbol, and build confidence from there. Over time, you may find that designing the stamps is just as enjoyable as baking the cookies they help create.