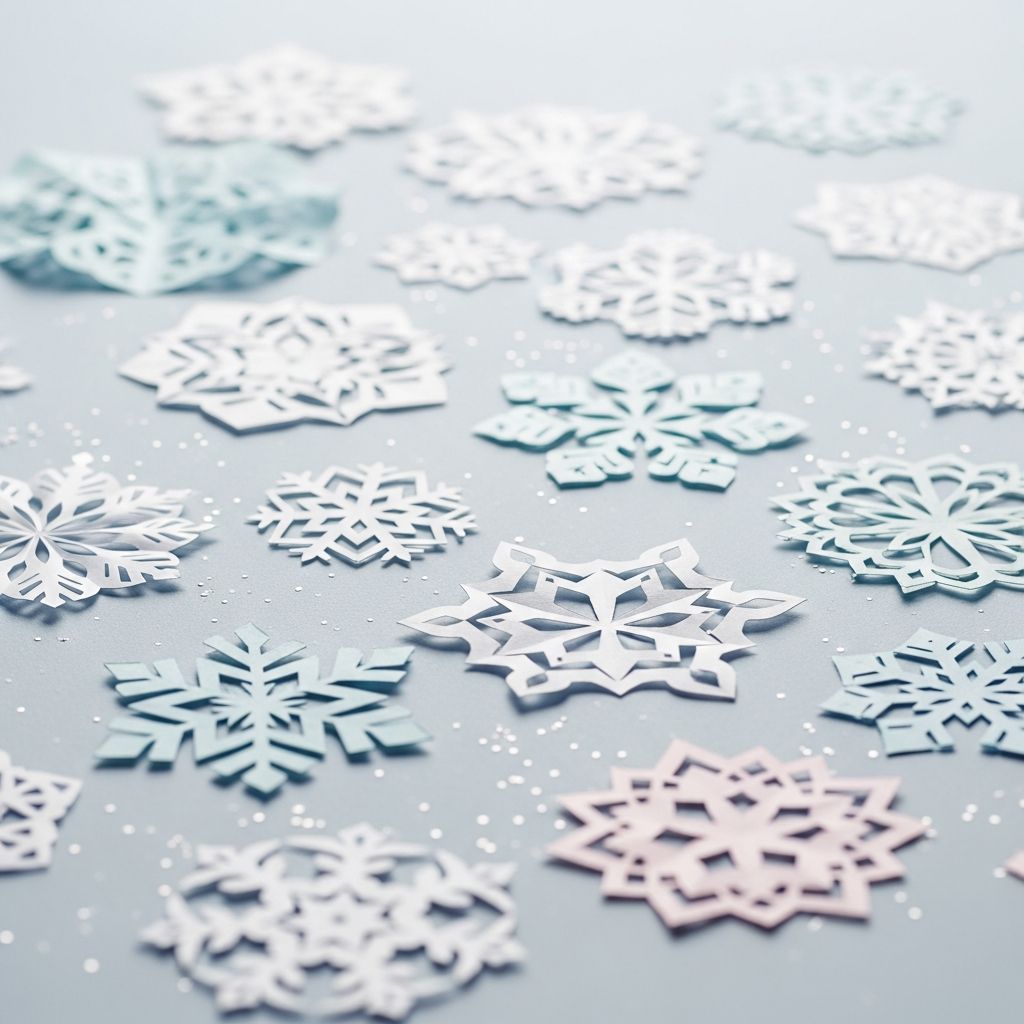
Paper snowflakes are a classic winter craft: inexpensive, relaxing, and endlessly customizable. With just paper and scissors, you can fill a room with delicate designs that look far more complicated than they are. This guide walks you through how to fold, cut, and display beautiful paper snowflakes, with ideas tailored for both beginners and eager little helpers.
Why Paper Snowflakes Make the Perfect Winter Craft
Before diving into the how-to, it helps to know why this simple activity is so beloved. Paper cutting and folding can support fine motor skills and hand–eye coordination in children, while also providing a calming, focused activity for adults. Crafting together can also encourage creativity and shared problem-solving, which are linked to positive social and emotional development in kids.
- Low-cost: Only basic supplies are needed.
- Flexible difficulty: Designs can be as simple or intricate as you like.
- All-ages friendly: Great for children, teens, and adults with minor adjustments.
- Decor and learning: Doubles as seasonal decor and a hands-on way to talk about snow, symmetry, and patterns.
Supplies: What You Need (and What You Don’t)
You can make impressive snowflakes using items you likely already have at home. Choosing lighter paper makes folding and cutting easier, especially for children.
- Paper: Standard printer paper, lightweight construction paper, or thin colored paper.
- Scissors: Child-safe scissors for kids; sharp craft scissors for detailed adult designs.
- Optional extras: Pencil, ruler, glitter glue, tape, string or yarn, and a flat book or iron on low heat for pressing finished snowflakes.
Research on fine motor development suggests that using scissors and performing repeated finger movements can support hand strength and coordination when tasks are matched to a child’s age and ability, making snowflake cutting a practical as well as fun activity.
Understanding Snowflake Symmetry
Real snow crystals typically have six-fold symmetry: six arms radiating from a central point, each shaped by surrounding temperature and humidity conditions. To mimic this, most paper snowflake methods create a folded wedge of paper representing one sixth of the finished shape. When you cut into the folded wedge and unfold it, each cut repeats around six sides.
Key ideas:
- Symmetry: The same shapes appear multiple times around the center.
- Repetition: A single set of cuts produces a repeating pattern.
- Variation: Small changes in cuts can dramatically change the final design, just like in real snow crystals.
Step-by-Step: Making a Basic Six-Point Paper Snowflake
The instructions below describe a common method for turning a rectangular sheet into a square, folding it into a wedge, and cutting a design. Adjust the difficulty of the cutting to match who is crafting with you.
1. Start with a Square Sheet
If you already have square paper, you can skip this sub-step. If not, follow these directions using standard printer paper:
- Place the rectangle in front of you in landscape or portrait orientation.
- Bring one top corner down diagonally until its edge aligns neatly with the opposite side, forming a right triangle.
- Crease the diagonal firmly with your fingers.
- Cut off the long rectangular strip that remains at the bottom or side. When you unfold the triangle, you will have a square.
2. Fold the Square into a Triangle
- Fold the square diagonally to create a large triangle.
- Press along the fold from the center out toward the corners for a sharp crease.
3. Fold into a Smaller Triangle
- Take the large triangle and fold it in half again so the pointed corners meet.
- Crease carefully; this smaller triangle will be the base of your wedge folds.
4. Create the Wedge for a Six-Point Snowflake
This step creates the “slice” of snowflake that will repeat around the center. It can feel tricky the first time, but gets easier quickly.
- Position the small triangle so its point faces down.
- Imagine the triangle divided into three equal slices from the point.
- Fold one side of the triangle across the front by roughly one third.
- Fold the other side across the back so the edges line up and form a narrow wedge shape.
If the edges do not align perfectly, adjust the folds slightly. A tidy, aligned wedge will produce a more symmetrical snowflake, but small imperfections often add charm.
5. Trim the Top to Neaten the Shape
- You will see uneven layers at the wide end of the wedge.
- Cut straight across this wide end so all layers are even. You now have a tidy wedge of folded paper ready for designing.
6. Cut Out Your Design
This is where creativity comes in. Keep these tips in mind:
- Start with simple shapes: small triangles, rectangles, half circles, or shallow curves.
- Avoid cutting all the way through from one side of the wedge to the other in the same place, or the snowflake may fall apart.
- For a hole in the center, carefully snip off the pointed tip.
- Alternate shallow and deeper cuts along each side of the wedge to create varied patterns.
7. Unfold and Flatten
- Gently open the wedge, layer by layer, being careful not to tear delicate sections.
- Smooth the snowflake with your hands.
- For an extra-flat finish, place the snowflake between two clean sheets of paper and press it inside a heavy book for a few hours, or briefly iron on low heat without steam.
Pattern Ideas for Every Skill Level
Use the table below to match cutting ideas to the age or confidence level of your crafters.
| Level | Suggested Cuts | Best For |
|---|---|---|
| Beginner | Large triangles, shallow rectangles, a few small notches along the edges. | Young children, first-timers, quick classroom activities. |
| Intermediate | Curved cuts, alternating deep and shallow wedges, small cut-outs near the center. | Older kids and adults who are comfortable with scissors. |
| Advanced | Detailed lace-like cuts, layered patterns, tiny windows, narrow bridges of paper. | Craft enthusiasts, patient teens and adults. |
Fun Variations on the Classic Snowflake
Once you grasp the basic method, try these twists to keep the activity fresh across the season.
- Oversized window flakes: Use large sheets of lightweight paper for dramatic window displays.
- Mini snowstorms: Fold and cut from leftovers or sticky notes to make tiny garlands.
- Colored layers: Stack two or three snowflakes of different colors and sizes for a layered look.
- Glitter and shimmer: Lightly brush edges with glue and sprinkle fine glitter for icy sparkle.
- Snowflake mobiles: Hang several snowflakes from a circular hoop or embroidery ring with thread.
Displaying children’s artwork in the home has been associated with increased self-esteem and a sense of belonging, which makes decorating with homemade snowflakes both festive and emotionally meaningful.
Tips for Crafting with Children
When doing any cutting activity with kids, supervision and appropriately sized tools are essential. Safety bodies recommend using age-appropriate scissors with blunt tips for younger children and closely monitoring any activity involving sharp tools.
- Pre-fold for younger kids: Adults or older siblings can prepare the folded wedges so little hands can focus just on cutting.
- Limit layers: If cutting through many layers is hard, stop one fold earlier and accept a simpler pattern.
- Use bold shapes: Encourage large, simple cuts so the snowflake stays strong.
- Rotate roles: One child can draw shapes in pencil; another can help cut along the lines.
- Discuss symmetry: Ask kids to predict what their fold will look like opened; this supports early math reasoning about shapes and symmetry.
Decorating with Your Paper Blizzard
With a tableful of finished snowflakes, the next step is deciding how to display them. Because snowflakes are light, they can be attached almost anywhere with minimal supplies.
- Windows: Use small loops of clear tape or removable adhesive to attach snowflakes to glass.
- Garlands: Tape or glue snowflakes along a length of string and hang across a mantel, doorway, or classroom board.
- Gift toppers: Replace bows with a flat snowflake taped on wrapped presents.
- Table decor: Scatter snowflakes down the center of a table like a wintry runner.
- Cards and posters: Glue snowflakes onto folded cardstock or large poster board for seasonal signs.
Troubleshooting: Common Snowflake Problems
Even simple crafts come with their quirks. Here are frequent issues and easy fixes.
- Snowflake falls apart: You may have cut all the way across at one point. Next time, leave small “bridges” of paper between cuts so sections stay connected.
- Design looks uneven: Check that the wedge folds are lined up. Slight trimming of the wide edge before cutting can help.
- Too hard to cut: Use thinner paper, simplify the pattern, or reduce the number of folds.
- Creases won’t stay flat: Press under heavy books or briefly iron between two sheets of plain paper.
Simple Safety Reminders
Any activity involving scissors deserves a quick safety check. Organizations such as the American Academy of Pediatrics emphasize using tools and craft materials in a way that matches children’s developmental abilities to prevent injuries.
- Model how to walk with scissors pointed down and closed.
- Keep scissors and small scraps out of the reach of toddlers and infants who may put them in their mouths.
- Store sharp tools away once crafting is done.
Frequently Asked Questions (FAQs)
Q: What kind of paper works best for paper snowflakes?
A: Regular printer paper is a great all-purpose choice. For very young children or very detailed patterns, thinner paper is easier to cut, while slightly heavier paper creates sturdier decorations.
Q: How can I make sure my snowflake has six points like a real one?
A: Focus on the folding step that turns the triangle into a three-part wedge. When the triangle is folded into thirds around the point, you are creating one-sixth of the final shape; unfold it to see six repeating arms.
Q: Can I make snowflakes without scissors?
A: For toddlers, you can pre-cut simple snowflakes and let them decorate with crayons, stickers, or adhesive foam. Older children could also tear shapes gently along folded edges instead of cutting for a different textured effect.
Q: How do I keep my snowflakes from wrinkling or curling?
A: Press them between the pages of a heavy book overnight. For a quicker option, place the snowflake between two sheets of plain paper and use a warm (not hot) iron without steam for just a few seconds.
Q: Is this a good classroom or group activity?
A: Yes. Paper snowflakes work well in classrooms, libraries, and community groups because supplies are inexpensive and easy to share. Preparing folded wedges in advance helps large groups get started quickly and reduces wait time.
References
- Fine motor skills and their importance. — The Royal Children’s Hospital Melbourne. 2020-06-01. https://www.rch.org.au/occupational-therapy/fact-sheets/Fine_motor_skills/
- The power of play: A pediatric role in enhancing development in young children. — Yogman M, et al., American Academy of Pediatrics. 2018-09-01. https://publications.aap.org/pediatrics/article/142/3/e20182058/38649/The-Power-of-Play-A-Pediatric-Role-in-Enhancing
- Snowflake morphology diagram. — Libbrecht K, California Institute of Technology. 2012-01-01. https://www.its.caltech.edu/~atomic/snowcrystals/class/class-new.htm
- Injury prevention for school-aged children. — HealthyChildren.org (American Academy of Pediatrics). 2021-05-21. https://www.healthychildren.org/English/safety-prevention/at-home/Pages/Injury-Prevention-for-Your-School-Age-Child.aspx