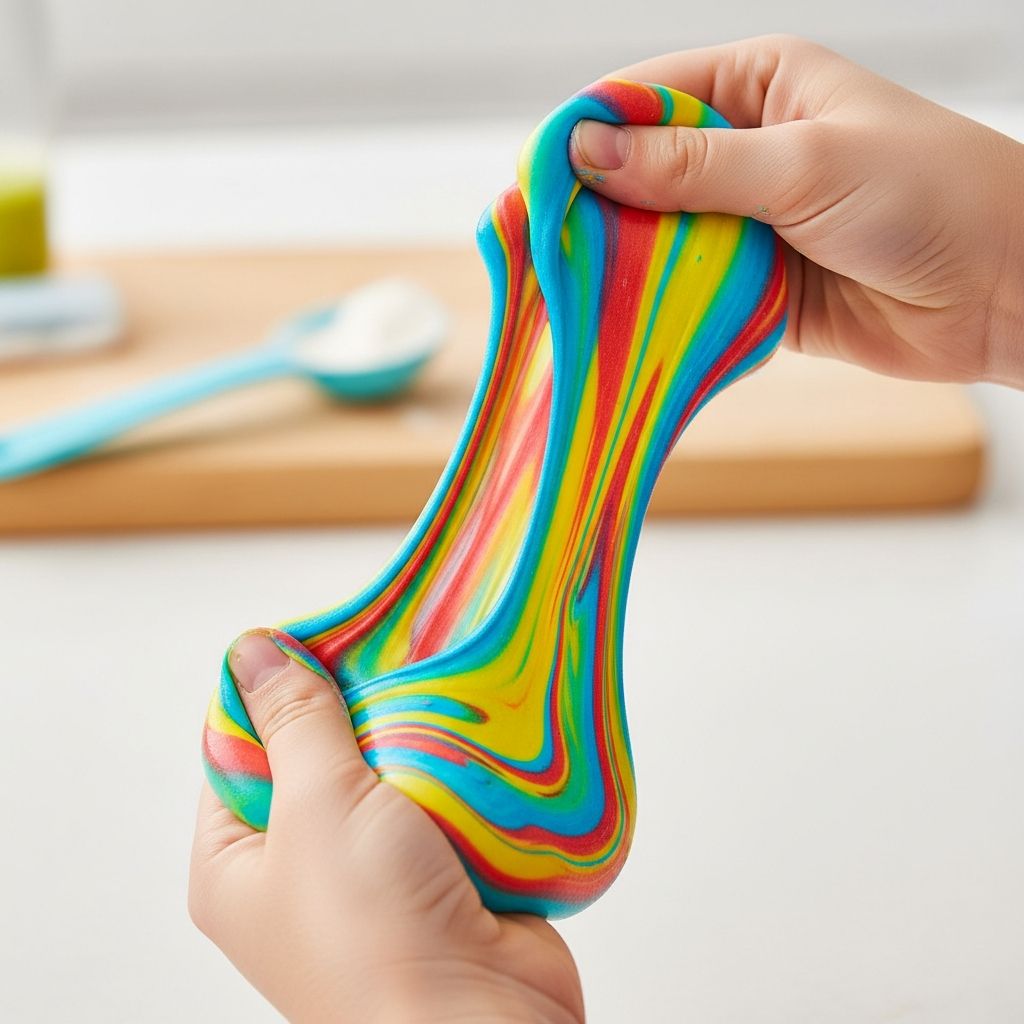
Homemade Silly Putty is an inexpensive, hands-on project that combines science, creativity, and sensory play in a way that keeps kids engaged while they learn. This guide walks through every step of making Silly Putty at home, explains the non-Newtonian fluid science behind it, and offers practical tips for safe, low-mess fun.
What Is Silly Putty?
Silly Putty is a stretchy, bouncy, moldable material that behaves like both a solid and a liquid depending on how you handle it. Kids can roll it into a ball, stretch it into long strings, or press it into shapes, which makes it ideal for open-ended play and simple science experiments.
Unlike traditional modeling clay or slime, Silly Putty flows slowly when left alone but snaps or breaks when pulled quickly, demonstrating unusual flow behavior that fascinates curious children and adults alike.
Understanding Non-Newtonian Fluids
The secret behind Silly Putty’s unique behavior is that it is a non-Newtonian fluid, meaning its thickness or resistance to flow changes depending on the force applied to it. When a gentle, slow force is used, it can stretch and ooze, but when hit or pulled quickly, it responds more like a solid and can crack.
This makes homemade Silly Putty an excellent example for teaching kids how some materials do not follow the simple rules of everyday liquids like water or oil. It turns abstract science concepts into something children can touch, shape, and test with their own hands.
Why Make Silly Putty at Home?
Making Silly Putty at home allows parents and caregivers to turn a simple craft into a full learning experience. Children can measure, mix, predict what will happen, and observe the results, building basic STEM thinking skills in a playful way.
Homemade versions are also customizable: you can adjust texture, color, and quantity, and you can create smaller or larger batches depending on the number of children or the time available for the activity.
- Encourages sensory play and fine motor development.
- Promotes curiosity and early scientific thinking.
- Uses relatively inexpensive, easy-to-find ingredients.
Materials and Ingredients You Will Need
The exact ingredients can vary by recipe, but most homemade Silly Putty versions use a thick liquid base and a second ingredient that causes the mixture to thicken and become stretchy. Many households already have some of these items in the kitchen or craft cupboard.
Before you begin, read all labels and make sure ingredients are appropriate for the age and sensitivities of the children who will be using the putty. Adult supervision is important, especially for younger kids.
Common Ingredient Options
- Liquid craft glue or school glue (not washable for many classic recipes).
- Cornstarch or similar thickening starch.
- Liquid dish soap, clear hand soap, or conditioner (depending on recipe style).
- Optional: Borax powder, used in small amounts in certain traditional recipes.
- Warm water for dissolving powders or adjusting consistency.
- Food coloring or liquid watercolors for bright colors.
- Fine glitter, sequins, or confetti for added visual interest.
- Small bowls, measuring spoons, and something to stir with (spoon or spatula).
Equipment Checklist
- Mixing bowls that are easy for kids to reach into.
- Measuring cups and spoons for accuracy and a built-in math lesson.
- Plastic spoons or spatulas for mixing.
- A tray, plastic tablecloth, or baking sheet to protect surfaces.
- Airtight containers, zipper bags, or plastic eggs for storing finished putty.
Step-by-Step: Basic Homemade Silly Putty
The steps below outline a simple, kid-friendly process that you can adapt to suit your exact ingredient list. Adjust amounts and mixing times as needed, and allow children to help with each step to keep them engaged from beginning to end.
Preparation Steps
- Cover the work surface with paper, a mat, or a plastic tablecloth to contain any spills.
- Gather all ingredients and tools before starting so kids do not lose interest while you search for supplies.
- Have children put on old clothes or aprons in case coloring or glue gets on fabric.
- Review safety rules: do not taste the mixture, keep hands away from eyes, and ask an adult for help with measuring.
Mixing the Base
- Pour the liquid glue or base ingredient into a bowl, using measuring cups for accuracy.
- Add a small amount of warm water or liquid soap, depending on the recipe style, and stir until well combined.
- Mix slowly at first and encourage kids to observe changes in thickness and texture as the ingredients combine.
Adding Color and Extras
- Add a few drops of food coloring or liquid watercolor and stir until the color is even.
- If using glitter or other small decorative pieces, sprinkle them into the bowl and gently fold them into the mixture.
- Ask children to describe what they see: sparkles, swirls, or streaks of color before it is fully blended.
Thickening into Putty
- Add the thickening ingredient, such as cornstarch, conditioner, or a prepared solution used in some recipes, a little at a time.
- Stir constantly and notice when the mixture begins to pull away from the sides of the bowl and form a soft mass.
- When the mixture is too thick to stir easily with a spoon, switch to kneading with clean hands.
- Continue kneading until the putty becomes smooth, stretchy, and no longer sticks heavily to your fingers.
If the putty is too sticky, add a very small amount of the thickening ingredient and knead again. If it feels too crumbly or dry, add a few drops of water or base liquid until it softens.
Non-Newtonian Fluid Experiments for Kids
Once the Silly Putty is ready, it doubles as a simple science lab for exploring how non-Newtonian fluids respond to different types of forces. Children can run quick tests and compare what happens with gentle versus sudden movements.
Turn these experiments into a mini science lesson by encouraging kids to make predictions, test them, and then talk through the results in age-appropriate language.
Simple Tests to Try
- Stretch Test: Slowly pull the putty into a long rope and notice how it stretches smoothly.
- Snap Test: Pull the same putty quickly and watch how it tears or snaps instead of stretching.
- Drop Test: Roll the putty into a ball and drop it onto a hard surface to see if it bounces.
- Press Test: Press the putty gently onto a flat surface and see how it slowly spreads.
- Imprint Test: Press a coin, LEGO brick, or toy into the putty and examine the impression it leaves behind.
Talking About the Science
Explain that, unlike water, which flows the same way no matter how gently or forcefully it is poured, Silly Putty changes its behavior based on how quickly you apply force. Slow motions give the molecules time to move around each other, so the putty flows, while fast motions do not, so it acts more like a solid.
For older kids, you can introduce the term “viscosity” and explain that non-Newtonian fluids have viscosities that change in response to stress, which is why the putty feels thick and firm one moment and soft and flowing the next.
Safety and Supervision Tips
Although homemade Silly Putty can be safe when made and used correctly, it is not meant to be eaten and should always be used under adult supervision. Make sure children understand that it is a toy and science material, not food.
Check for skin sensitivities or allergies to any of the ingredients and test a small amount on a child’s hand before allowing long periods of play. Very young children may need constant reminders not to put the putty in their mouths.
- Keep all powders and concentrated ingredients out of children’s reach before mixing.
- Have children wash their hands before and after play.
- Do not allow play near carpets, upholstery, or important fabrics to avoid stains.
- Store materials and finished putty out of reach of toddlers and pets.
Cleaning Up and Storage
With a little preparation, cleanup after a Silly Putty session can be straightforward. Protective coverings on tables and floors make it easy to gather stray bits and dispose of them before they stick where they are not wanted.
Proper storage extends the life of the putty and helps prevent it from drying out or collecting dust. Teach kids to be responsible for putting their creations away when they are finished.
Cleanup Tips
- Peel off dried bits of putty from hard surfaces rather than rubbing them in.
- Use warm, soapy water and a cloth or sponge to wipe down tables when finished.
- If putty gets onto fabric, gently scrape off what you can, then treat the spot with soapy water or follow the fabric’s care instructions.
How to Store Homemade Silly Putty
- Keep putty in airtight containers such as small plastic tubs or zipper bags.
- Store in a cool, dry place away from direct sunlight or heat sources.
- Discard the putty if it becomes moldy, extremely sticky, or develops an unusual odor.
Using Silly Putty for Learning and Sensory Play
Homemade Silly Putty is more than a toy; it can be used for sensory exploration, pre-writing practice, and quiet fidget play. Its soft resistance provides feedback to the muscles in the hands, which is helpful for building fine motor skills in young children.
By combining play with simple challenges or games, adults can turn an everyday craft into a versatile tool for skill development and creative expression.
Activity Ideas
- Ask children to roll the putty into “snakes” and then form letters, numbers, or shapes.
- Hide small beads or plastic shapes in a ball of putty and let kids dig them out to strengthen their fingers.
- Use the putty as a quiet fidget tool during reading or homework time, especially for children who focus better with something in their hands.
- Create color-mixing experiments by combining two differently colored pieces and watching a new color appear.
Common Problems and Easy Fixes
Like many homemade crafts, Silly Putty does not always turn out perfectly on the first try. Texture problems are usually easy to correct by adjusting the ratio of liquid to thickener or by changing how long you knead the mixture.
Encourage kids to treat these problems as part of the experiment, asking what they think should be added or changed to make the mixture better.
| Problem | Likely Cause | Simple Fix |
|---|---|---|
| Too sticky and gooey | Too much liquid or not enough thickener | Add a small amount of thickening ingredient and knead well. |
| Too dry or crumbly | Too much thickener or over-mixing without enough moisture | Add a few drops of water or base liquid and knead until smooth. |
| Won’t stretch, breaks quickly | Mixture is slightly too dry or under-kneaded | Knead longer, or add a tiny bit of liquid to restore stretchiness. |
| Color stains hands | Too much food coloring | Use fewer drops next time and knead thoroughly to distribute color. |
| Putty dries out in storage | Container not fully sealed | Transfer to an airtight container; add a drop of liquid and knead if needed. |
Variations and Creative Twists
Once the basic method is familiar, families can experiment with different textures and themes. Small variations in ingredients or add-ins can transform basic Silly Putty into seasonal or character-inspired versions that keep kids excited to try again.
These variations are especially fun for parties, rainy days, or themed learning units in homeschooling and classroom settings.
- Glitter Putty: Add fine glitter for a sparkly look that catches the light when kids stretch and twist it.
- Glow-in-the-Dark Putty: Use glow powder or glow paint formulated for crafts and charge it under a bright light.
- Galaxy Putty: Swirl together dark blue, purple, and black, then mix in silver glitter to mimic the night sky.
- Themed Colors: Create holiday colors for different celebrations, like orange and black for Halloween or red and green for winter festivities.
Frequently Asked Questions (FAQs)
Is homemade Silly Putty safe for toddlers?
Homemade Silly Putty is generally intended for children who are old enough to follow instructions not to eat or mouth the material. For toddlers, close supervision is essential, and it may be safer to wait until they are past the mouthing stage or to choose recipes that do not include ingredients you are concerned about.
Can Silly Putty be made without certain ingredients?
Yes, there are multiple recipe styles that rely on different base liquids and thickeners. If you want to avoid a specific ingredient, you can usually find an alternative recipe that uses something else while still producing a stretchy, moldable material.
How long will homemade Silly Putty last?
With proper storage in a sealed container, most homemade Silly Putty batches can last for days or even weeks. Over time, it may dry out, become less elastic, or attract dust, at which point it is best to discard it and make a fresh batch.
What should I do if the putty gets stuck on fabric?
First, gently lift or scrape away as much of the material as you can without rubbing it deeper into the fibers. Then treat the remaining spot with warm, soapy water or follow the care instructions for the fabric, repeating as needed until the residue is gone.
Can this activity be used in a classroom or group setting?
Yes, Silly Putty is a popular choice for classrooms, clubs, and playgroups because the ingredients can be scaled up and divided into individual portions. Having students measure and mix their own small batches supports cooperation, responsibility, and hands-on learning in a manageable way.
Homemade Silly Putty offers a flexible blend of science, creativity, and sensory play that fits easily into family life or classroom activities. With simple ingredients and a bit of supervision, kids can explore the fascinating world of non-Newtonian fluids while creating a toy they will want to play with again and again.